Assembling the Stabilizer

Hello again! It is now fall and progress has been slow for a few reasons. Most of all, I quit my job and had a few weeks to myself so I played games, did some flying, and generally relaxed.. It was a nice break to recover from burnout. However, I do have progress to share so on with the show.
I slowly worked my way through the ribs to clean up and debur them. Eventually they all got done (slow progress is better than no progress!). Something fun to note is the punched pieces had a bend to them.
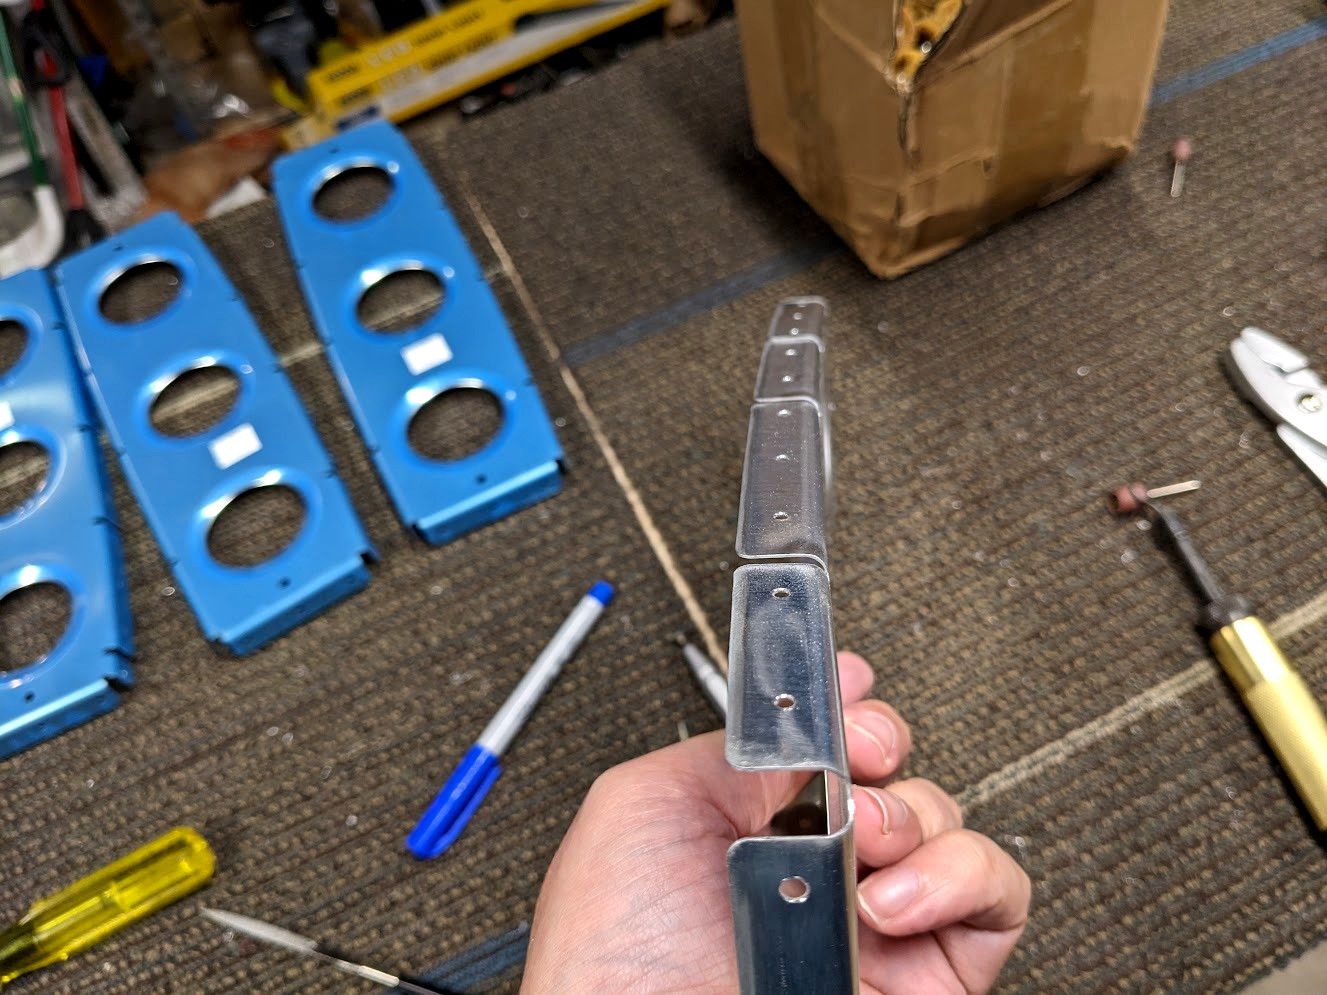
That isn't uncommon. The fix for it is to use special pliers and put bends in the flange to "shrink" the space. Once you flute the rib it ends up looking like this.
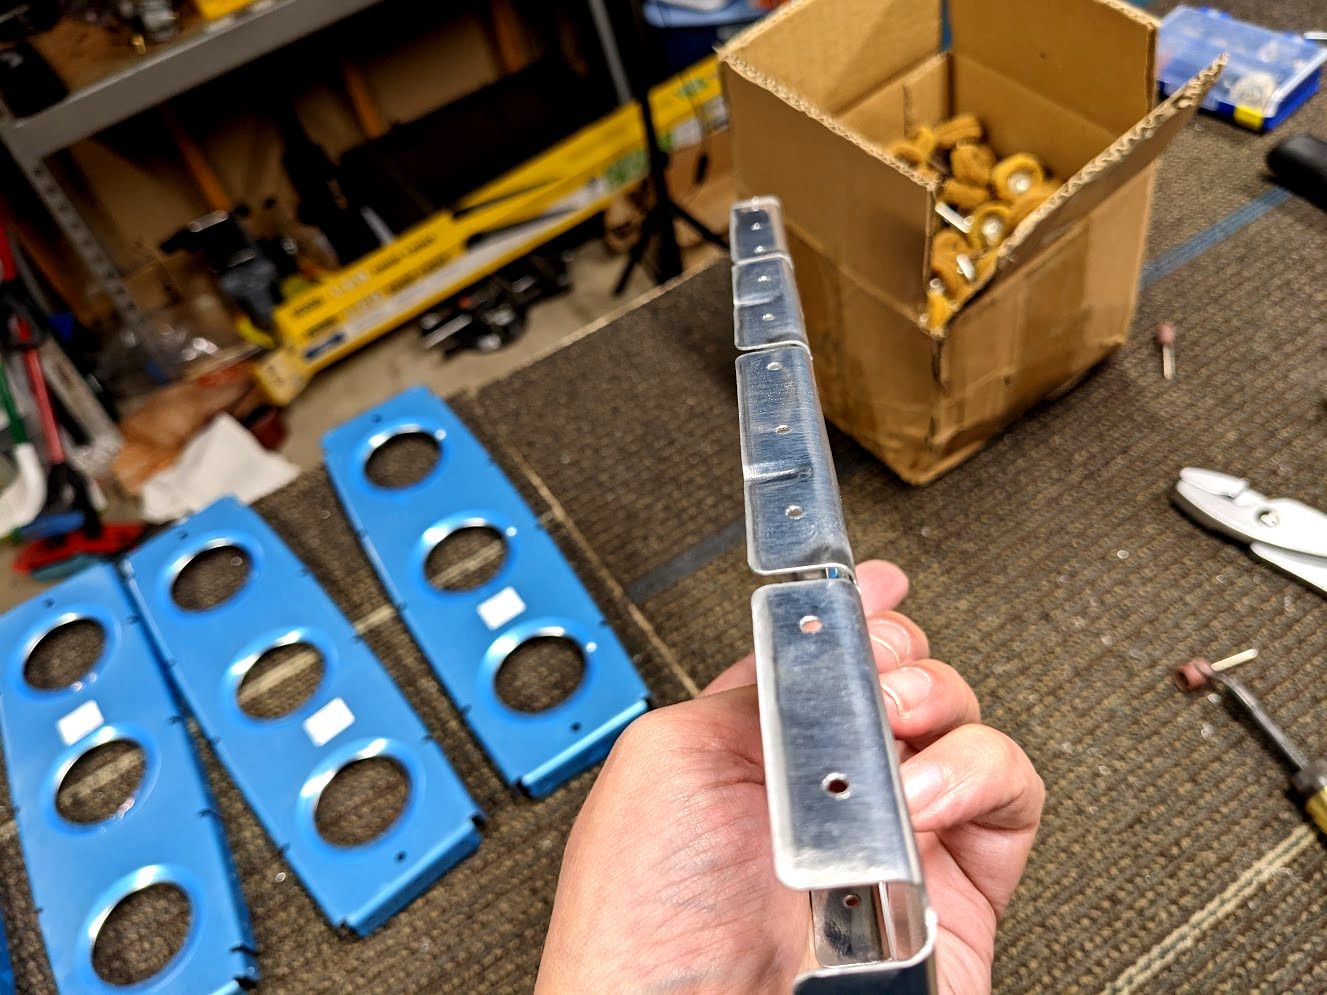
Nice and straight. The is important to do because you don't want extra stresses on the rib from spring effects or whatever (it also makes assembly a lot easier if things are straight). This part was honestly tough to mentally power through. It was a lot of ribs, they all look the same, and the work is repetitive and boring. I recommend putting on some audio books or something to occupy your mind for these stretches or you're likely to just stop working. Once I finished the ribs though I looked down to see the nose ribs hanging out also needing to be worked on.
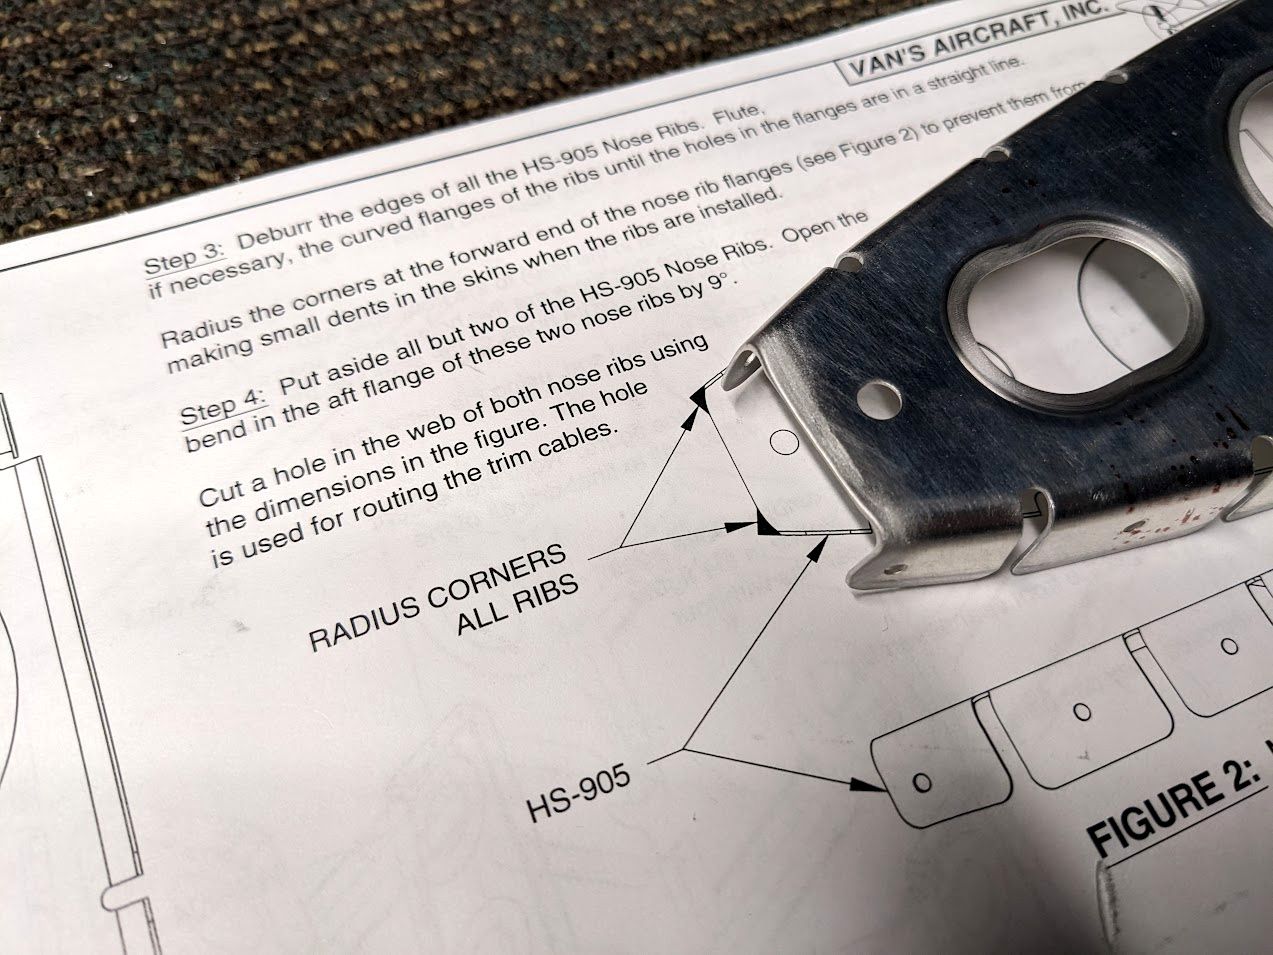
Nose ribs require a bit more special attention to get them in the shape you want. It is important to remove some material off the front so that it doesn't cause denting on the skins when installed. The diagram on this section was much better than the other section where I had to do the same thing.
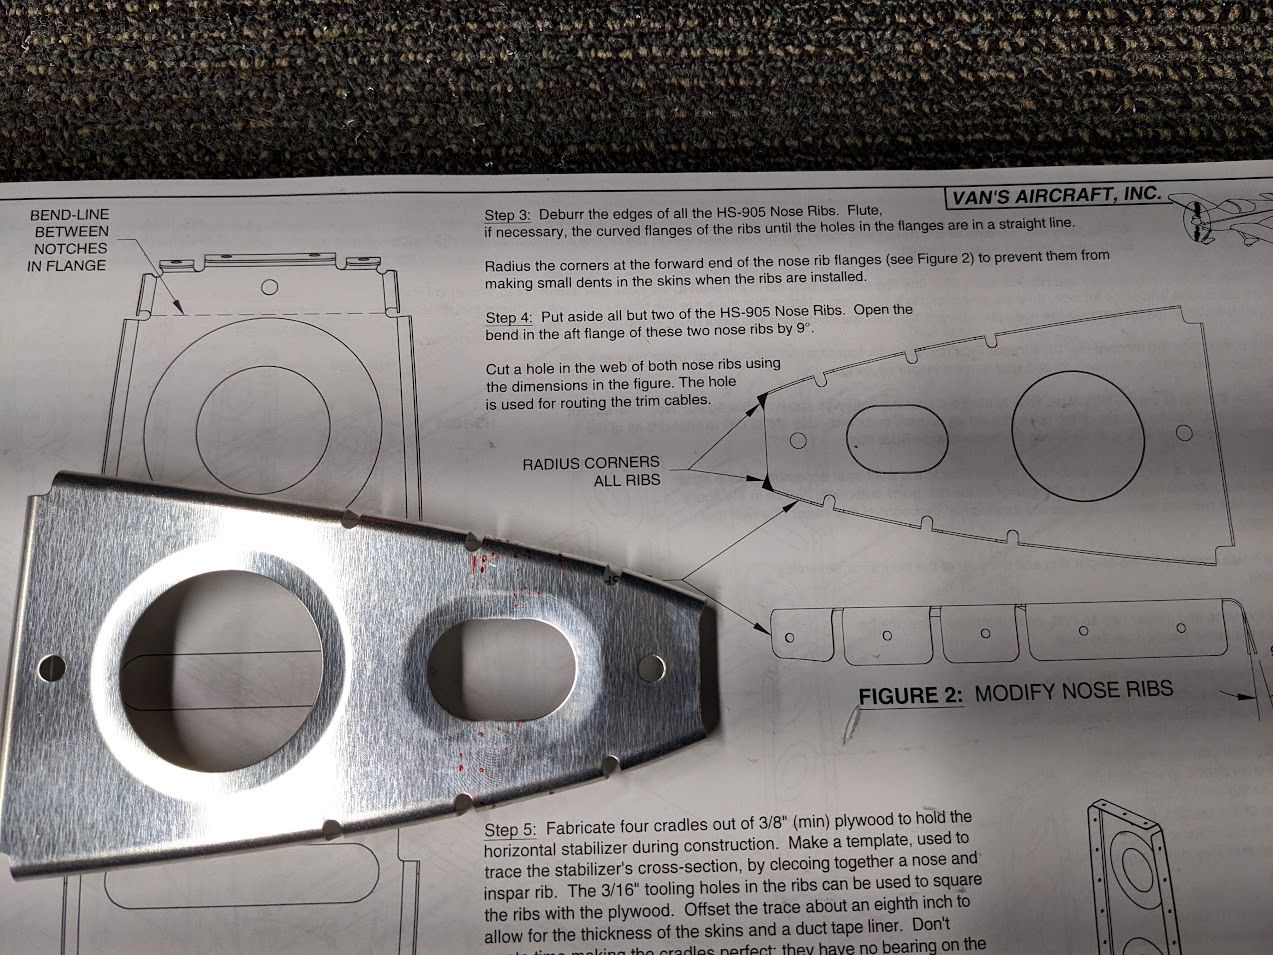
Adding the radius to the corners was pretty easy to do with a belt sander so that is what I used. All of the nose ribs already had the holes cut in the web for control cables so I didn't have to do anything there. Just sanding the front and filing a bit until I got a nice radius (keeping in mind the minimum rivet hole distance so I didn't overdo it).
Then repeat the process 7 more times until all the nose ribs are done. Since I didn't want to keep doing boring work though, I skipped ahead a little to some wood working I needed to do.
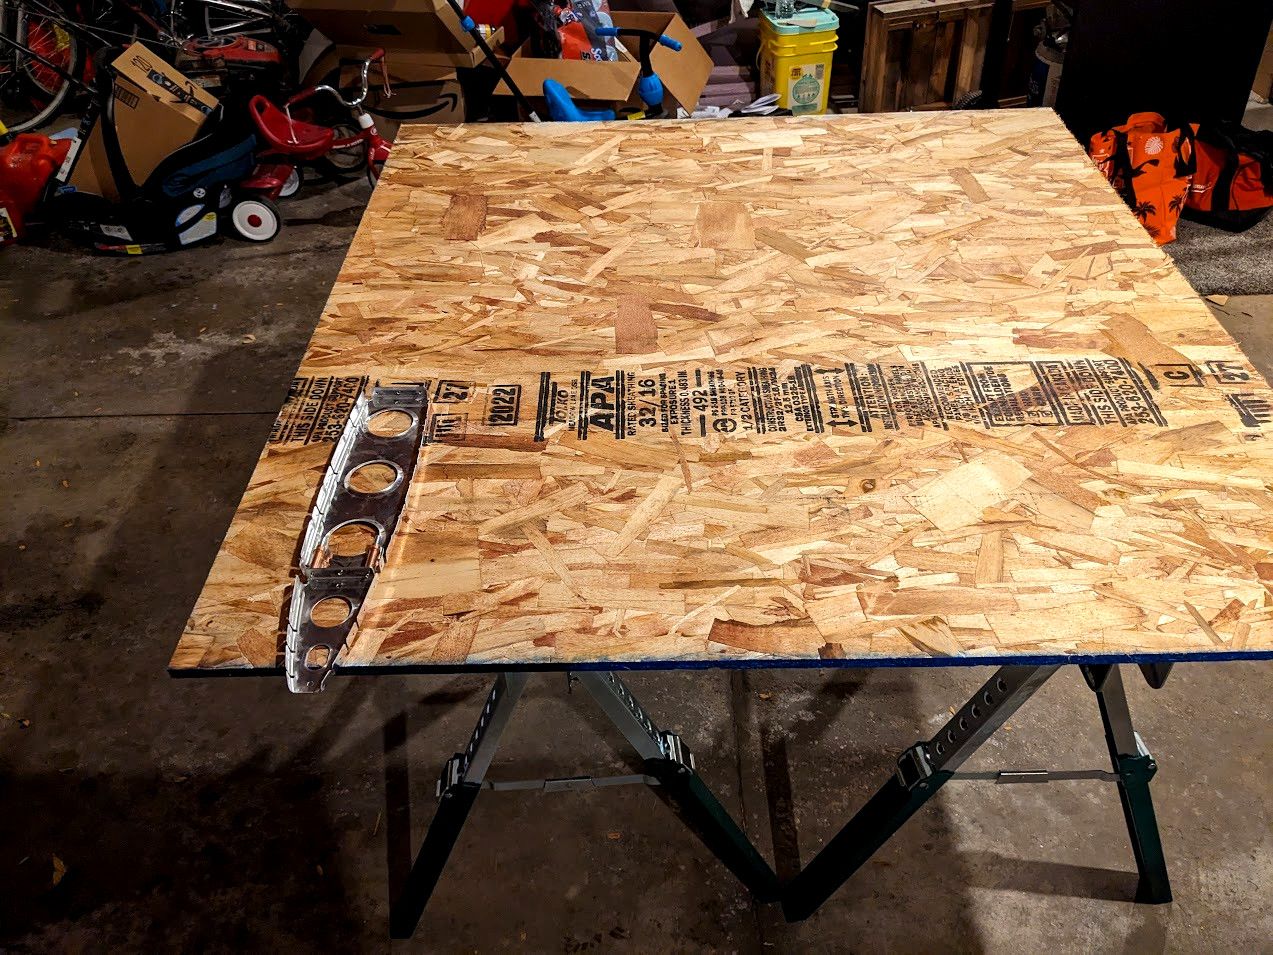
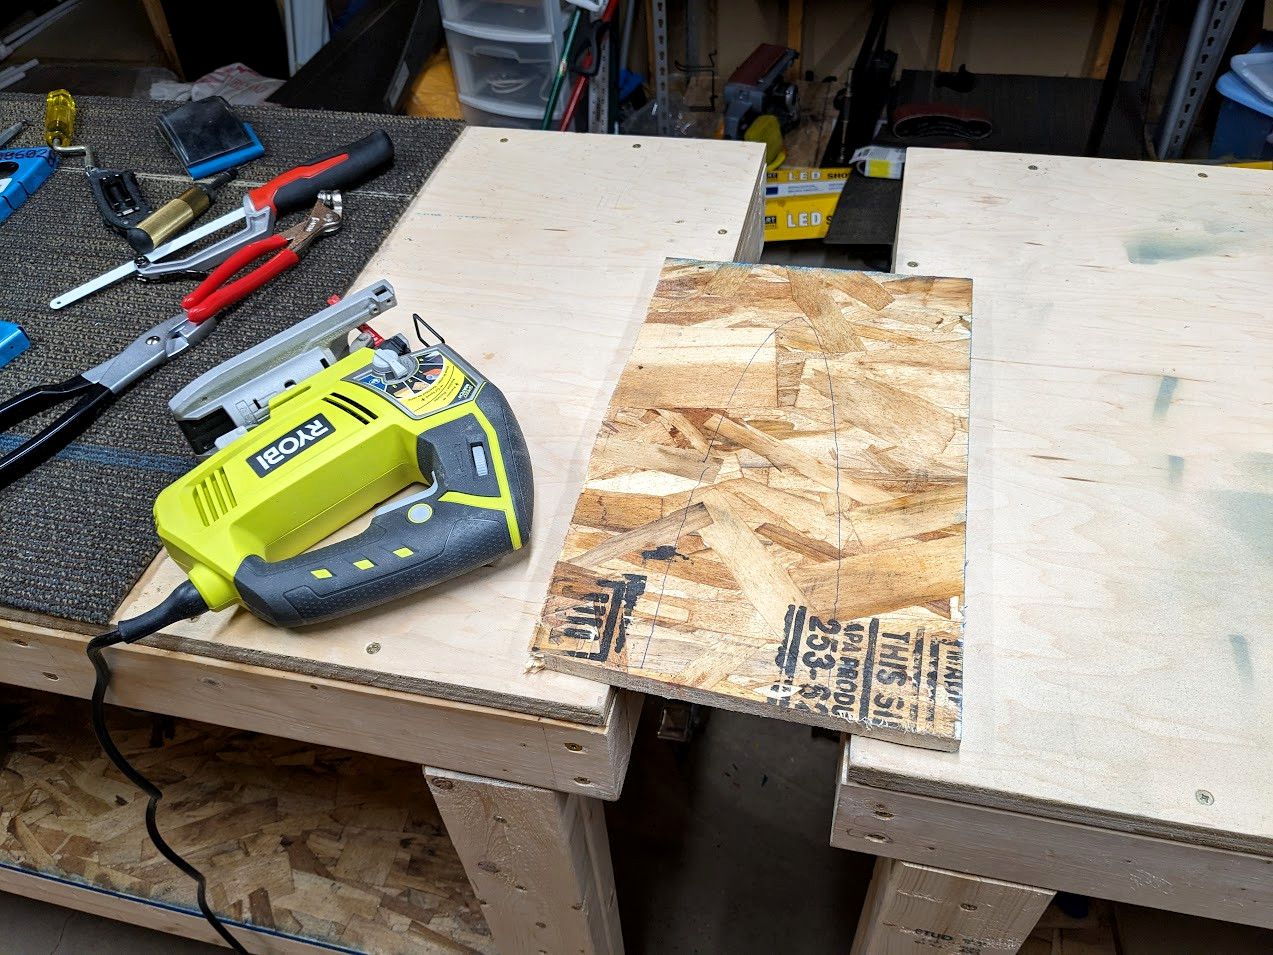
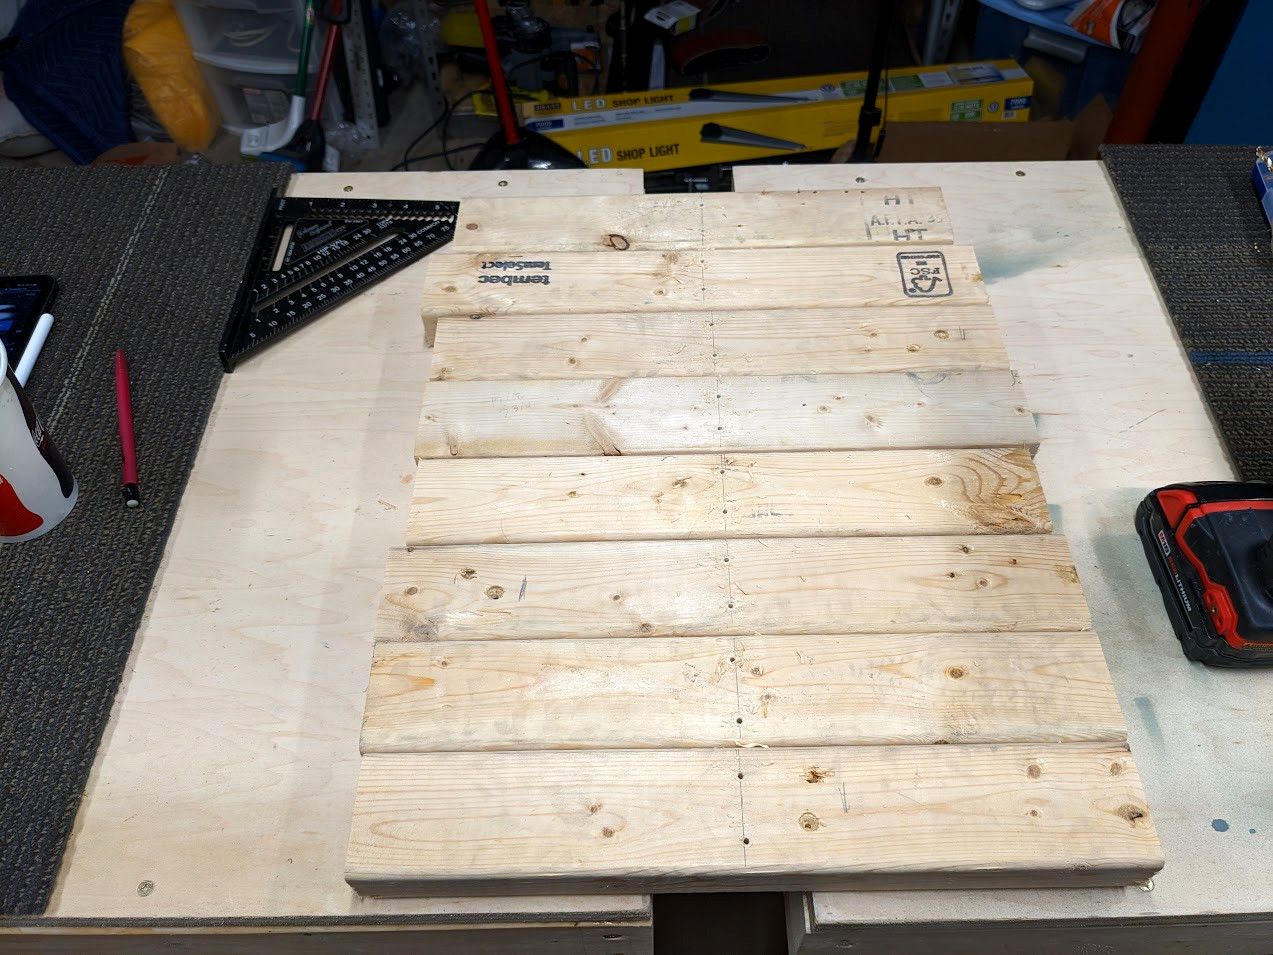
The plans call for building some cradles to hold the horizontal stabilizer while you assemble it. I made a few mistakes here and found a few other options that I would do if I were to do this all over again. First off, I would make flexible cradles with dog leash or something. The shape of the cradles isn't critical and having rigid cradles cut out of plywood was kind of a pain for some steps. Simple cradles would have been faster to make and used less material. Secondly if I was doing rigid cradles again I would rip the blanks out with a circular saw to get straight edges because attaching supports to not straight edges didn't work the best. With all that in mind... I started by measuring against my plywood.
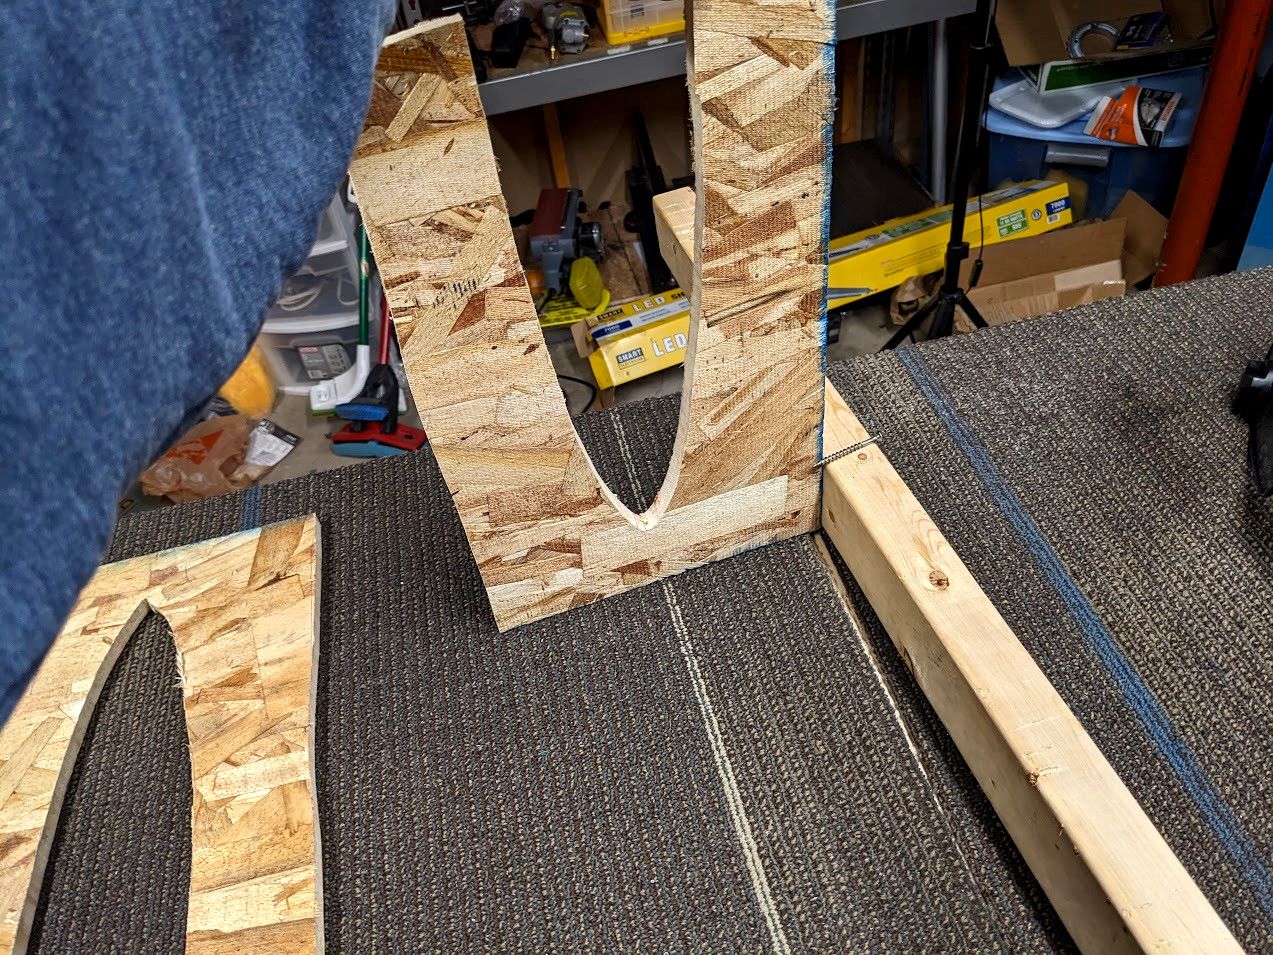
Once I had figured out what size I wanted the cradles to be, I cut the blanks with my jigsaw because I already had it out (should have really used a circular saw here).
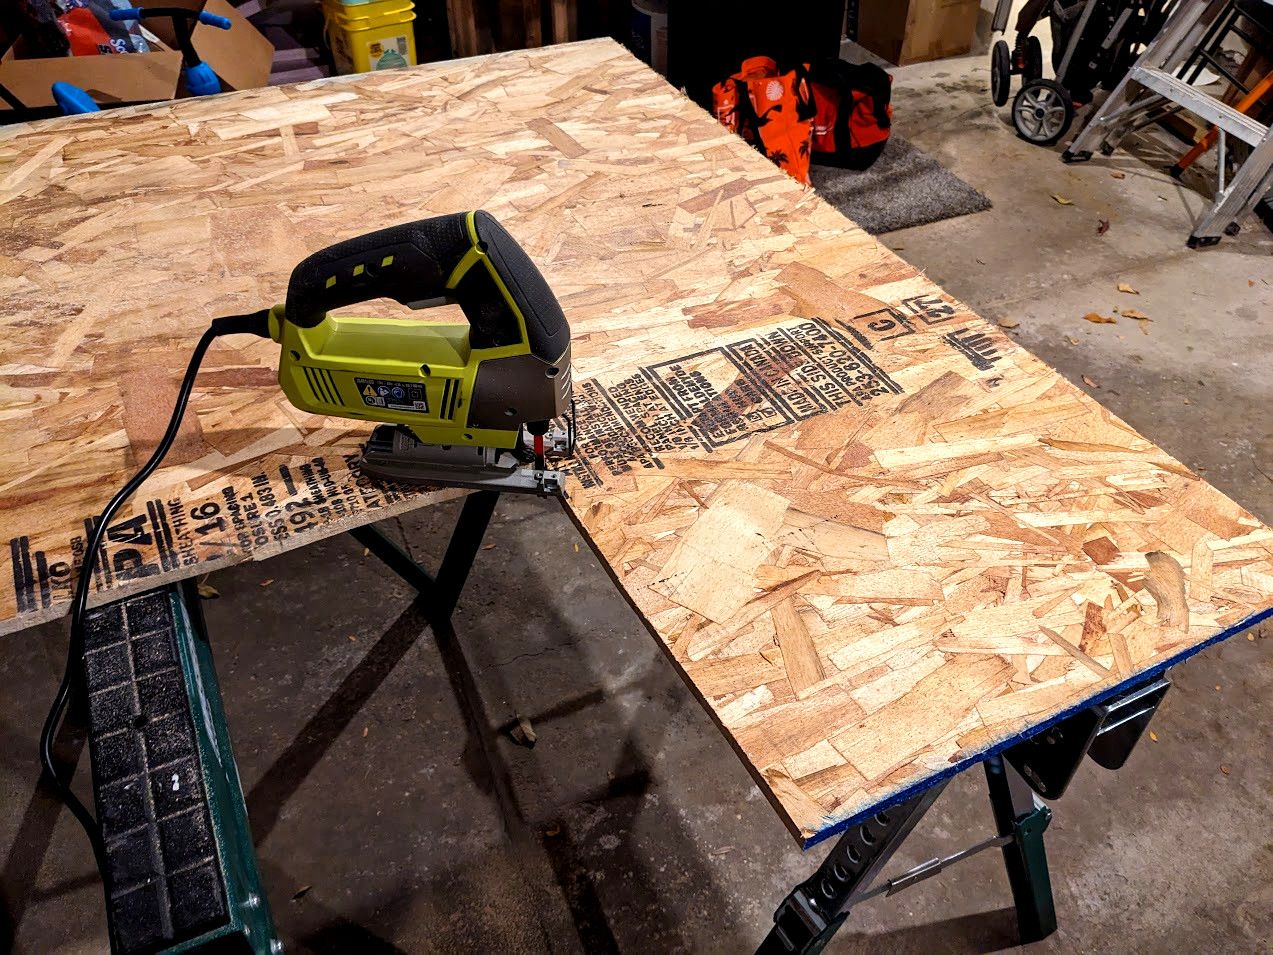
Then with each blank, I took advantage of the fact that my workbenches move to make a small gap and cut out the cradles. This made sure the work was supported on both sides and was pretty easy to do.
My cutting skills leave a lot to be desired though, and I should have not rushed my cuts as much as I did. The plans reassured me that these didn't have to be perfect though as it wouldn't affect the final alignment so I went on ahead and continued cutting.

Now that my cradles were done, I had to go back and finish up the other 7 nose ribs I had ignored until now. I watched some people on twitch stream their art while I worked and the time went pretty quick (highly recommend). People that share their hobbies and talent always impress me.
So now that all the ribs are done, can I start assembly? Nope, the cradles need supports. Here is where not using a circular saw showed up as a mistake but I found some scrap wood and spare screws and formed a plan for attaching legs.
So all I had to do now was cut out some legs. I roughly made the legs the same length as the height of the cradles but I suspect it isn't too important and I didn't worry too much as I cut them out on my saw.
Then I marked out the center and predrilled for the screws. I didn't want to split the plywood so I predrilled that too. Then I attached everything together and while it isn't the best fit all it has to do is last this assembly and then I can break it down.
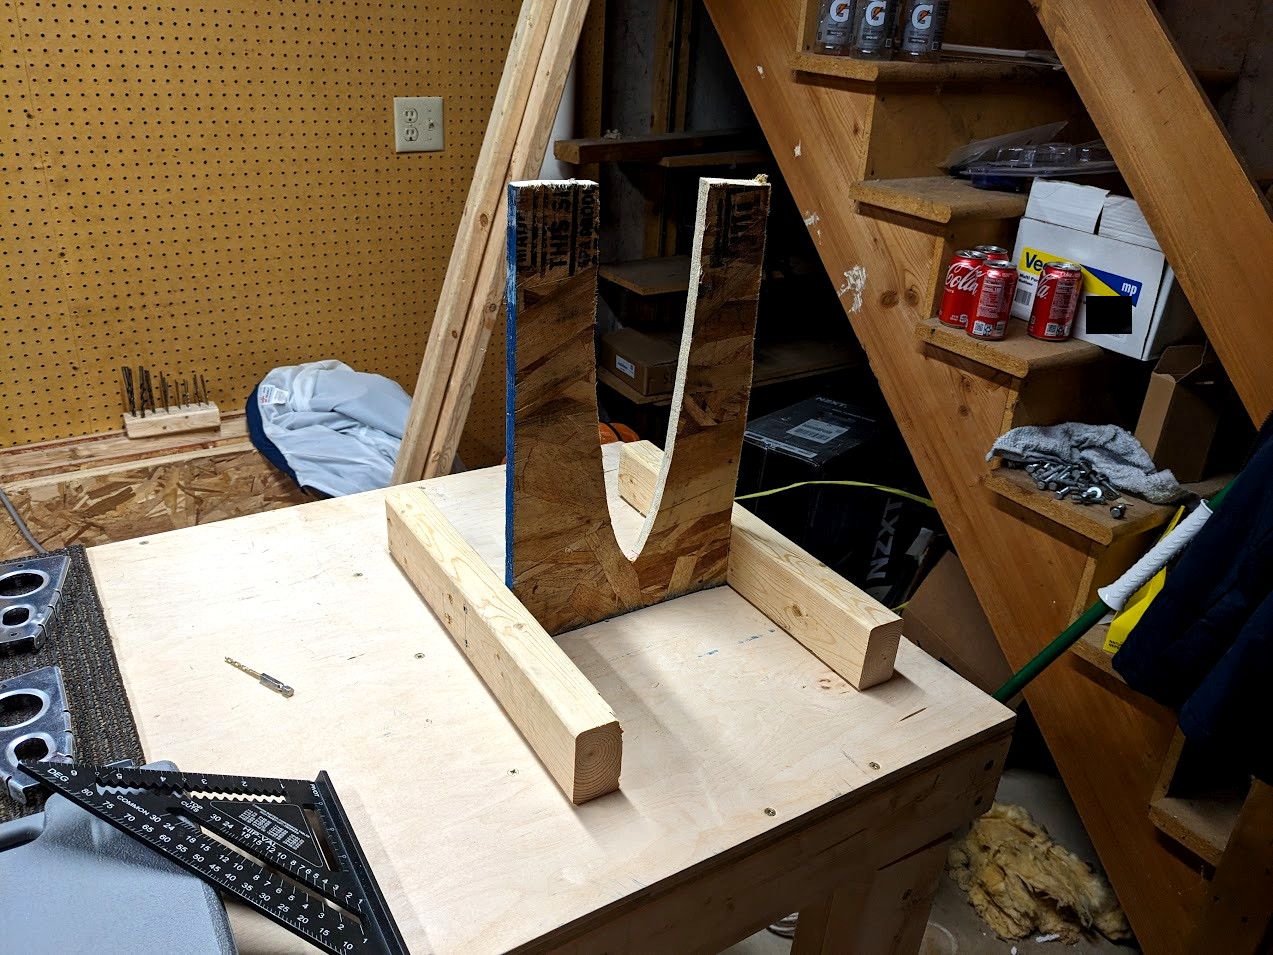
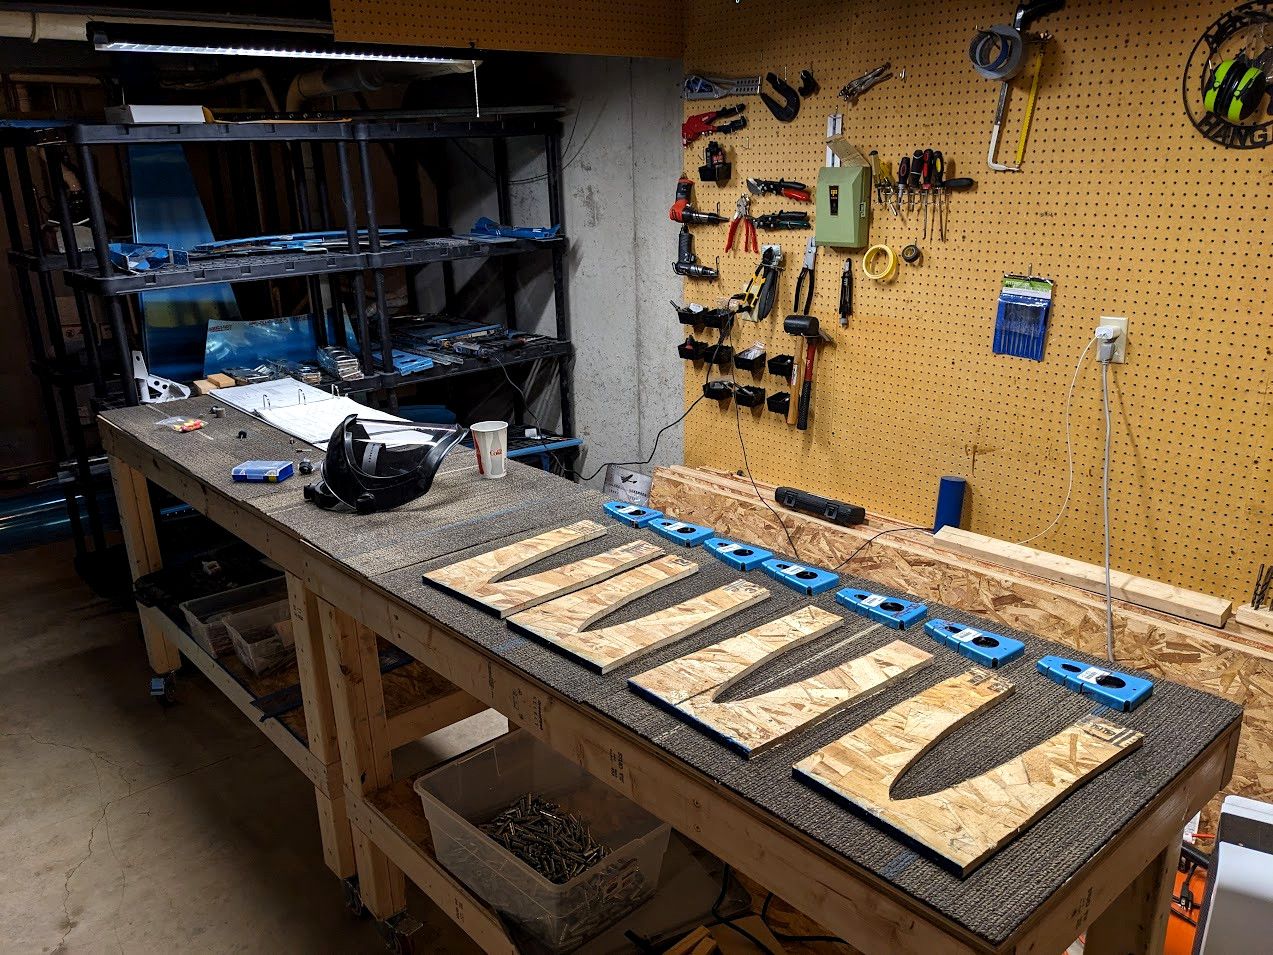
I am definitely not a master of wood working. To prevent damaging the skins I end up adding a few layers of duct tape to the cradles. Enough goofing around though, time to start putting things together to match drill.
First up were the special ribs that have 9 degree bends in them. Nothing else special to say here except I again take advantage of the fact that my tables come apart when I want them to.
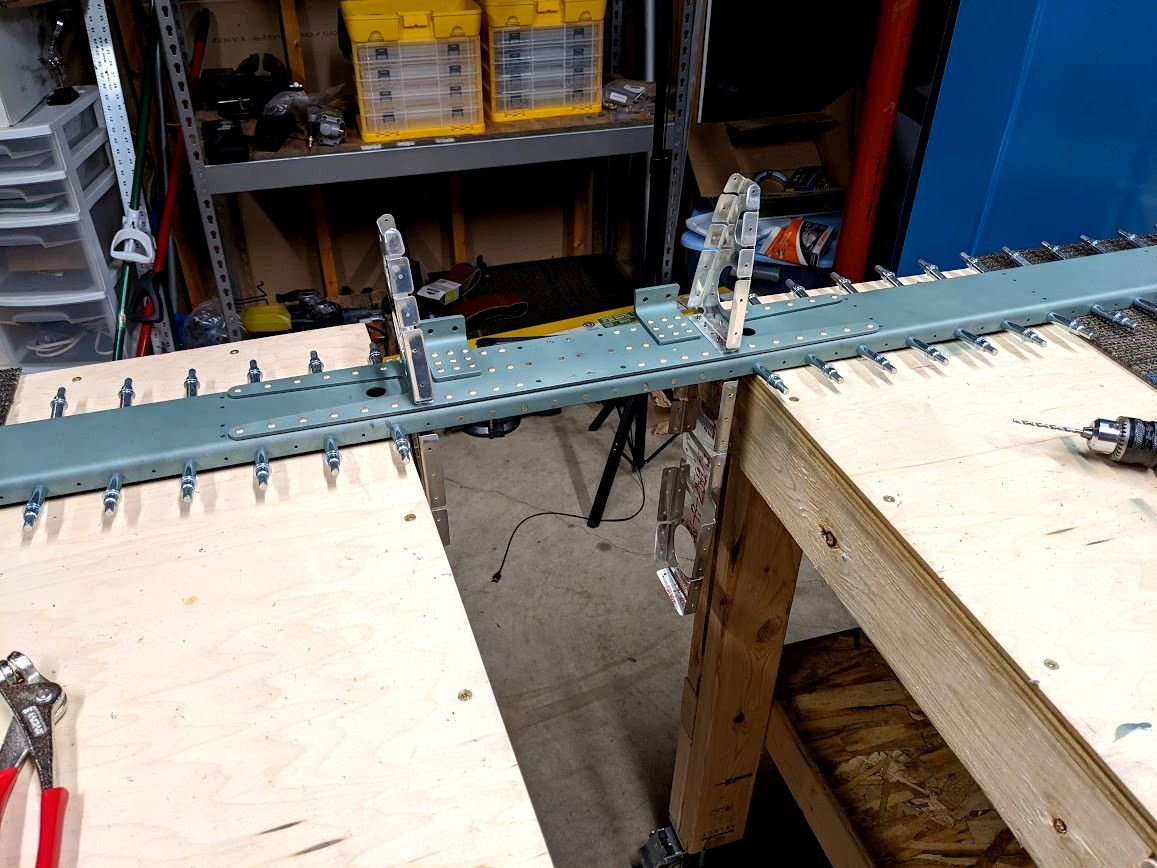
Of course it is important to match drill things as you go to make sure they will rivet together later. The plans call for putting all the nose ribs on (the other nose ribs do not alight with the internal ribs).

Then attach the rest of the ribs to get the internal structure.
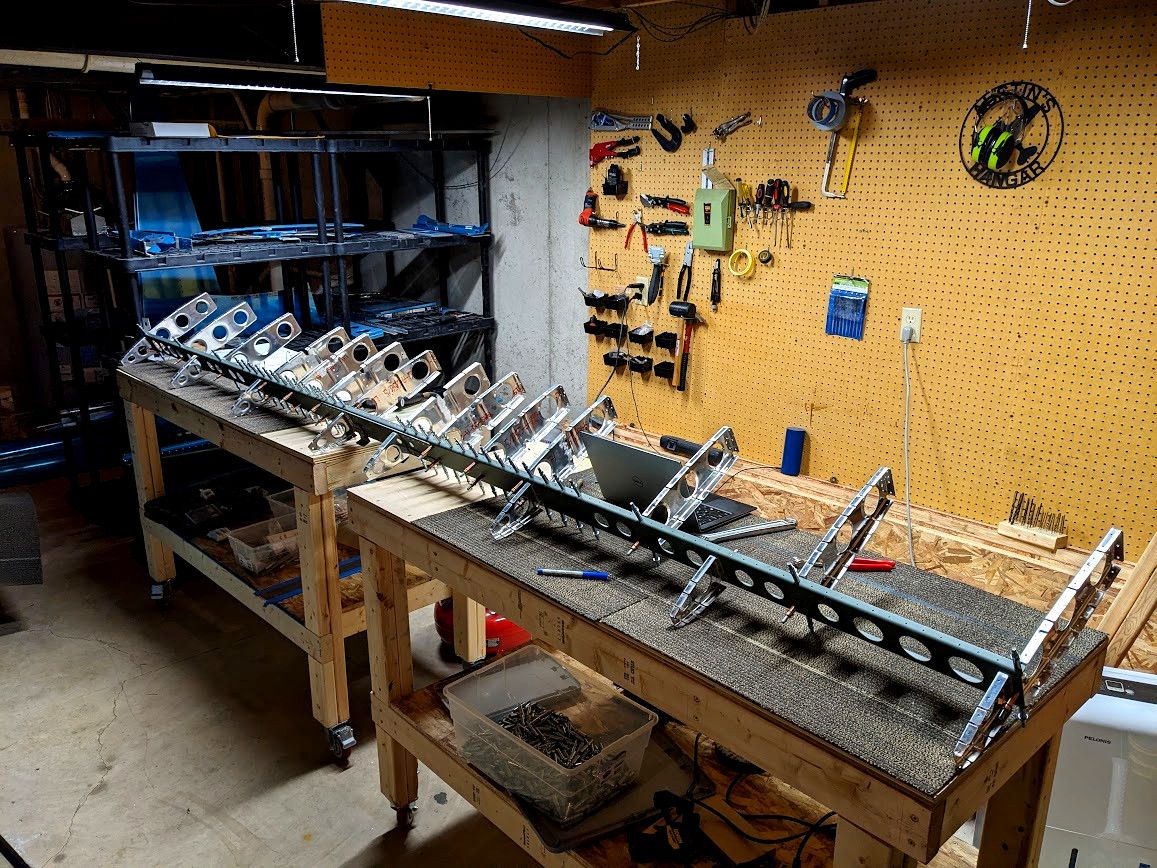
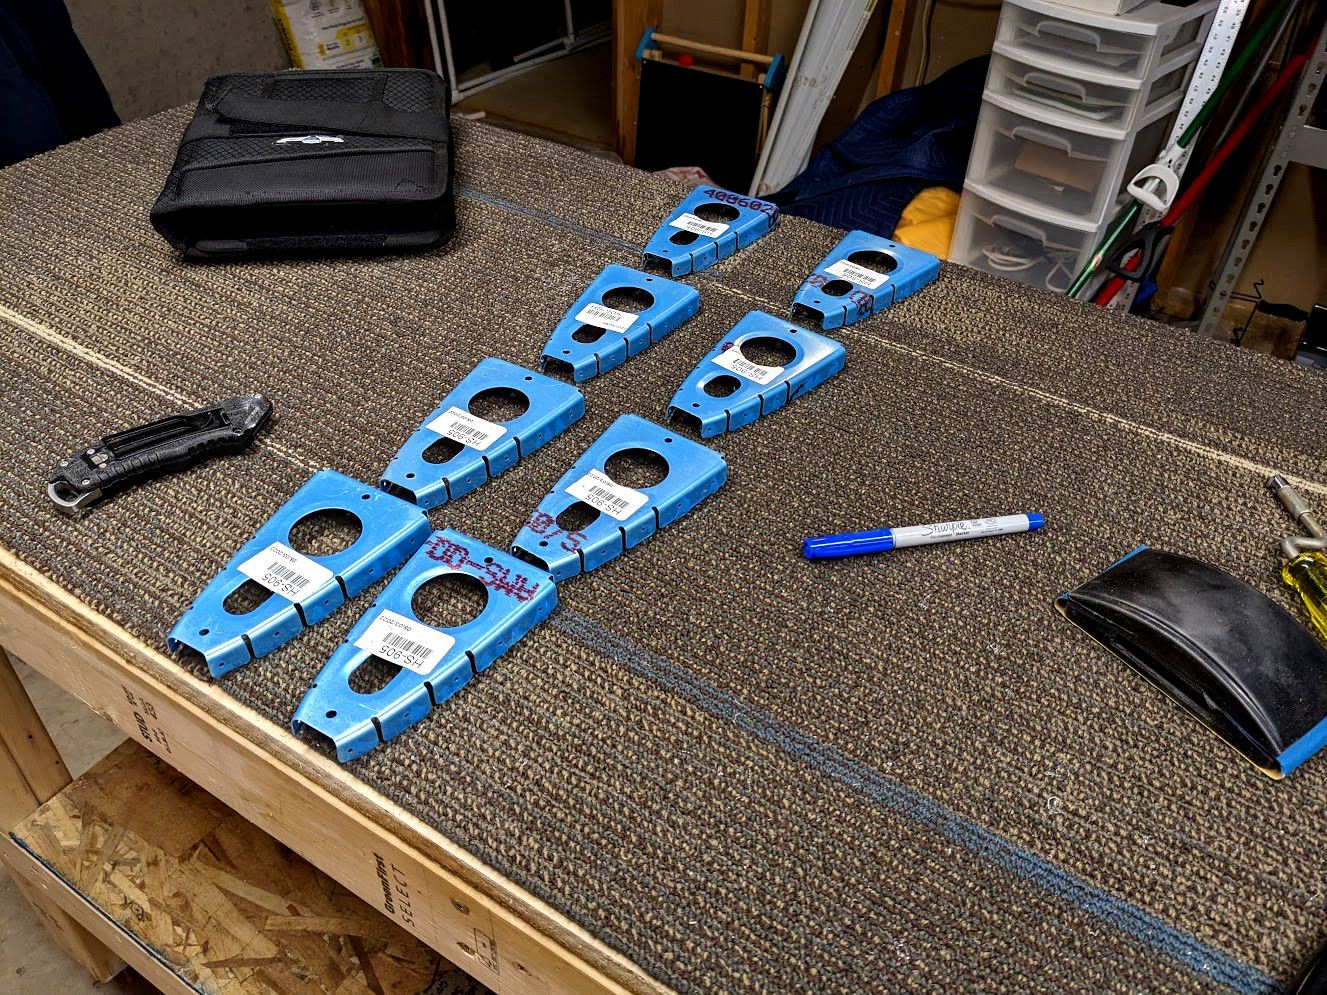
There really is not a lot of extra space in my work area with all that present. I had to move it to a different room to prepare the skins (deburring). First I made sure to label all the ribs so I know where they go when I reassemble later.
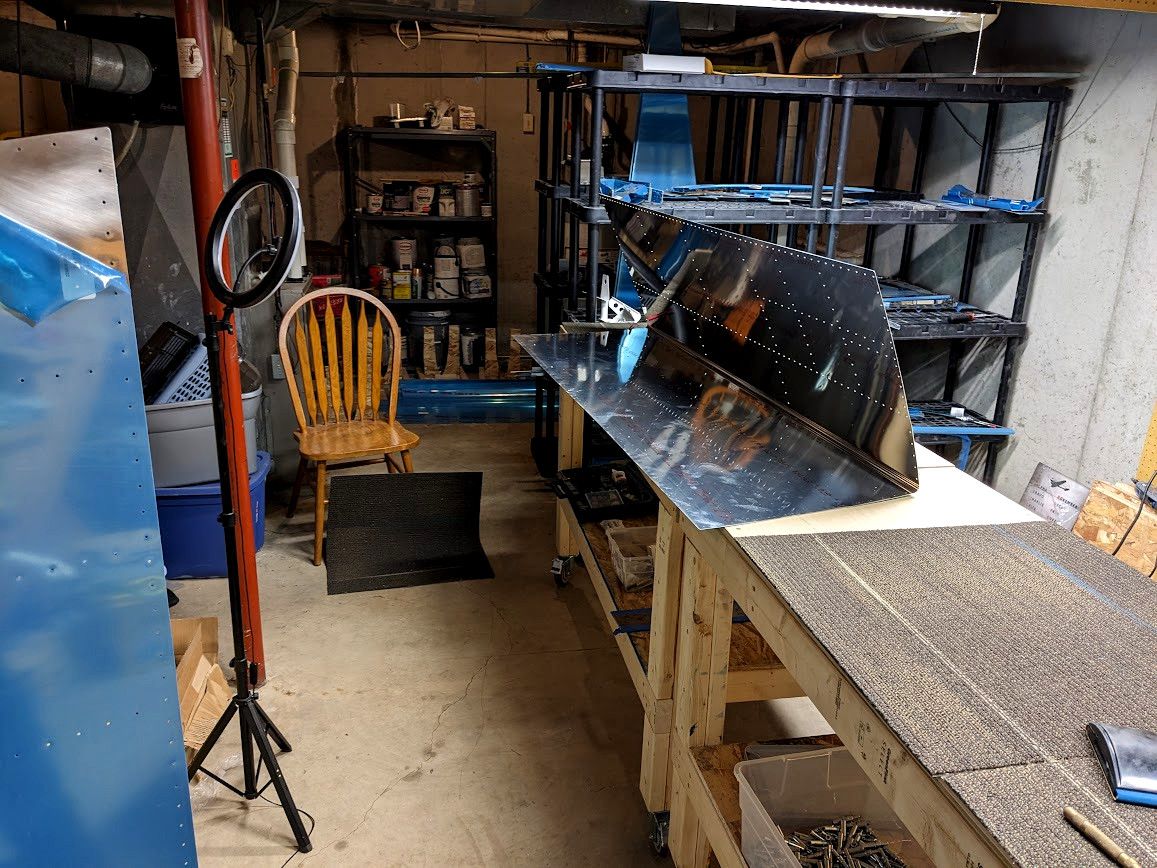
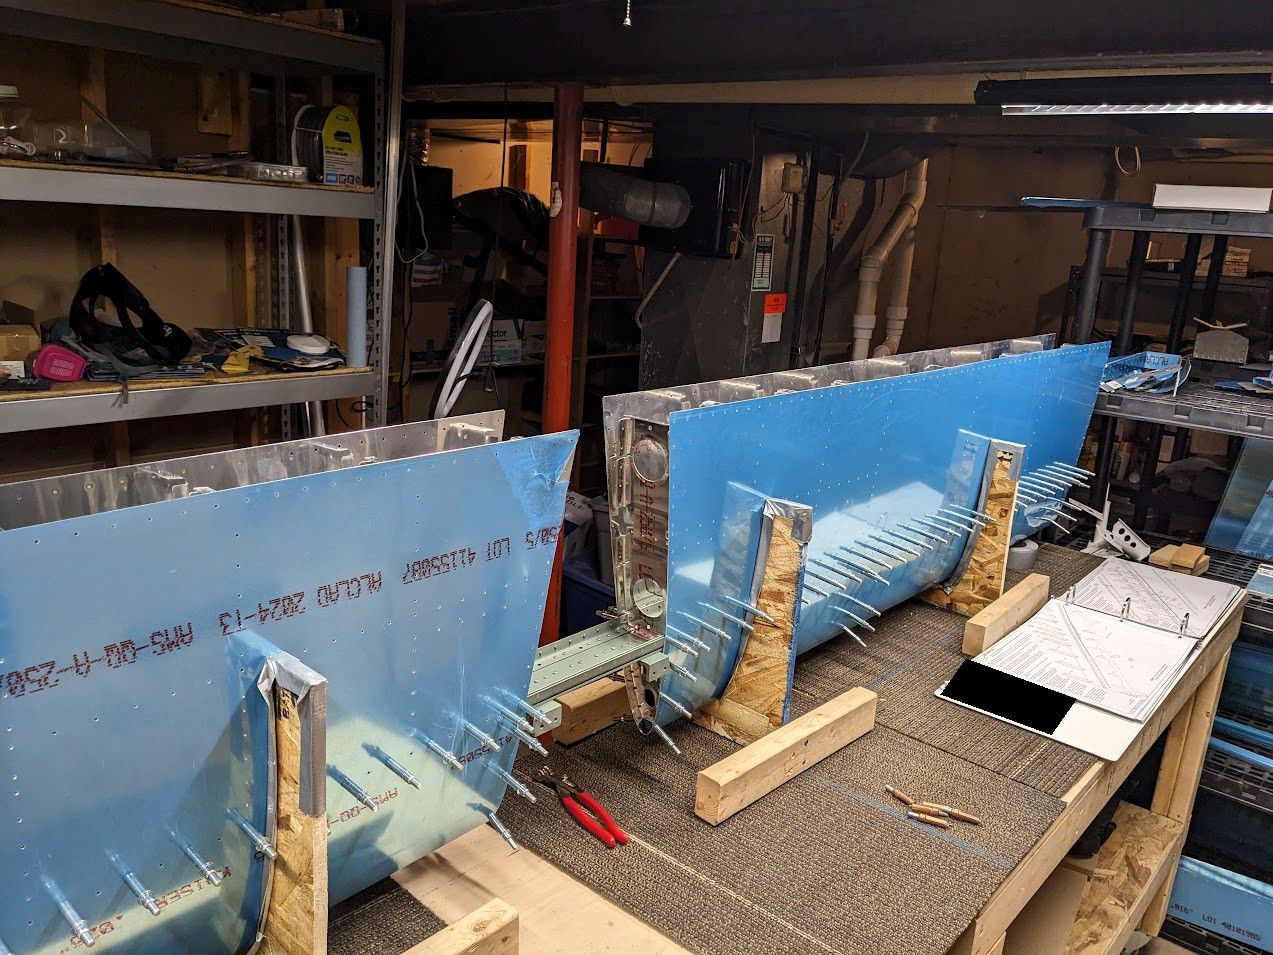
The skins didn't require that much work. Just clearing up the edges for now so they aren't sharp (and removing the blue coating). Finally though, time to do the assembly for drilling. First step: Cleco the nose ribs to the skins in the cradles. The nose ribs are installed one by one off the front spar. I just walked into my other room and took the nose ribs one by one.
The middle ones required a bit of fussing with to get them to sit right, but ultimately the whole process wasn't too bad. Next up was to drop in the spar and secure it to the nose ribs and the skin. This was pretty easy except the two inboard ribs I had to remove and then reattach because they share holes with the nose ribs.
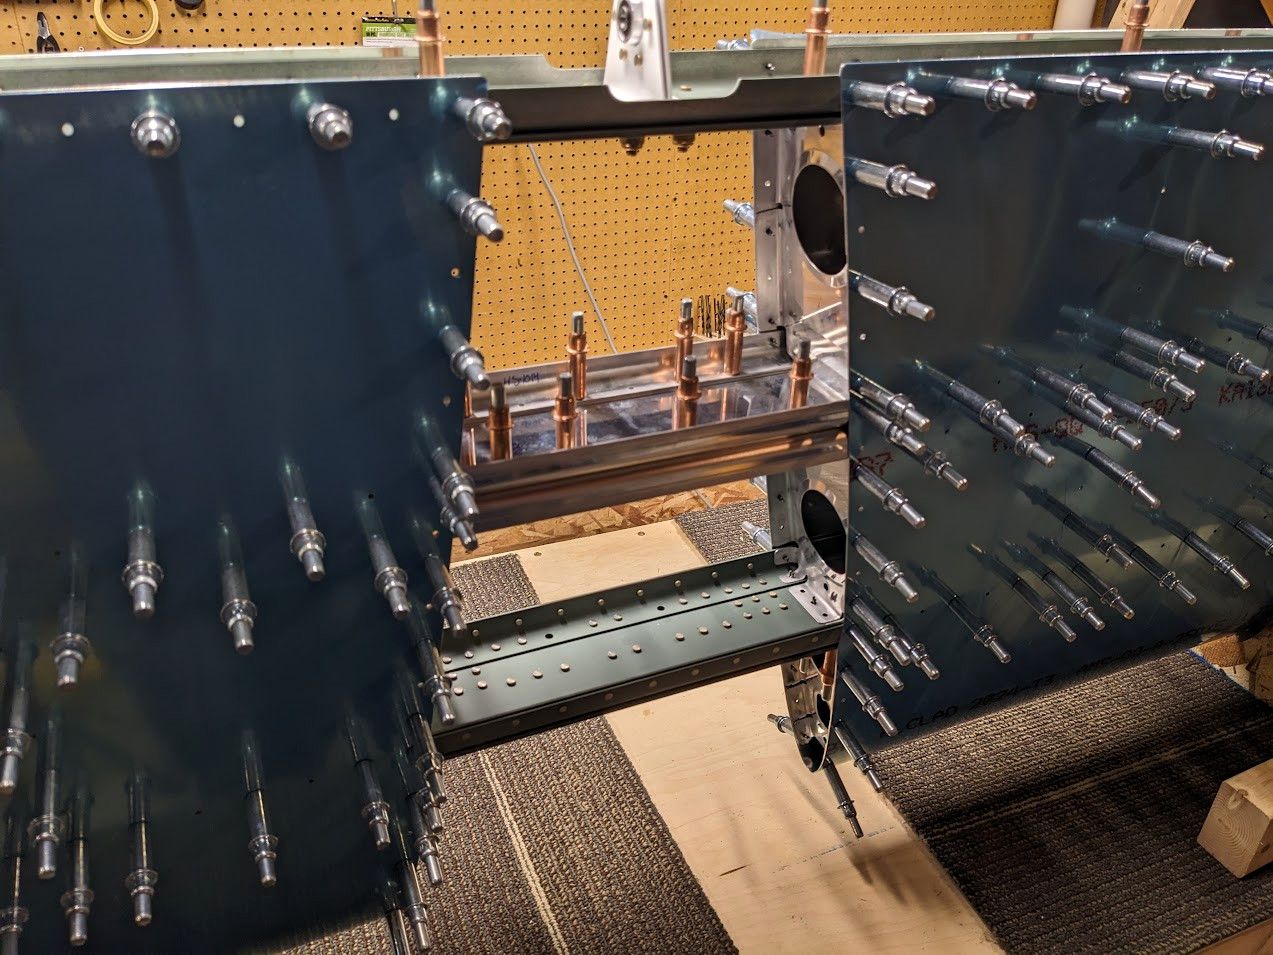
Now before securing the skin to the interal ribs, some stringers have to get put together and then secured in their location. Putting the stringers together was easy:
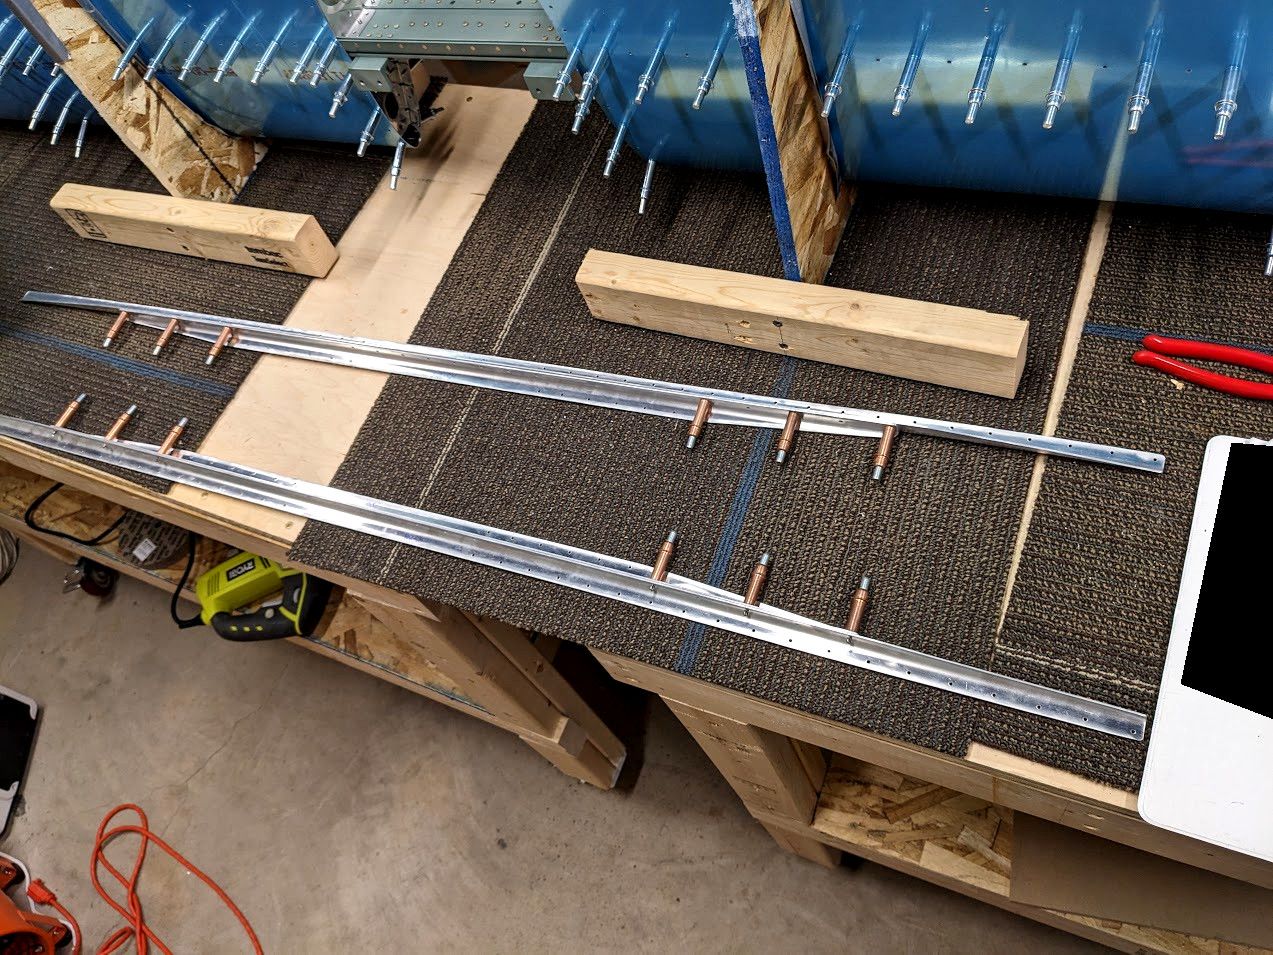
Installing them was not easy. The rigid cradles did not want me to put something in there. The instructions suggest just lifting the assembly so you can move the skins a bit but let me tell you that it is not easy when working by yourself. Flexible cradles would have saved me a lot of time here.

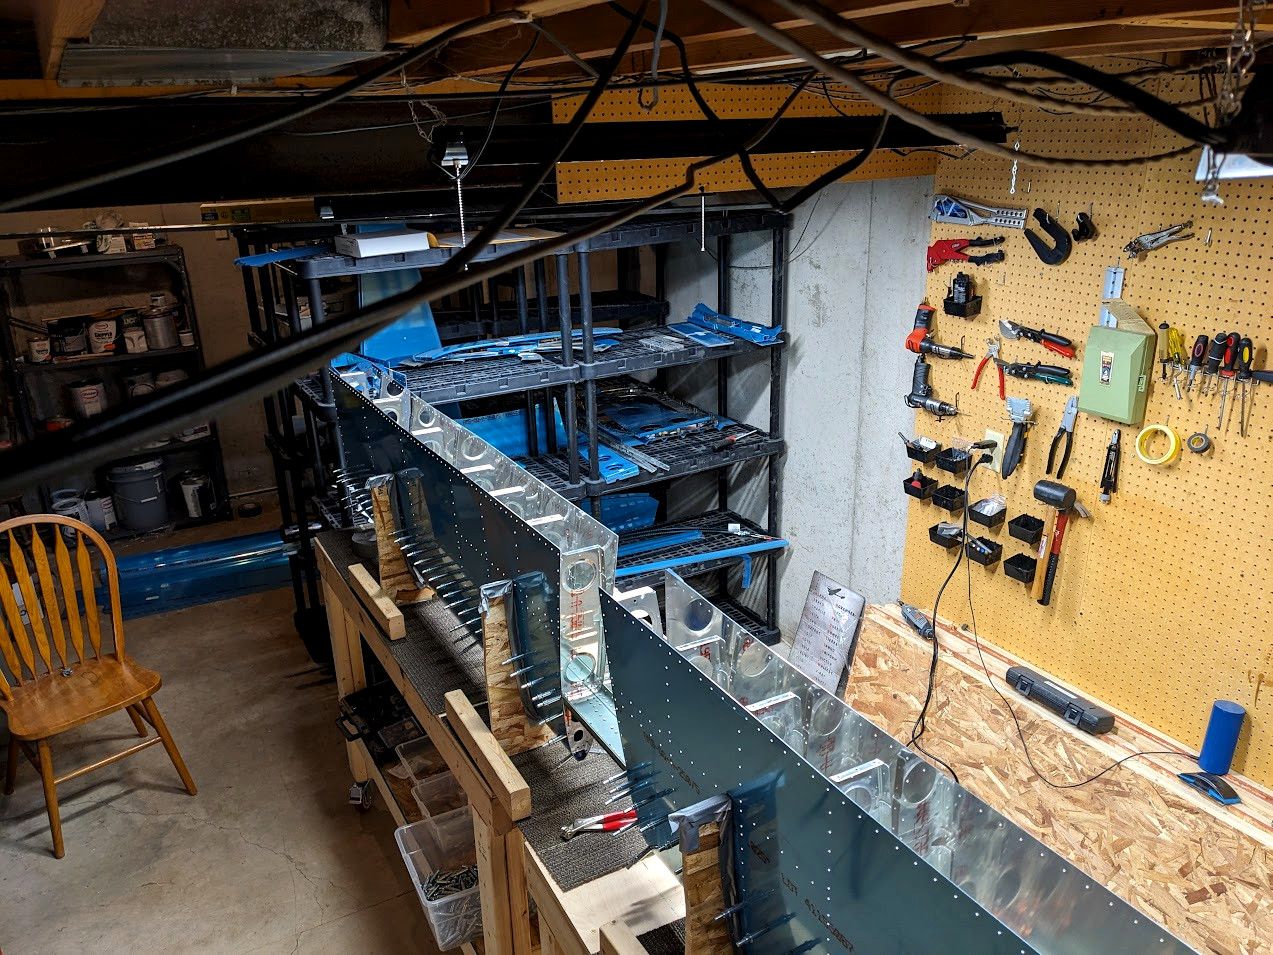
After the stringers get dropped in, the rest of the skin has to get secured to the internal ribs. More clecos, let's go.
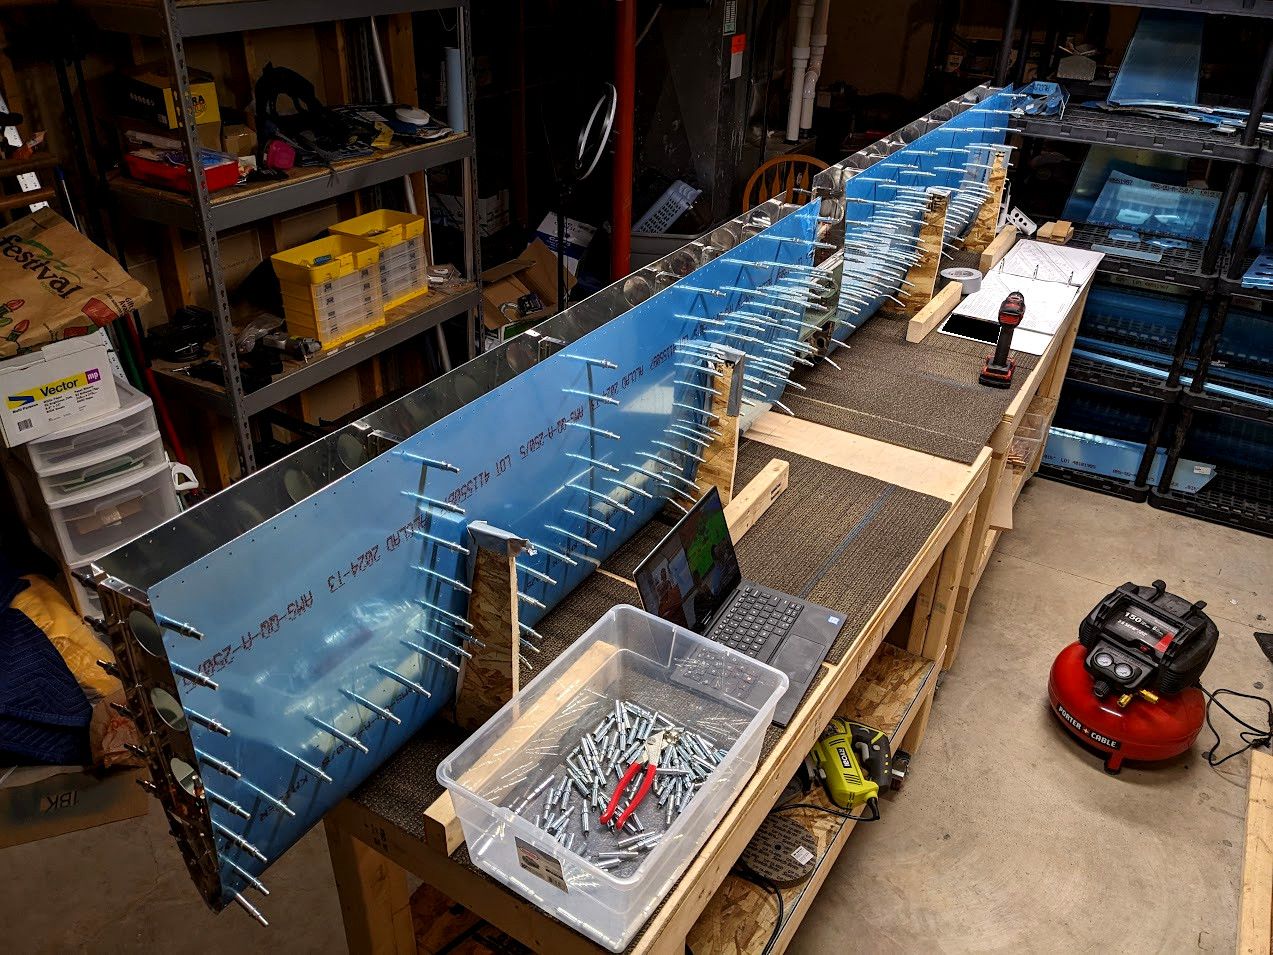
Notice that my cleco bin is running low. This is a lot of clecos! Unsurprisingly then I actually run out of clecos when securing the rear spar.
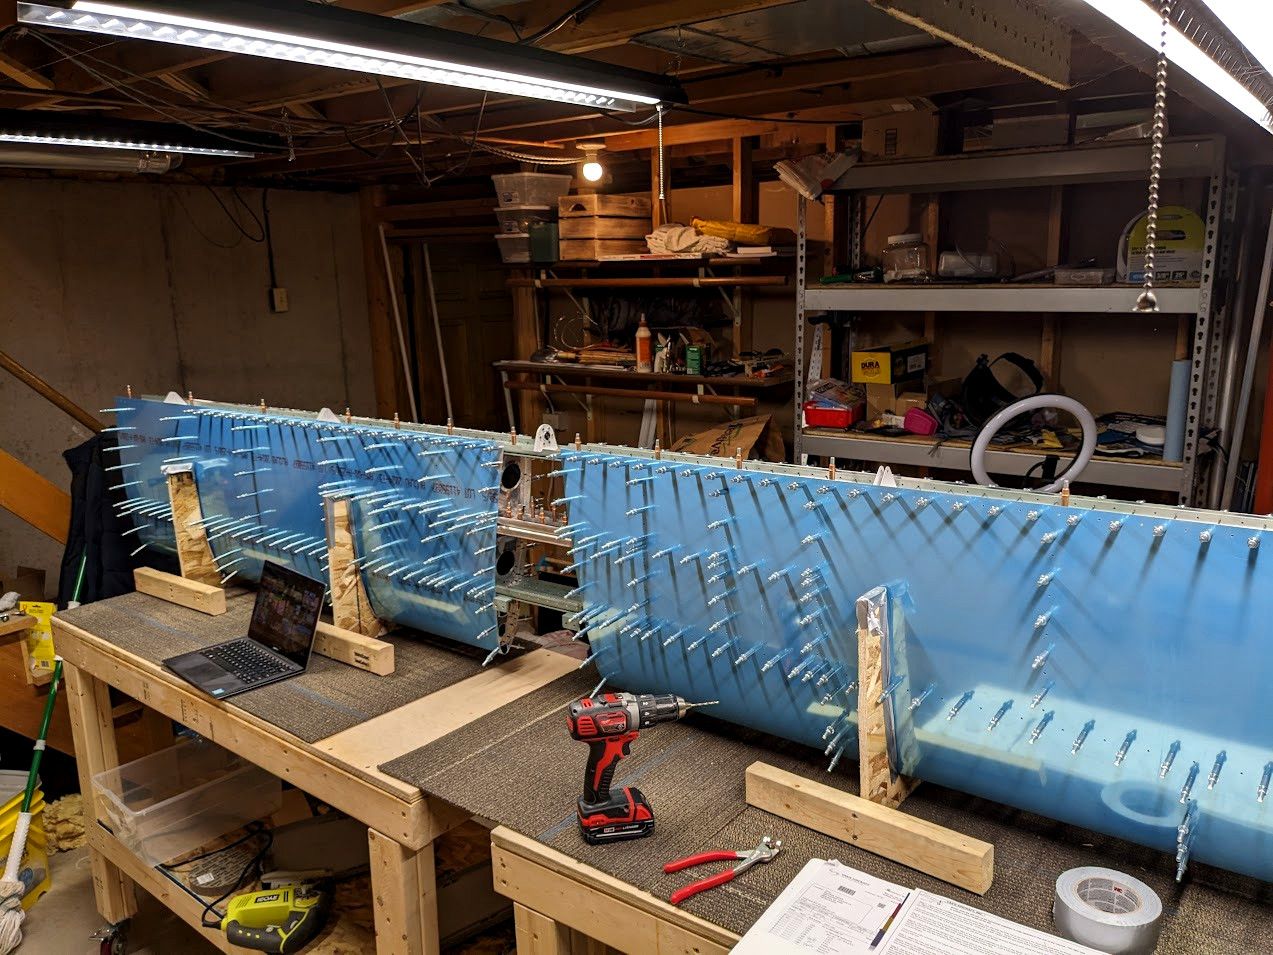
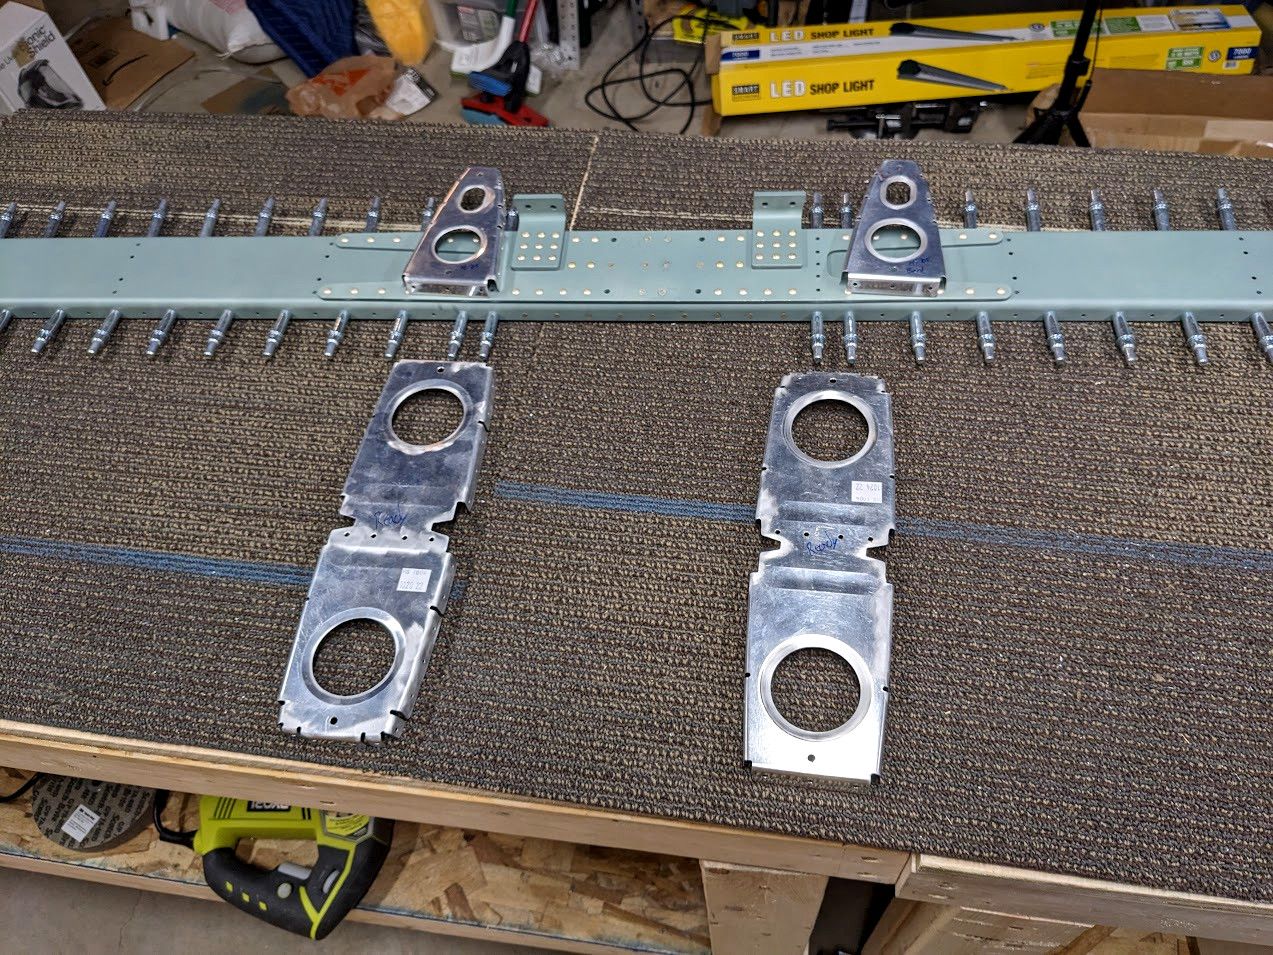
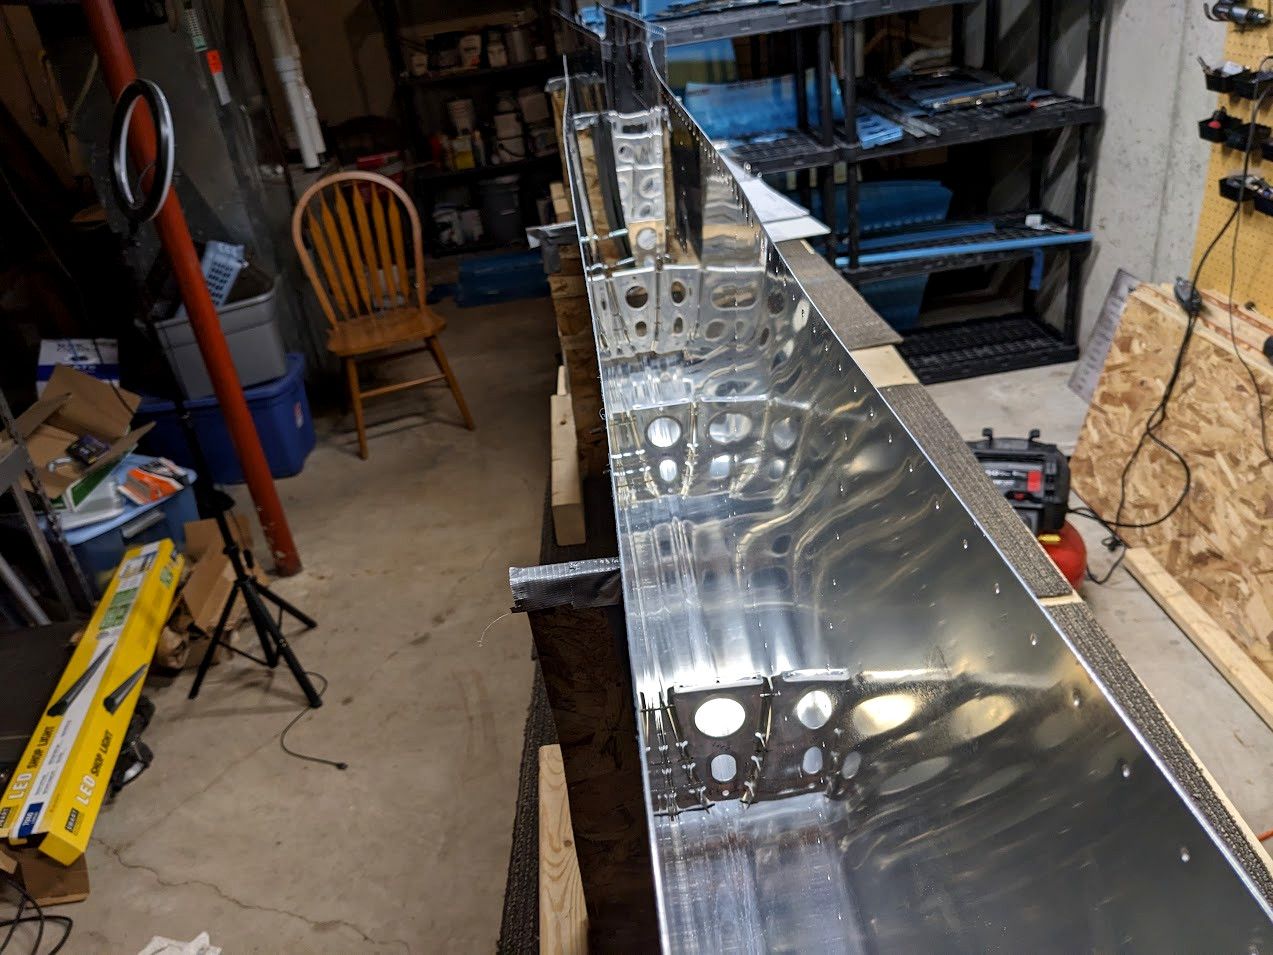
So I put in an order for 100 more silver clecos. I could maybe scavage some or change my spacing but I'd rather things just get held well instead of playing that game. The final part before drilling was a plate that goes right in the middle.

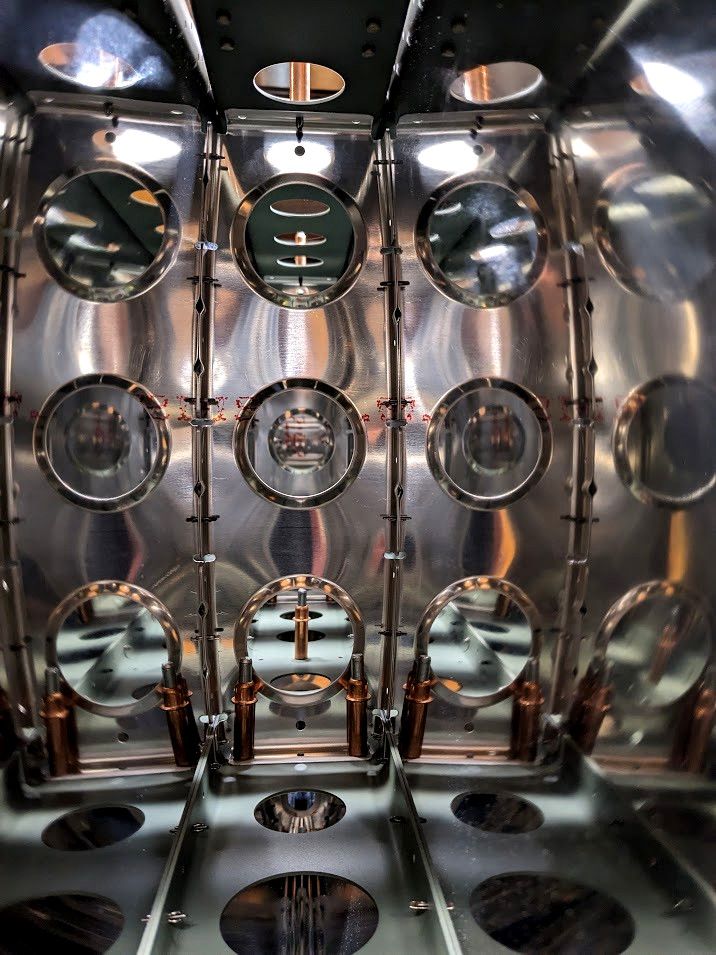
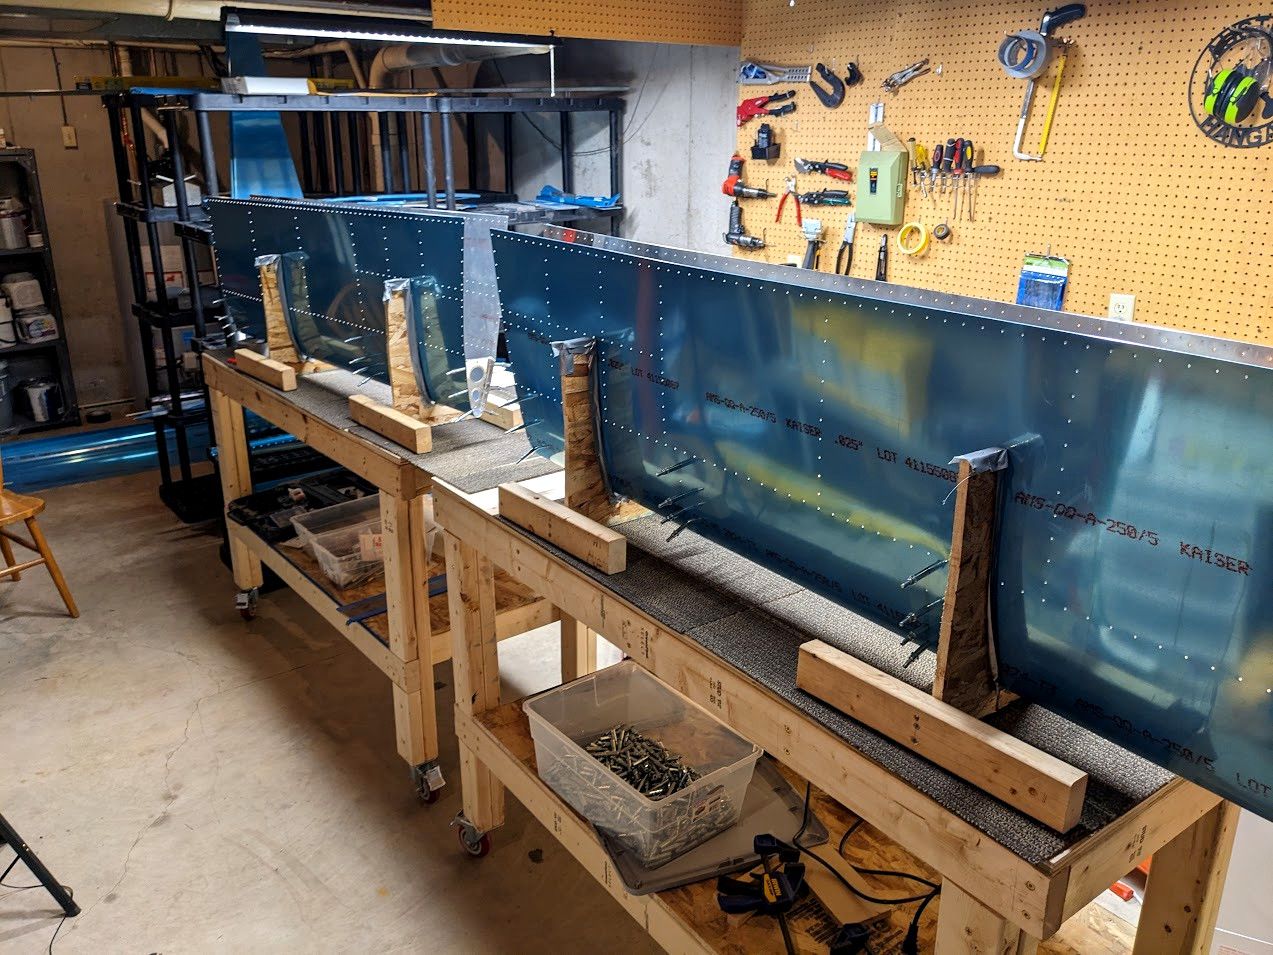
So there it is, all ready to be match drilled mostly (except the missing clecos). It is the largest piece so far and it is impressive to look at. It will be a shame to take it all apart for deburring and priming.
Other things that have happened just in the last month are:
- I got a job at an aviation SaaS company
- I passed my flight review so I can legally fly another two years
- I passed an Instrument Proficiency Check so I can legally fly in the clouds again
- My son got sick
- I got sick (from my son) and am still sick
- I have been helping a local high school's theater build crew. Mentoring high schoolers to build their set and stuff.
- Dad activities in general with my kid.
I used ancient daddy magics to get my kid feeling better but at the expense of me being sick now

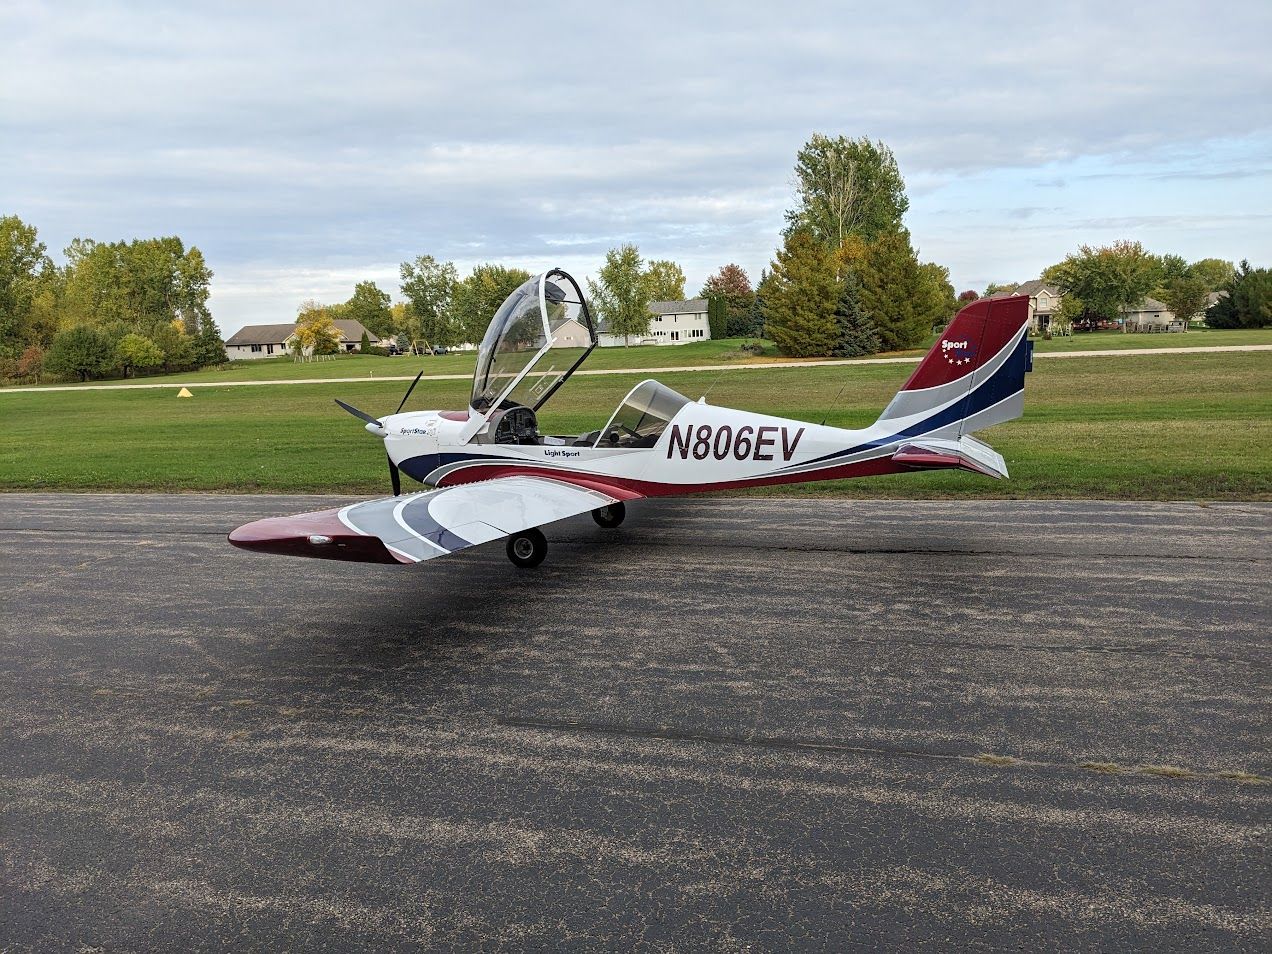
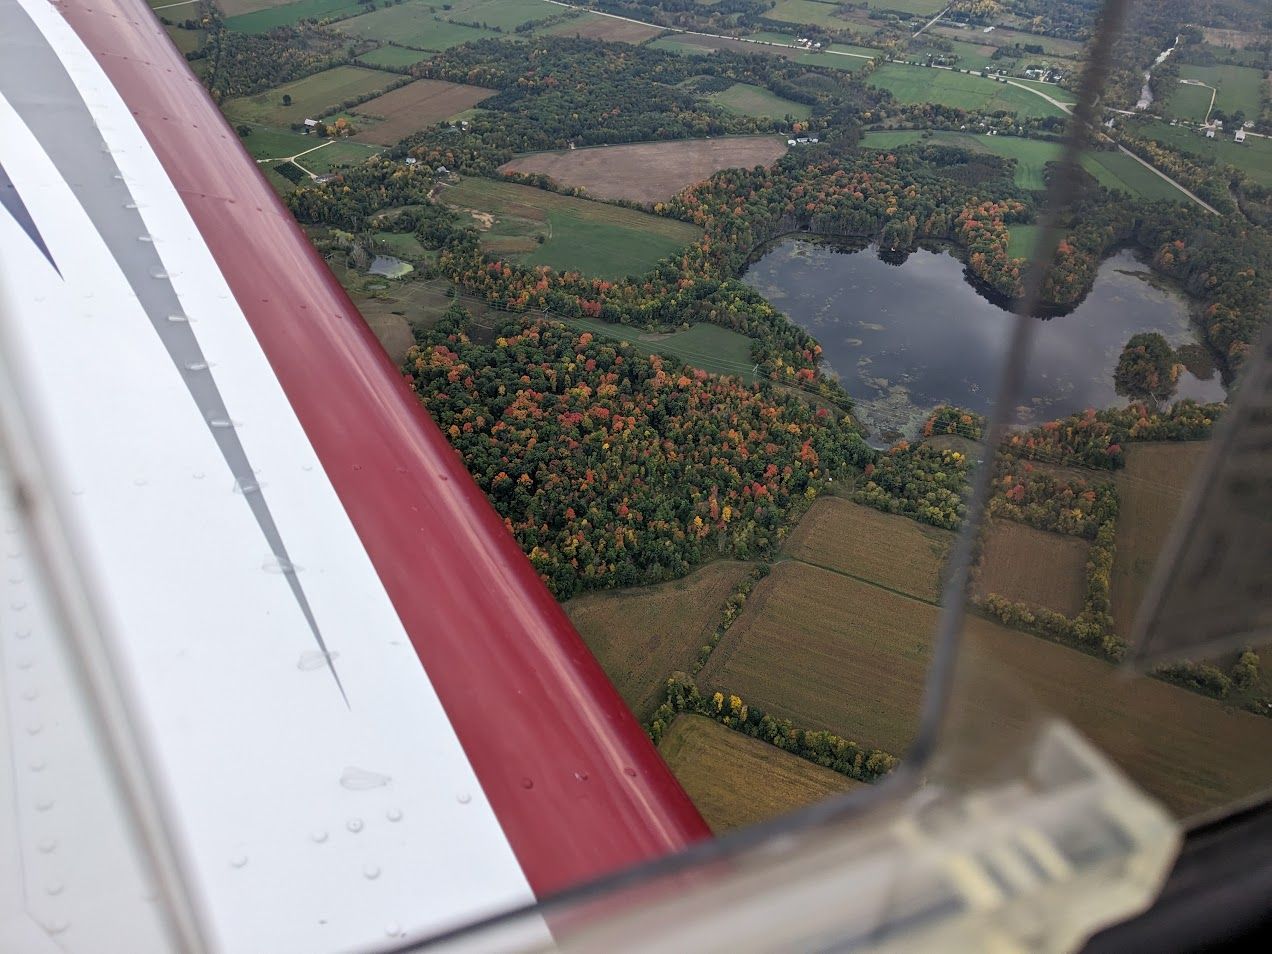
I also did some young eagles flights with EAA and that was an awesome time. So I have been putting more and more time into the Evektor Sportstar.
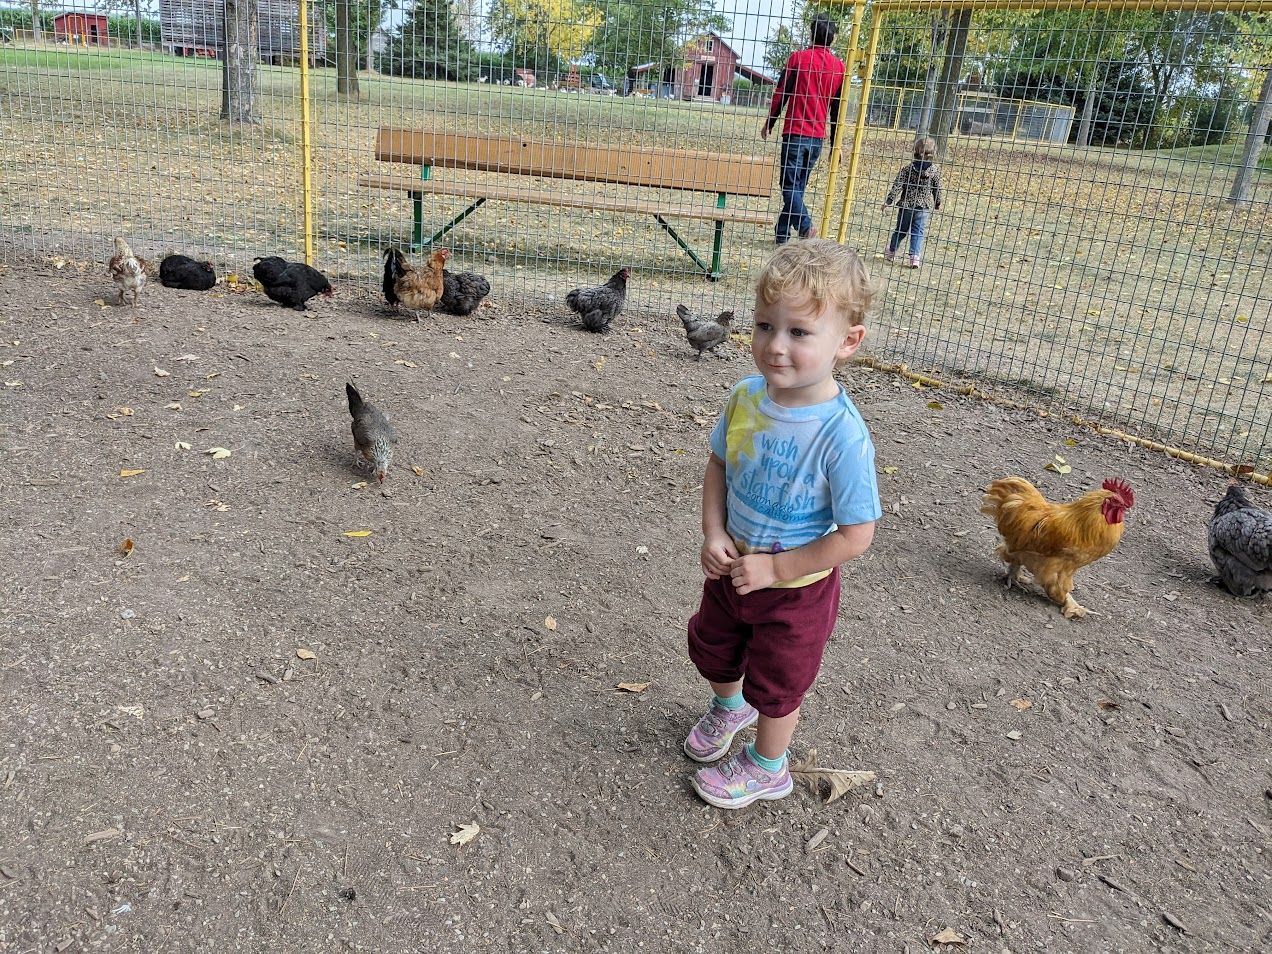
As a parting thought, enjoy my son discovering what chickens are.
Thanks for coming by to read my update. Next update I hope to be all done riveting the horizontal stabilizer and sharing whatever lessons learned that brings me. Until then, hope everyone stays well!