Riveting, Bankruptcy, and the Horizontal Stabilizer

I was really hoping this blog post would be about how I had finished my horizontal stabilizer but it is taking longer than I want. Therefore it will just be another "this is how far I've gotten" update with a few extras (like Vans bankruptcy) thrown in. Anyway, let's get going.
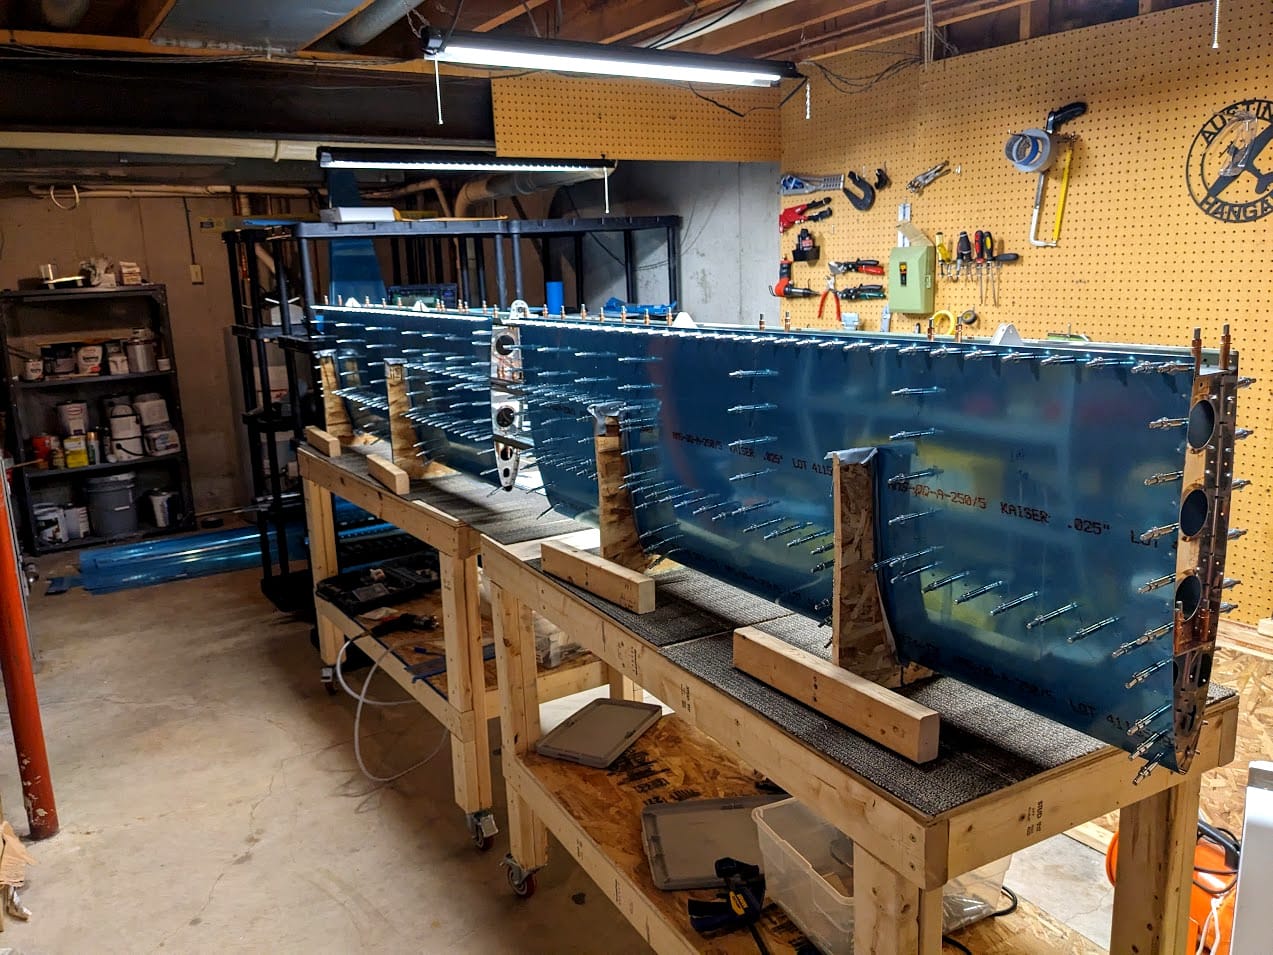
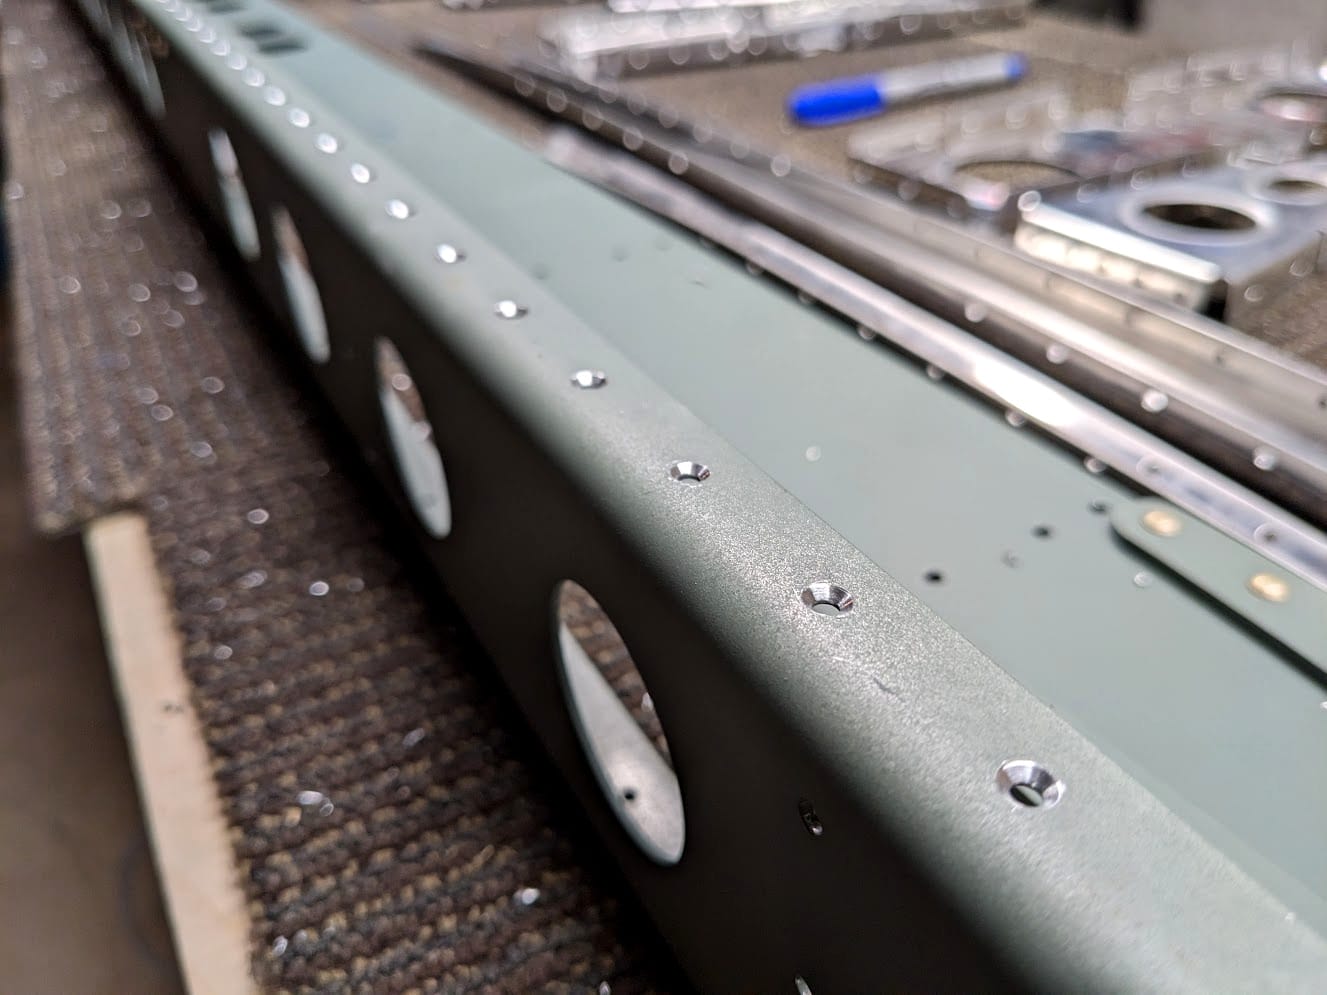
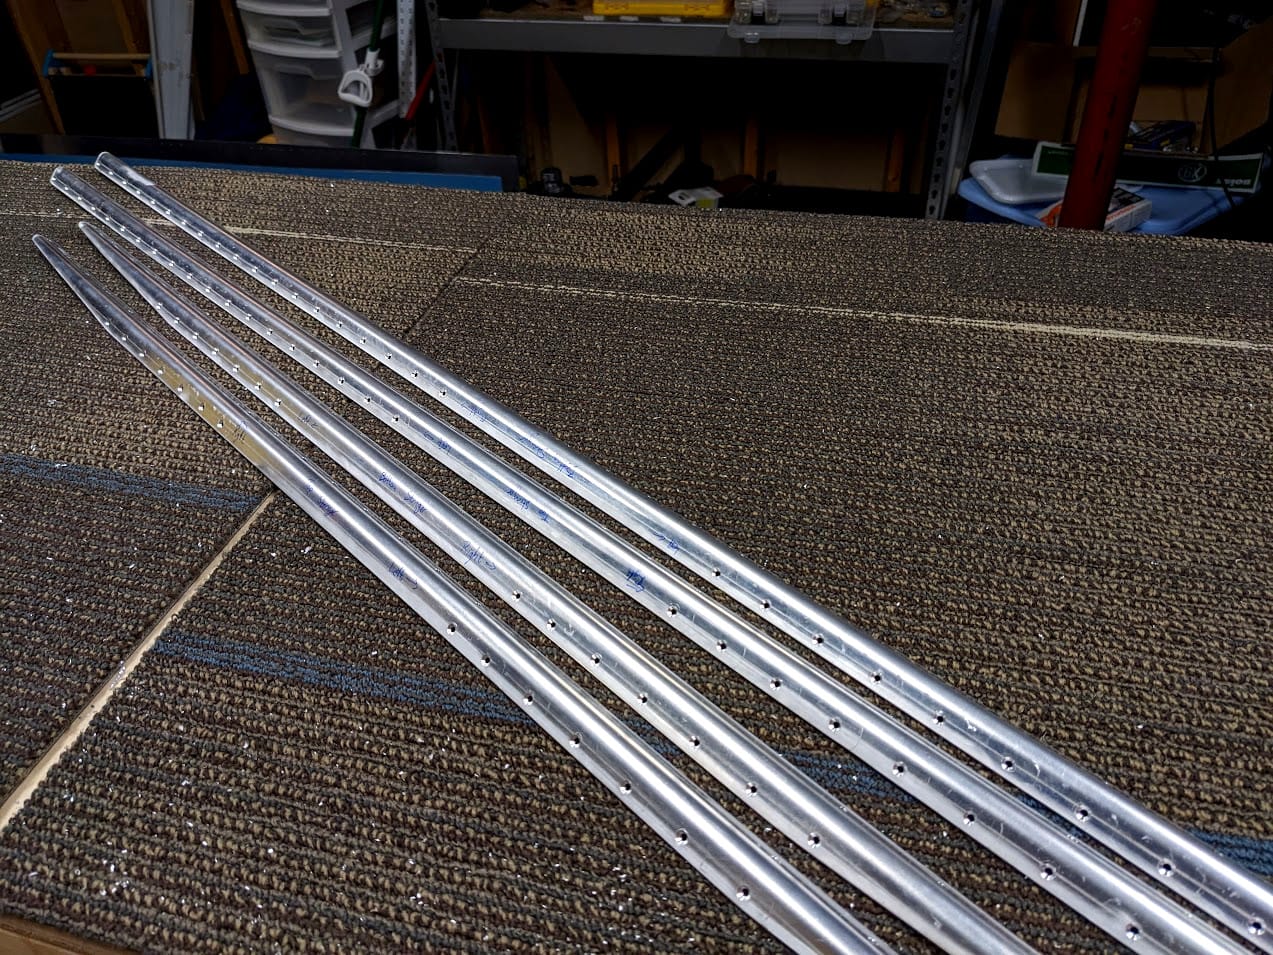
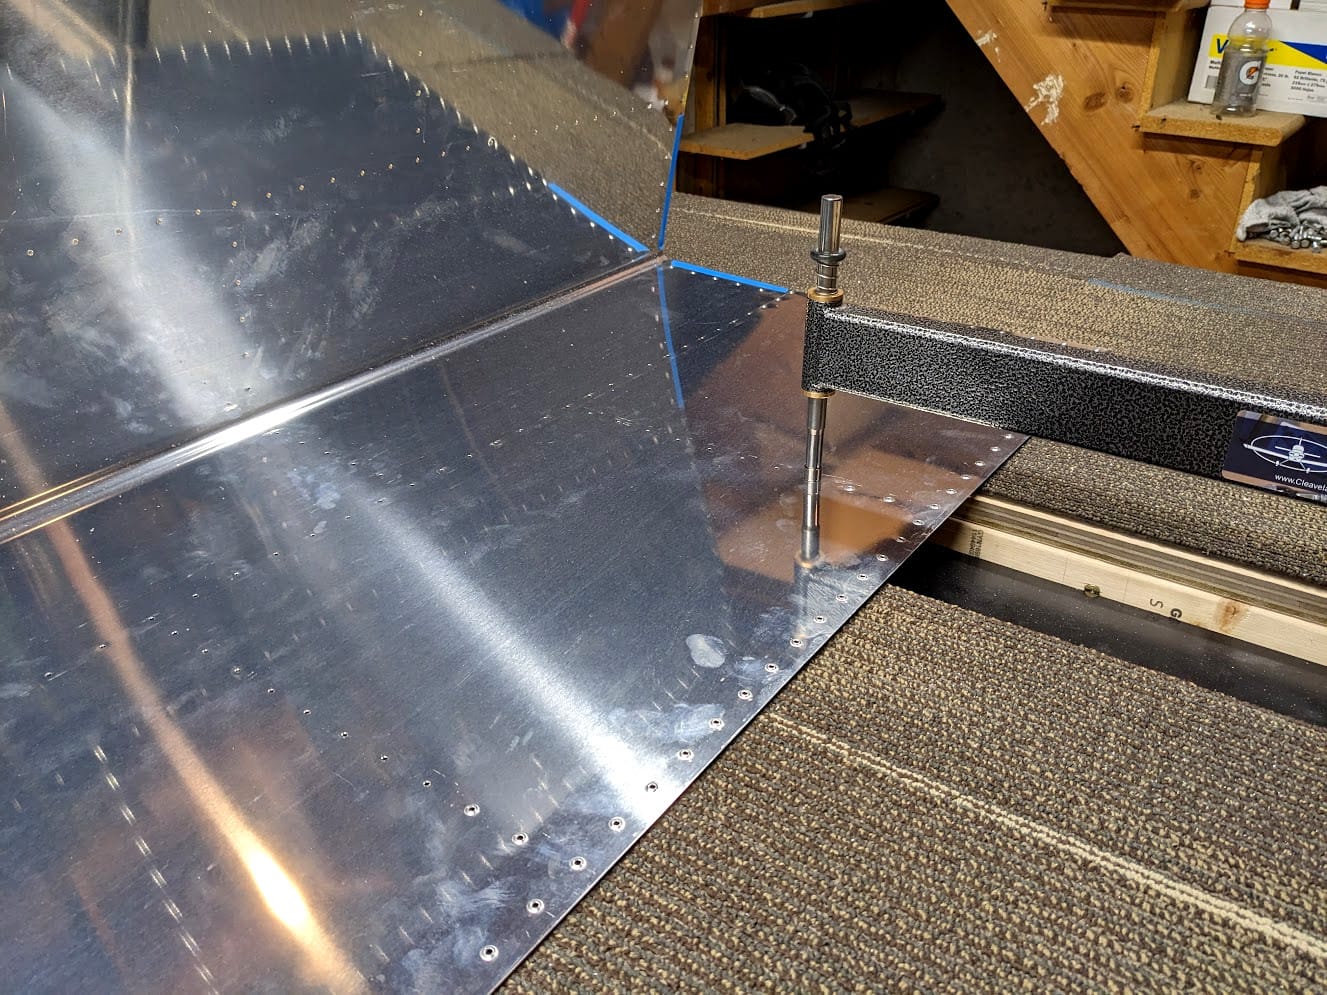
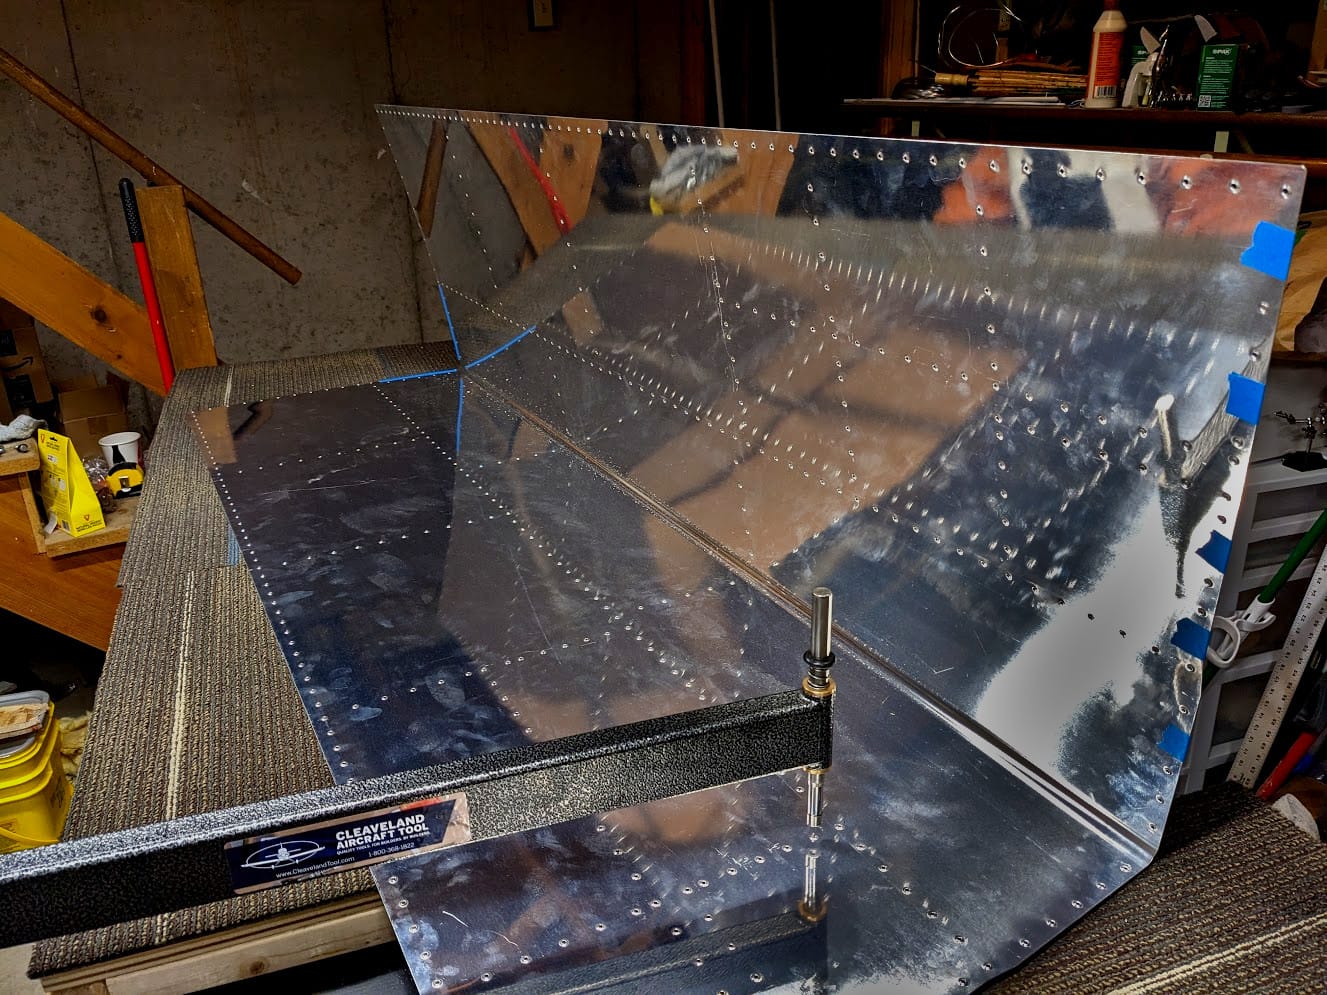
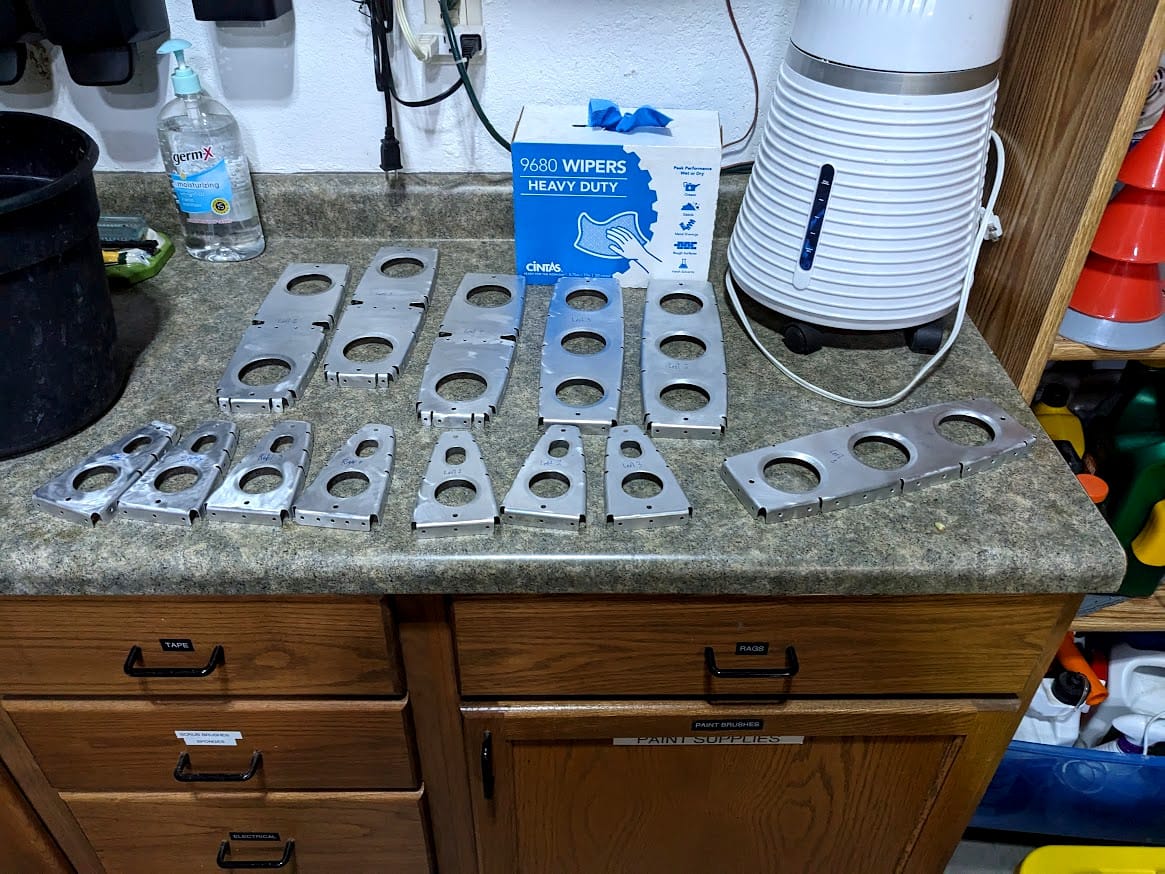
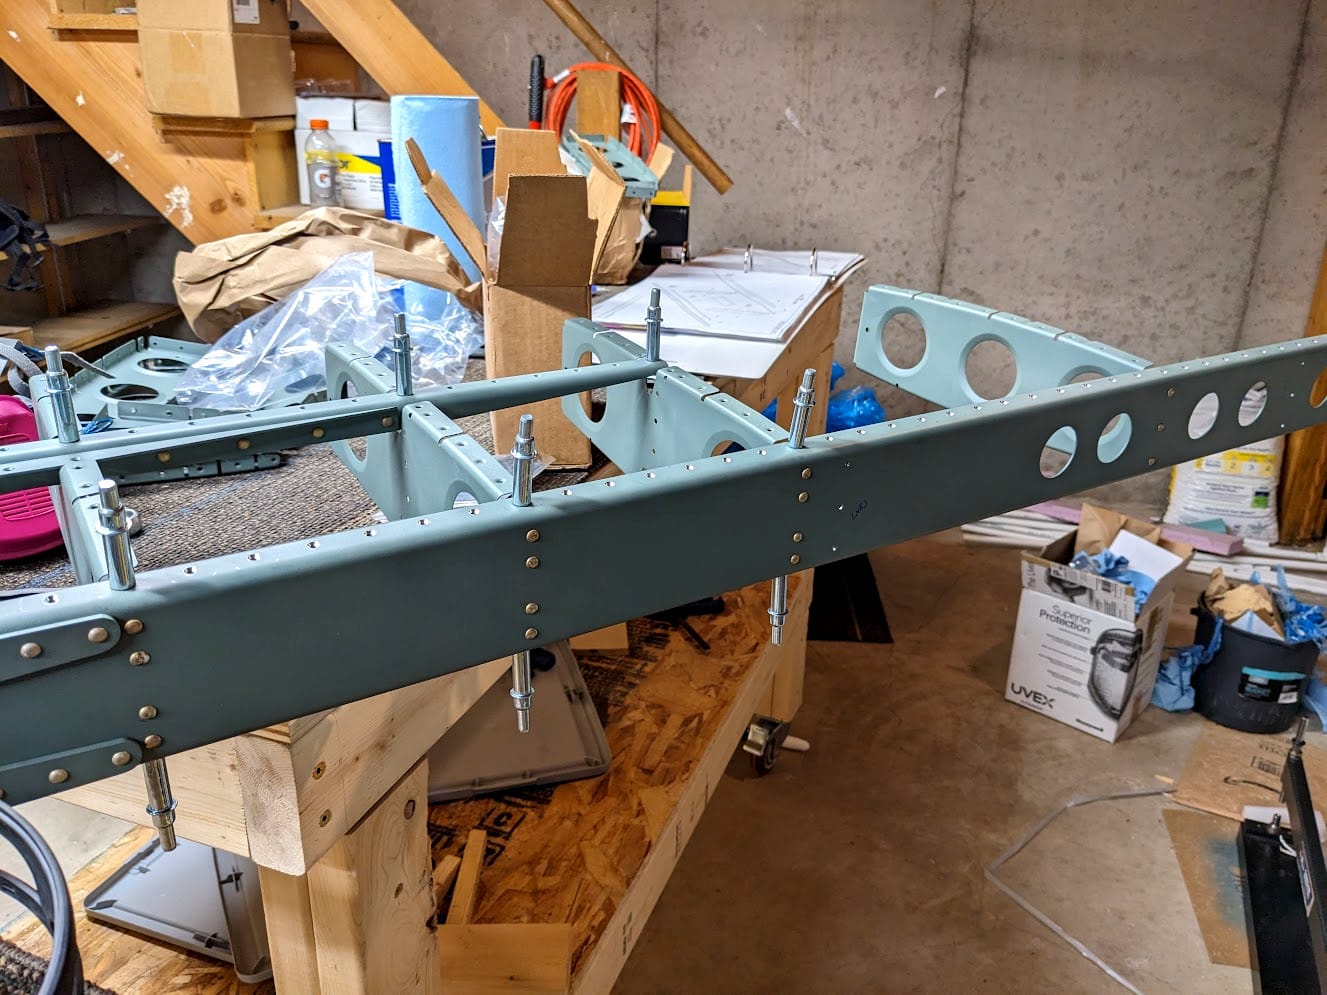
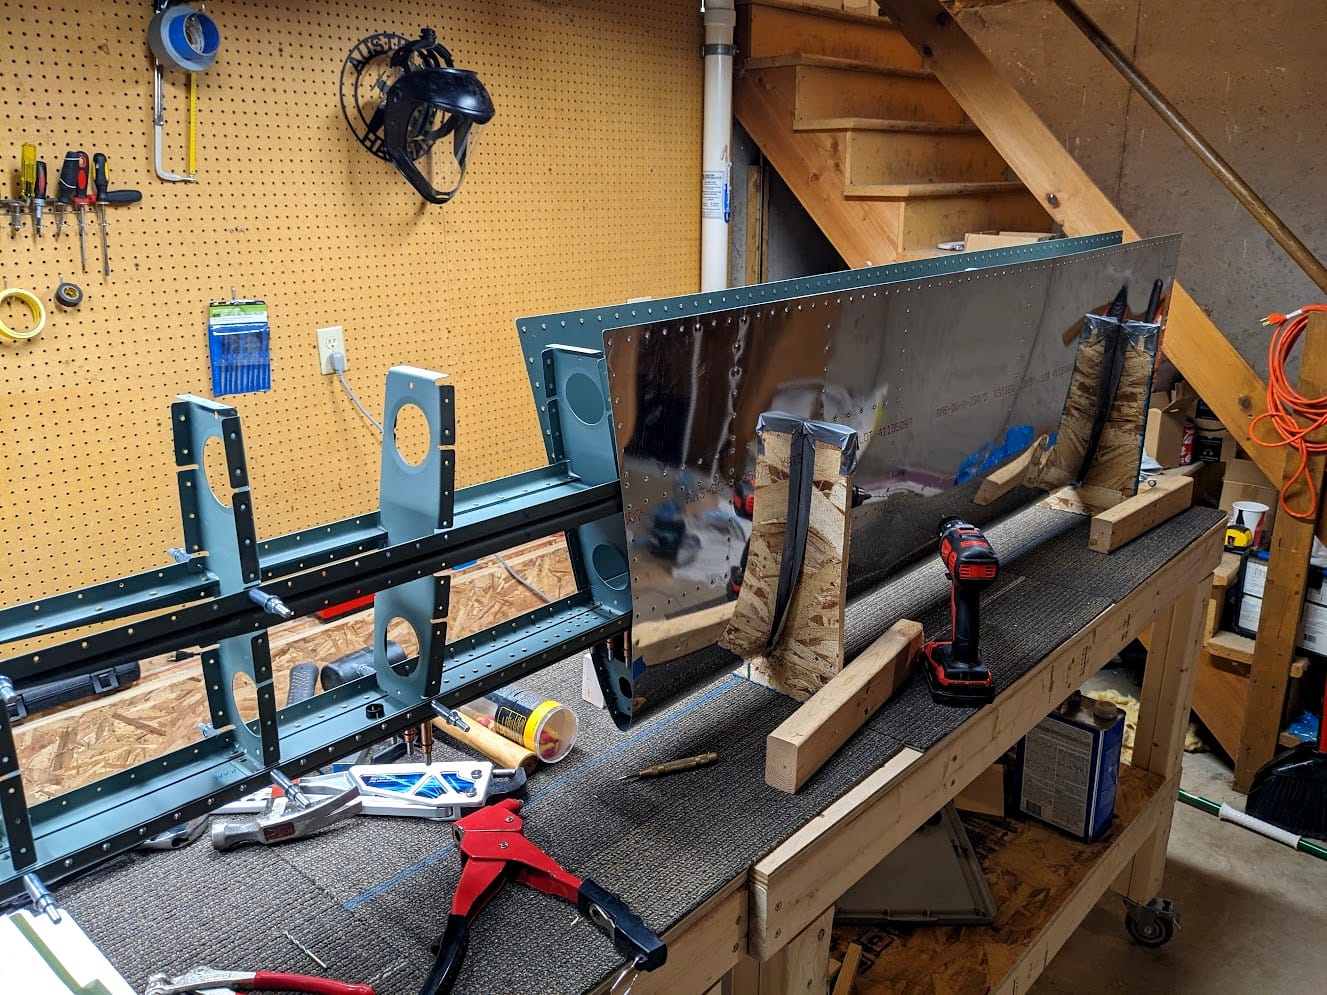
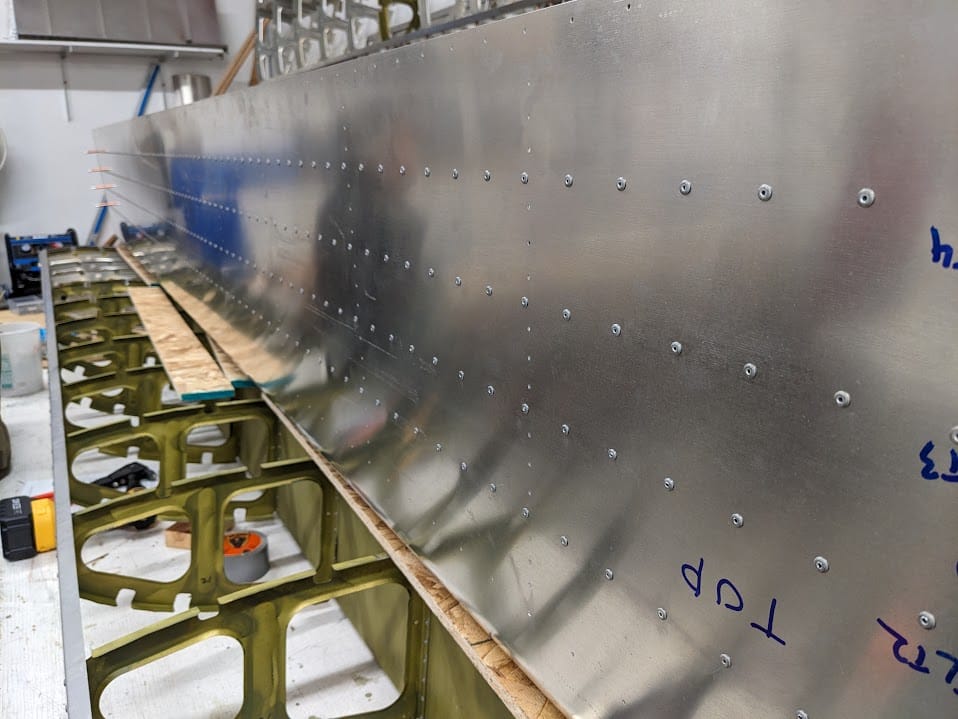
I have finished match drilling everything after ordering more clecos. The final result is seen above and it looks impressive. The sad part is that I had to then take everything apart in order to do dimpling and final prep. In my mind this would be a quick process but I was a fool for thinking that.
Taking all the clecos out by hand did make my hand hurt which isn't that surprising. There were a few hundred of them and all I had were the pliers. But then I got out my dimple die and started on the ribs.
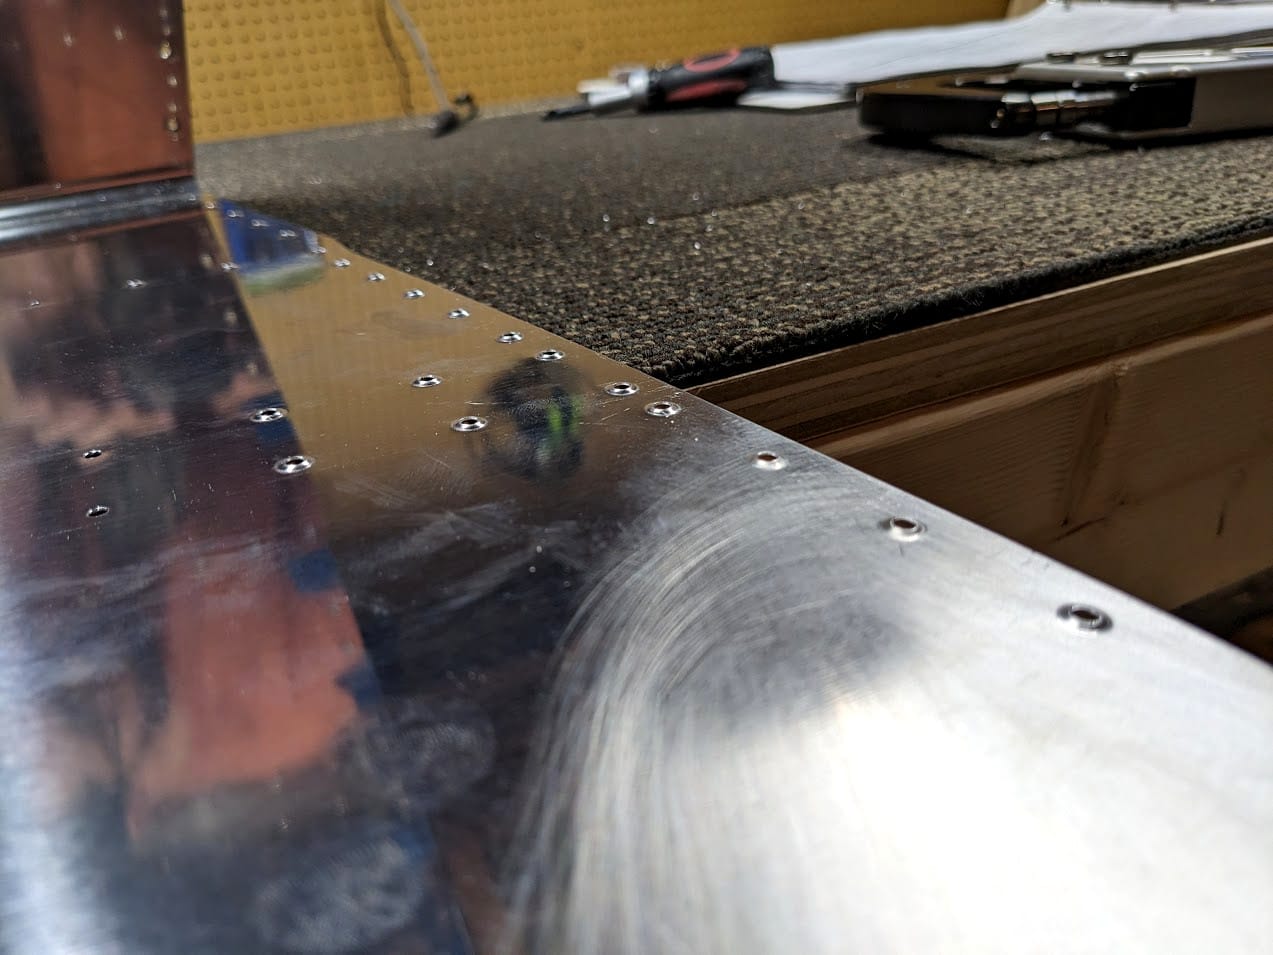
There was nothing tricky about the dimpling. It was just time consuming as there are a lot of ribs. Some of the ribs had spots to NOT be dimpled due to faring attachment screws but I had those all marked with sharpie and I just had to make sure not to zone out too hard so I would forget about them. In the future I will just tape them off with painters tape so they are impossible to accidentally dimple. The next time consuming thing was countersinking both spars.
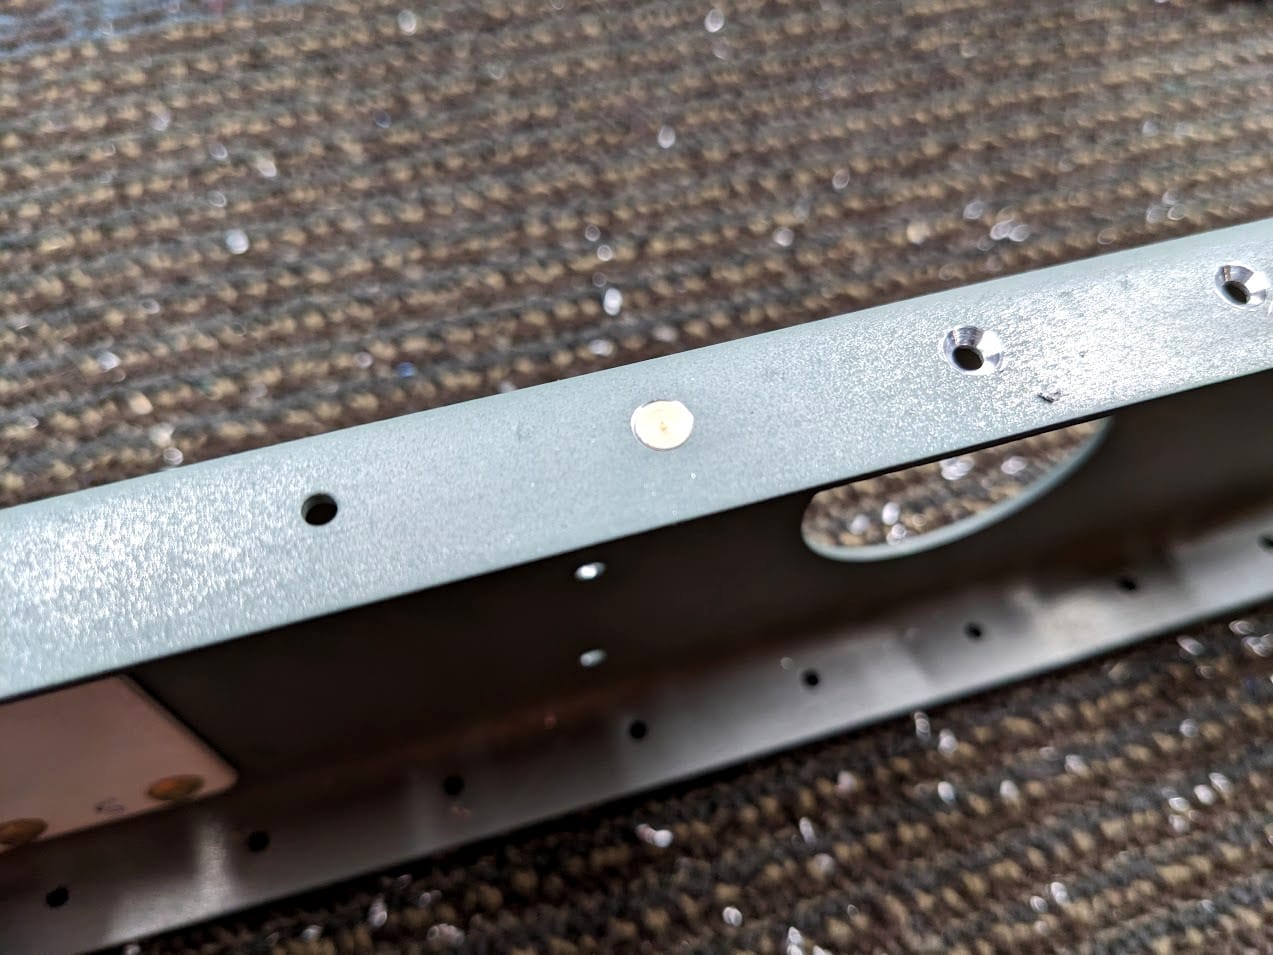
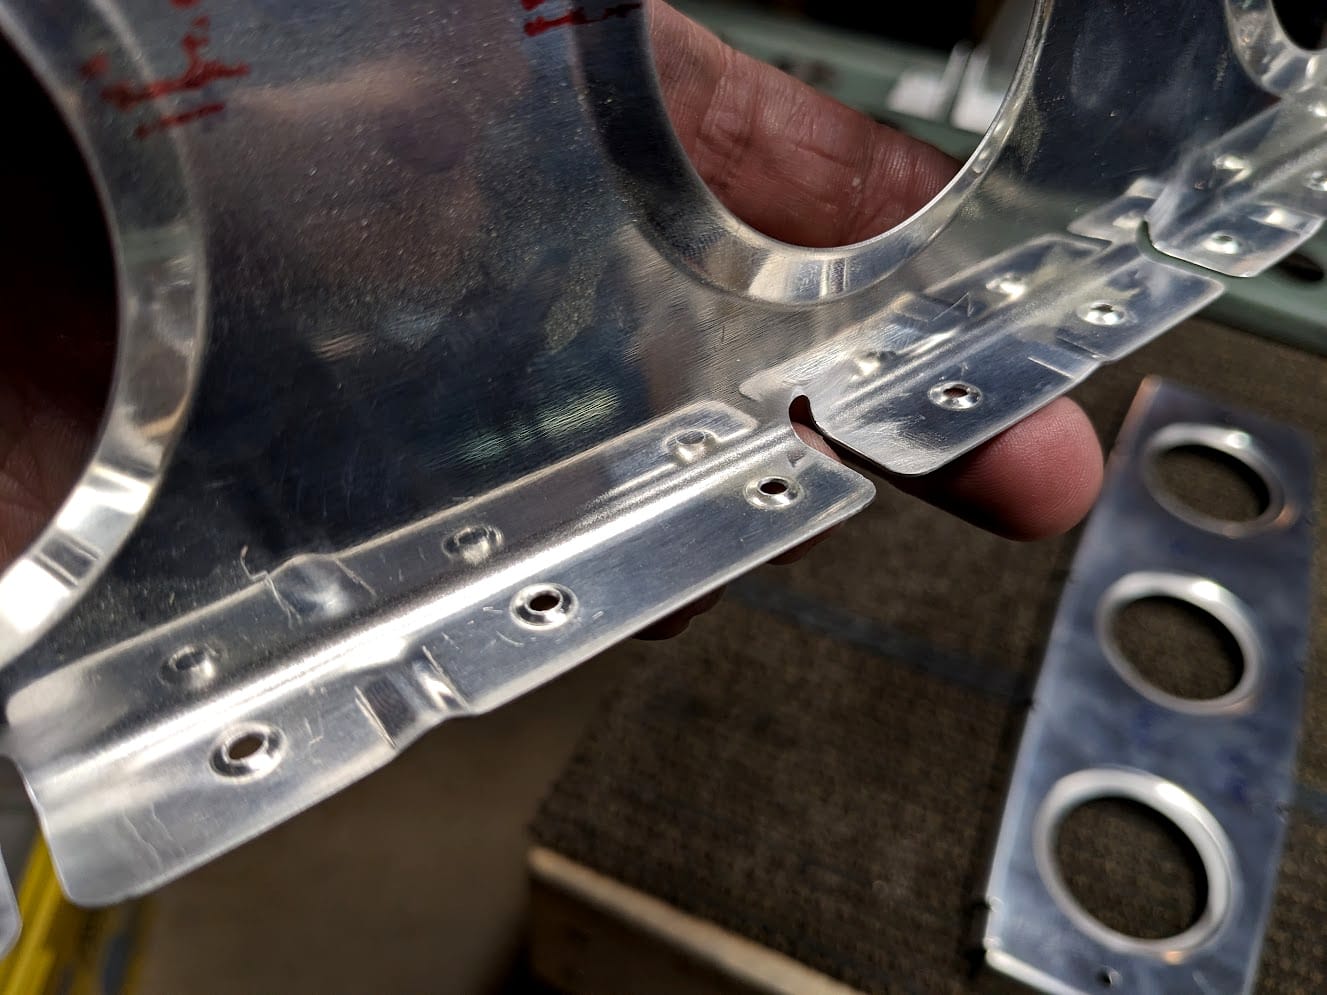
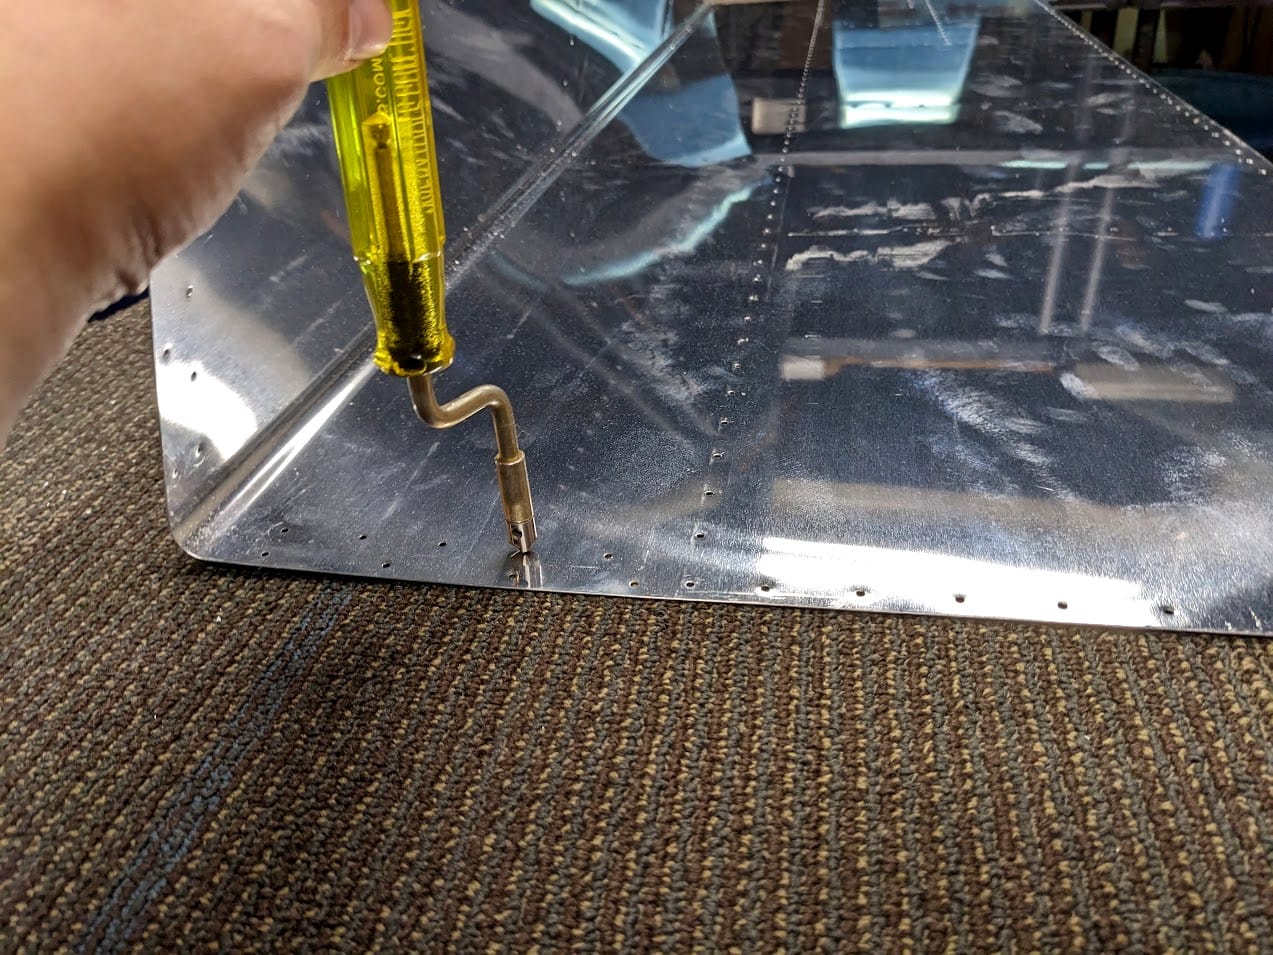
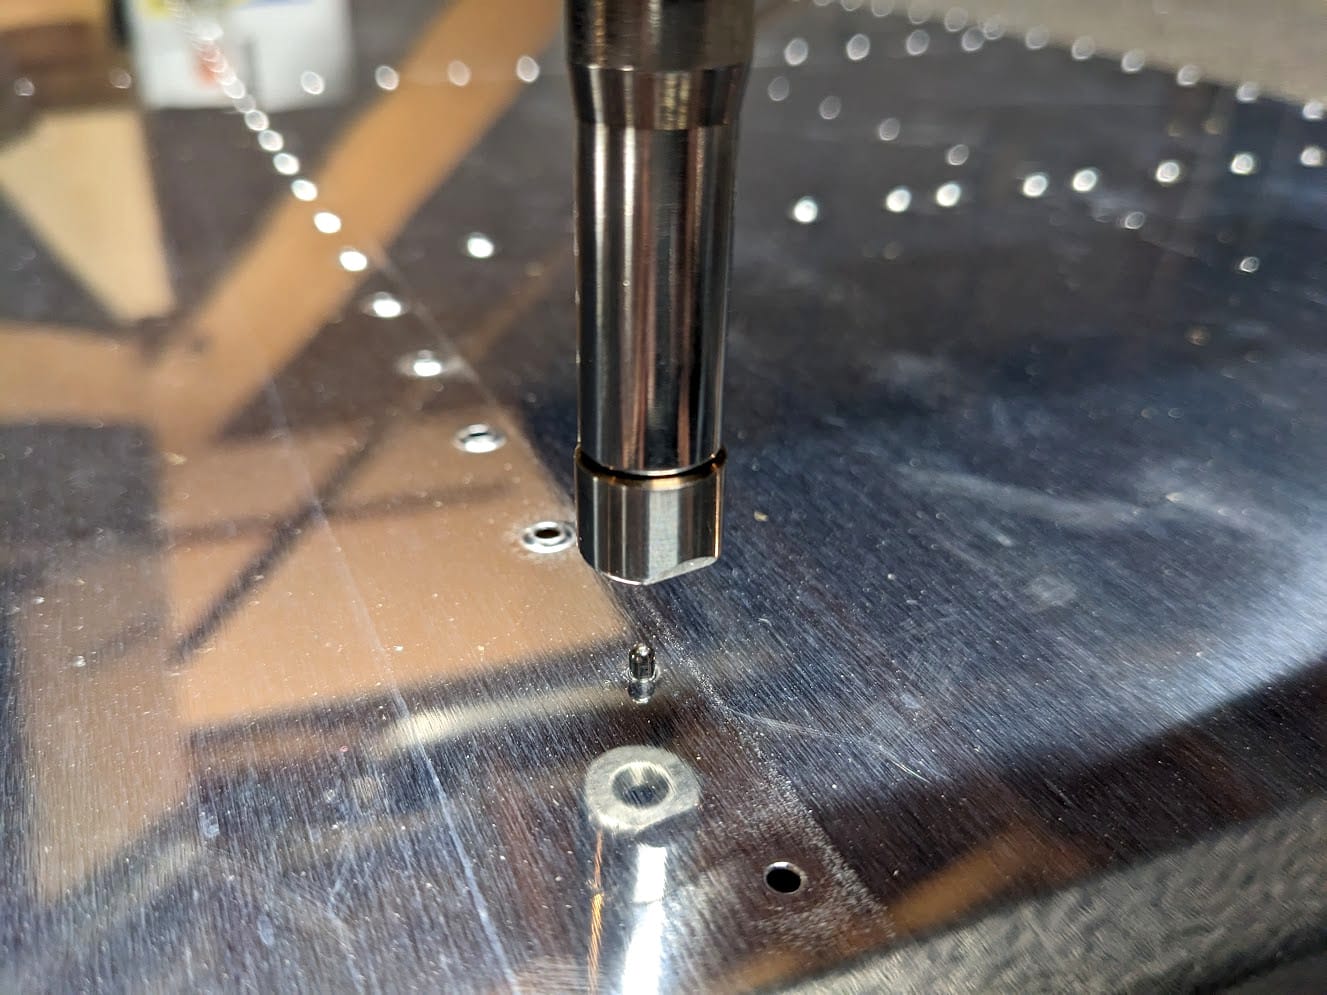
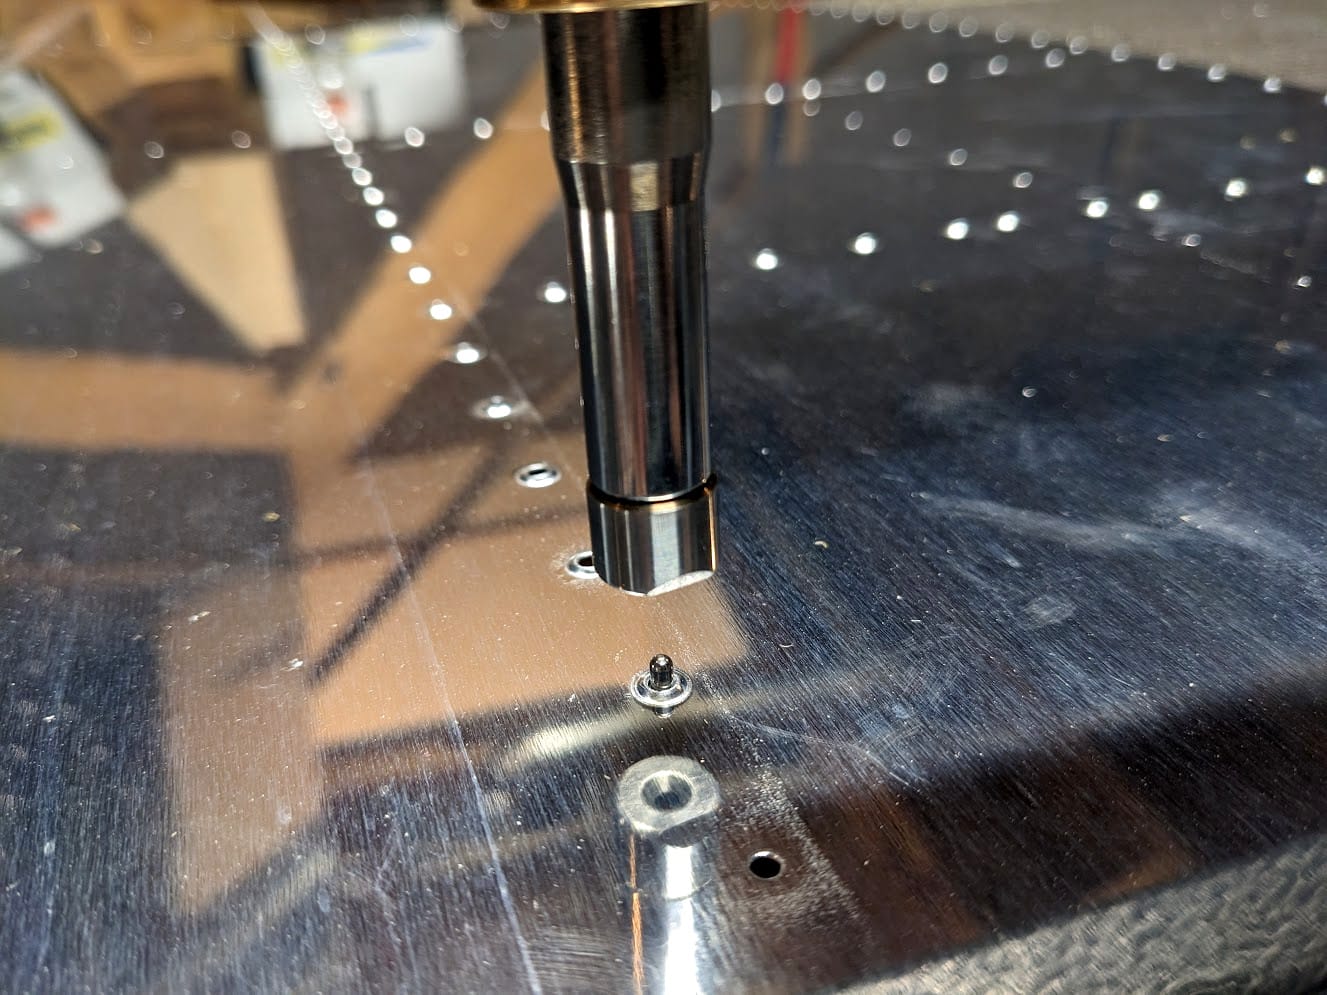
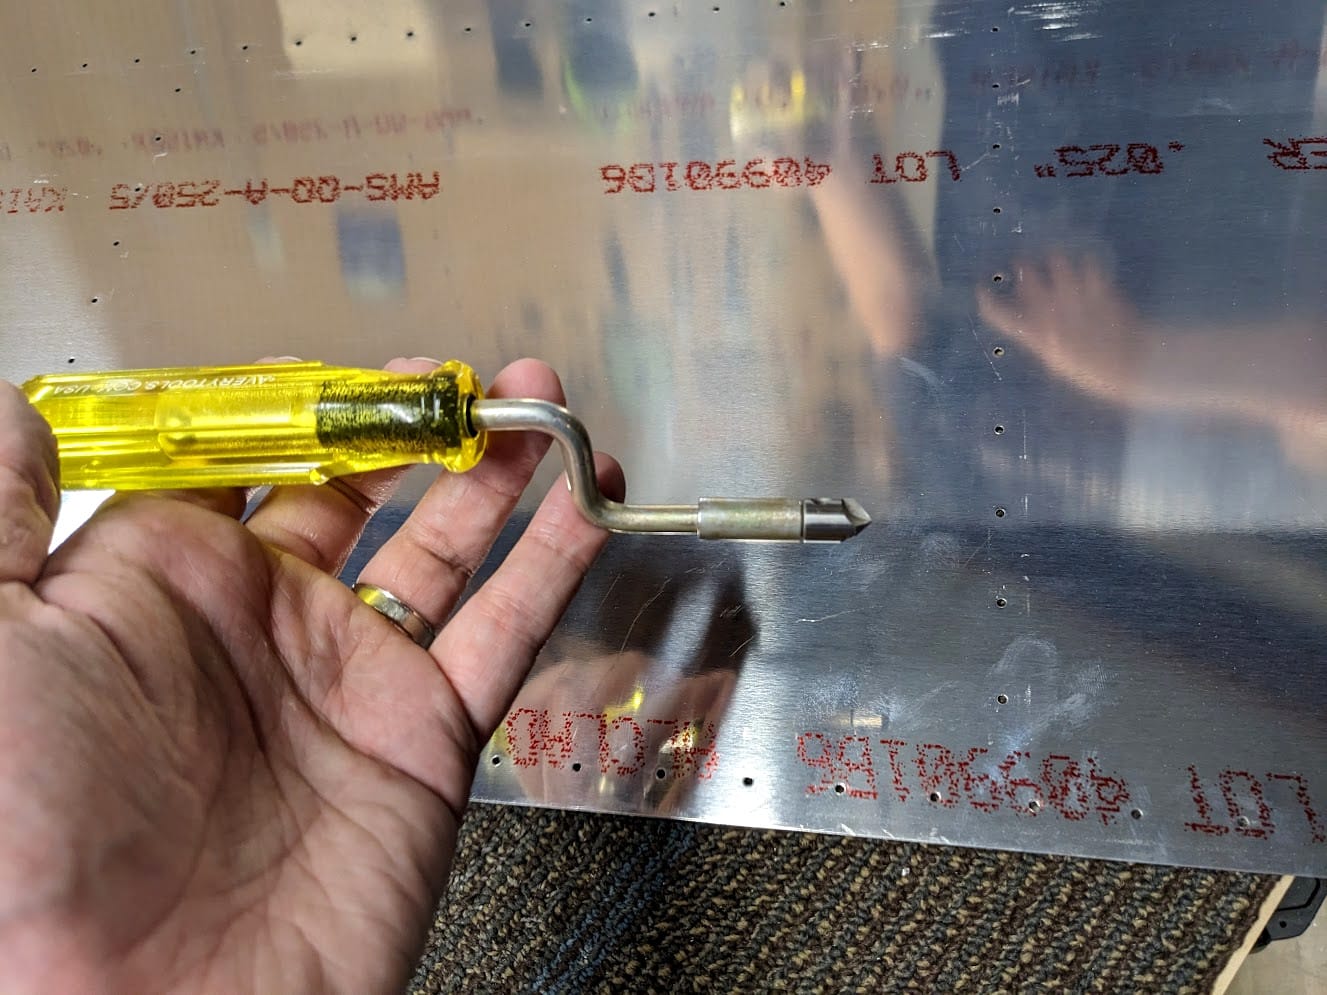
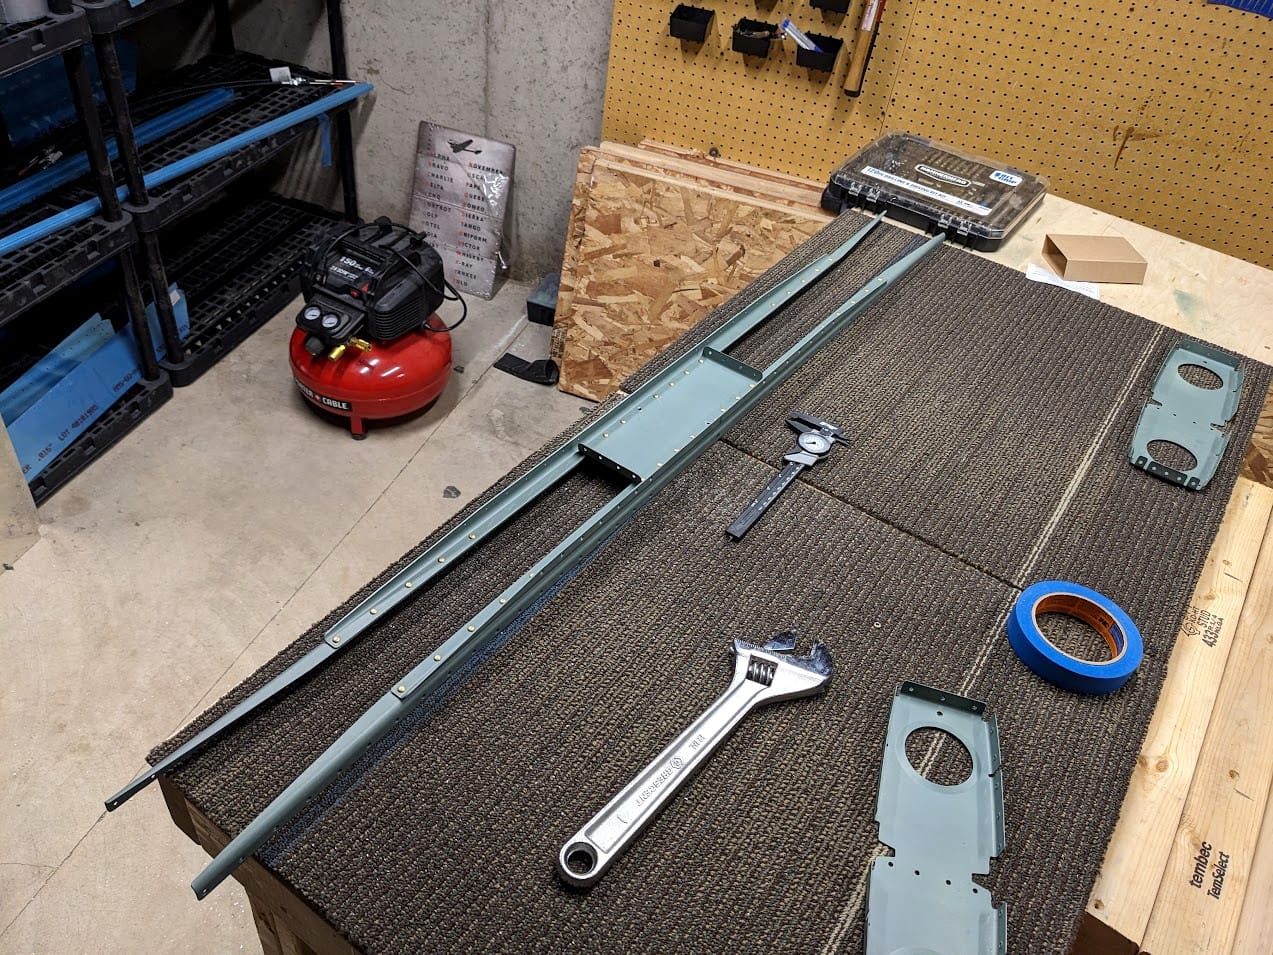
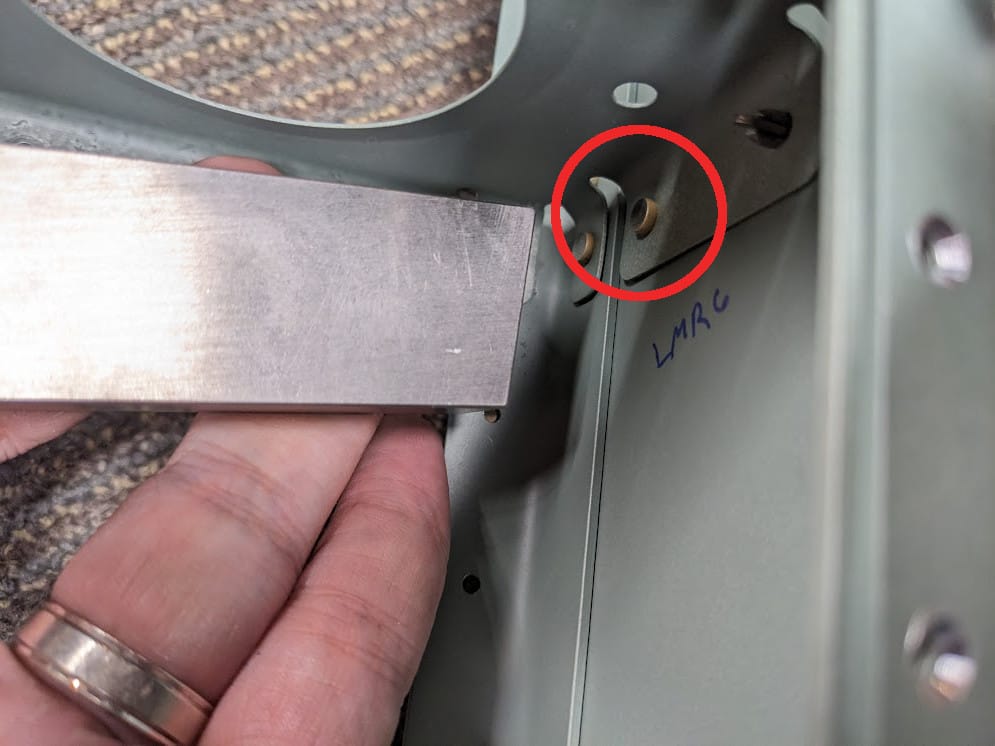
For each hole I had to cut the countersink and then I had a test fit rivet I would use to make sure the countersink was big enough. The rivets have to sit flush so I was being pretty detail focused here. This also took quite a while to work through all of the holes on the spars (both sides, both spars).
For the stiffeners I had to make sure I had the right orientation of the parts, which wasn't too big of a deal. They were a little awkward to countersink though, so I ended up making a jig out of scrap wood that helped a lot. The work "making" is pretty generous, it is just two pieces I had from bending the rudder over the counterweight and they fit nicely. No modification was done by me.
The skins required every hole be deburred so... that is what I did. It took a while to do both skins, front and back.
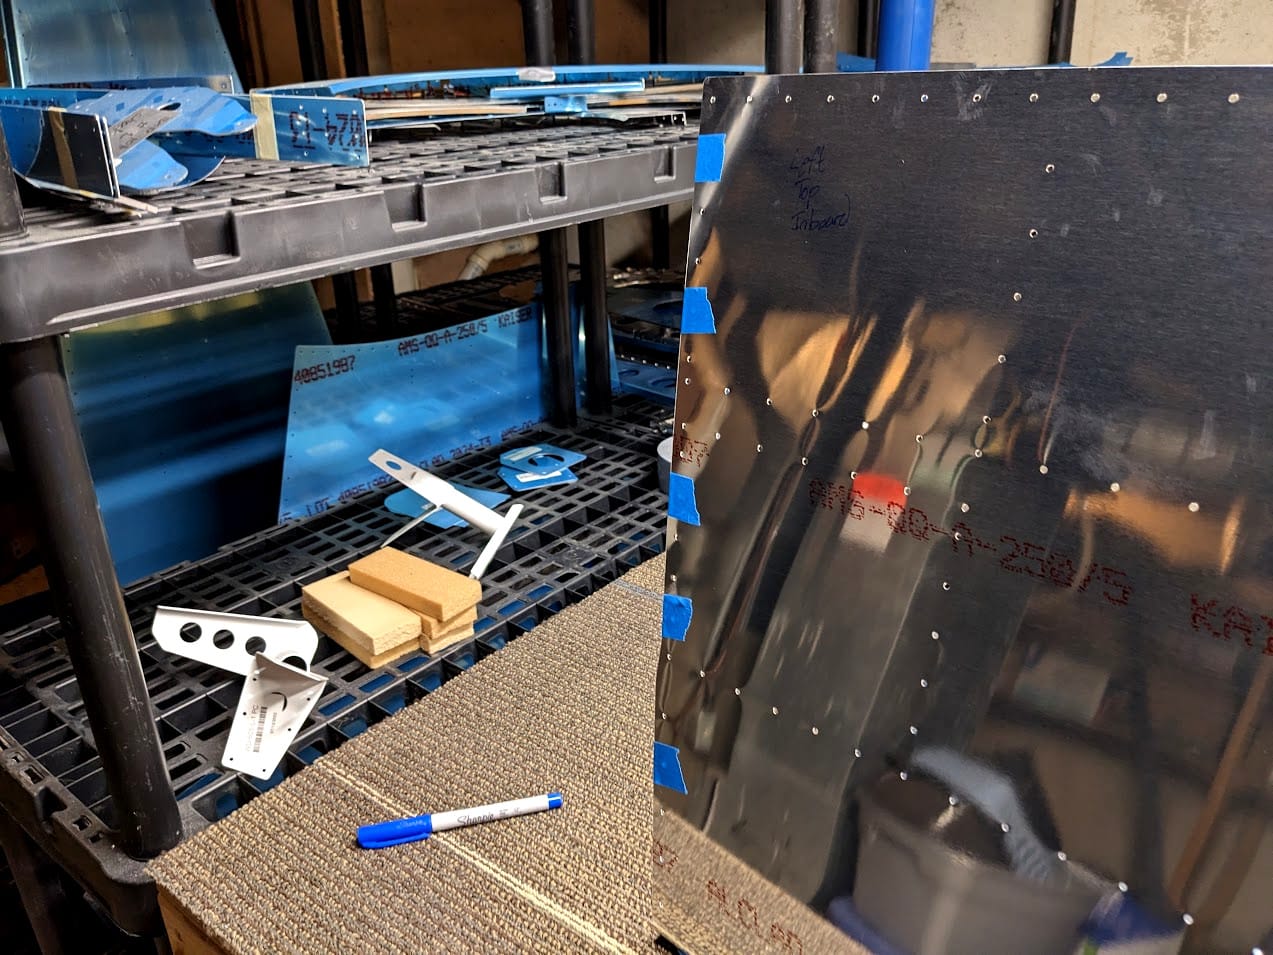
This time I did tape off the holes I didn't want to dimple and this worked well. I, in fact, didn't dimple them at all.
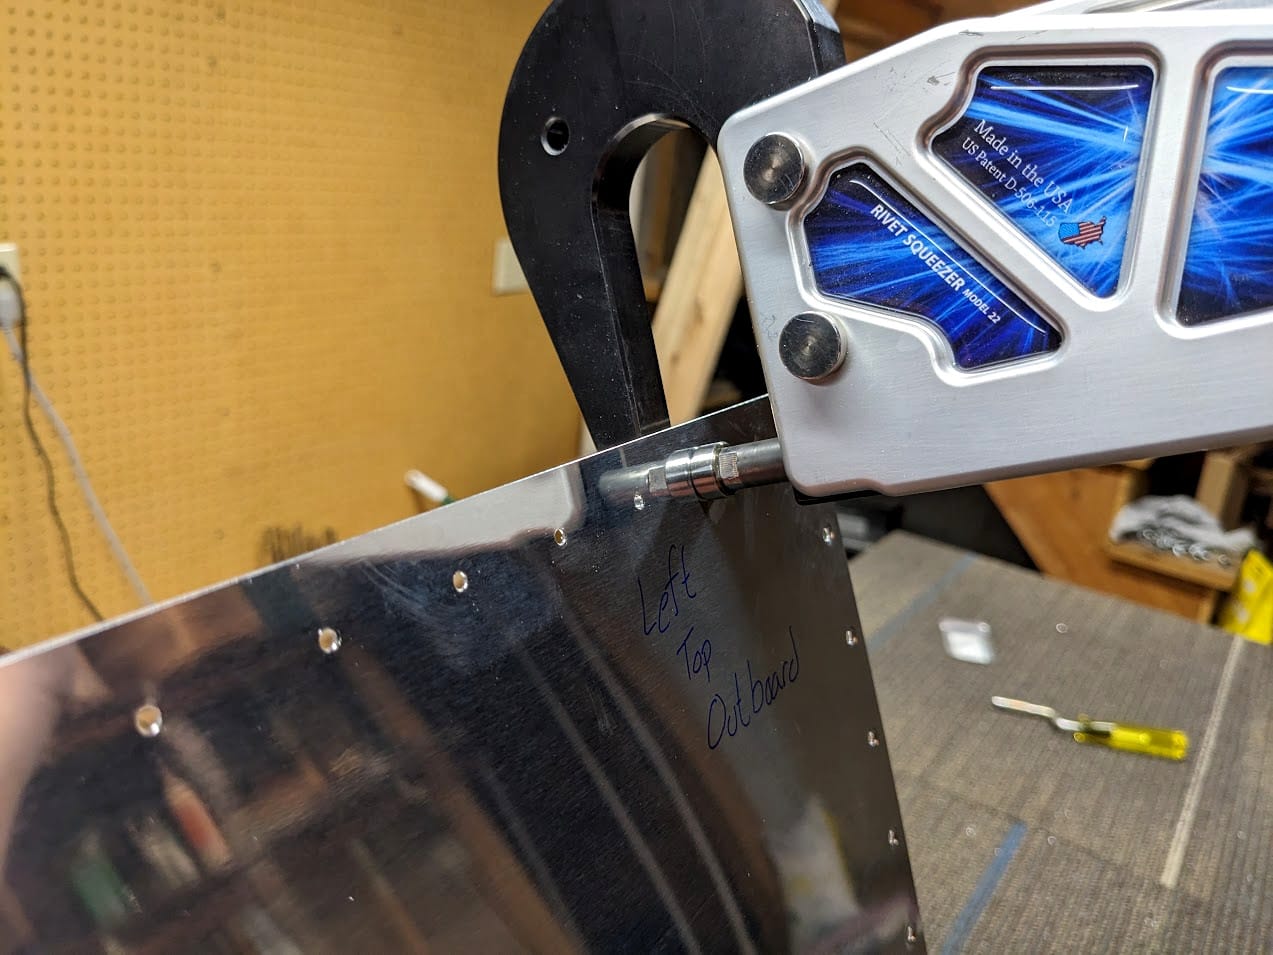
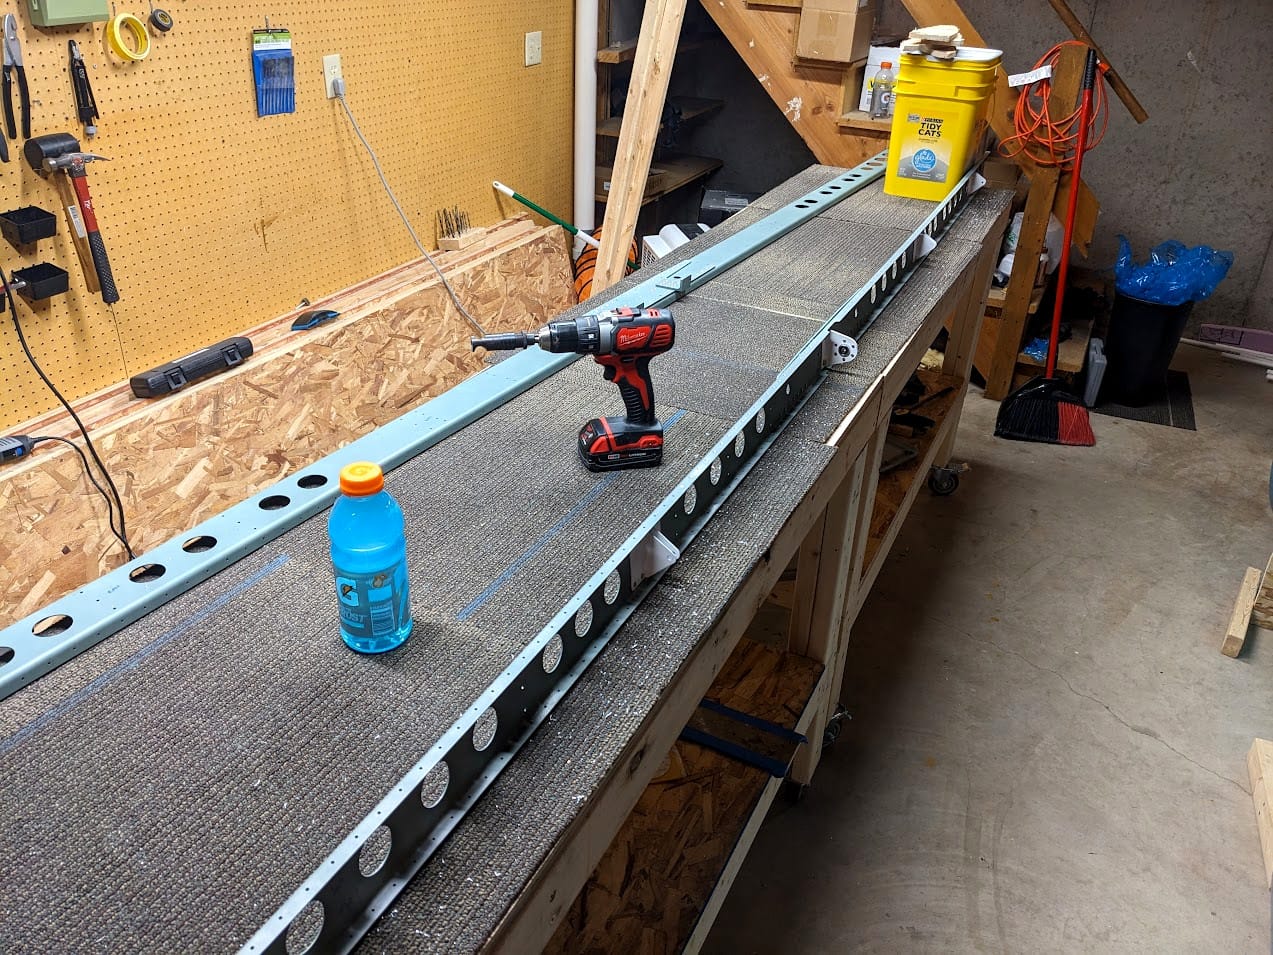
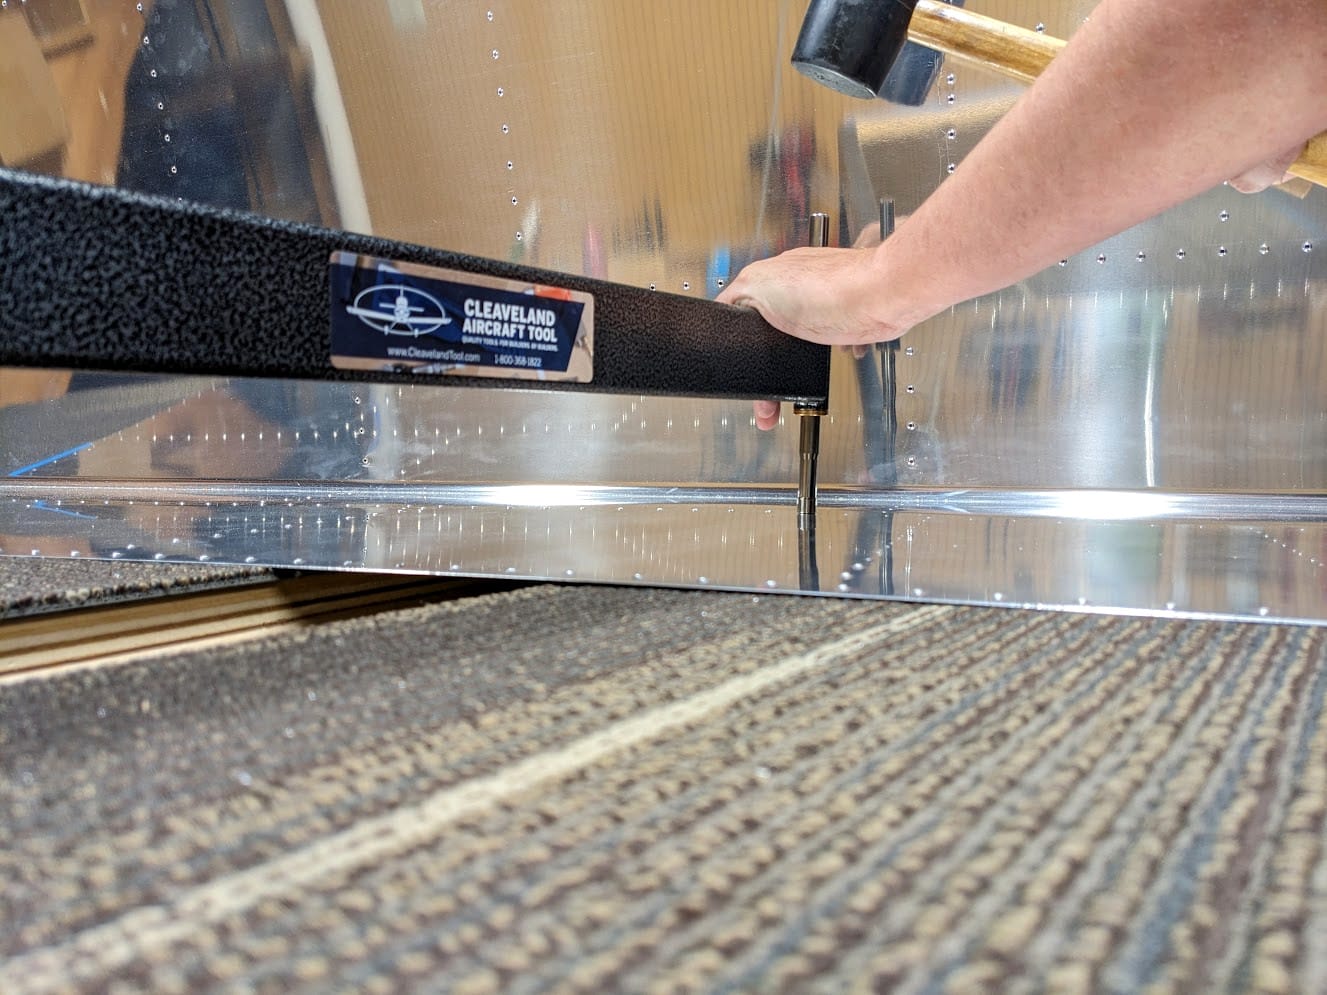
I hand dimpled as much as I could with my squeezer. I prefer to use that as it is more controlled but most of the holes cannot be reached. If you recall, I had to replace a rudder skin from a bad dimple from my c-frame so this time I set out to make sure that didn't happen again.
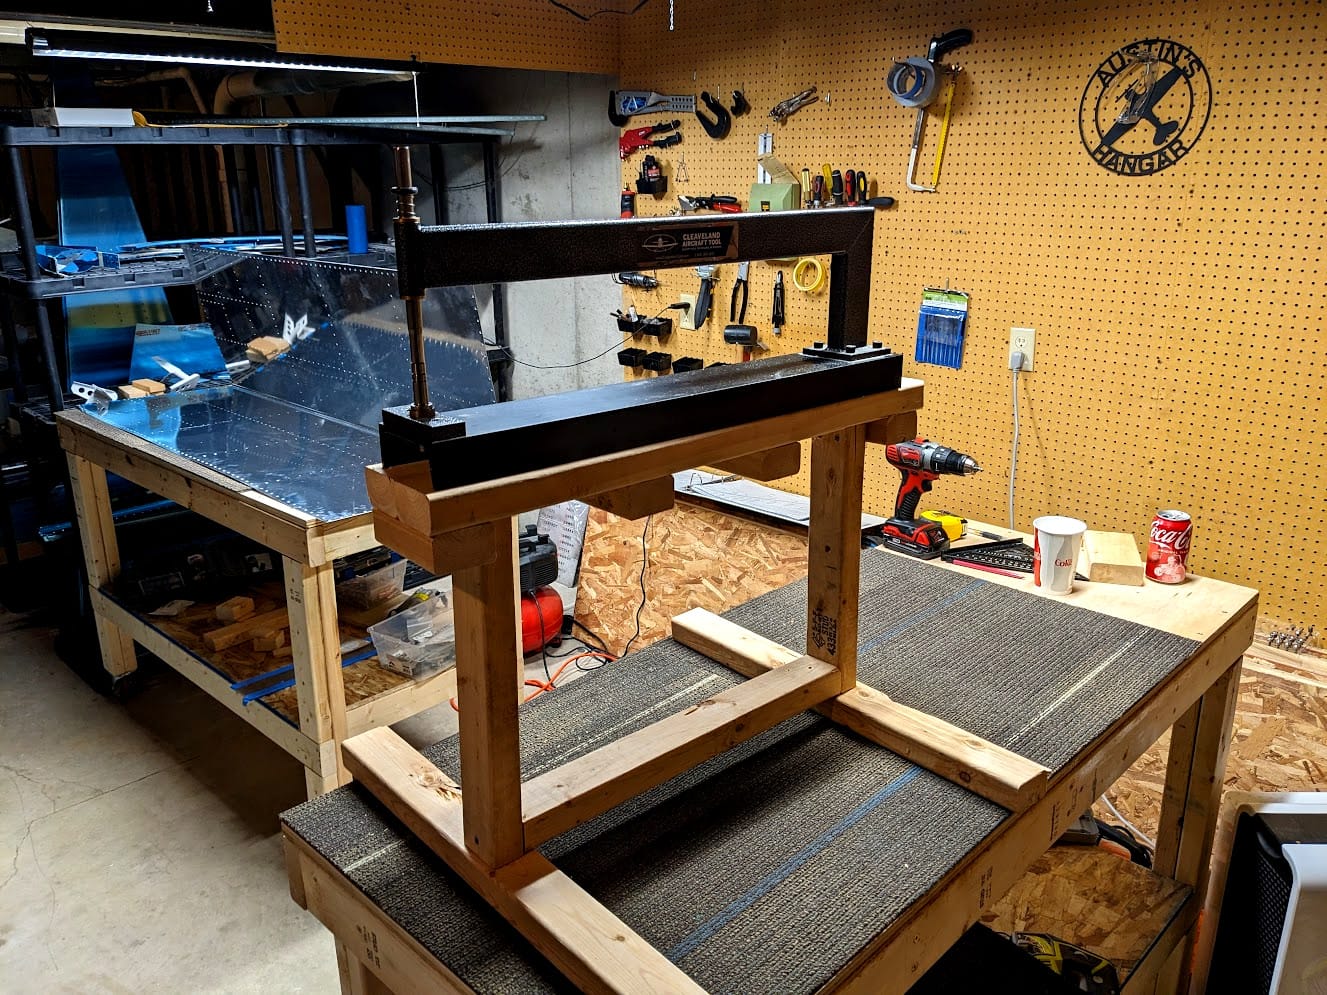
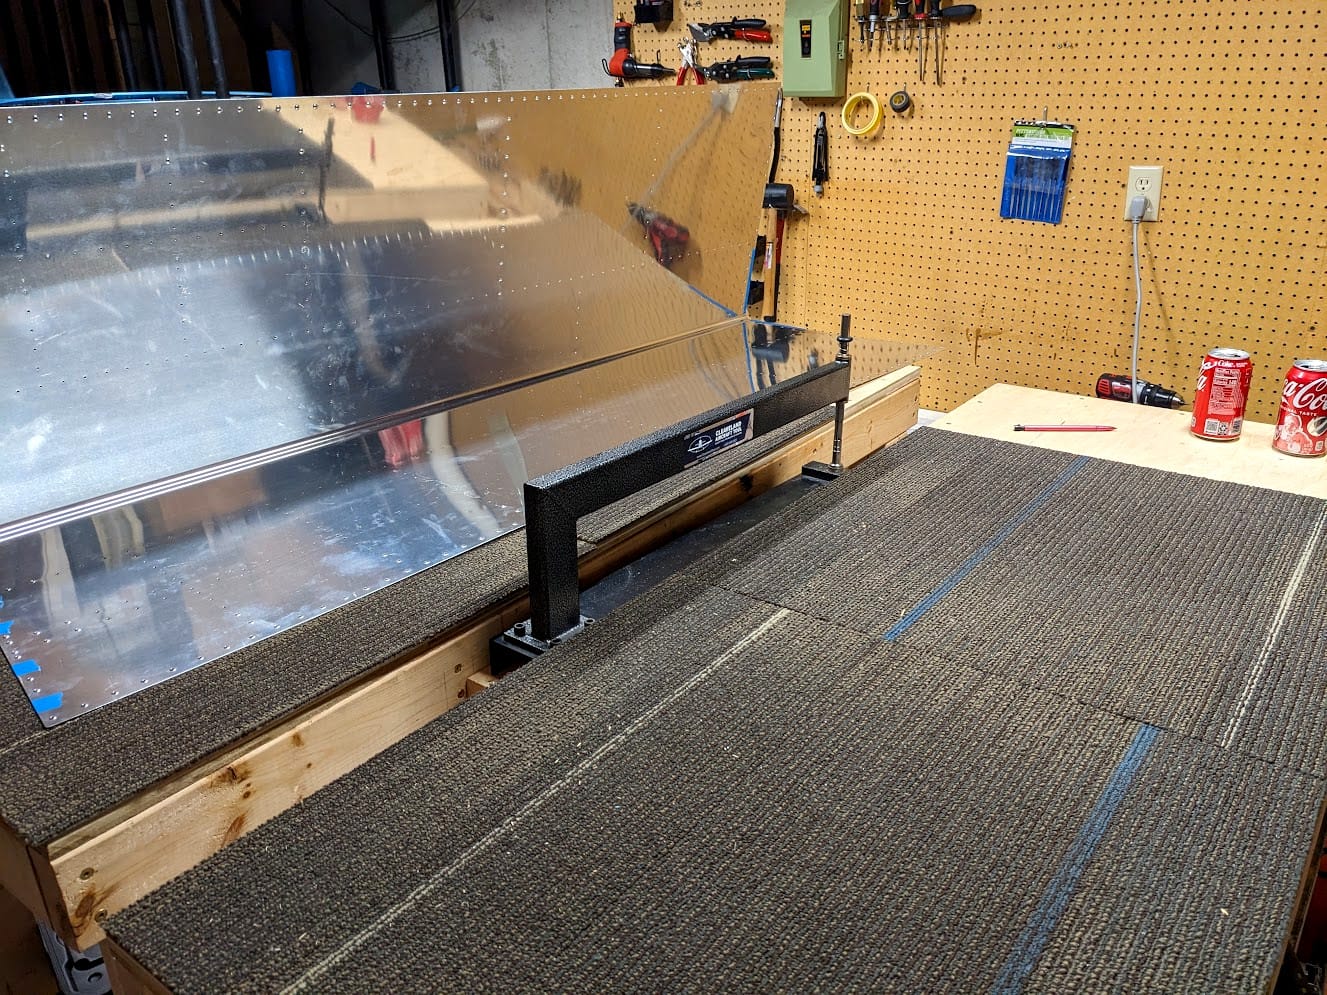
That's right, I custom built a little bench for the dimpler that lets me support the skins on my work benches. This worked super well and I could reconfigure the benches as needed to support the skin.
Then after working your way through all the holes, they are all dimpled and everyone is happy. Don't feel too accomplished though, because that was one of two skins! So now it was time to do it all again (ugh).
Okay, now the skins are done. I had no big issues when dimpling the skins but I did add some small scratches. That isn't a big deal, they'll buff out. Unfortunately it got cold outside while I was taking so long to work on stuff so I had to borrow a workshop from my step-father that was heated.
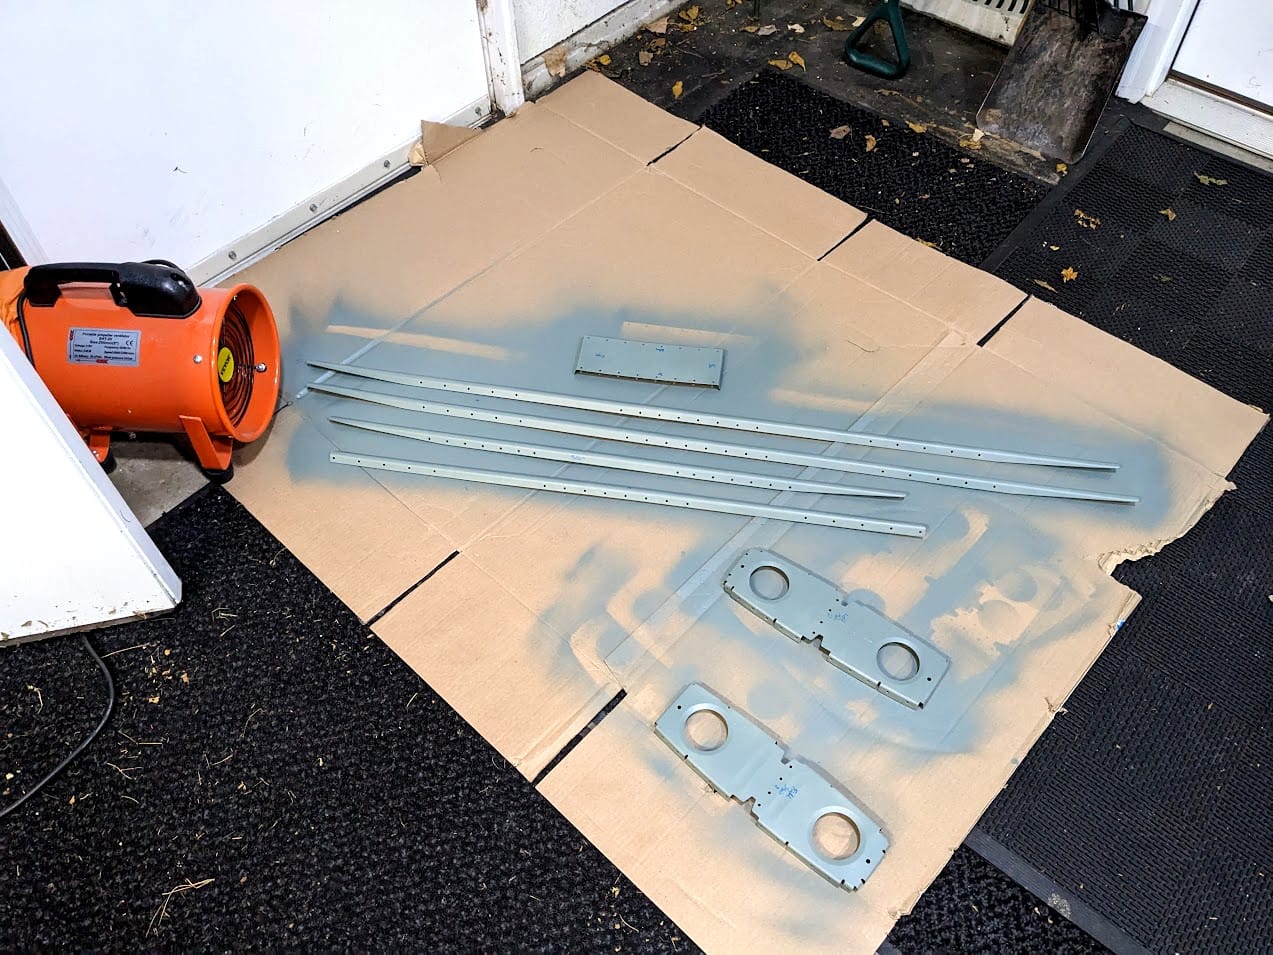
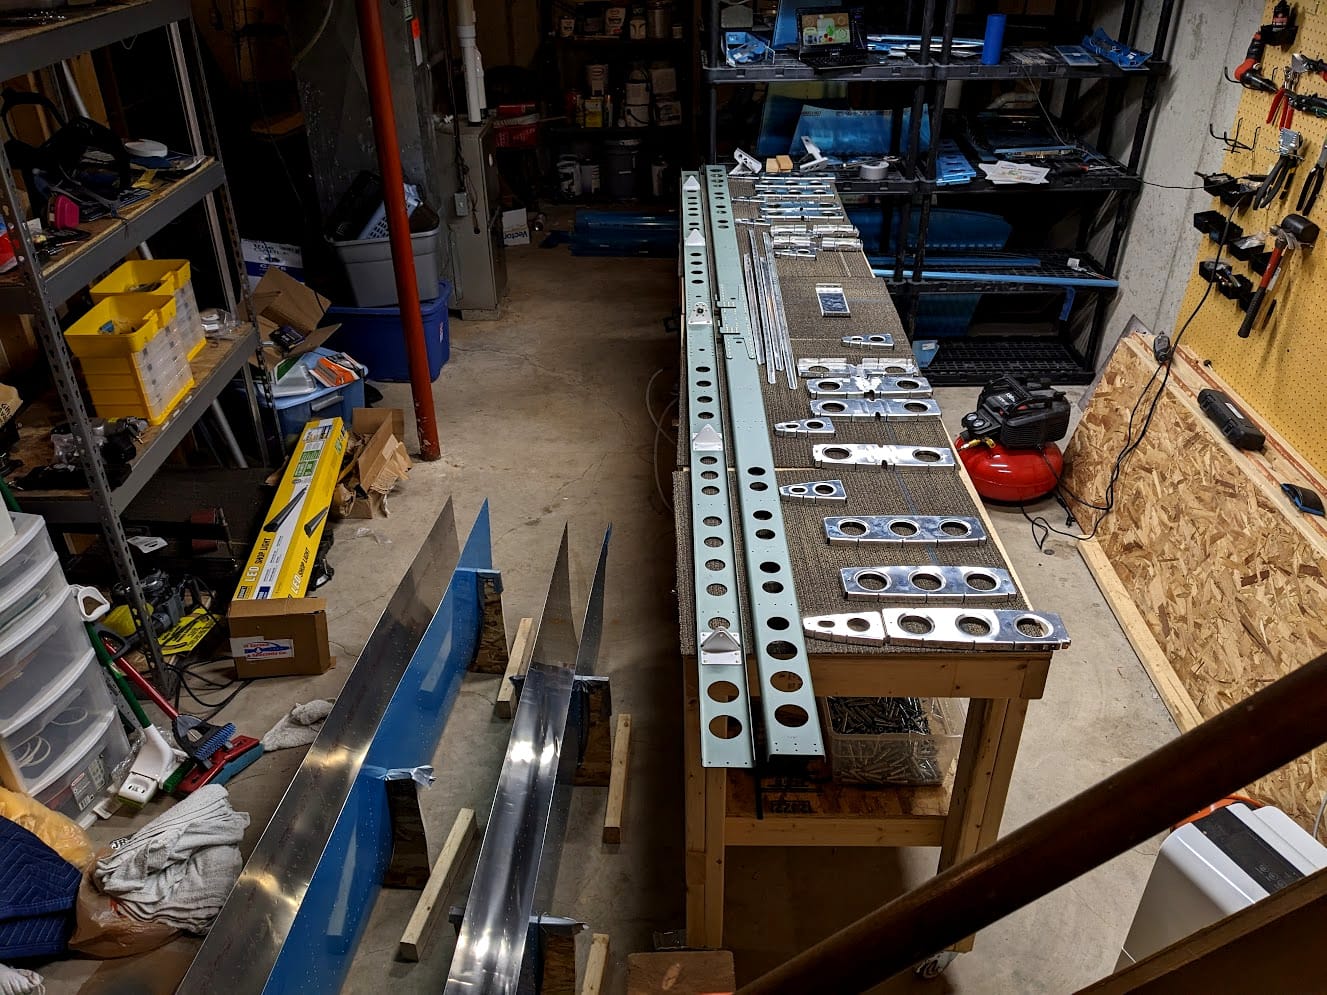
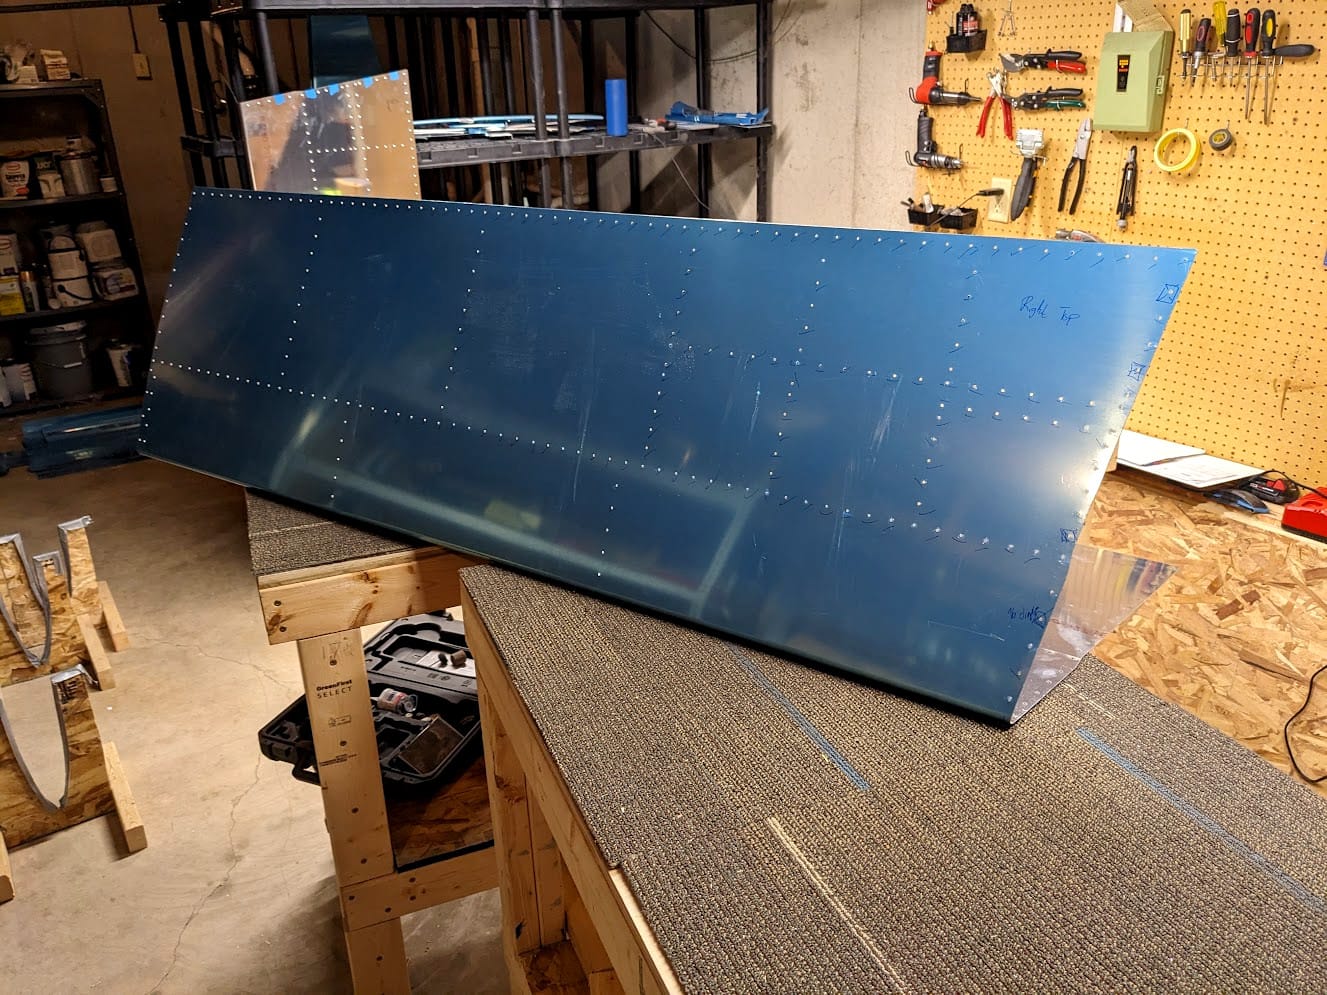
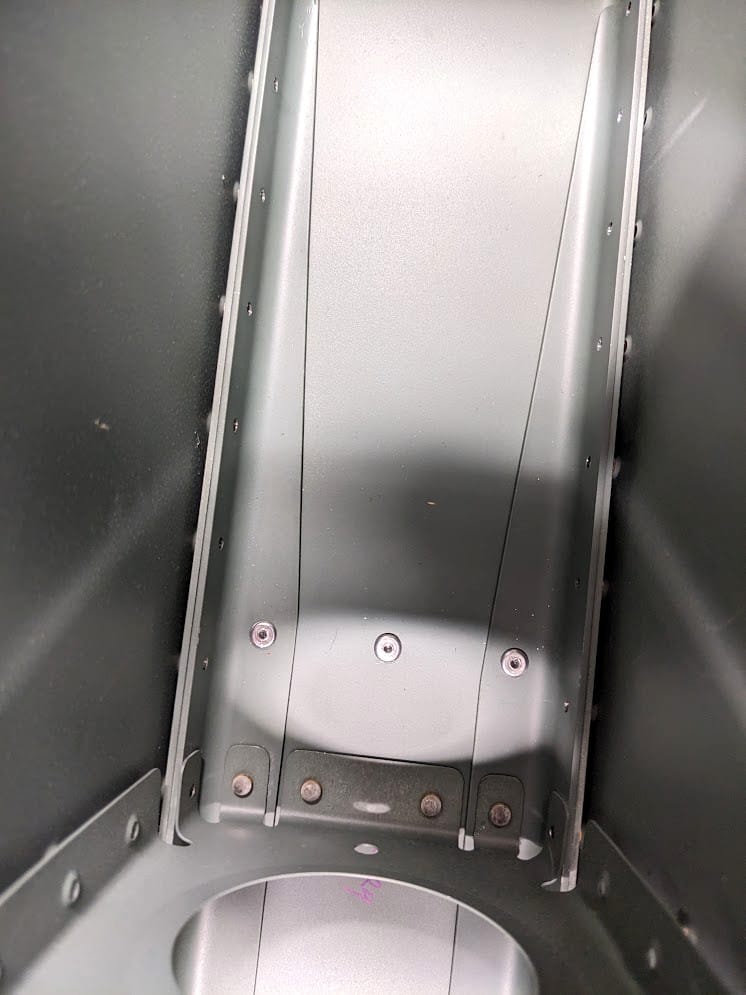
I cleaned up and primed the parts for the center of the stablizer and there isn't much to note about that process. It was the next step I messed up when riveting things together.
I could not get my squeezer yoke over the stiffeners so I had to buck the rivets with the gun. Seems I'm a bit gunshy and did a poor job in general, then made things worse by drilling out the rivets badly. So I was pretty upset with myself and took a break for a while and figured out what I was going to do about it.
The rest of the parts needed sanding and priming though so I decided to go do that.
Paining the parts was fine except I ran out of primer on the second skin so I didn't quite get everything primed. Hopefully the primer sticks well now that I have completely sanded every part and washed them with soapy water, then acetone. Remember those bad rivet holes we spoke about though? I decided to updrill the holes and put larger rivets in. So I ordered larger rivets and then...
It is okay. Not great but it'll do.

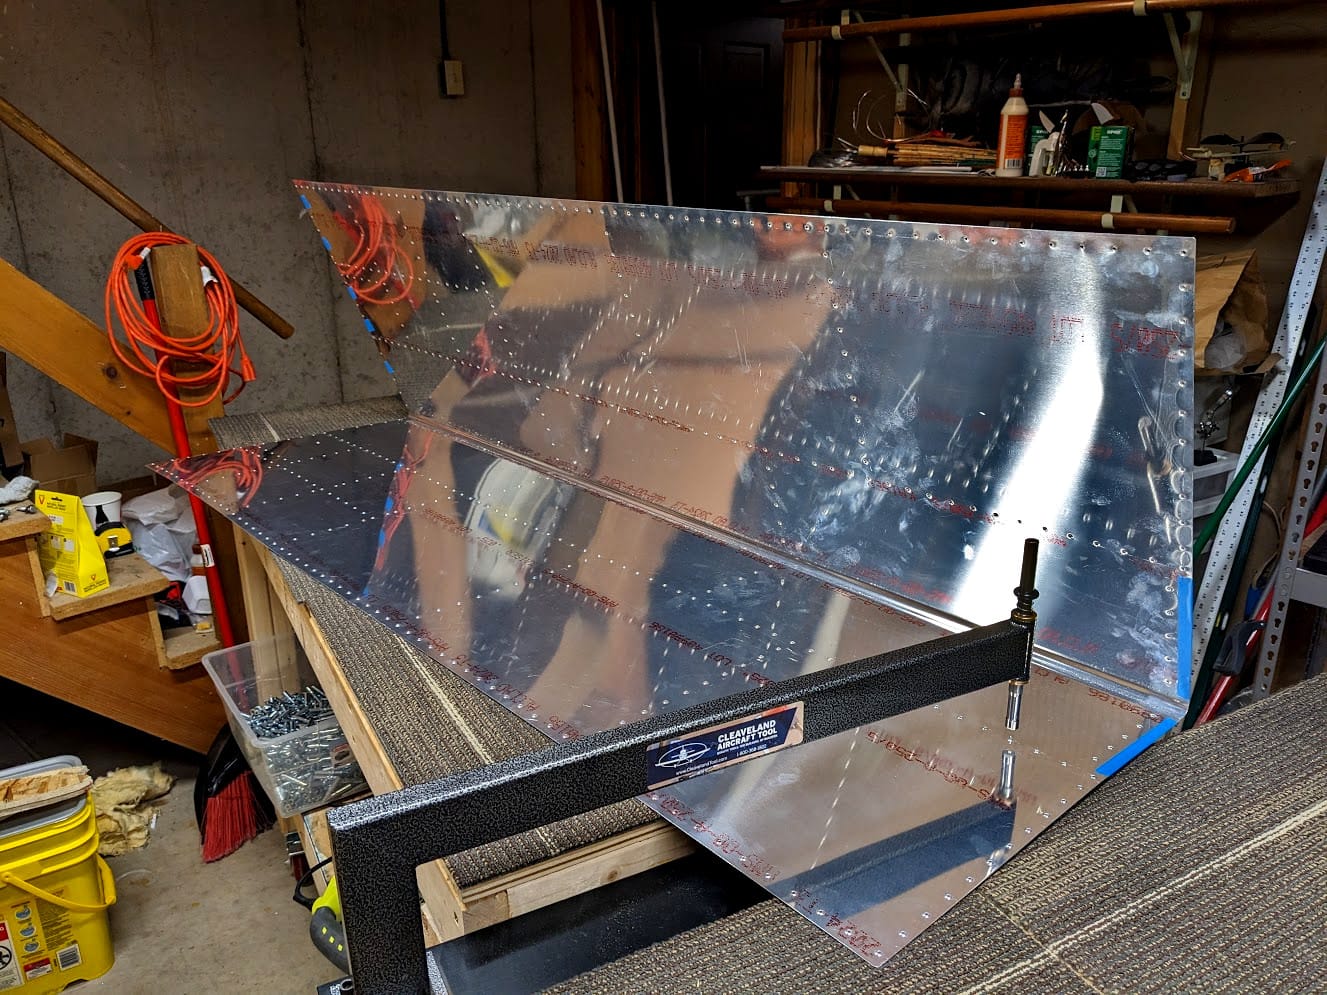
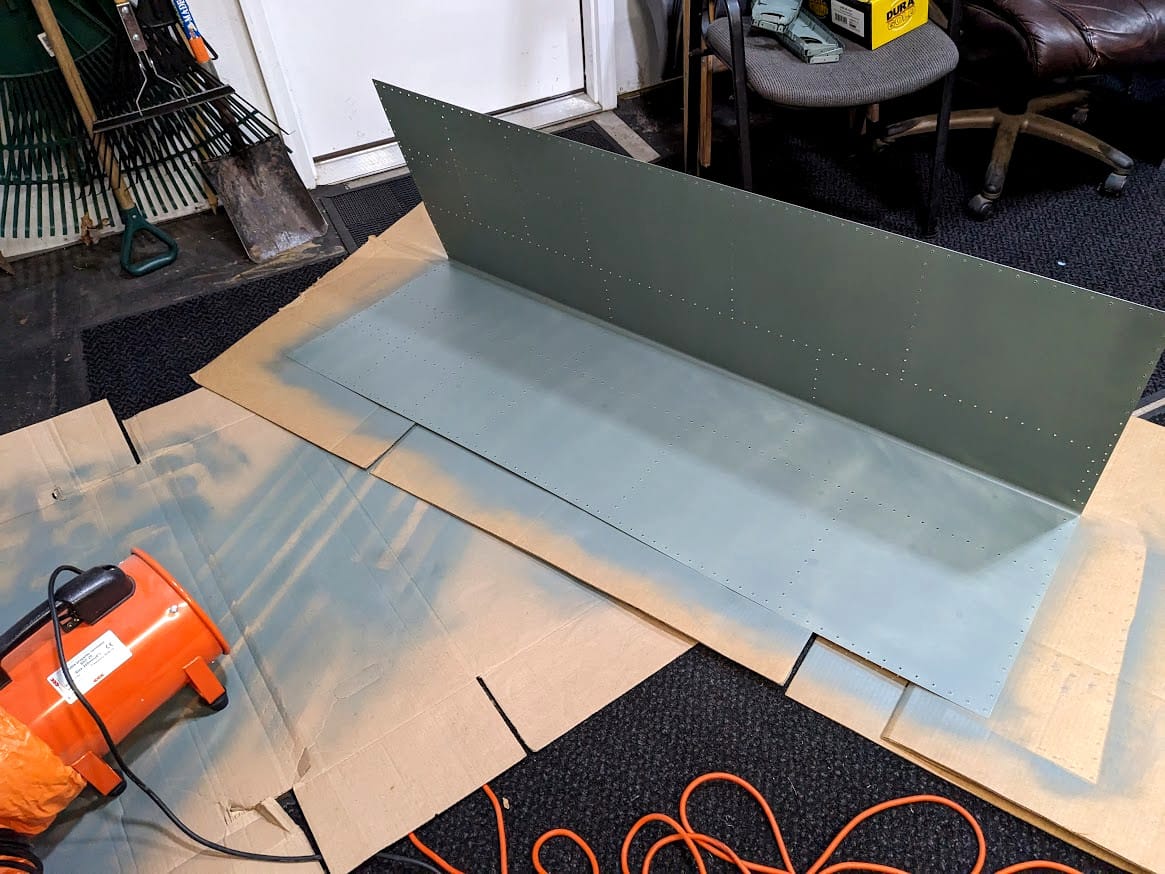
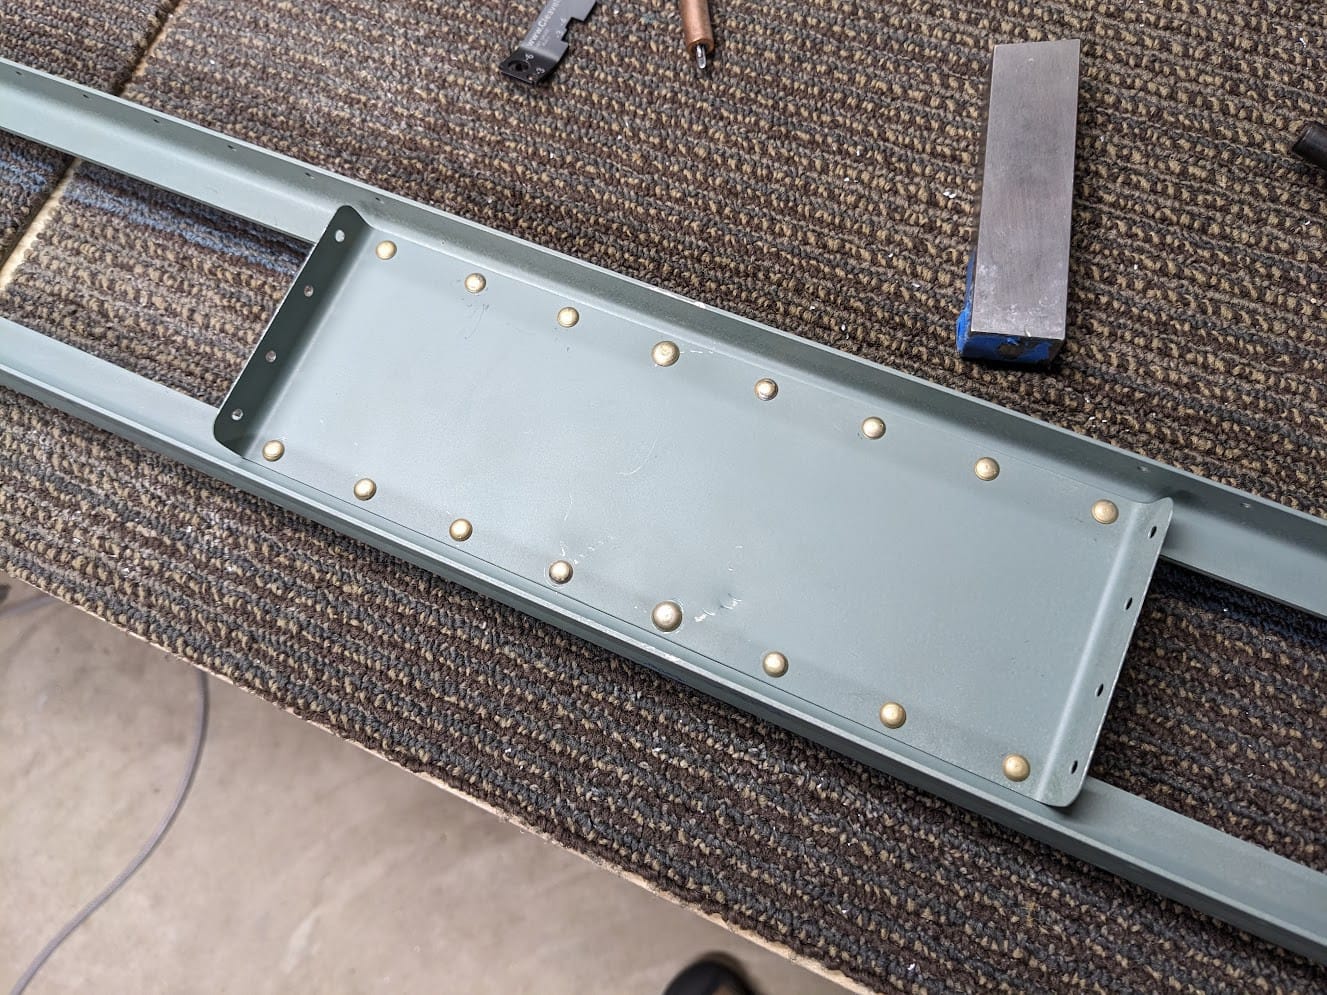
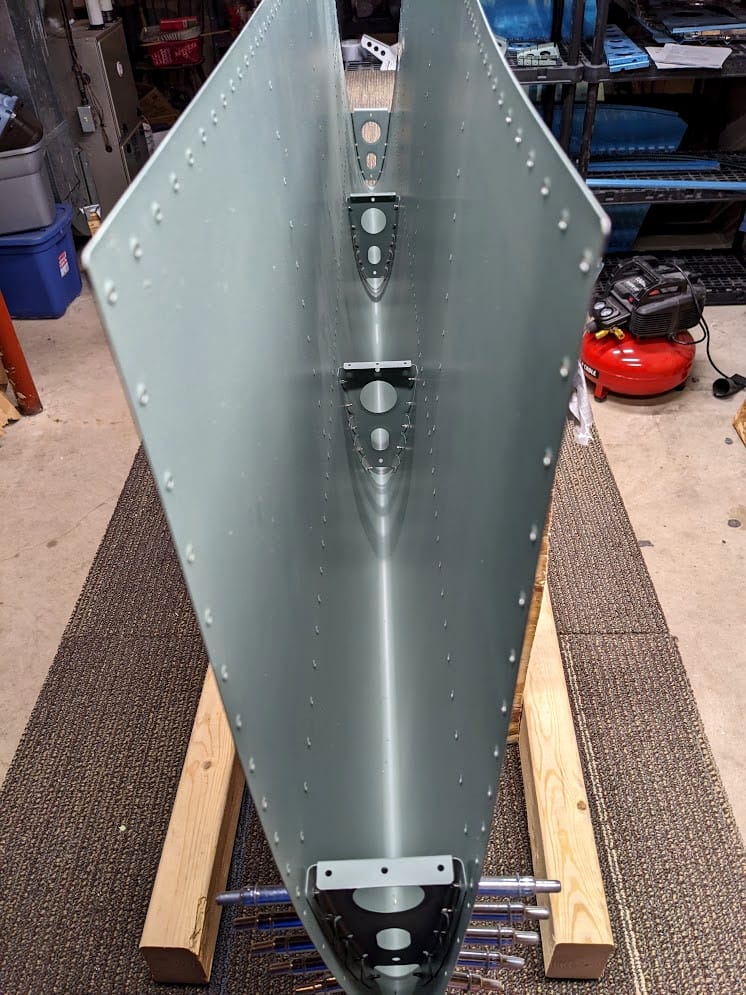
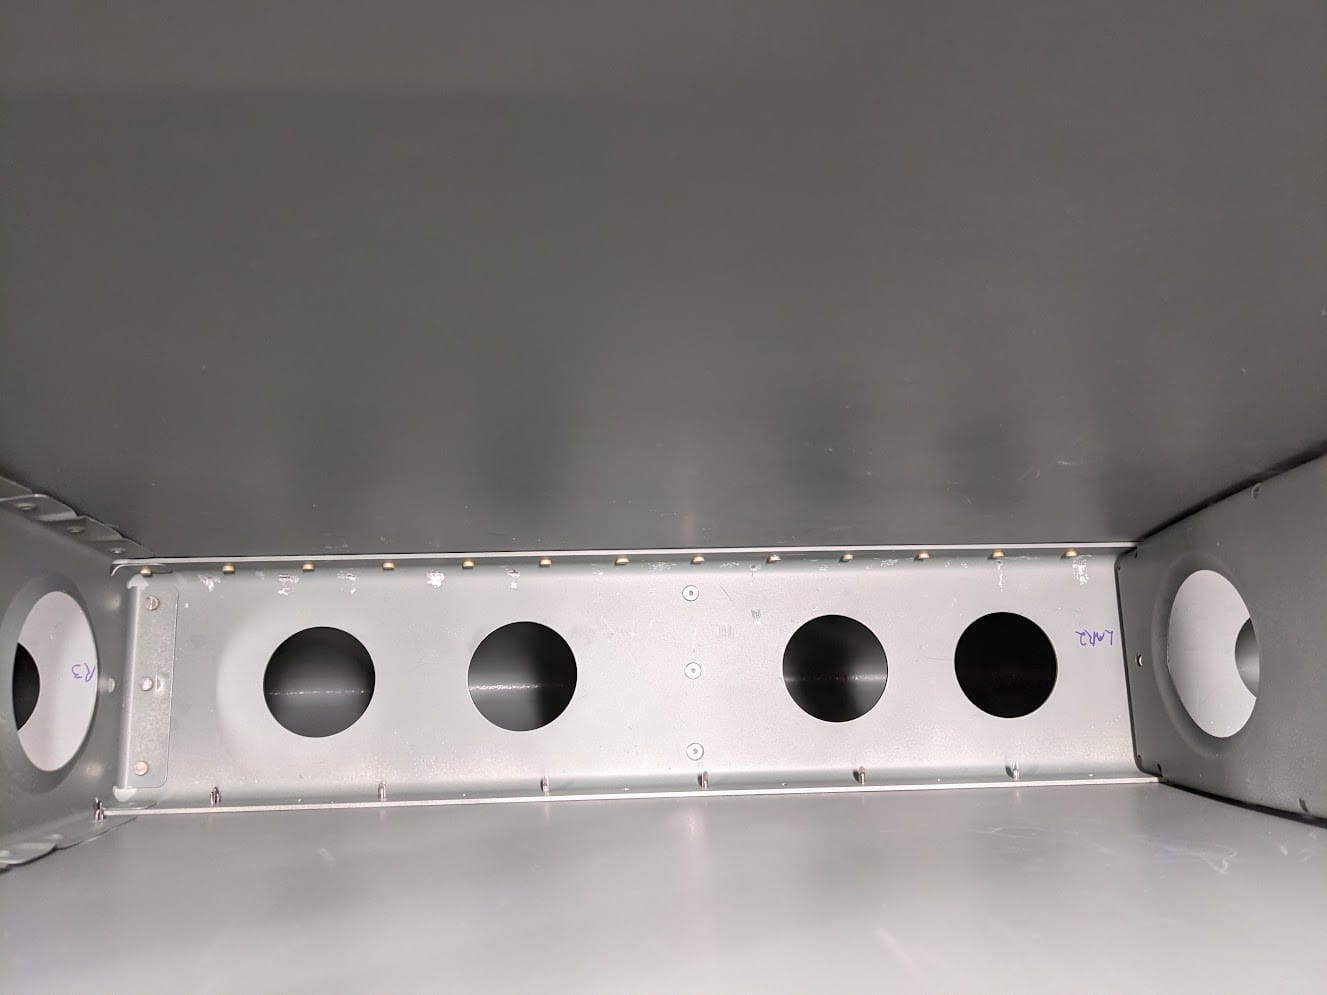
We are finally assembling the stabilizer though! It has been a long time coming.
Turns out this was the easy part when it comes to riveting. I was starting to feel okay about using the gun again after messing with techniques and watching some videos. So naturally the first step of putting a skin on is to do the nose ribs which are really hard to rivet.
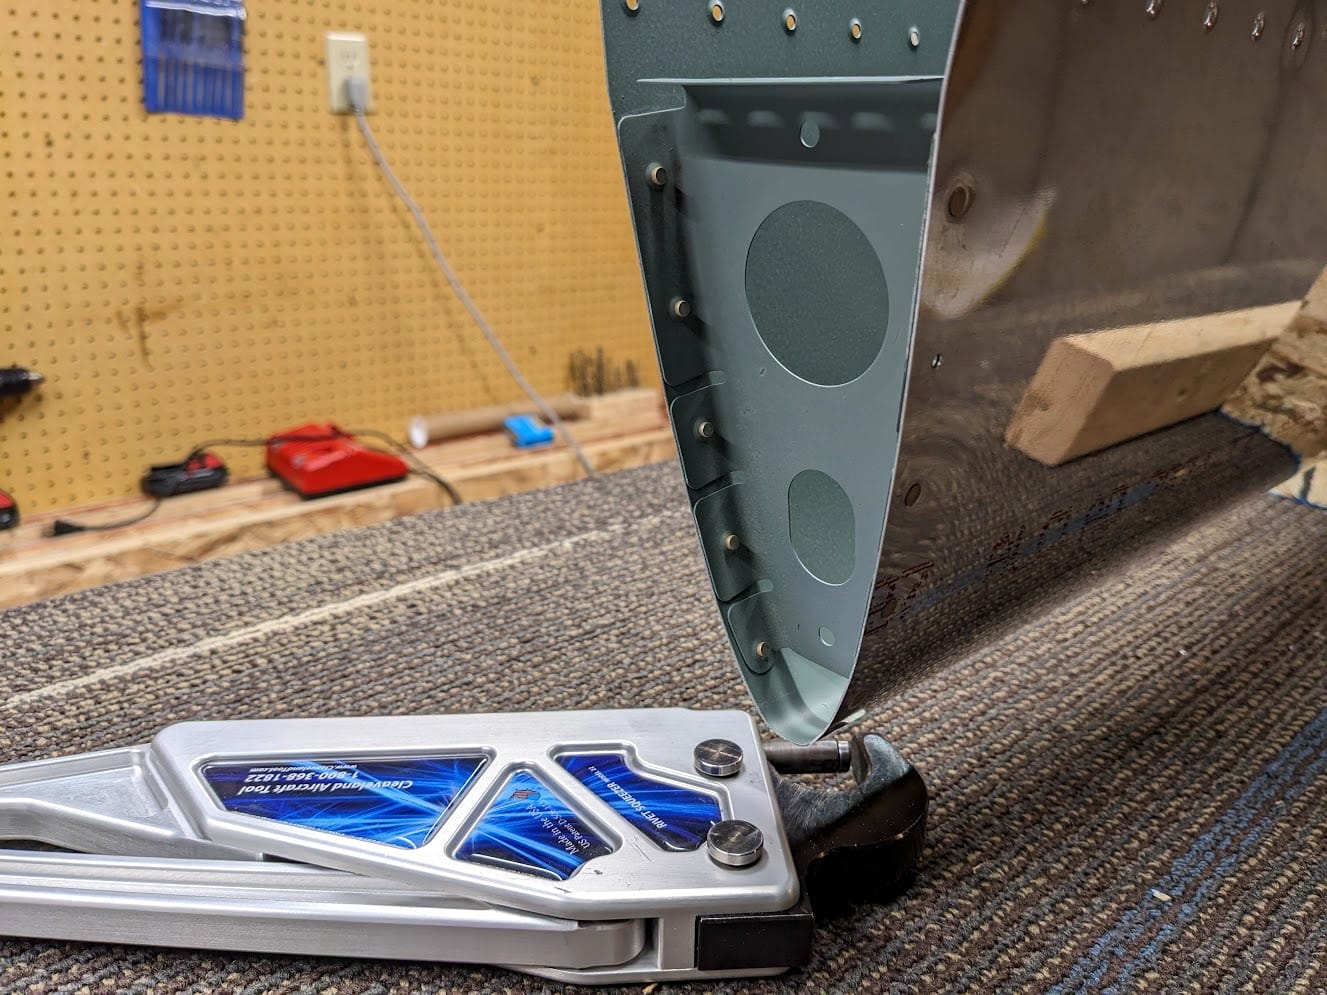
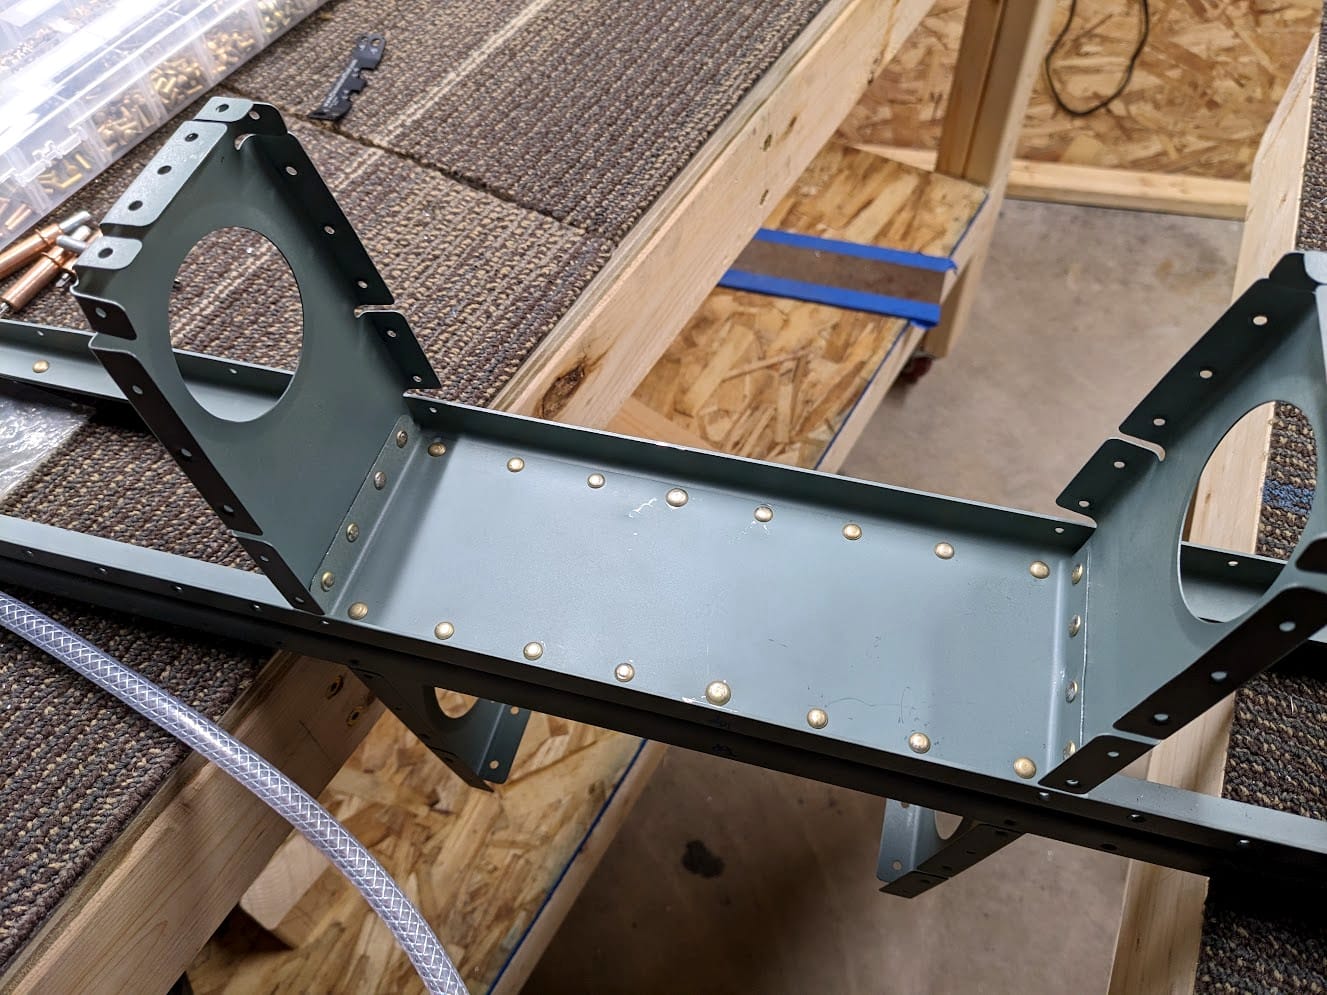
So of course I squeezed the end rib rivets. The other ones would require a flush rivet set though and while I don't have pictures I did mess up a hole that required fixing and generally invented a lot of swear words while riveting the parts. There is some minor skin damage from the flush rivet set as well because it slid off the rivet but I'll just have to fix it with body putty or something. It isn't major, and it give it character or some other justification.
The nose ribs got pull riveted to the spar when I dropped the spar in to the skin. Not a lot to say here, it was pretty easy to get the pull riveted in there and pop the rivets.

I dropped my bucking bar while working on riveting the skin. Here was a lesson about putting down a towel or something to prevent this. Lucky it didn't damage anything but it was quite annoying to get out.
Most of the rivets went okay. I did dent the skin when the gun slid down a little though. It is hard to get the gun from moving when it is bouncing all over the place so I continued to modify my technique and learn from it. I don't have more pictures of the damage because honestly it is kind of embarrassing to do all this work to screw up right at the end.
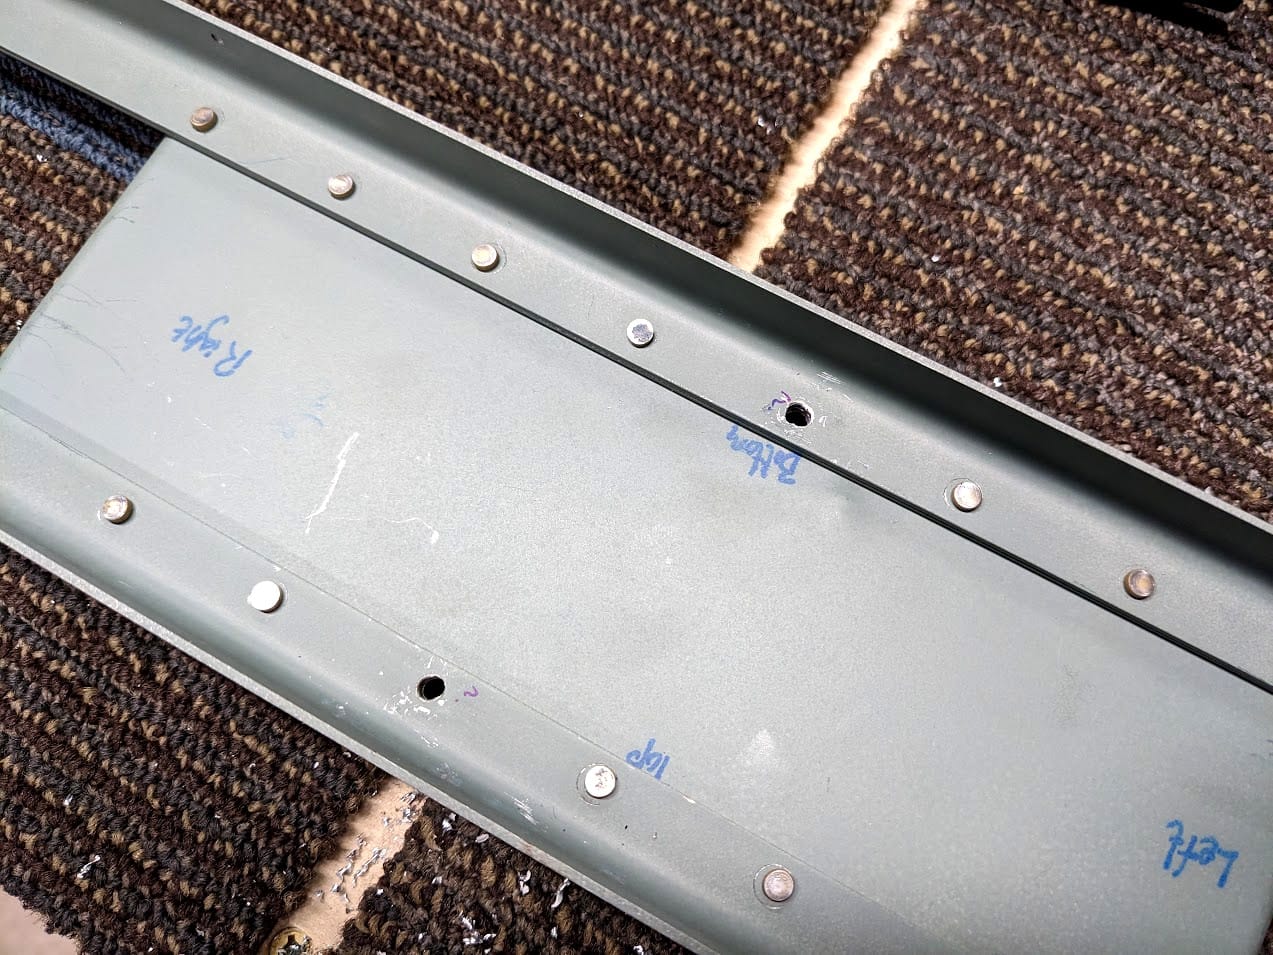
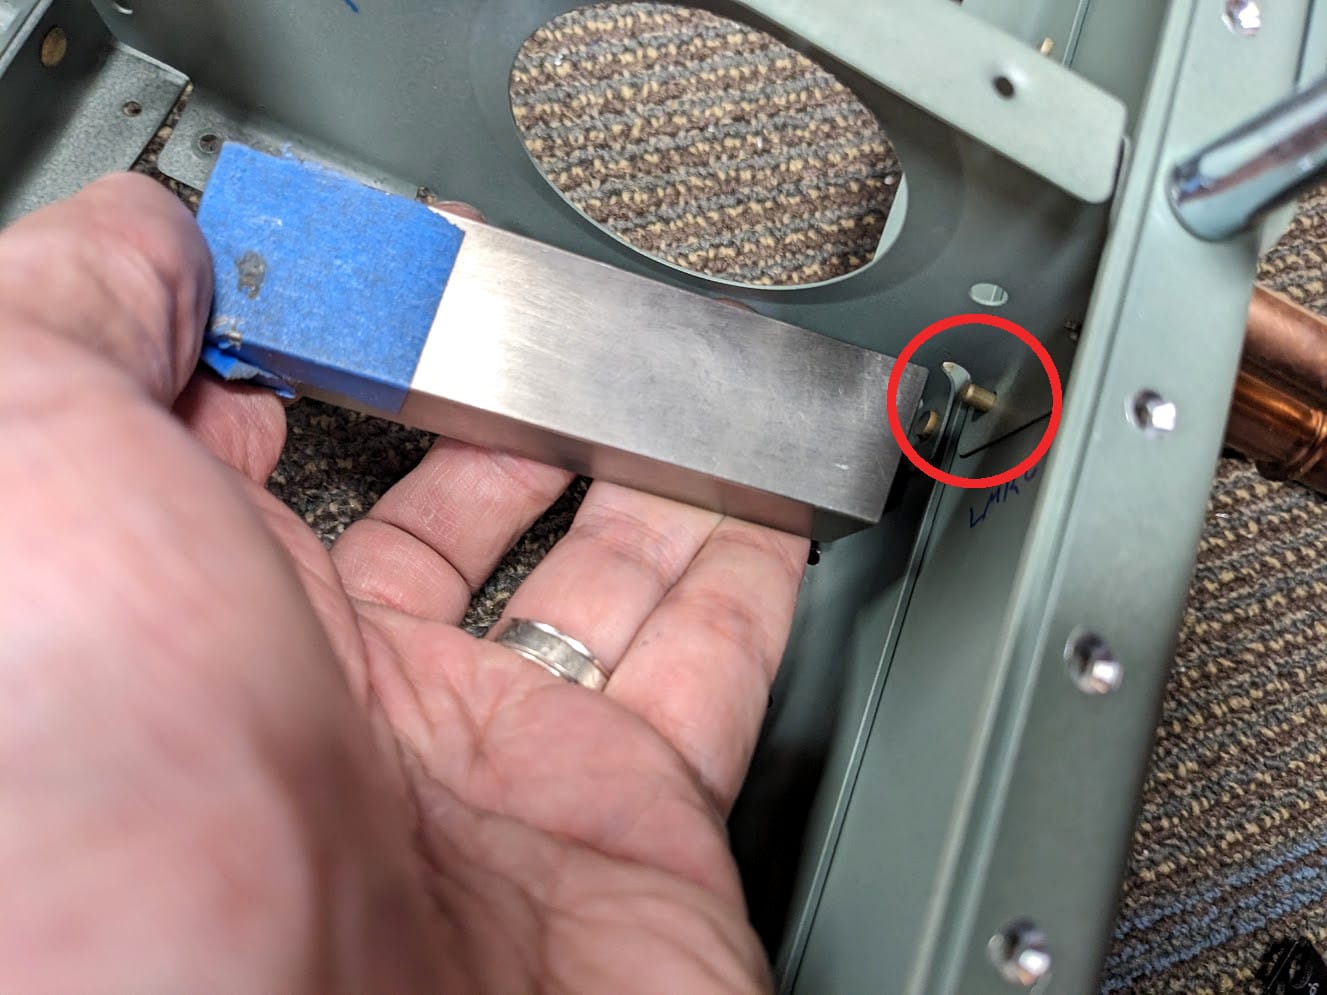
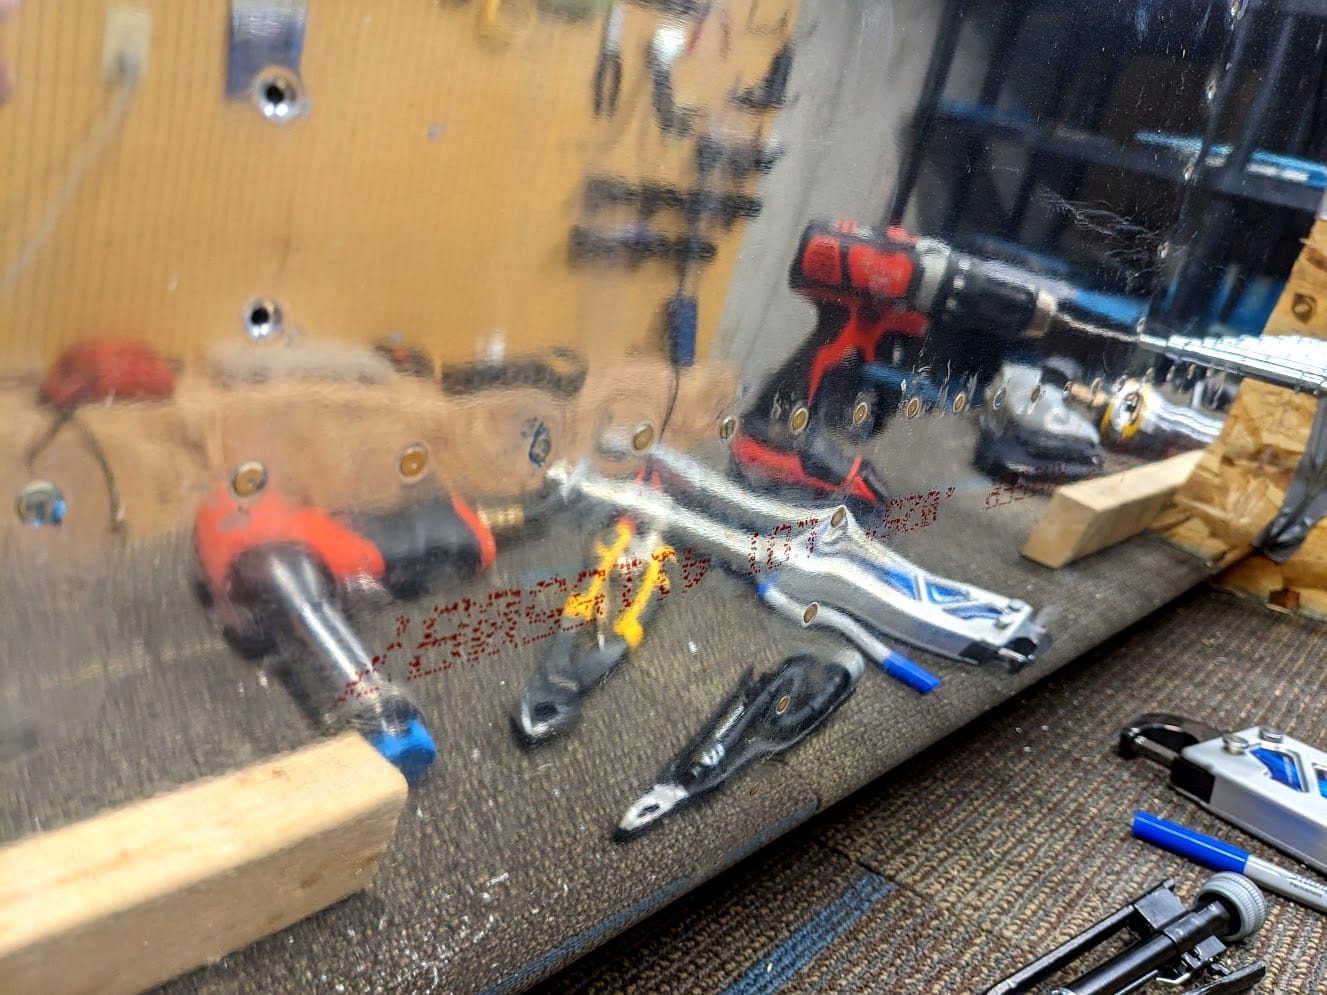
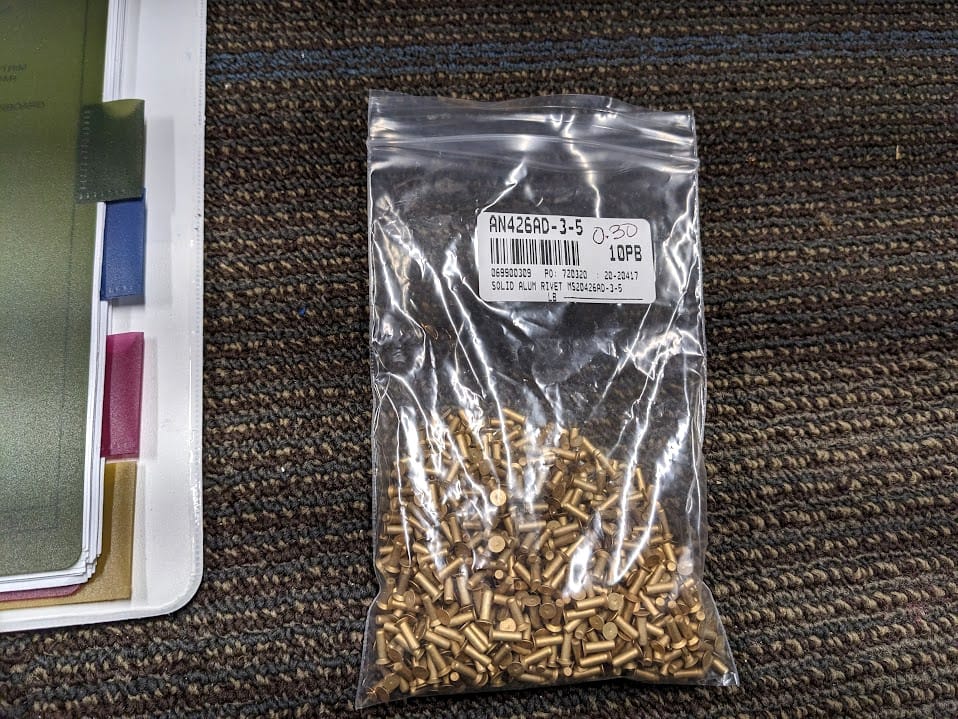
The bucking bar it beating the crap out of the spar too. I eventually come up with an idea to help prevent this but I'll have to clean that up and spray primer down in there to help protect it. Something fun happened when I was trying to use my rivets though...
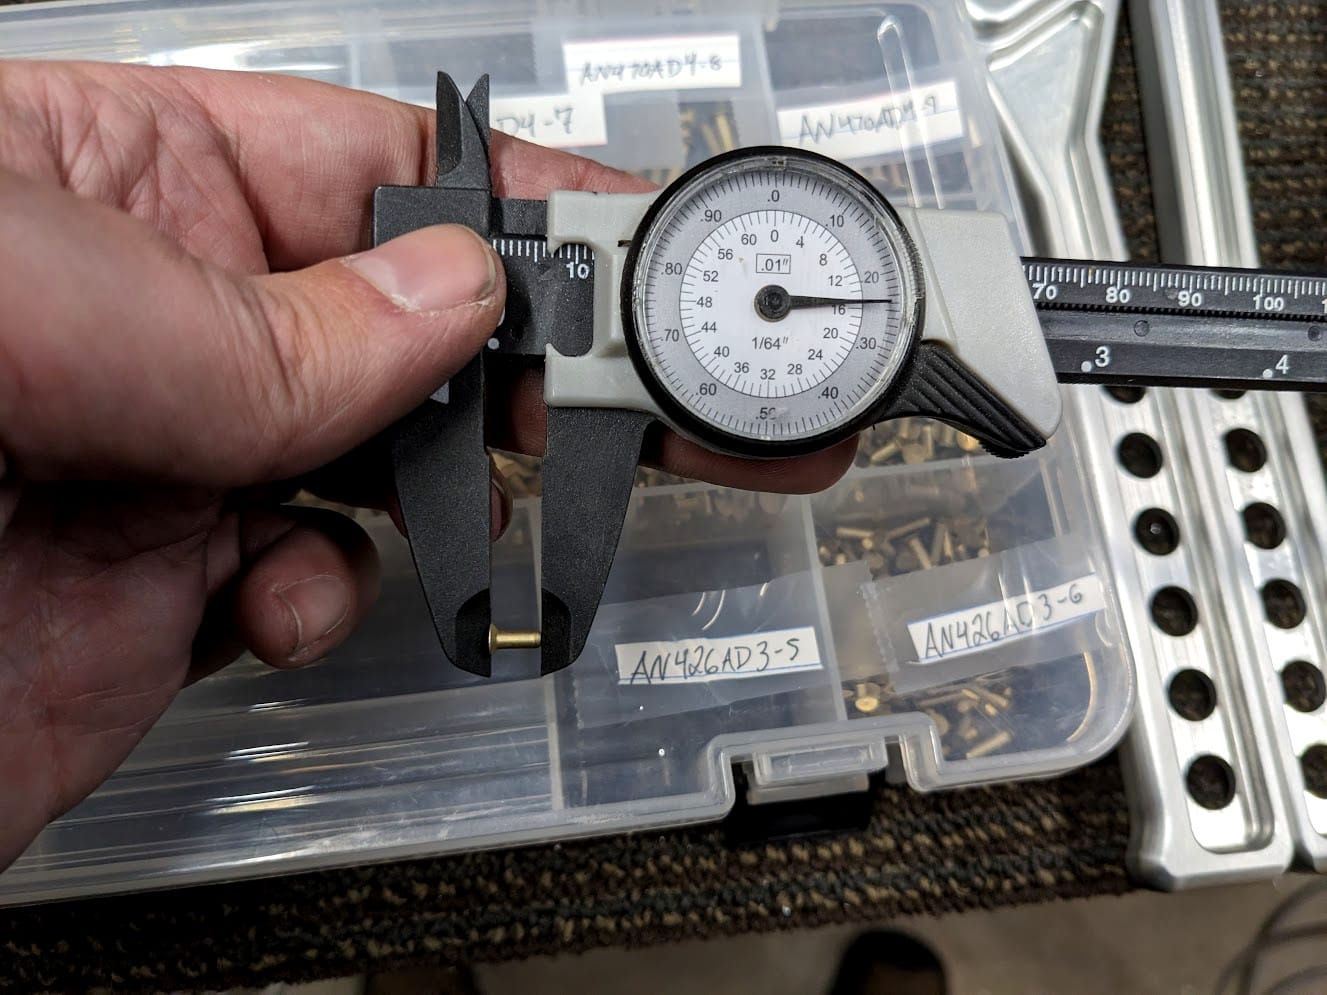
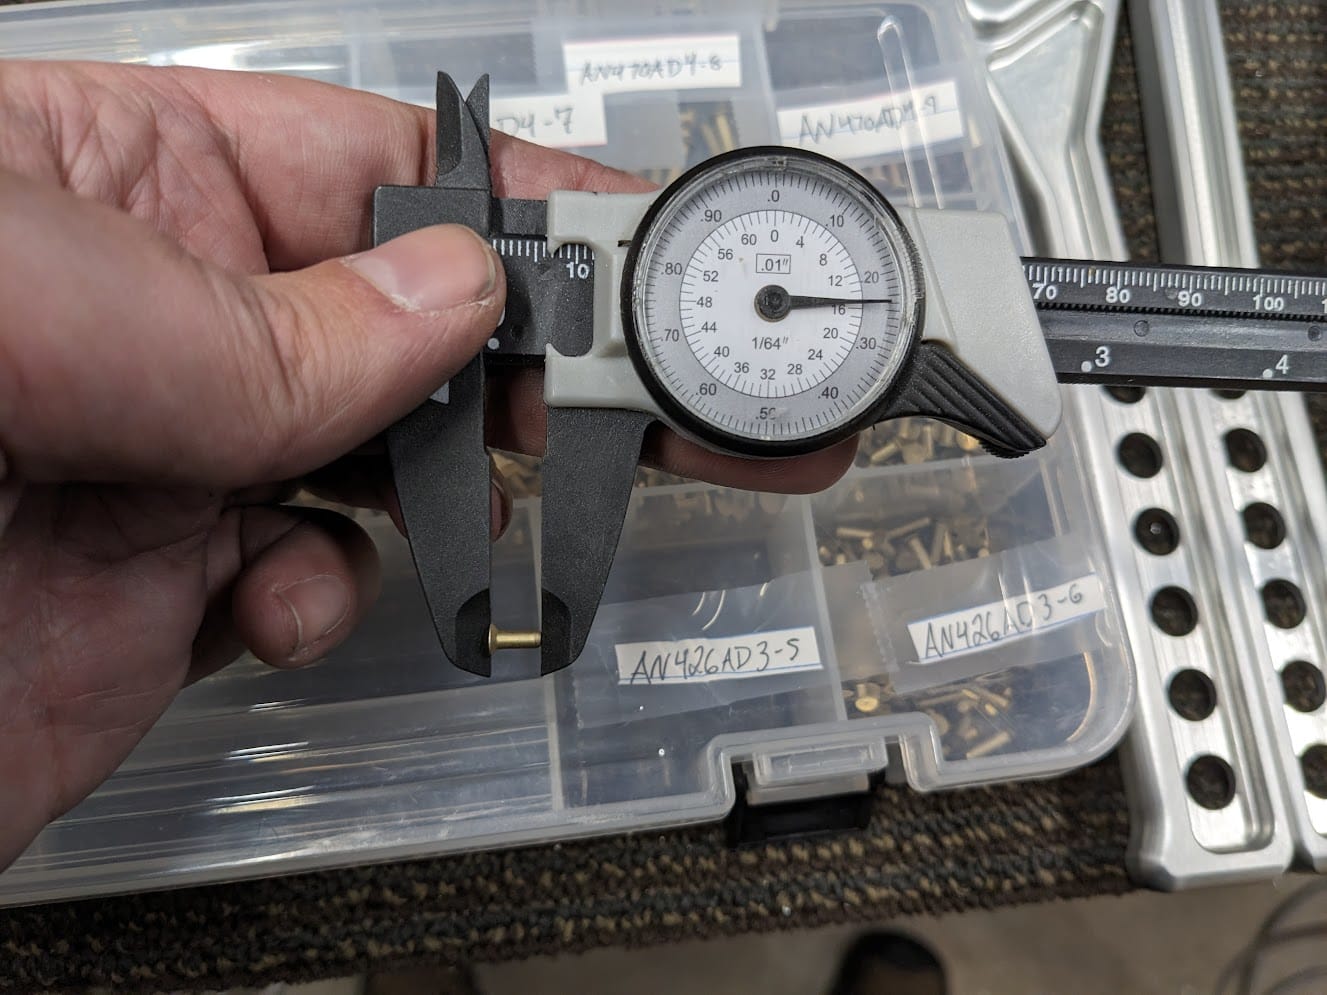
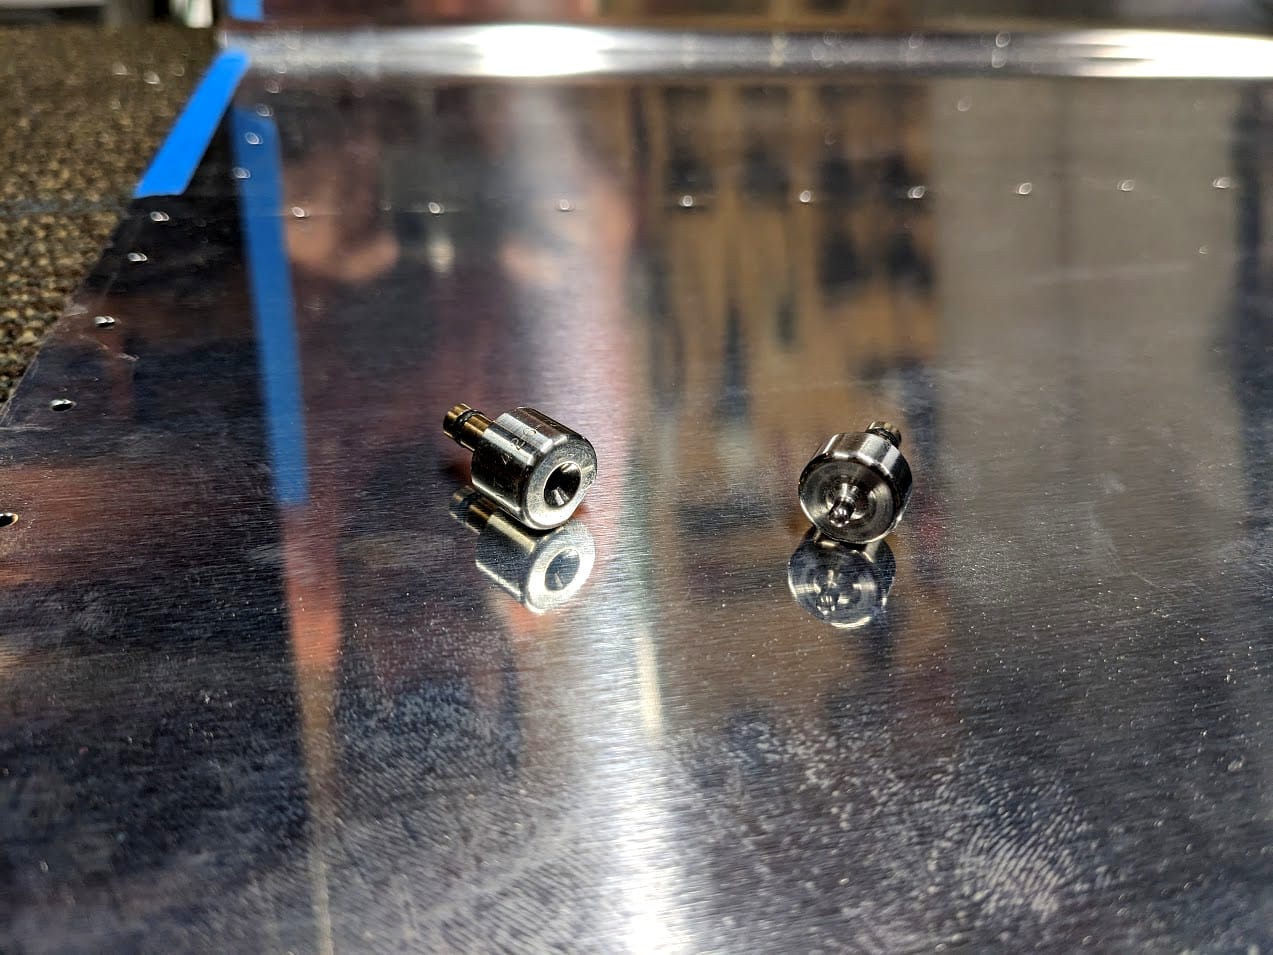
That is not an AD3-5 as the bag said it was. Lucky I didn't use any as I put the rivet in and it looked wrong. So I had to order the right sized rivet but it goes to show that other people make mistake too, not just me. I was sent the wrong size and didn't noticed because it wasn't like I measured every rivet.
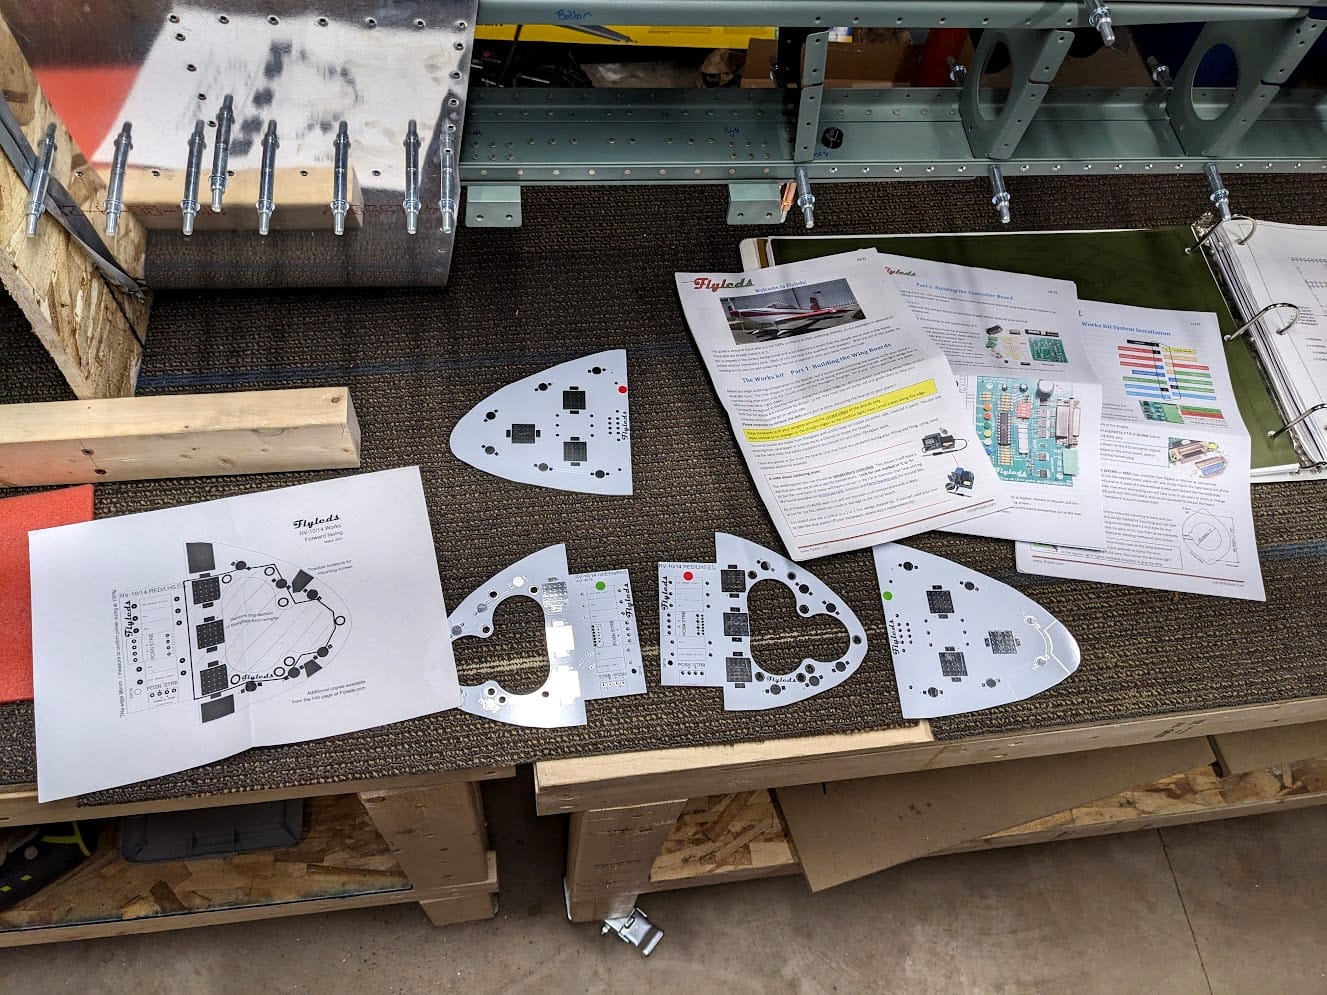
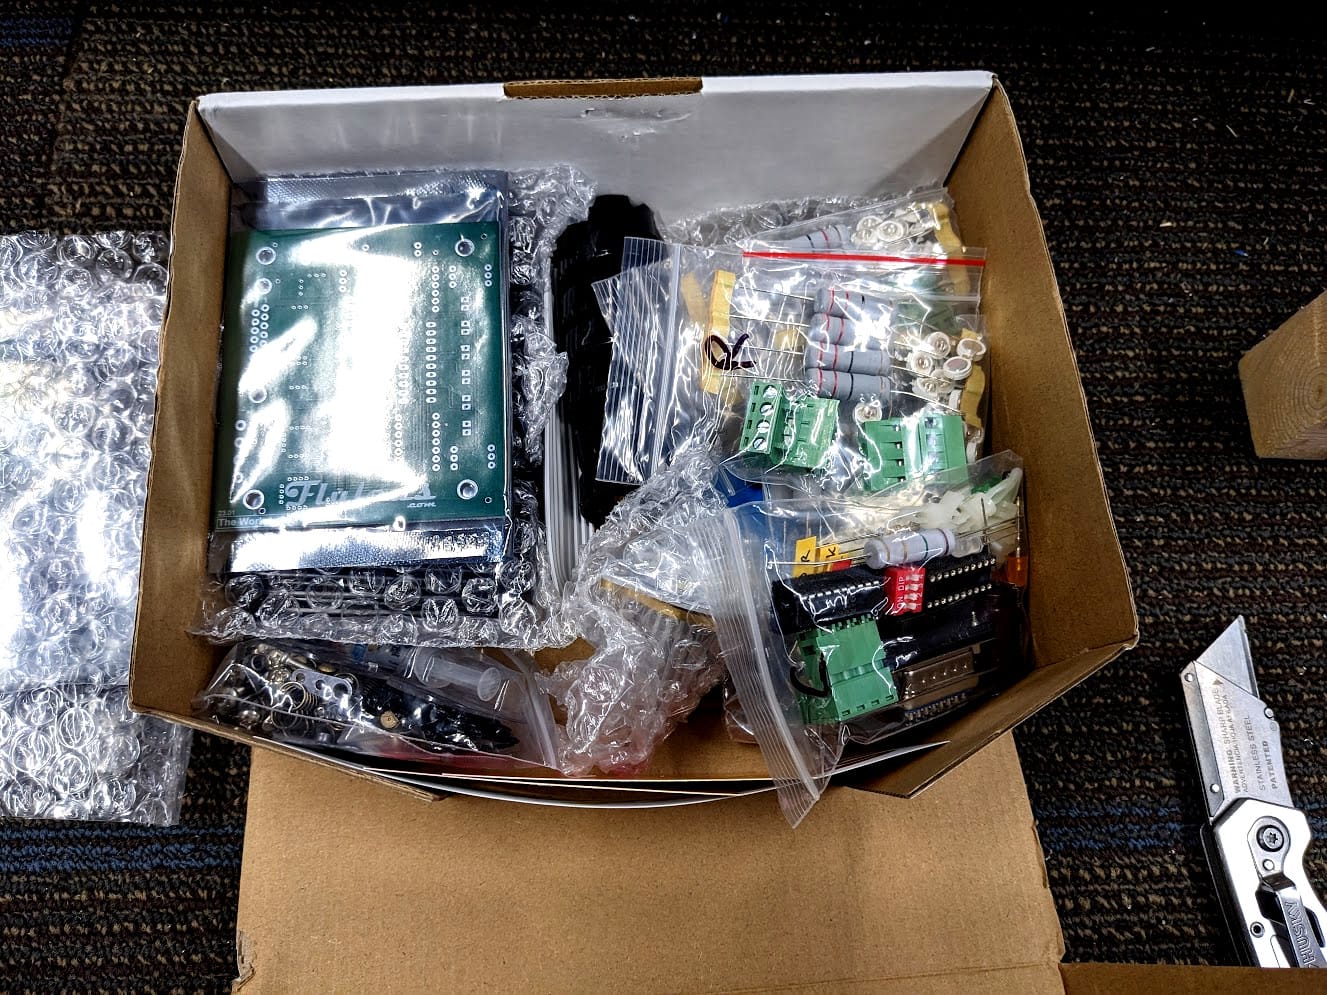
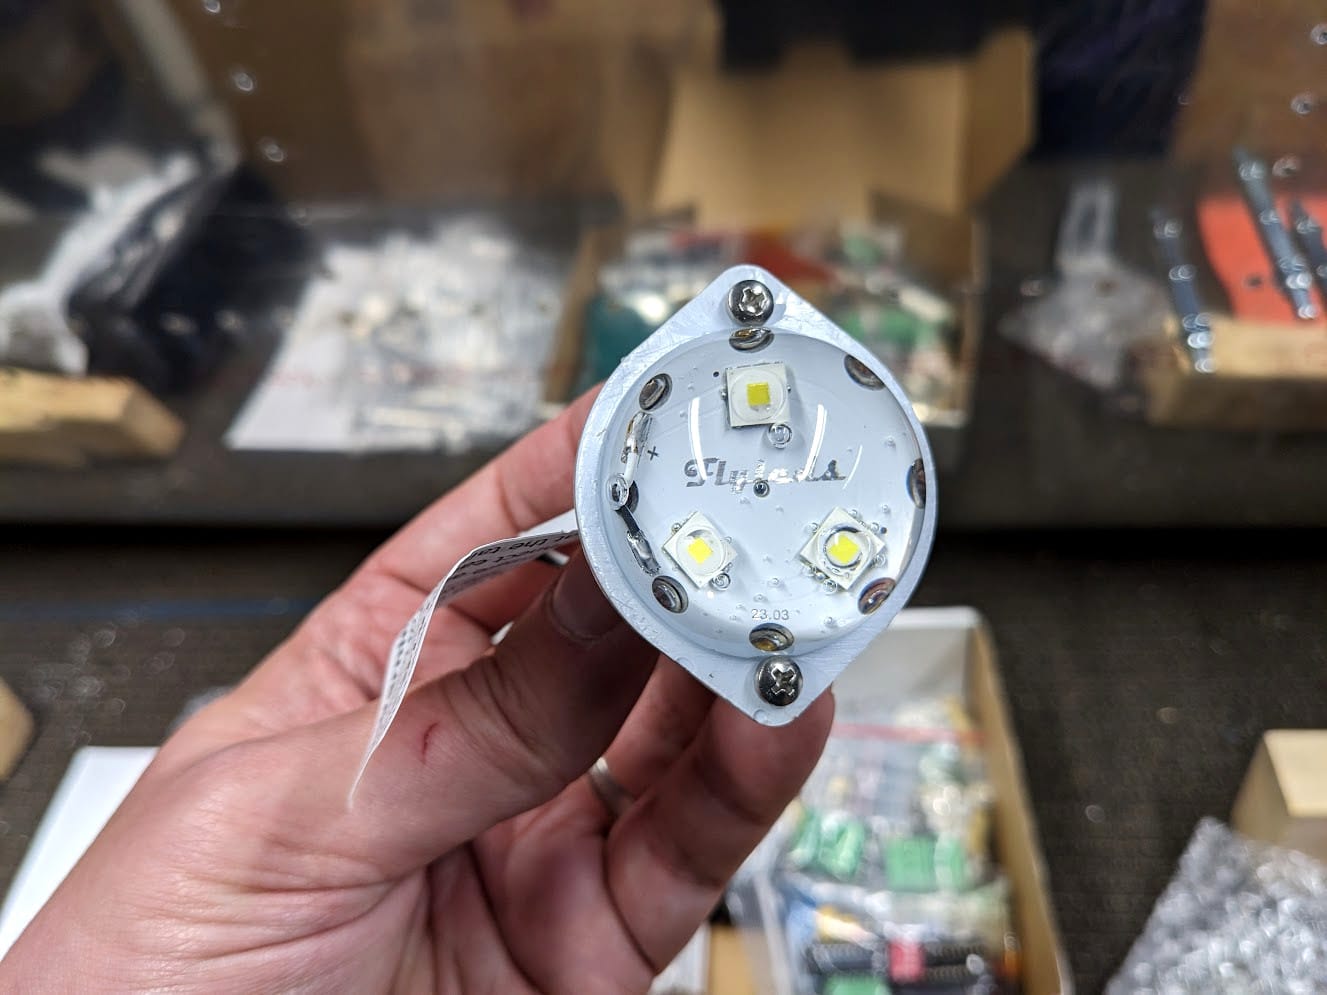
While messing around with everything my nav/position/landing lights showed up. It is a kit I have to assemble but at least that kind of work I've done before. I will probably work on that after I'm done with riveting the skins on but it is good cold weather activity for sure.
Oh hey, those rivets I wanted showed up while I was busy doing other things. That is good.
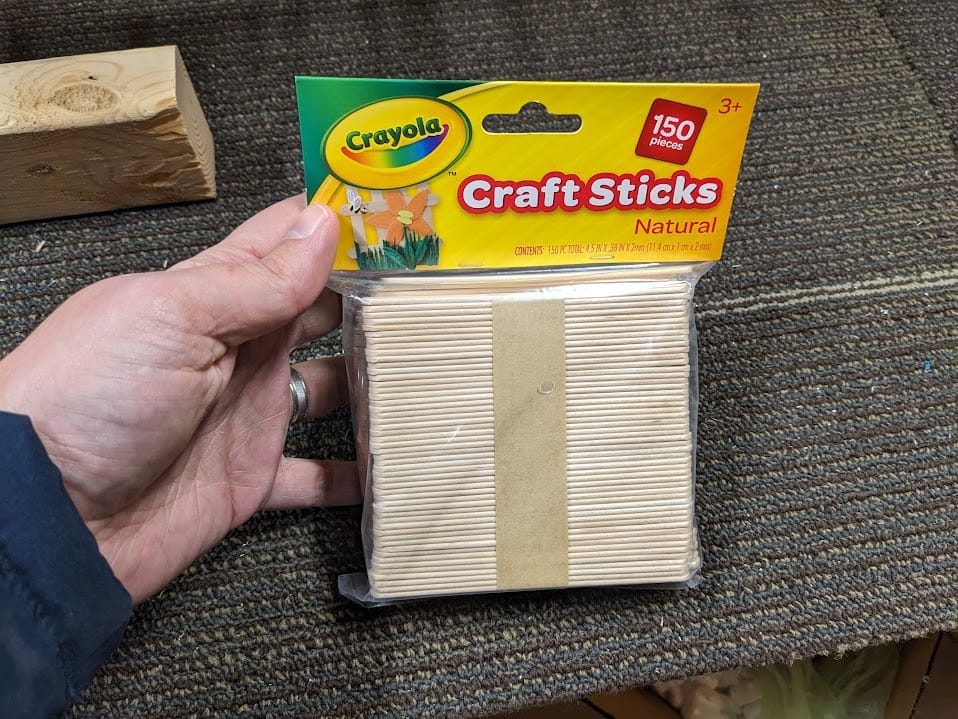
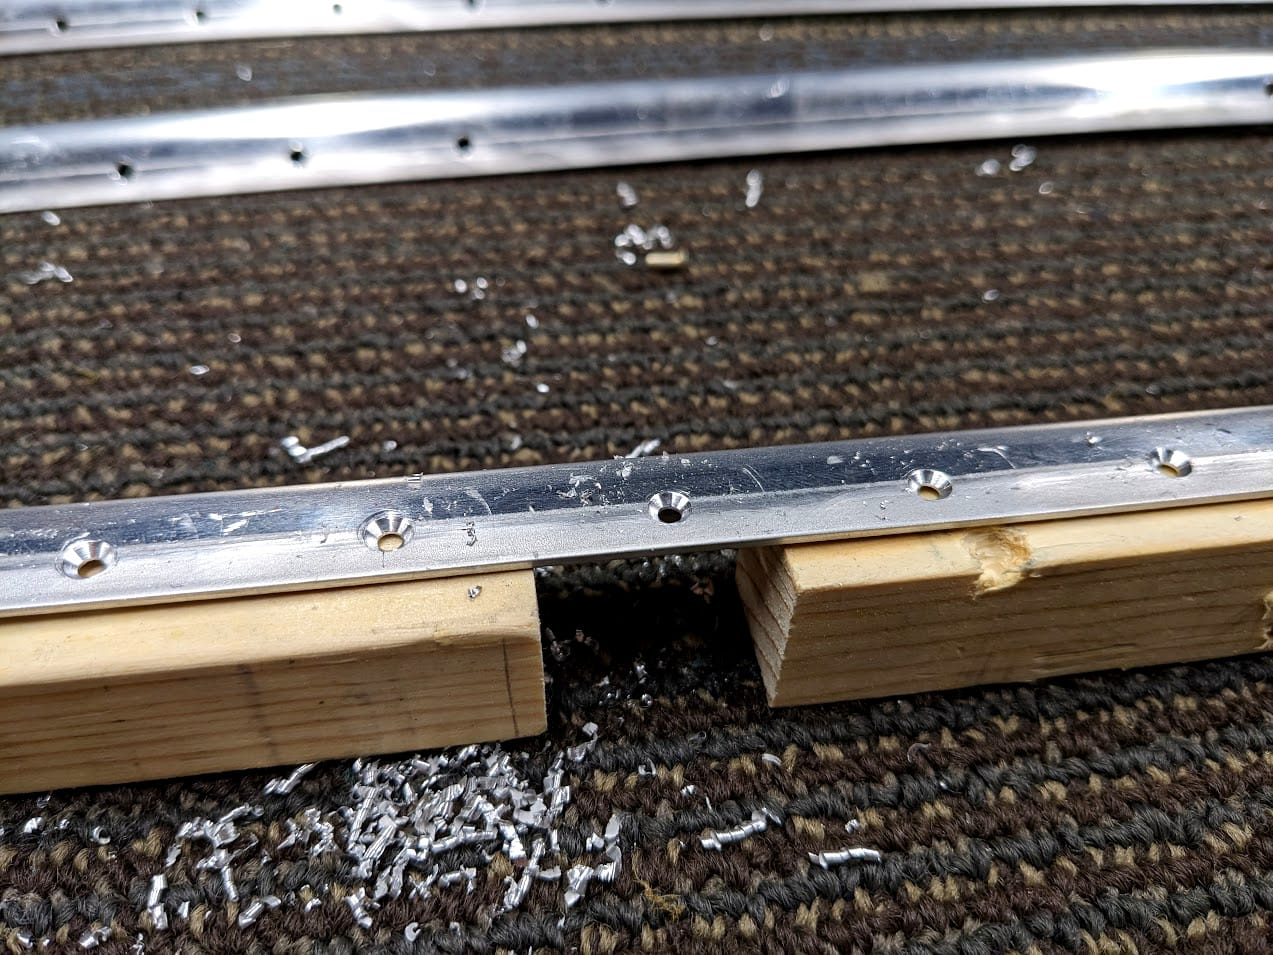
These craft sticks are my solution to the bucking bar beating up my spar. I can make a spacer taped on to the bar that will keep it from hitting things that aren't the rivet.
That is all the work I've gotten done up to this point. There was a lot going on that prevented working on the plane in real life space.

My kid turned two!
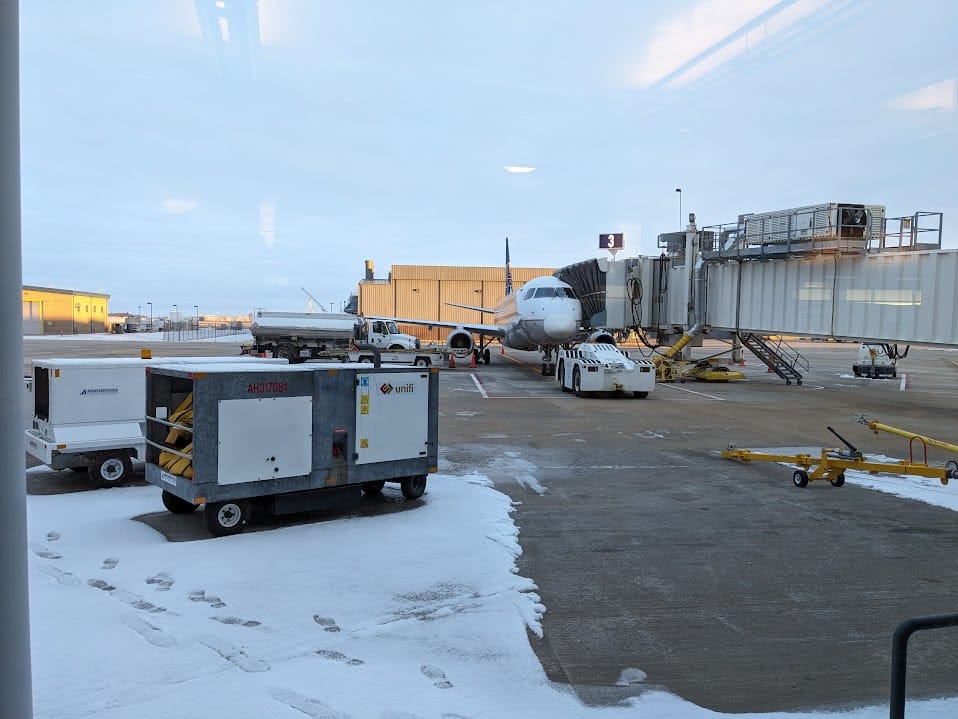
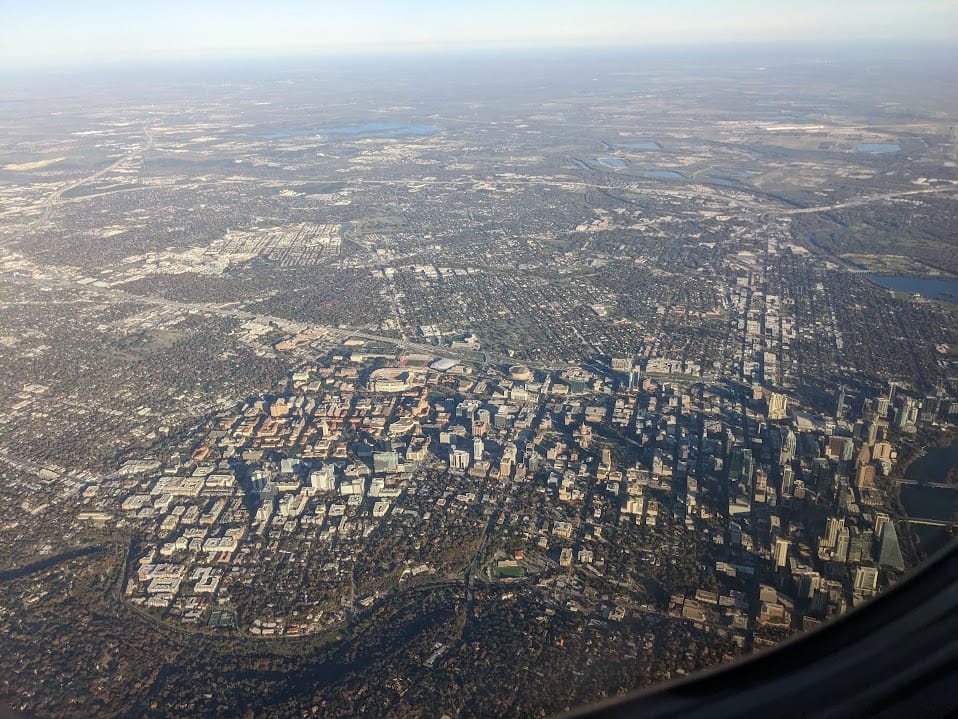
I had to travel to Austin, Texas for work.

I did get to get night current though!
My EAA chapter continues to build their Murphy Rebel.
Finally, some of you have probably heard but Van's has filed Chapter 11 bankruptcy. This is a mixed blessing as it means I can continue work on the aircraft and expect Van's to be around for a while still but it will cost me ~32% more for the remaining kits... which is about $15,000 MORE. This will definitely cause the whole build to take longer, but given that I'm not moving very fast anyway it probably isn't that big of an issue (except that it will cost me more money). I am still not thrilled about it though.
More about Vans pricing and ordering policy changes here
More about Vans Chapter 11 Reorganization here
So in closing, work is coming along slowly and it is the holidays so I expect it will continue to be slow for a while. Thanks for stopping by and seeing what's up though! As a reminder, I do post smaller and more frequent updates on my dedicated Fediverse build account. Feel free to check that out if you are interested. Otherwise I will continue to do recaps on this blog.
I hope everyone out there has a good end of the year!