New Year, New Completed Part

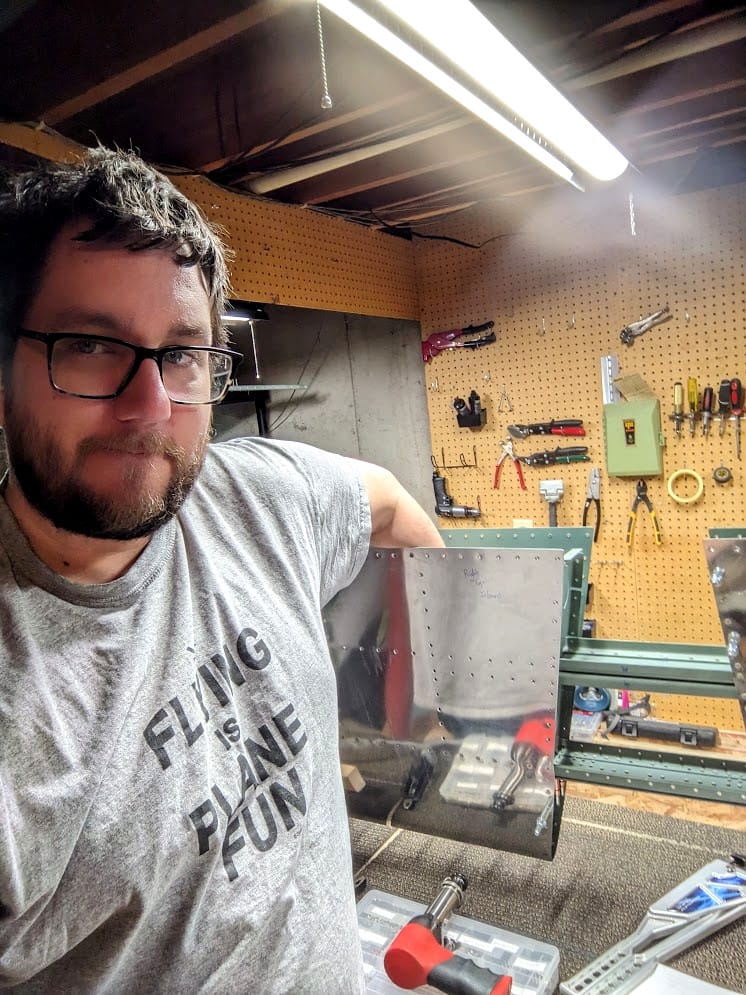
I looked it up and I began working on the Horizontal Stabilizer back on August 19th 2023! That means it took me 136 days from starting work on the parts to putting the last rivet in. It is definitely a long process (more so if you have limited free time like pretty much everyone). Let's see what the final 25 hours or so looked like in a brief photo barrage.
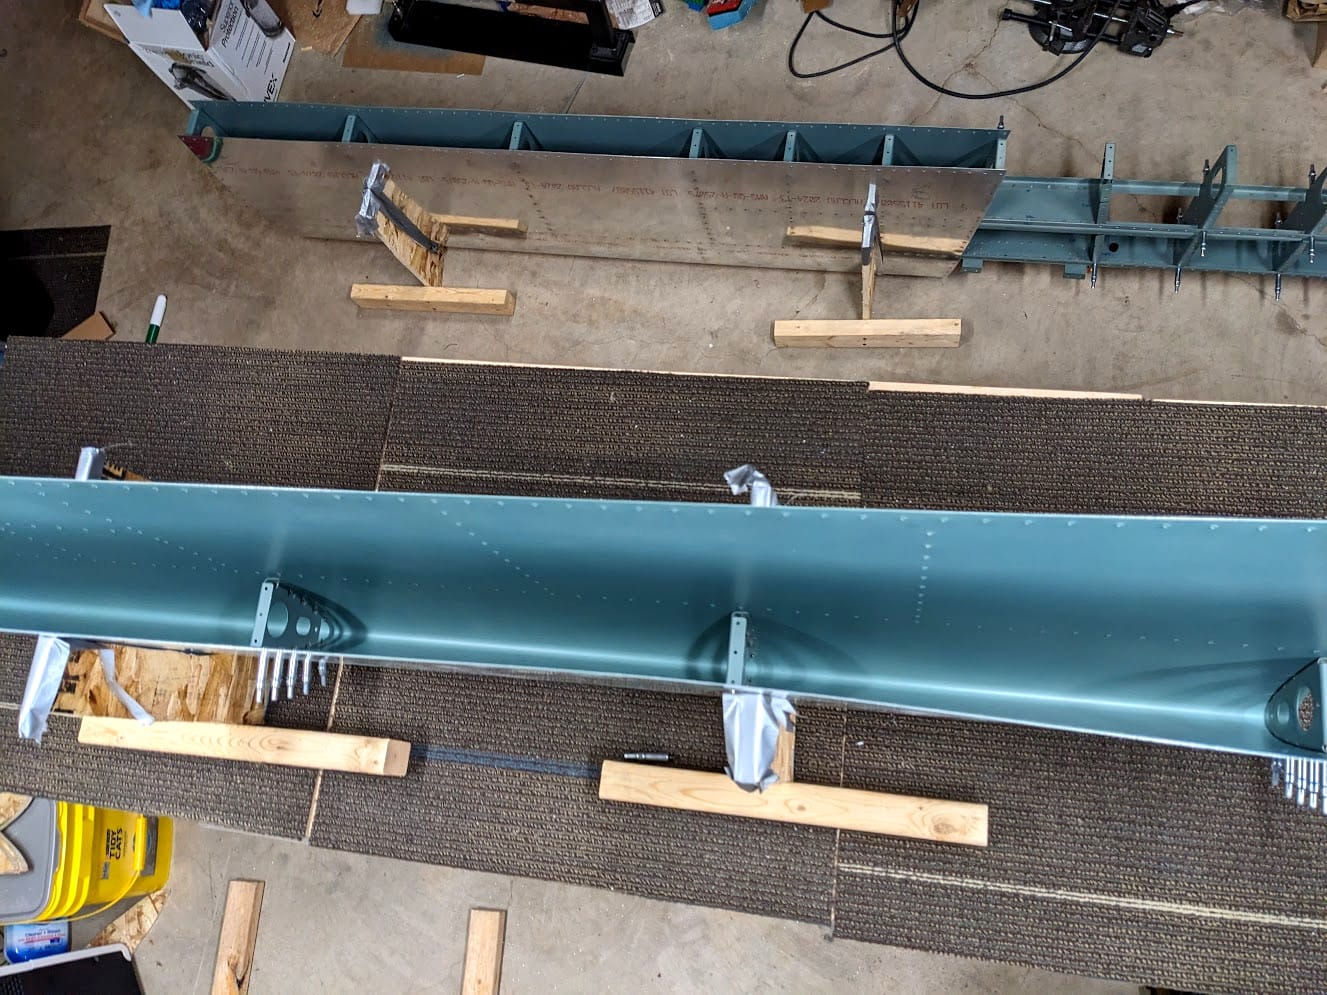
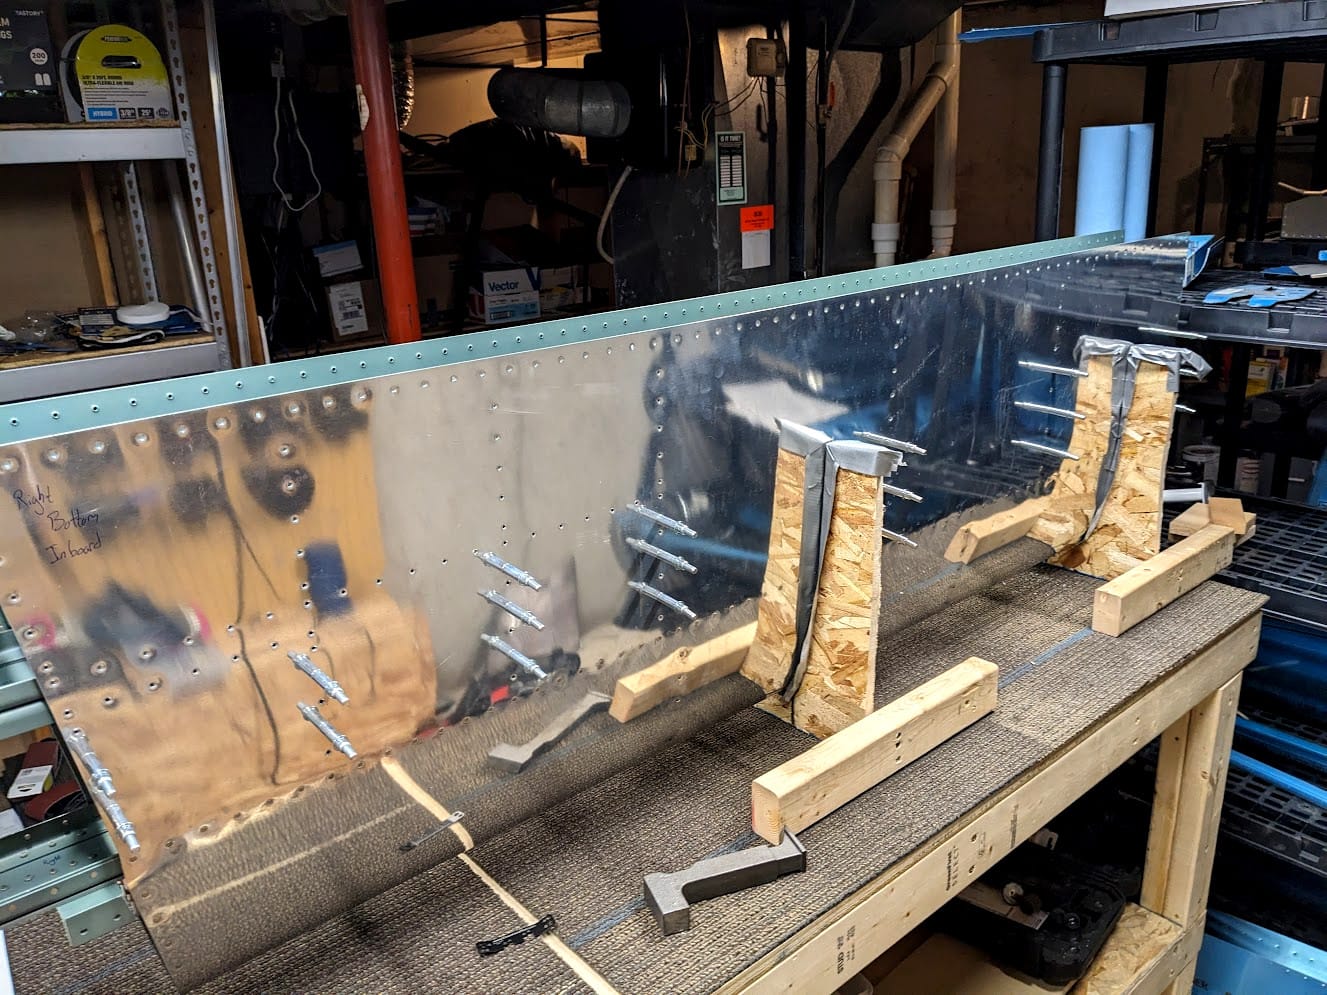
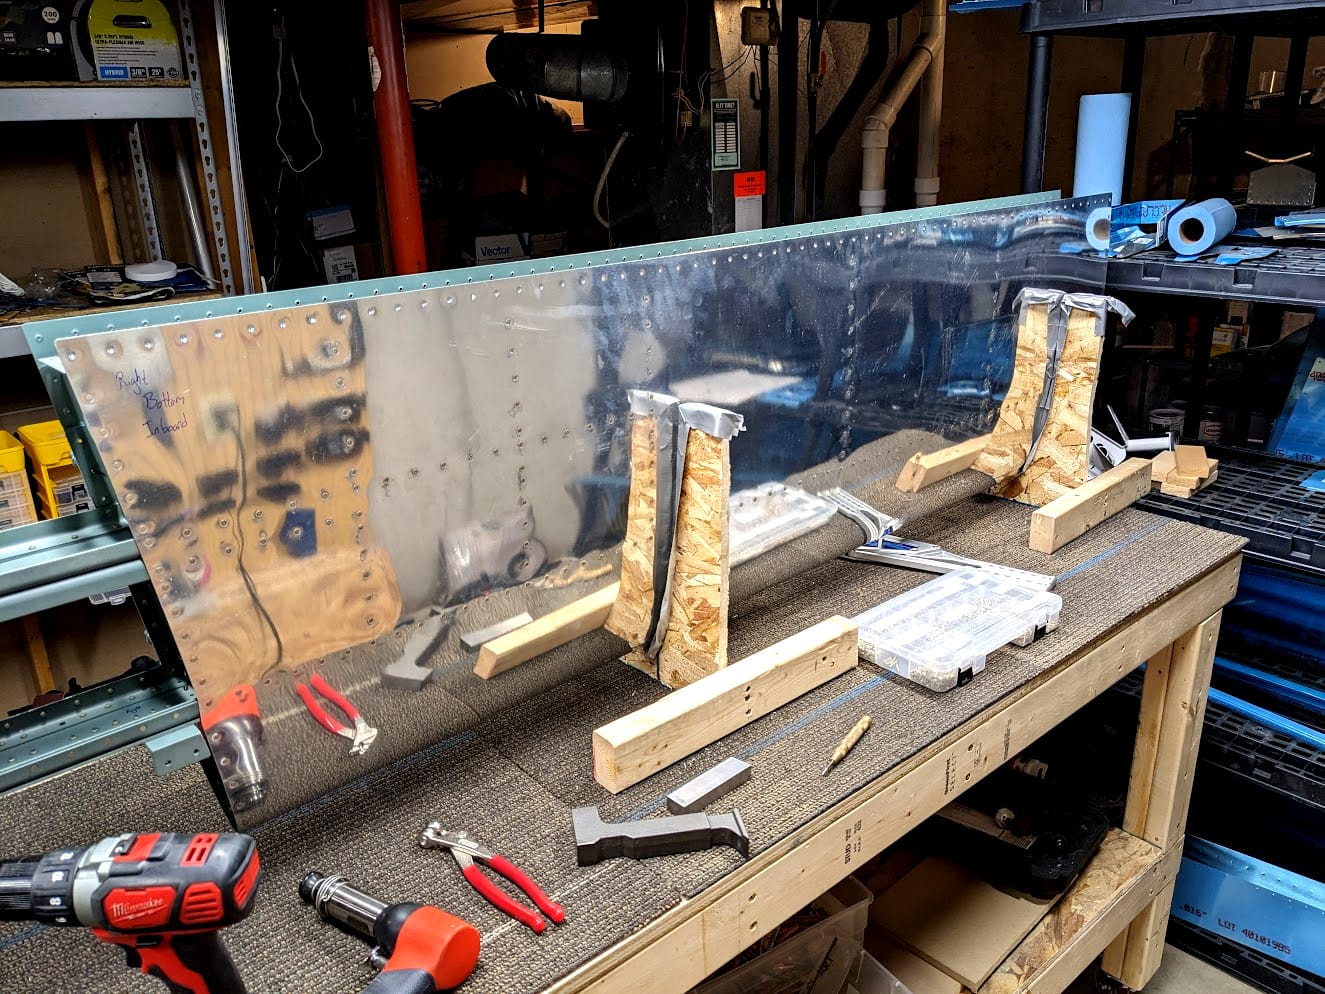
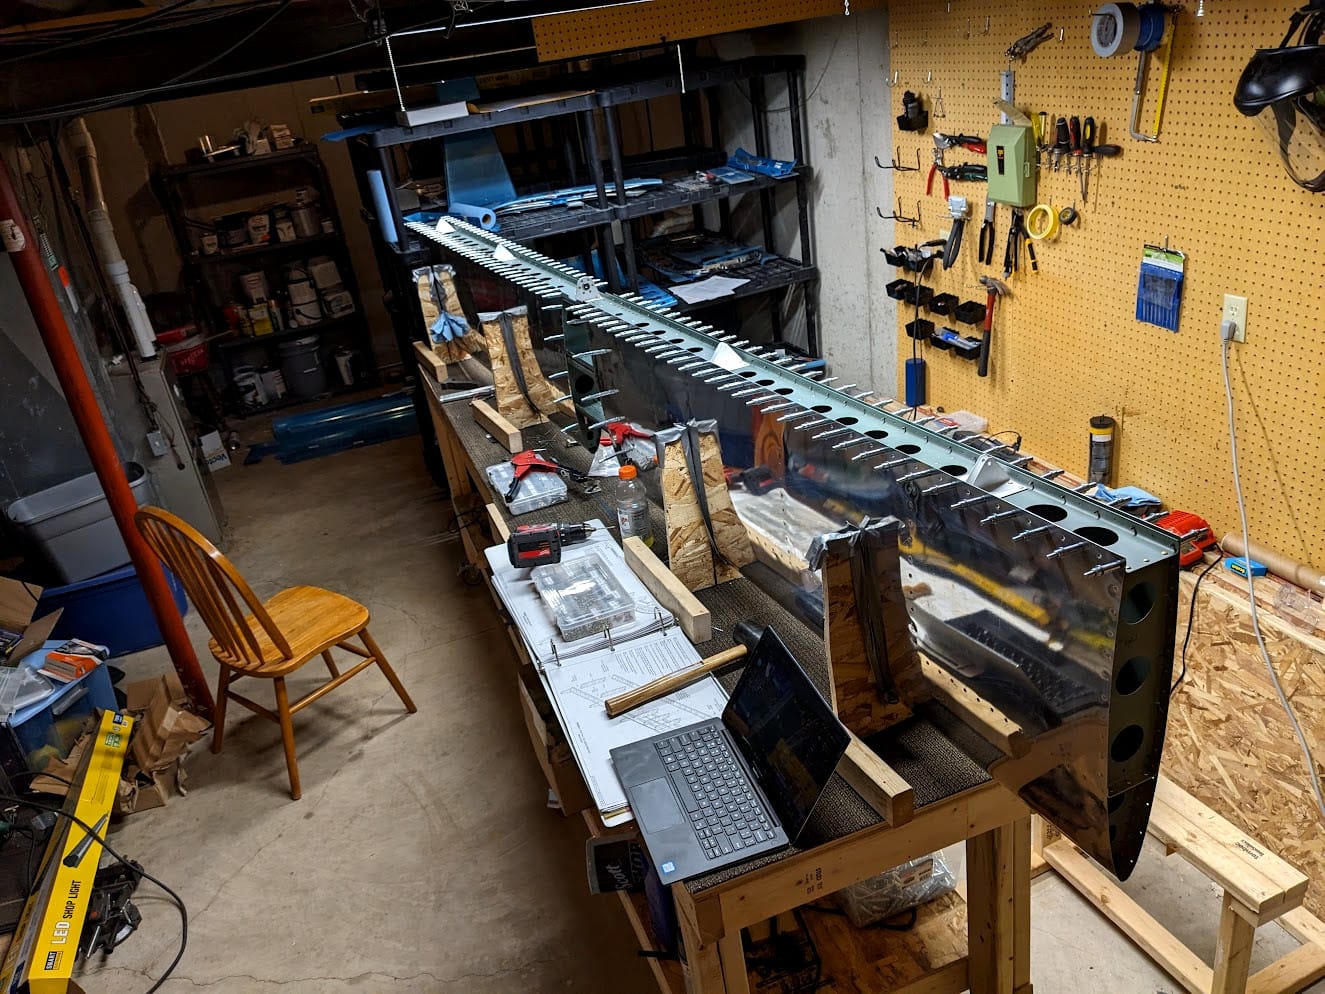
To this point I had riveted the skin to the front spar and started riveting up the ribs to the stiffeners. It is important to rivet in sections and not make the space so restrictive that you can't access it for other rivets. This means riveting "bottom-up" as the stabilizer sits on the workbench.
This is the same result but on the top-left side of the stabilizer. I still wasn't super comfortable riveting in the stabilizer and my bucking bar beat up the spar pretty badly in some spots. I later went back and sanded those areas the best I could and put more primer on it. A good trick here was to switch bucking bars to the bigger steel one I could hold better so it didn't go all over the place. Trial and error learning how to rivet better.
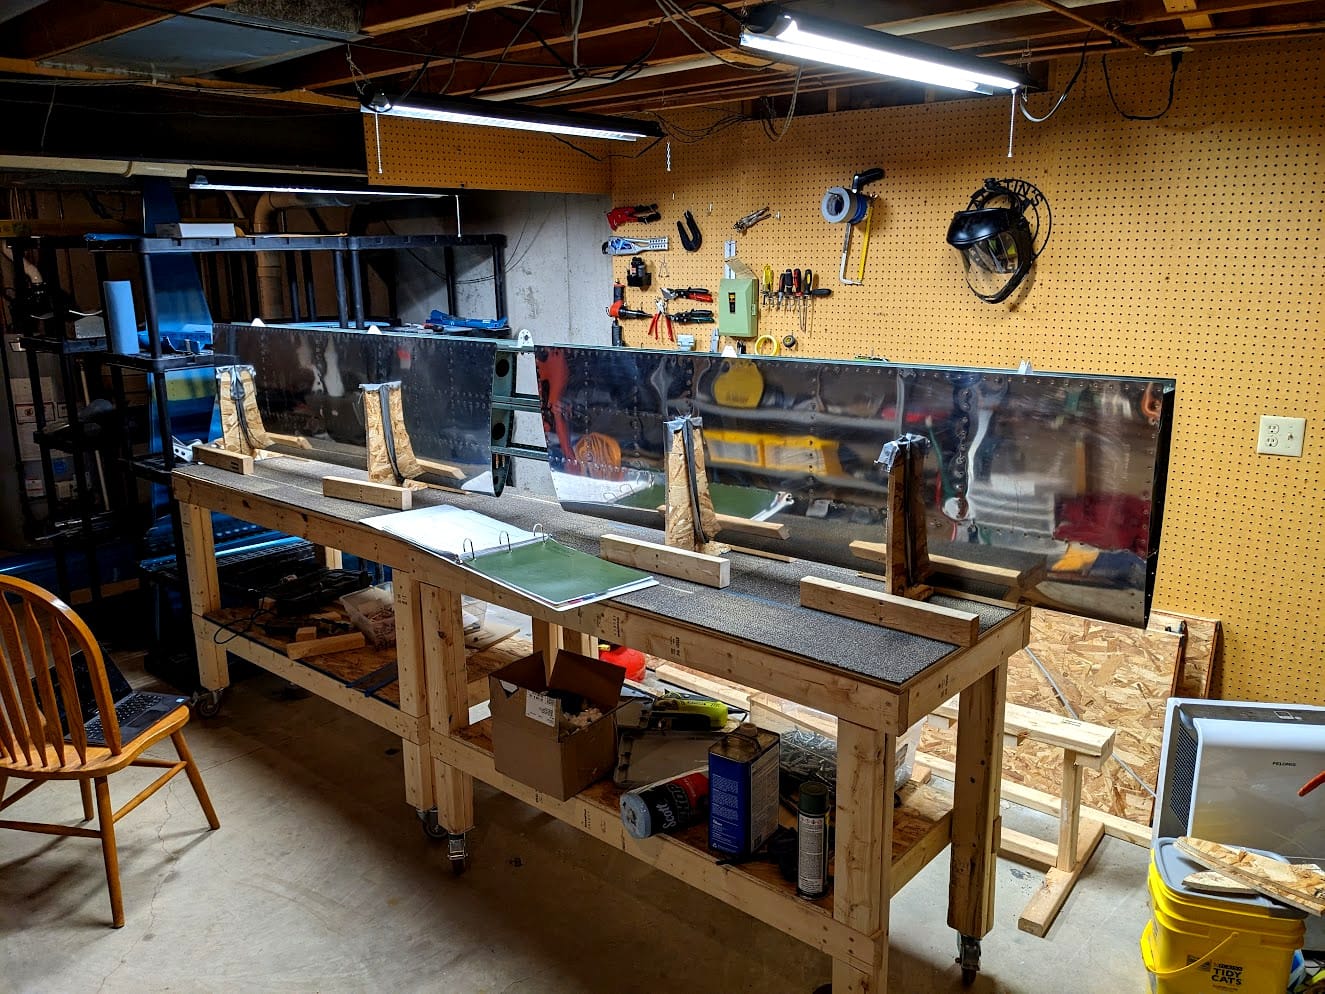
Skipping ahead, here is the bottom of the left side riveted all the way to the rear spar location. Conversely...
There is the top. That makes one whole side done and almost half way there for the skins. I have some better pictures further down showing how tight the riveting was with the stiffeners in place but for this first part I was just trying to focus on learning how to rivet better.
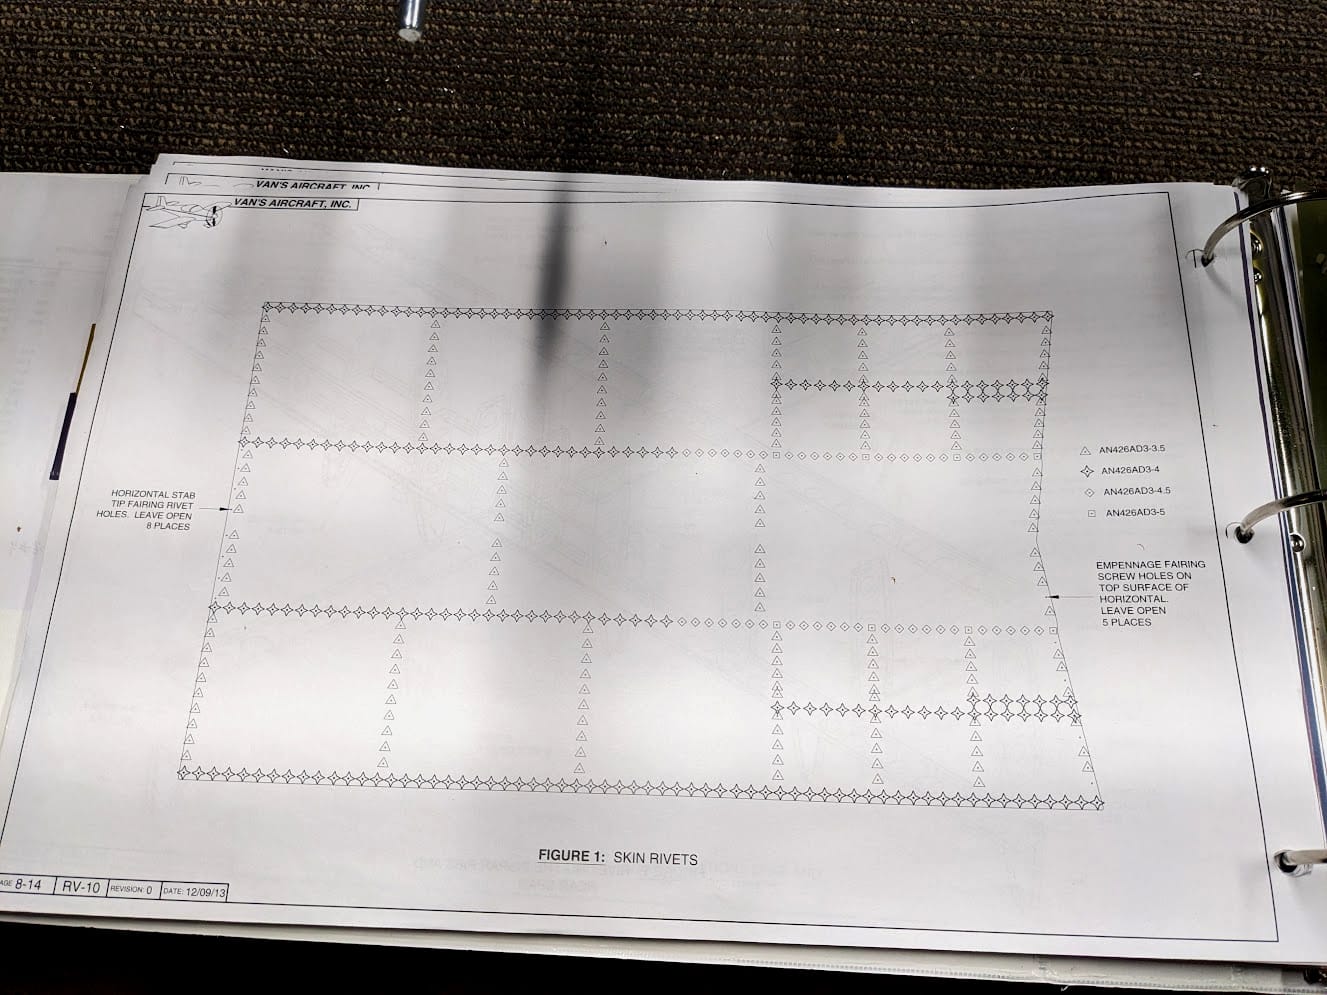
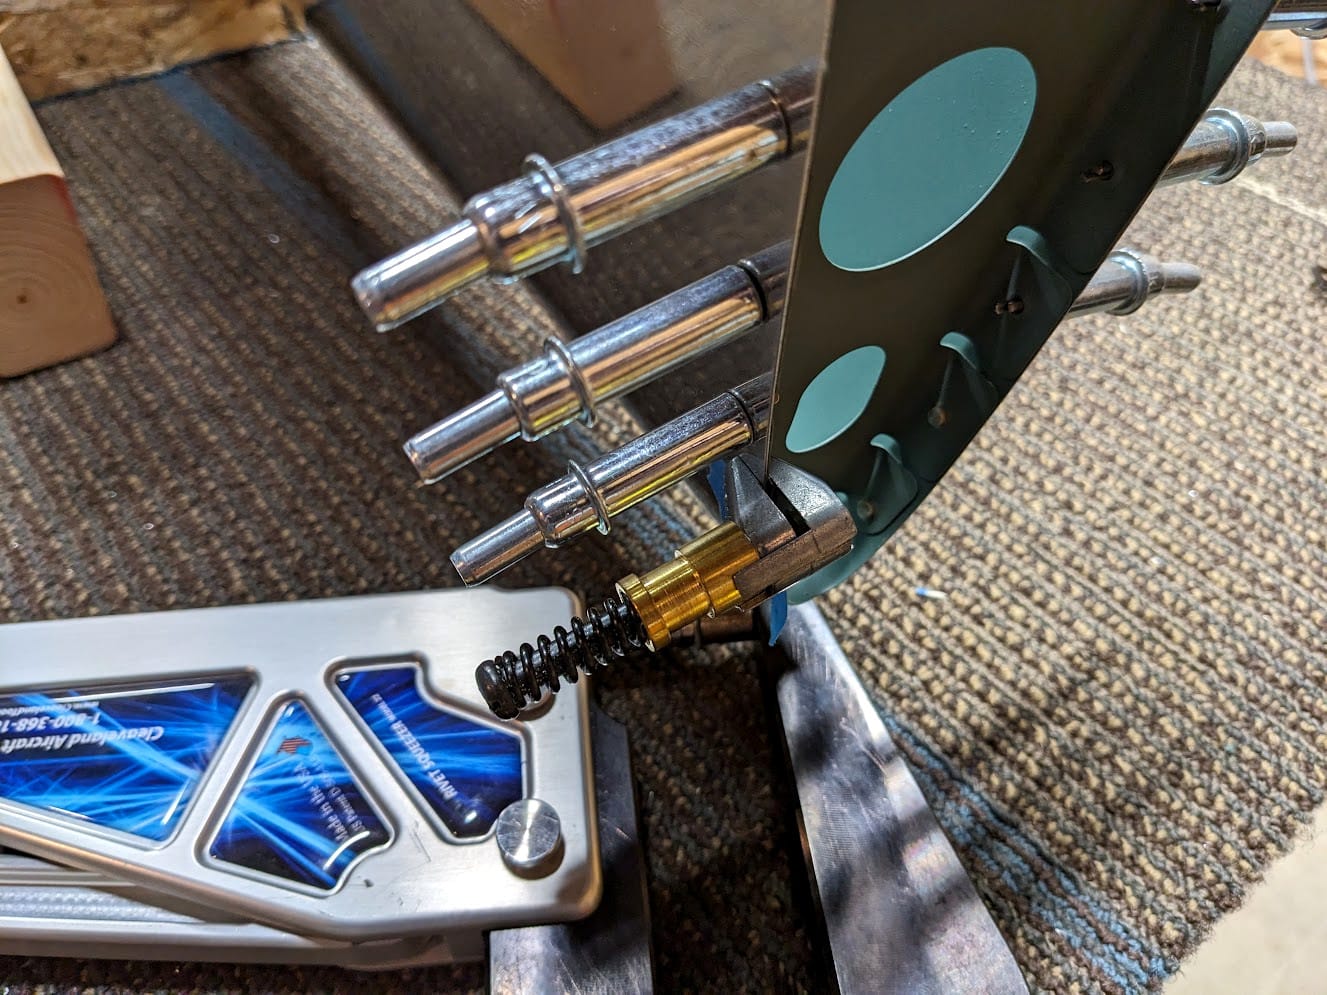
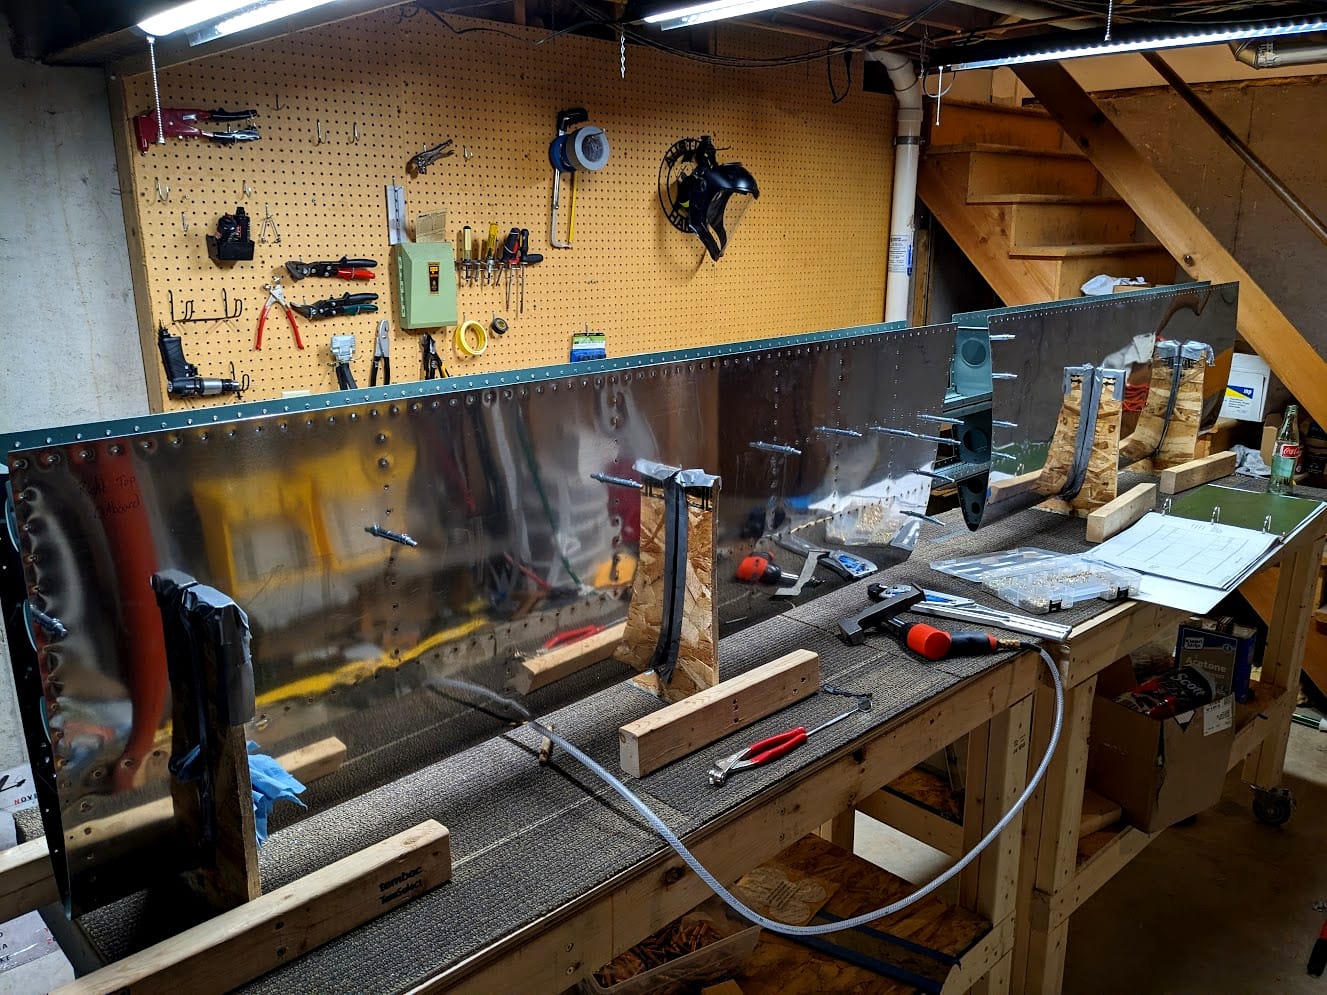
That is a rivet schedule. It is how I know what rivets should go where and I referenced it probably 1000 times while riveting the skin on. It is important the rivets be neither too long nor too short or they won't hold properly. You may be wondering how I could inspect some of the rivets given how hard it is to see inside the stabilizer... well...
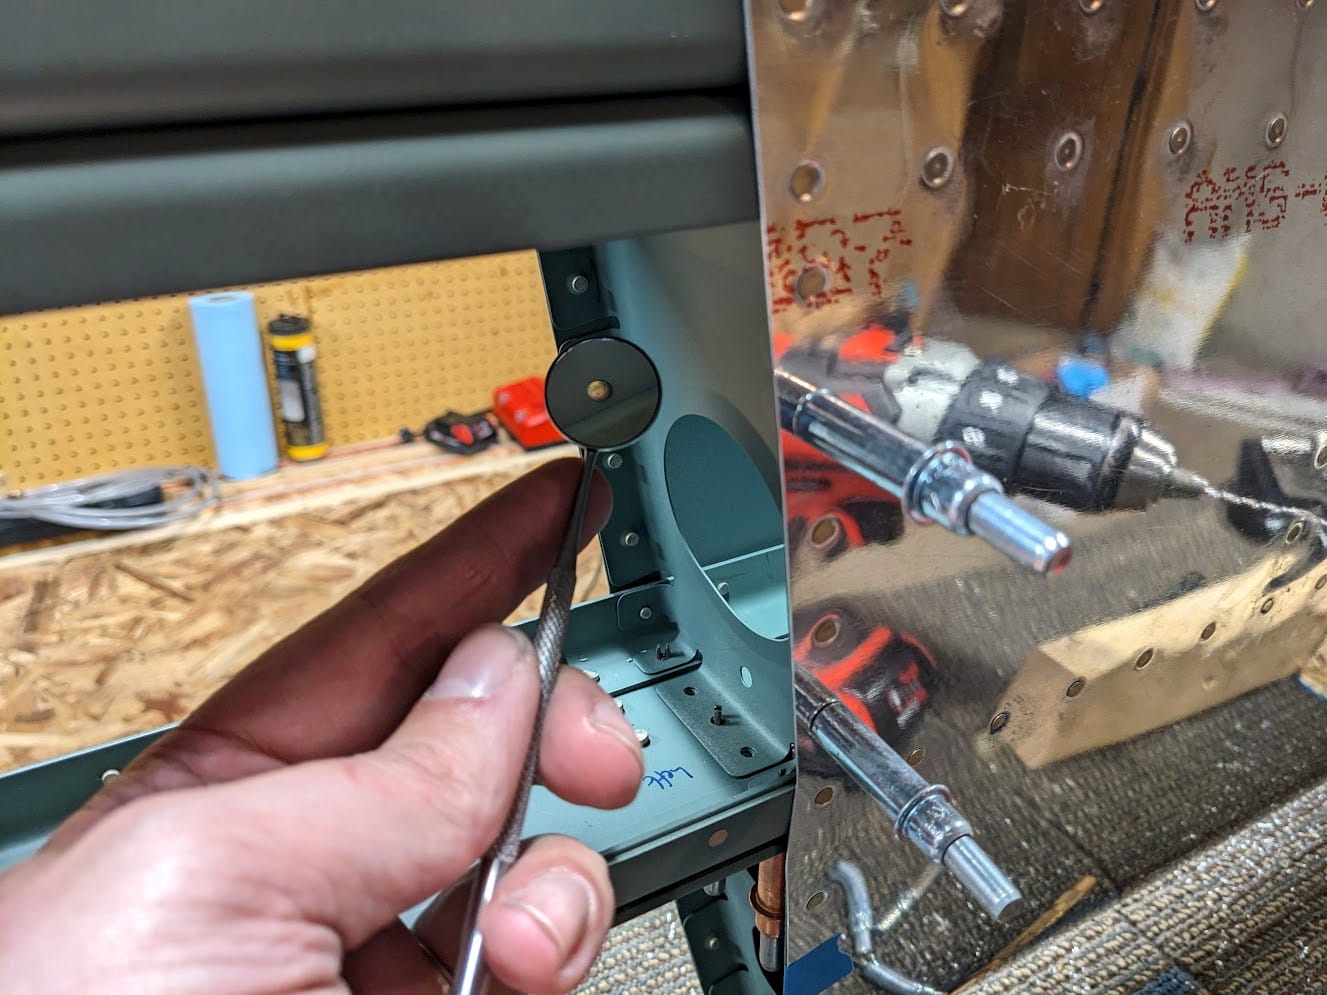
I got a little dental mirror that lets me see those hard to see places. It works quite well and was cheap, which is amazing to see in a world of so much cheap garbage.
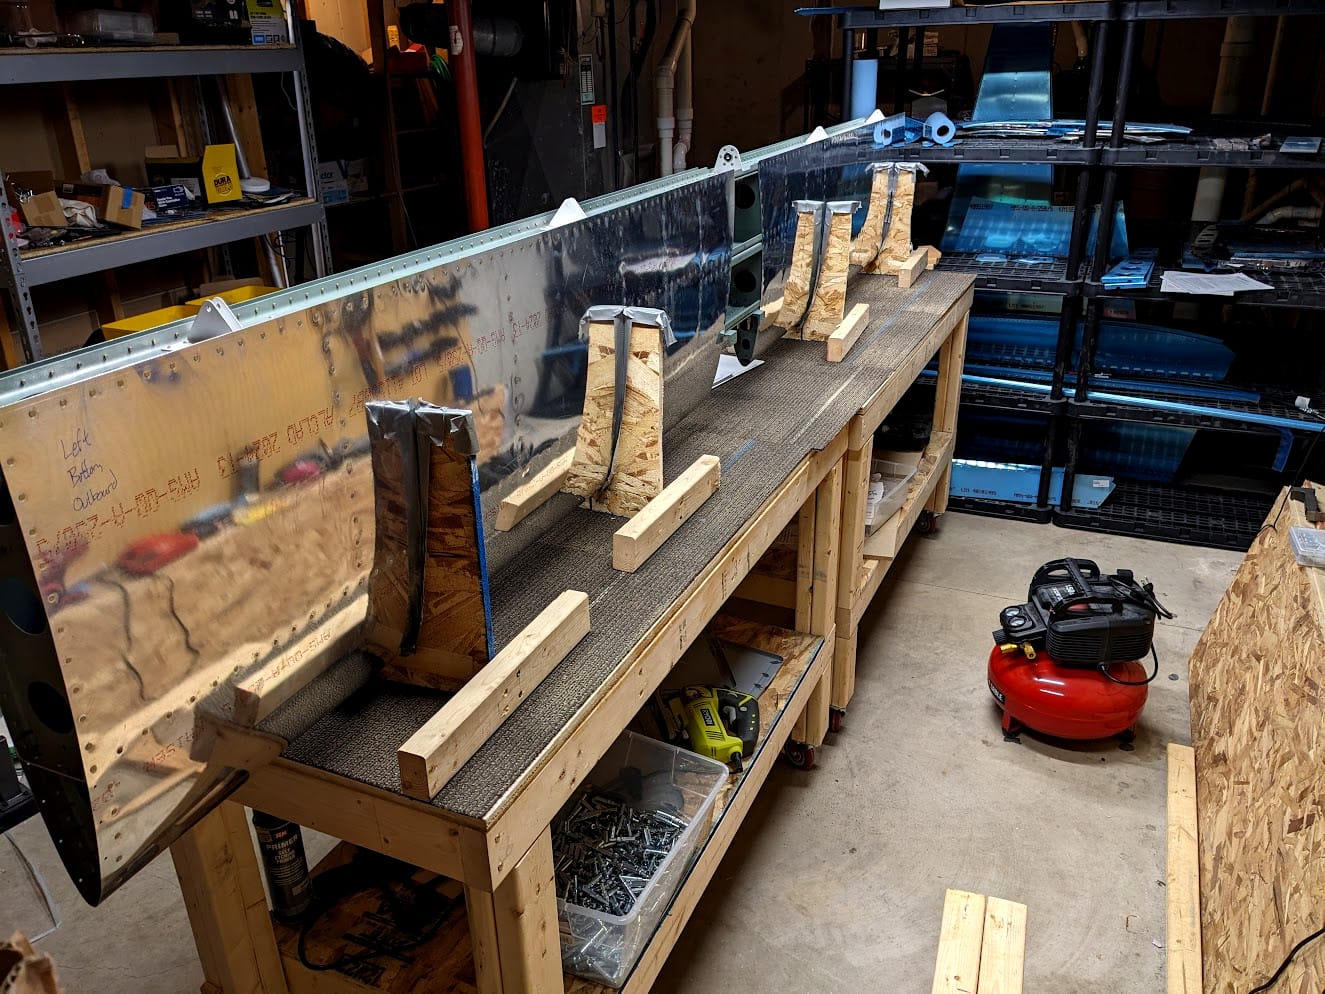
Last for the left side I had to rivet the inboard nose rib. It was impossible to rivet while in the cradles so I laid the stabilizer down and put them in. All were fine except the very last one I must have let the gun bounce and it definitely messed up that rivet. I'll have to drill it out and replace it sadly.
Then came the holidays and I was too busy to do much about the stabilizer. This was followed by a period of rest because burnout is a real thing that affects us all. After a while of sitting around doing nothing (recovering) I got the itch to finish this build and so I set off to work on the right side of the stabilizer.
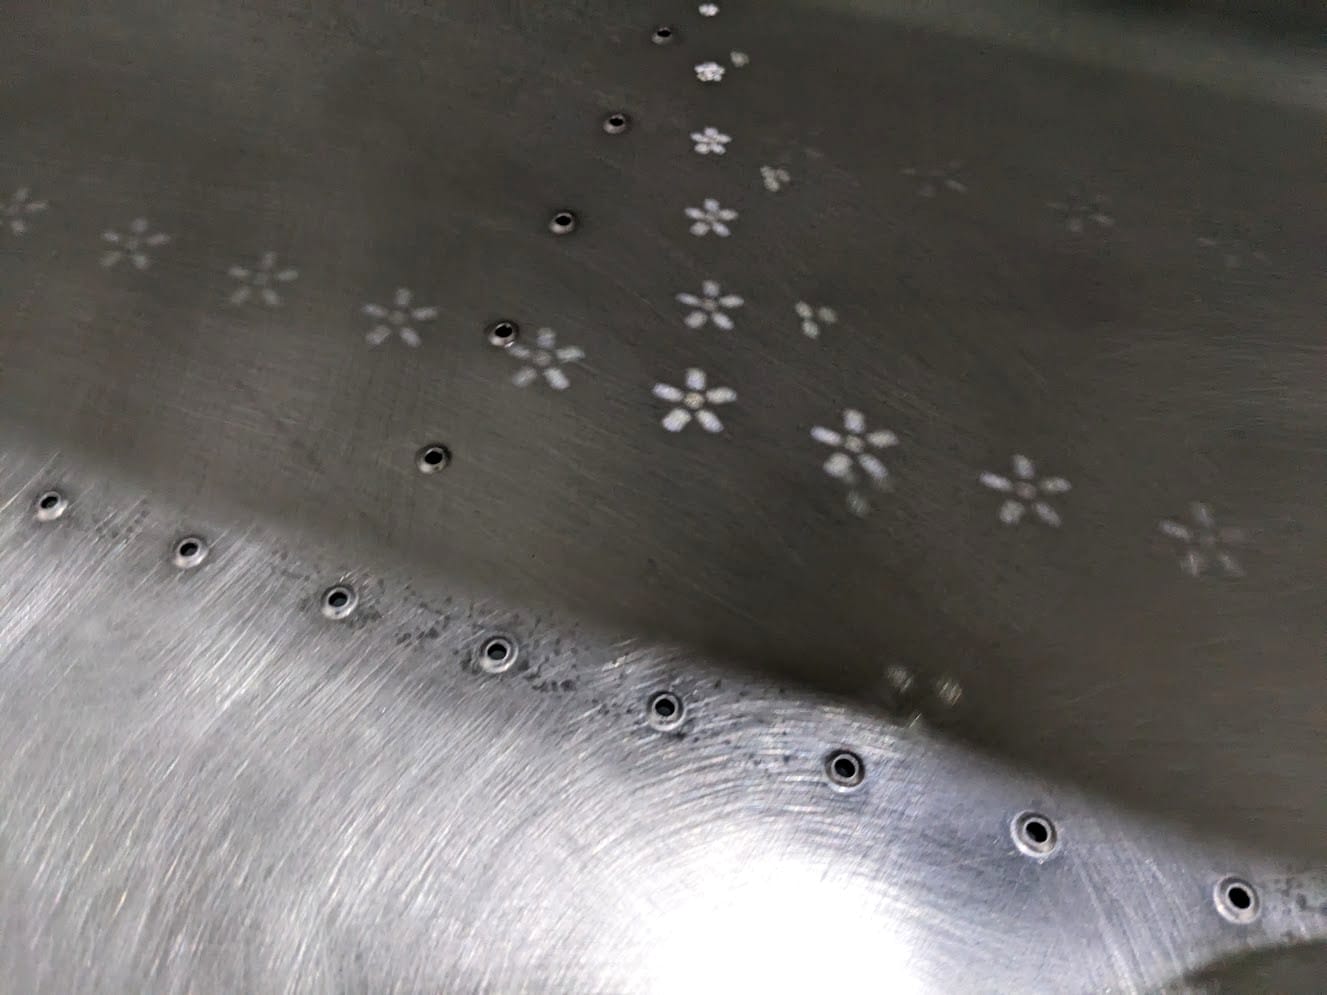
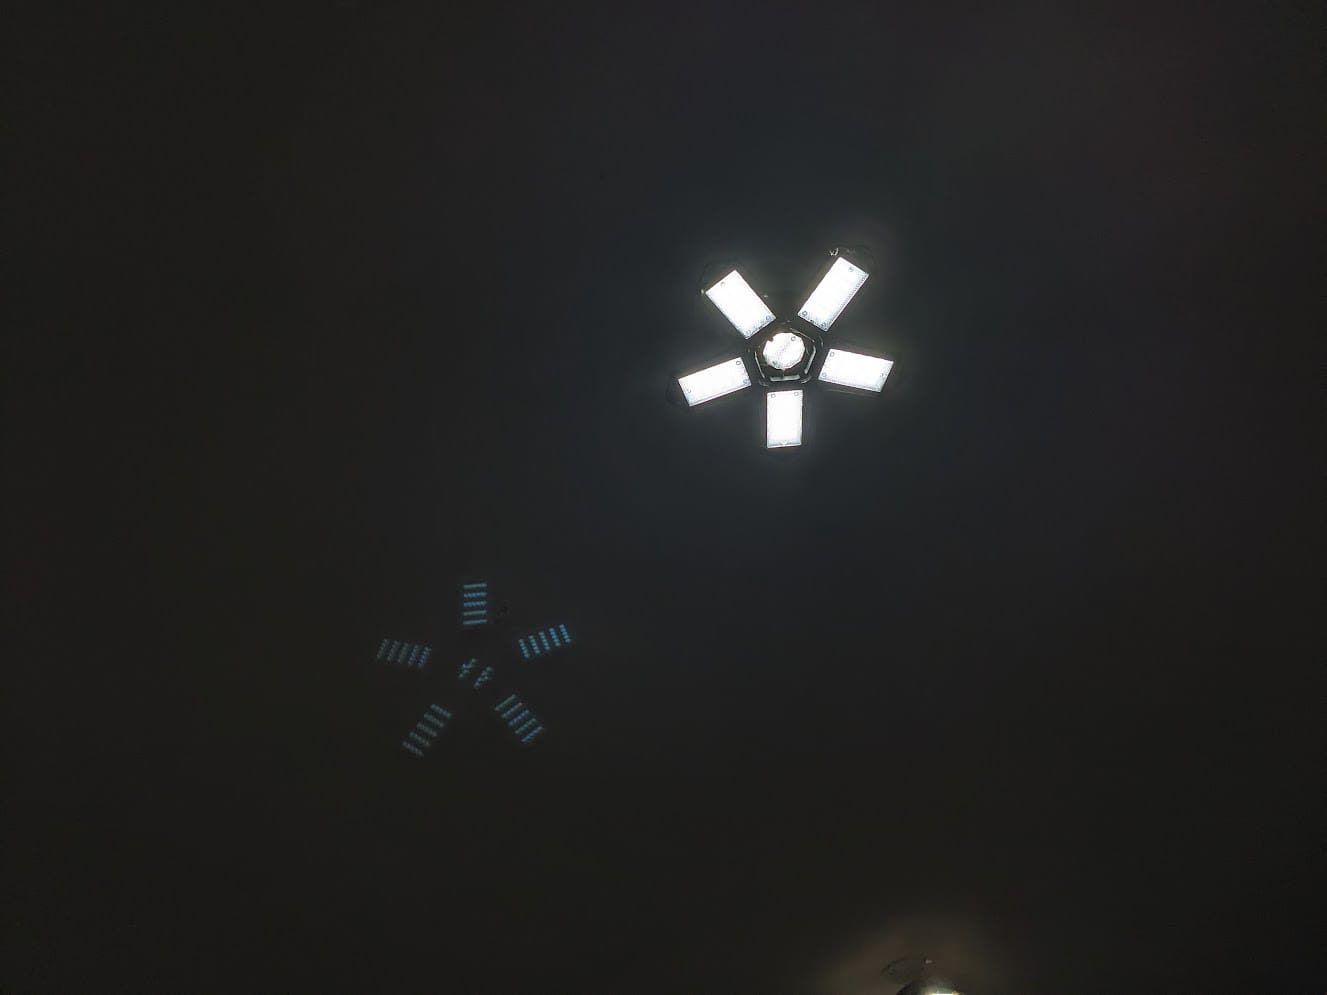
Previously I had run out of primer when priming everything. Now was the time to prime though as I had gotten more. Cool little effect here is all the rivet holes in the skin were acting like pinhole cameras and projecting images of the shop lights. This is the same way an eclipse viewer works (or a pinhole camera, really) and was neat. I admired the lights for a little bit but this skin won't paint itself.
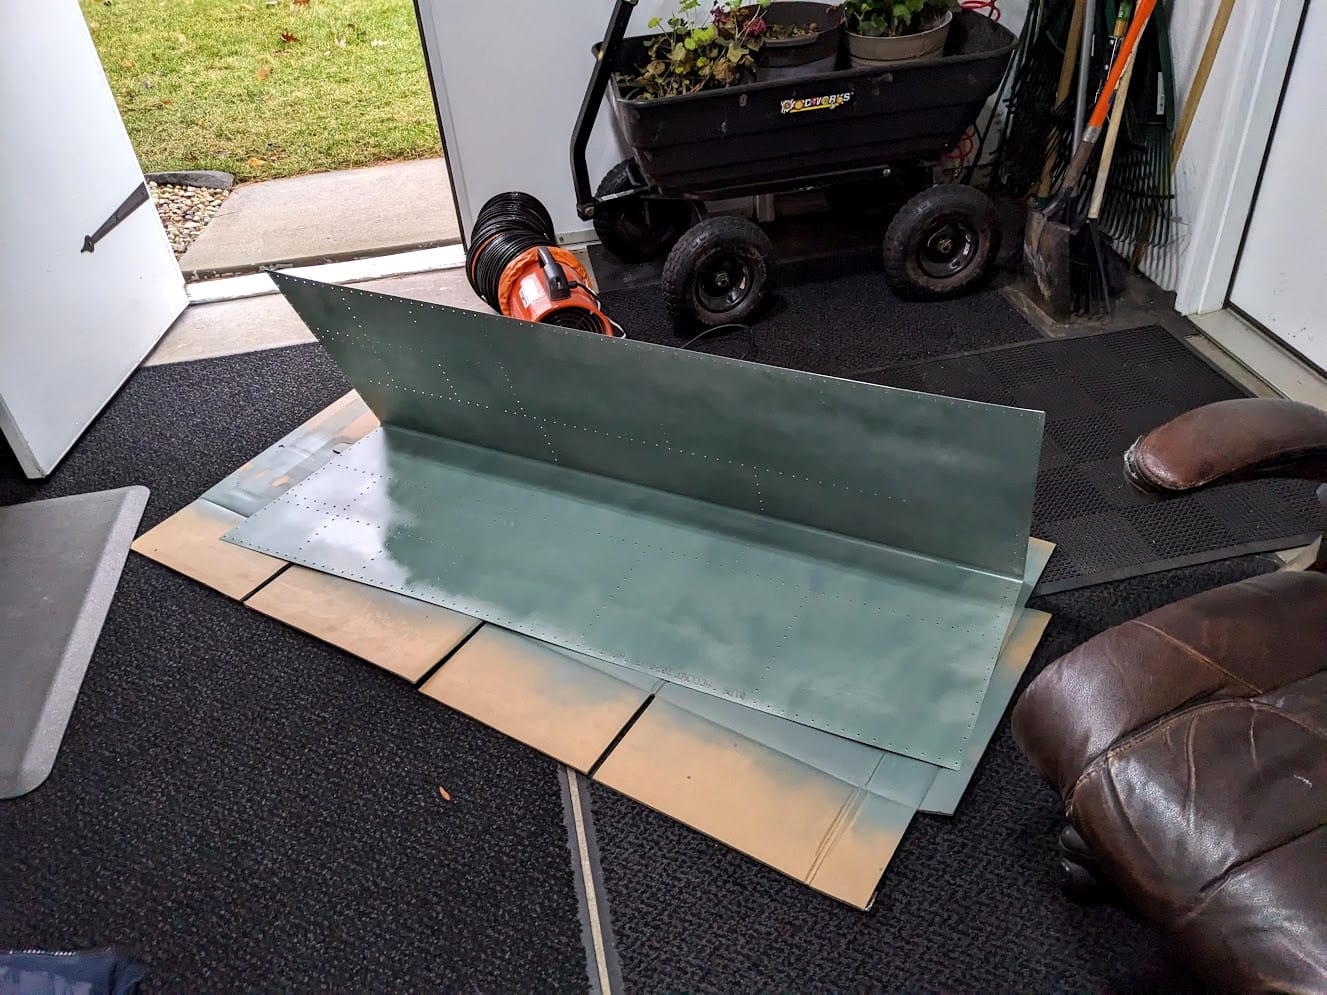
Same process as always, except it has been unusually warm for Wisconsin and so it was raining the day I was painting. Could be worse, I've never had to shovel rain. But like always I put three coats of primer on the skin and just hung out until it was dry enough to move the skin back to my workshop.
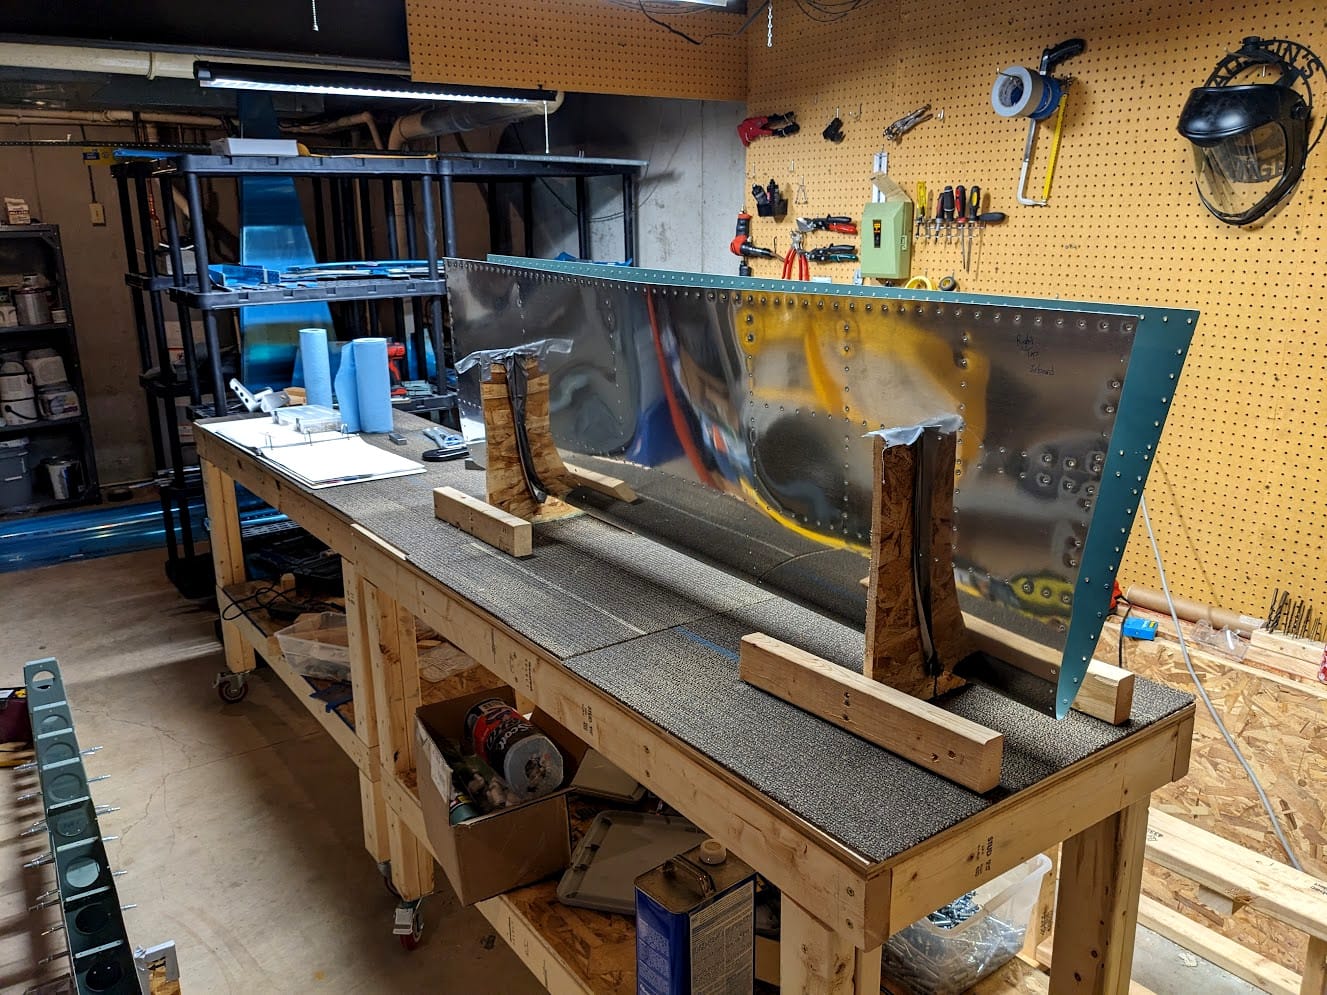
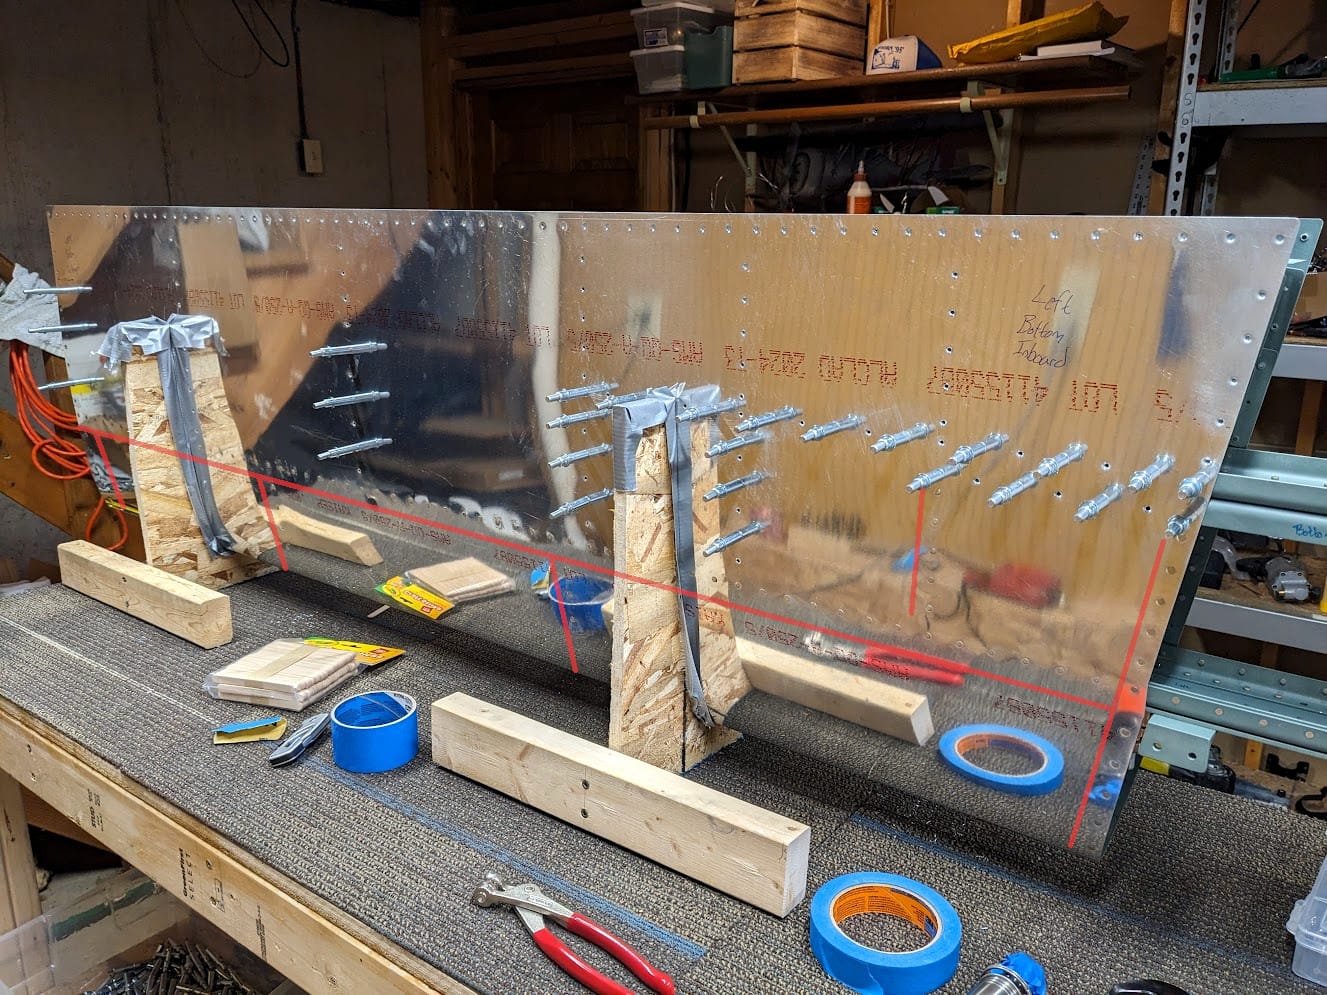
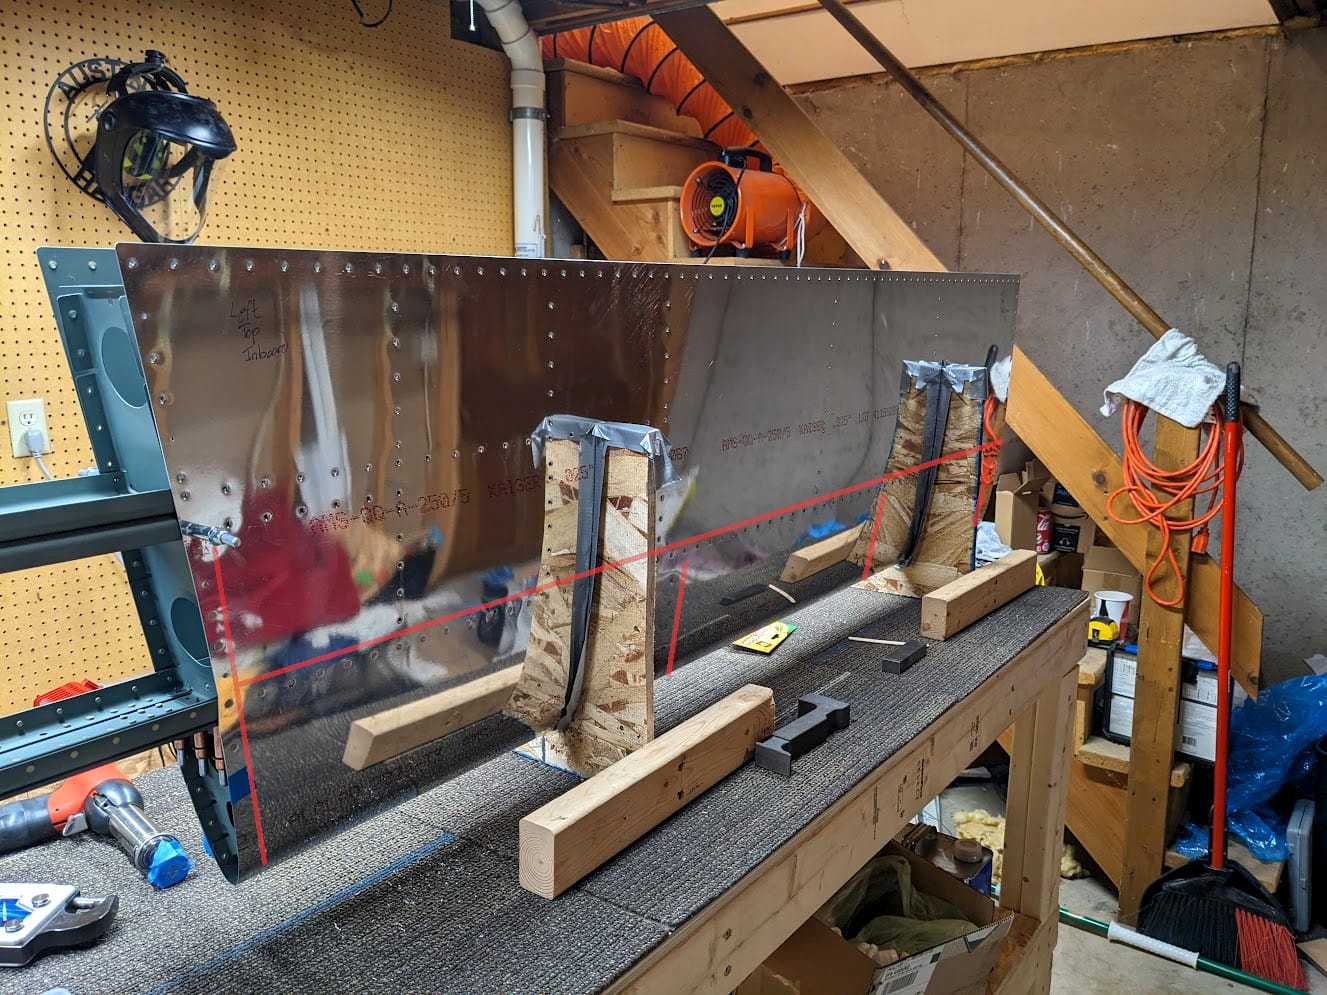
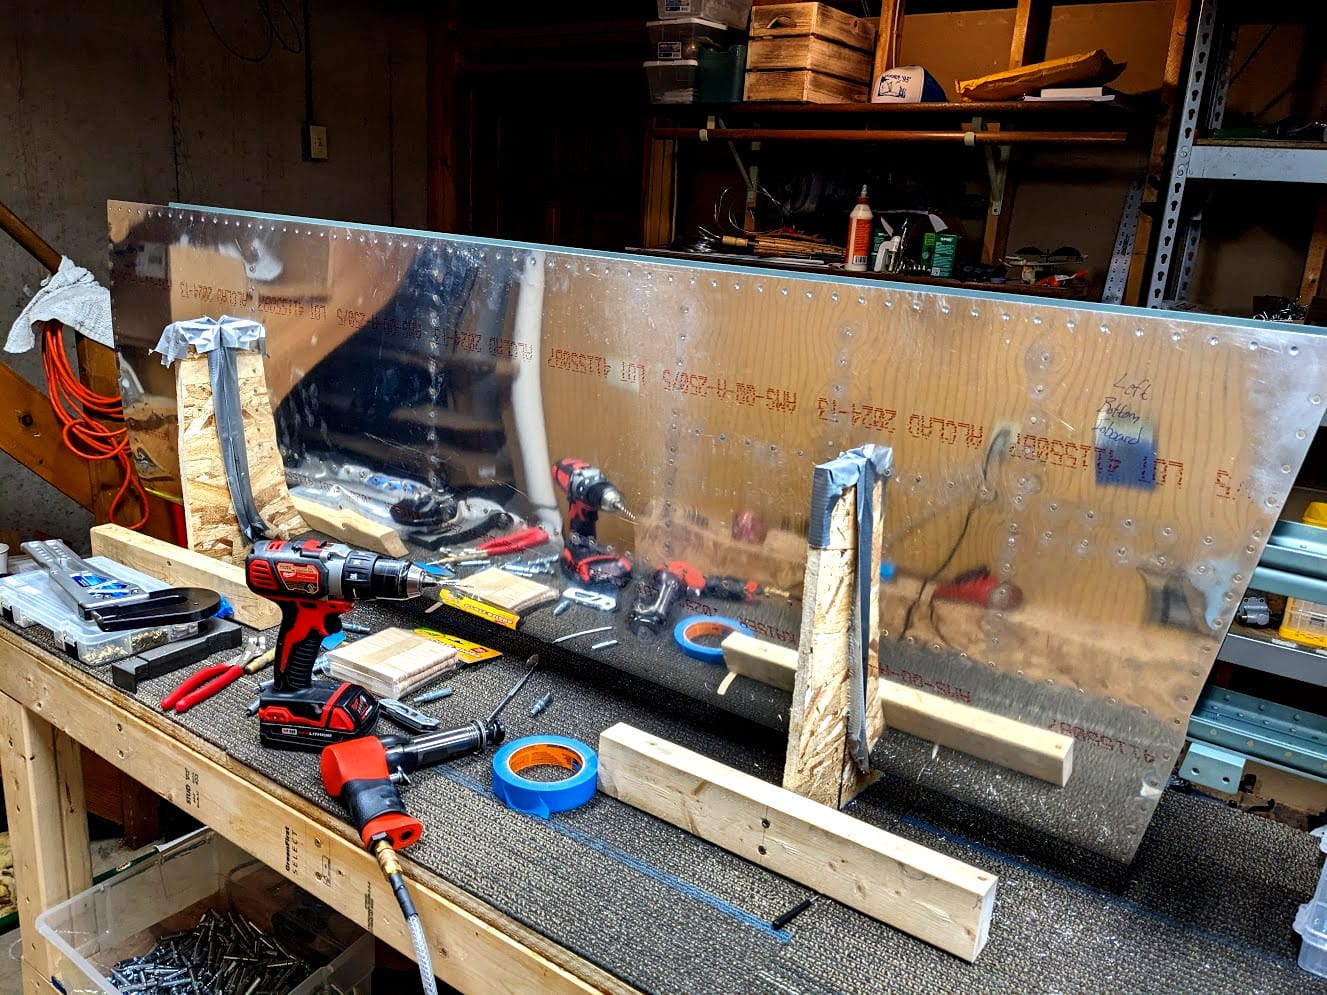
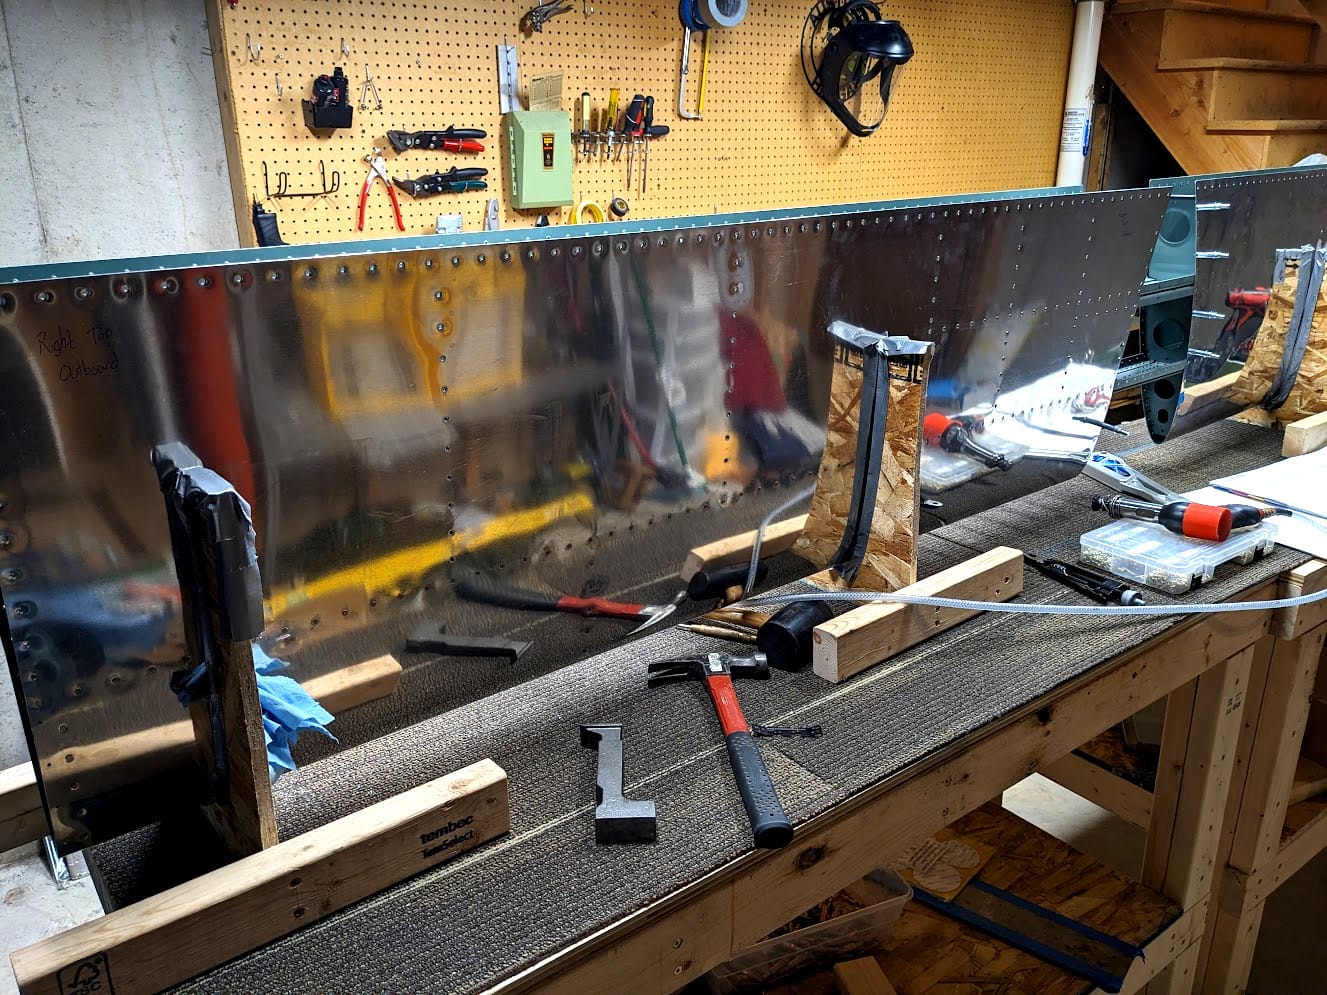
The pictures don't show it but the skin has a lot of spring force to it. It would be helpful if my cradles were tighter to the final shape but also if I had more of them. I frequently move the cradles to provide more support where I need it and use shop towels as shims to push on the skin more if that is required. The skin definitely does not want to hold that shape on its own though.
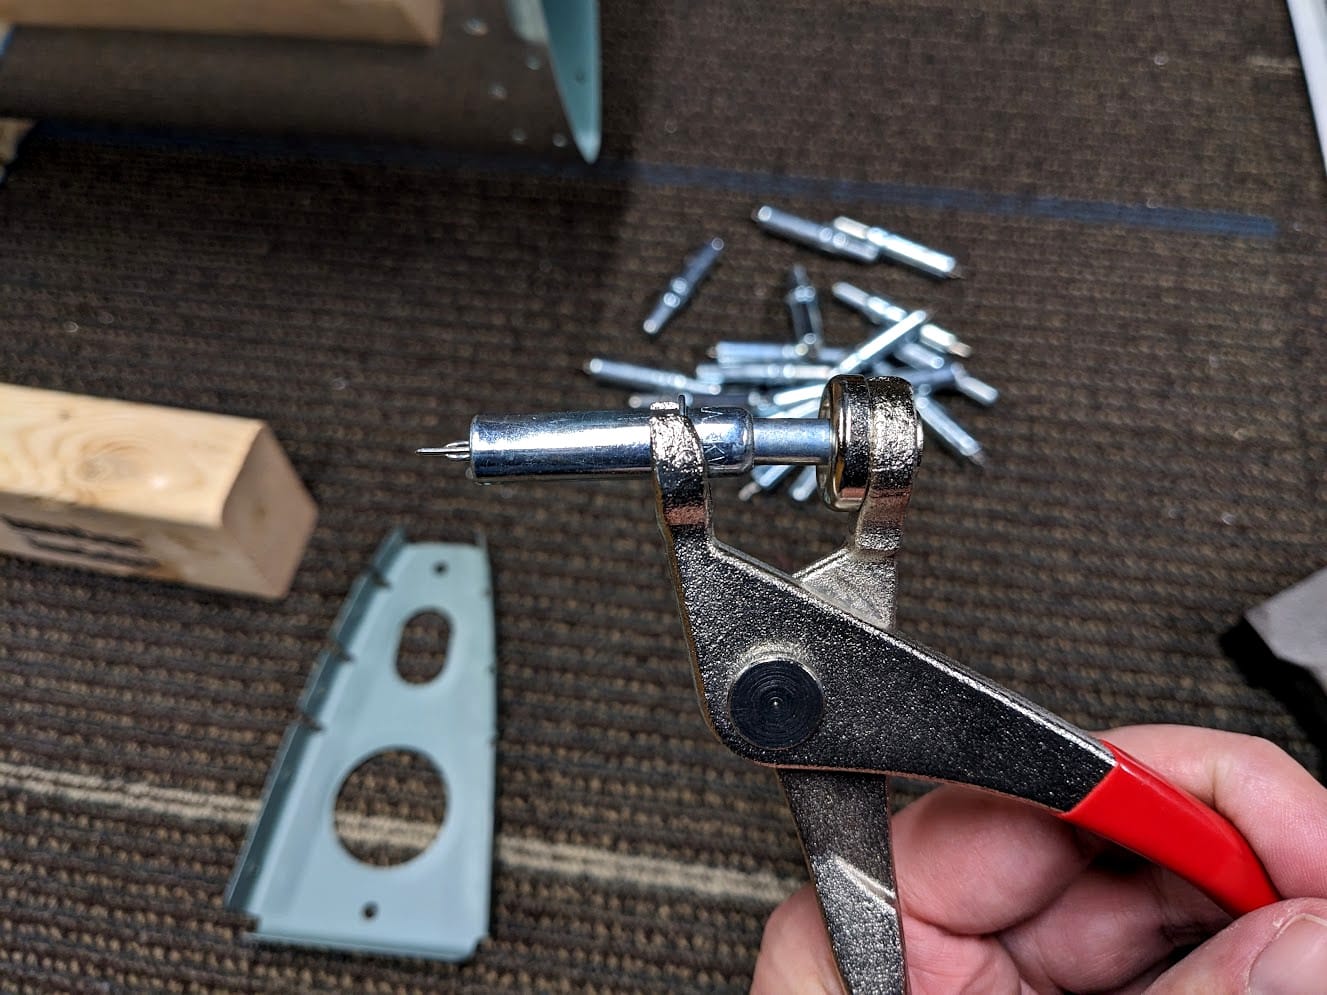
This is just a closeup of a cleco in the pliers for those that haven't seen one up close. It is spring loaded and they are temporary rivets so I can hold things tight while riveting. They don't seem like much until you put in and take out a few hundred and then you definitely wish you had a pneumatic puller. My hand still hurts just thinking about it.
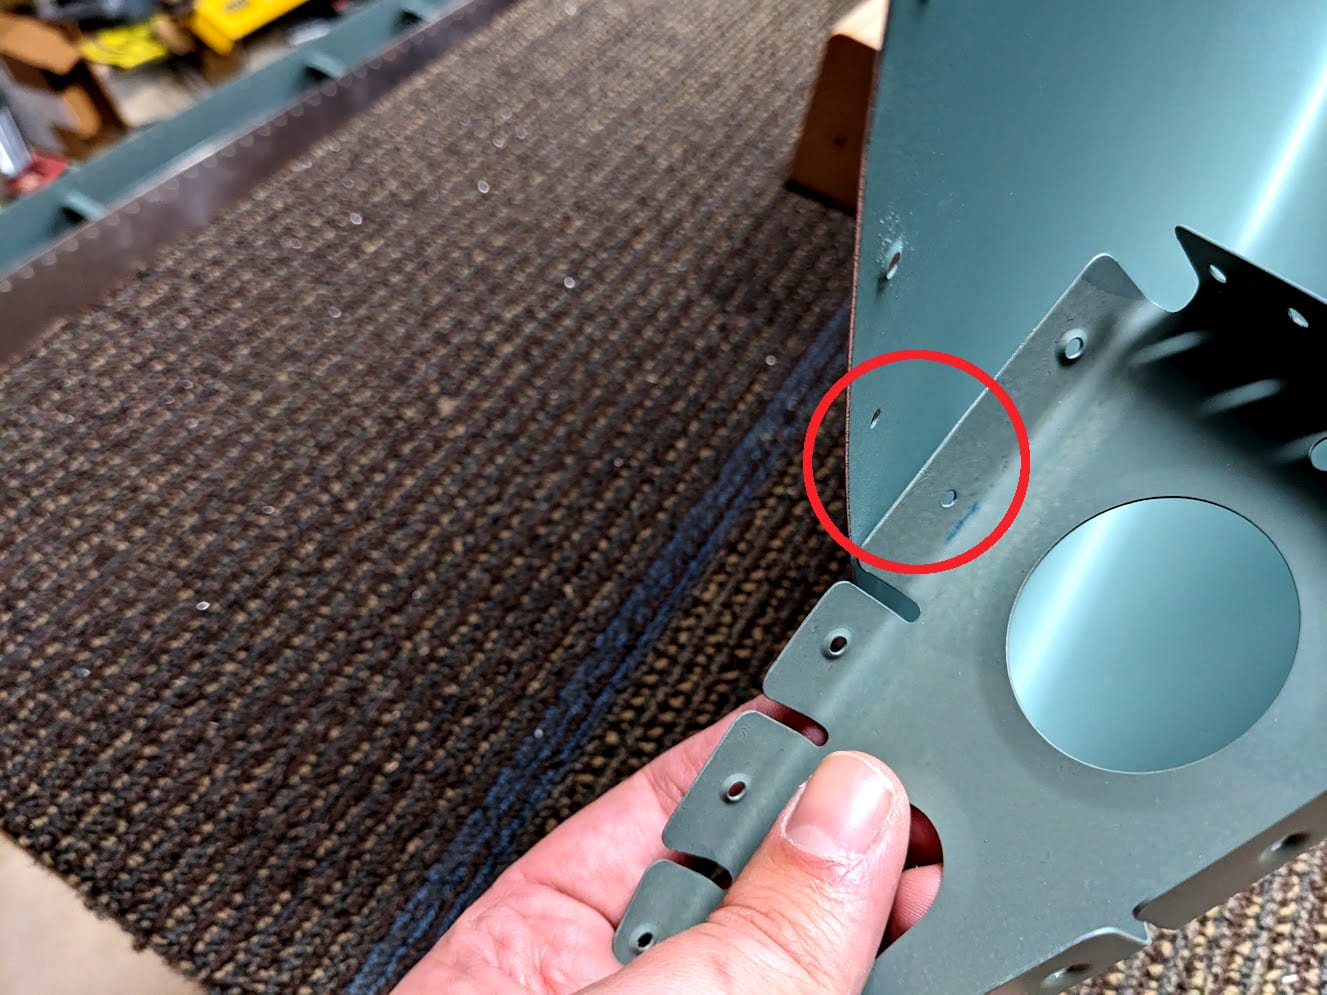
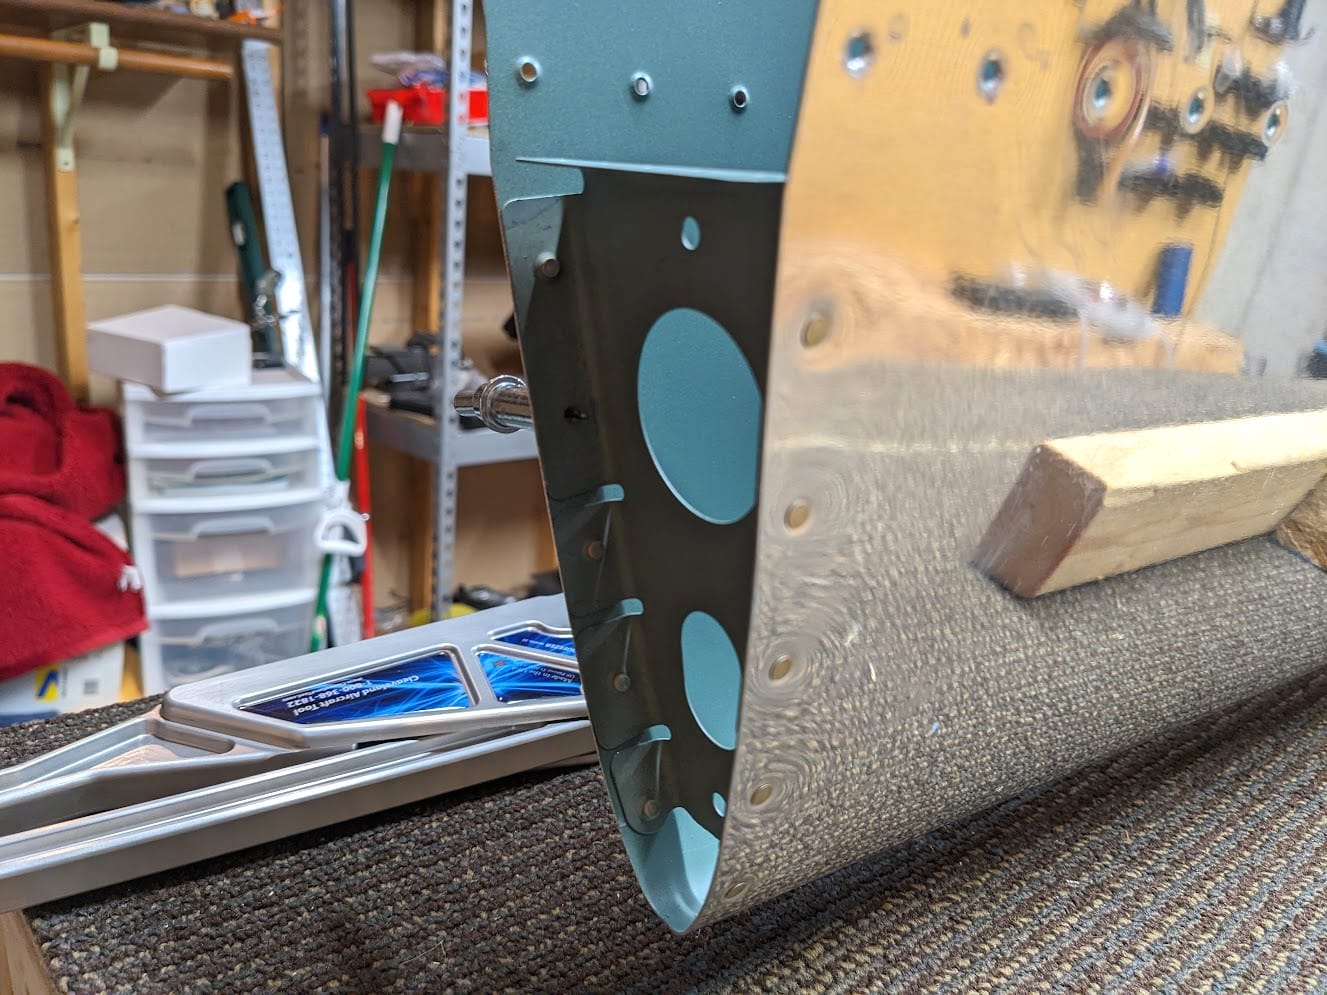
Important to note here. The inboard nose-rib does not have this hole dimpled ON PURPOSE. It is for attaching a faring later on. This also serves as an excellent witness mark so you know which way your ribs go. I have them numbered but got confused between left and right and had them in backwards. When I noticed the undimpled hole though, I took the ribs out and put them in correctly. I was lucky that I was trying to get them all seated before putting in any rivets or I would have had some drilling to do.
This was the best way I could think of to show the kind of spring force of the skin. Ideally you want everything sitting together so the rivets don't squeeze out between the layers of metal. The clecos do have springs but they are only so strong so I just had to stay aware that the skins did not want to sit flush.
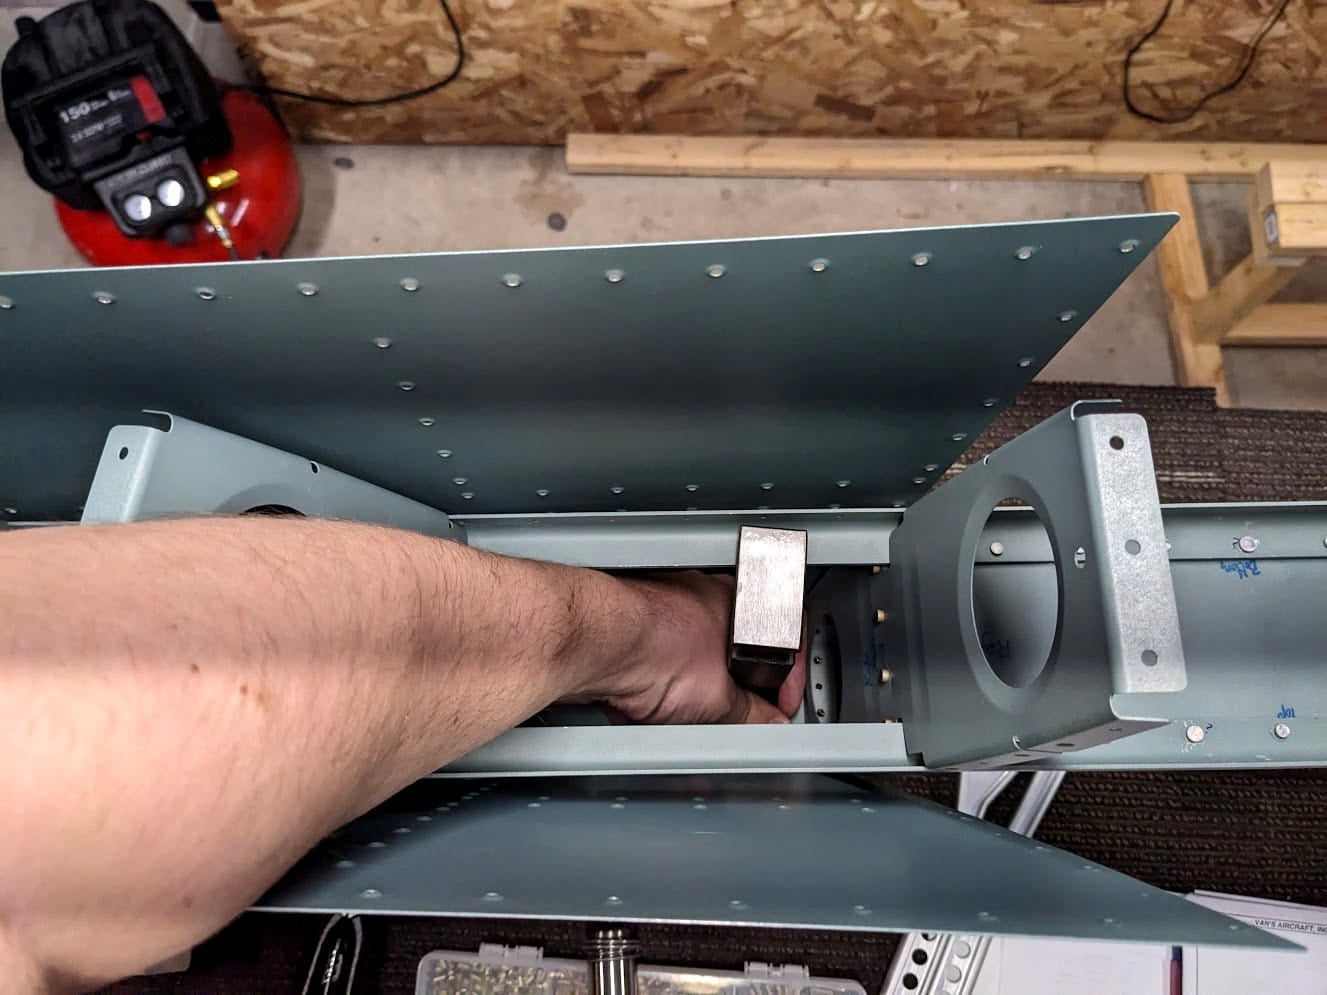
Once the nose ribs are in you may notice they are all the way down there. Yes you really do have to stick you arm all the way down there and try and buck the rivets. It is challenging to do at first but eventually you develop a feel for it. That is not where I started for this one though, I started on the ends.
I like hand squeezing the 3/32" rivets as I feel like I have the most control over the final rivet. Here I'm working my way from the nose to the back and I have put another clamp on the rib to help keep the metal flush for riveting.
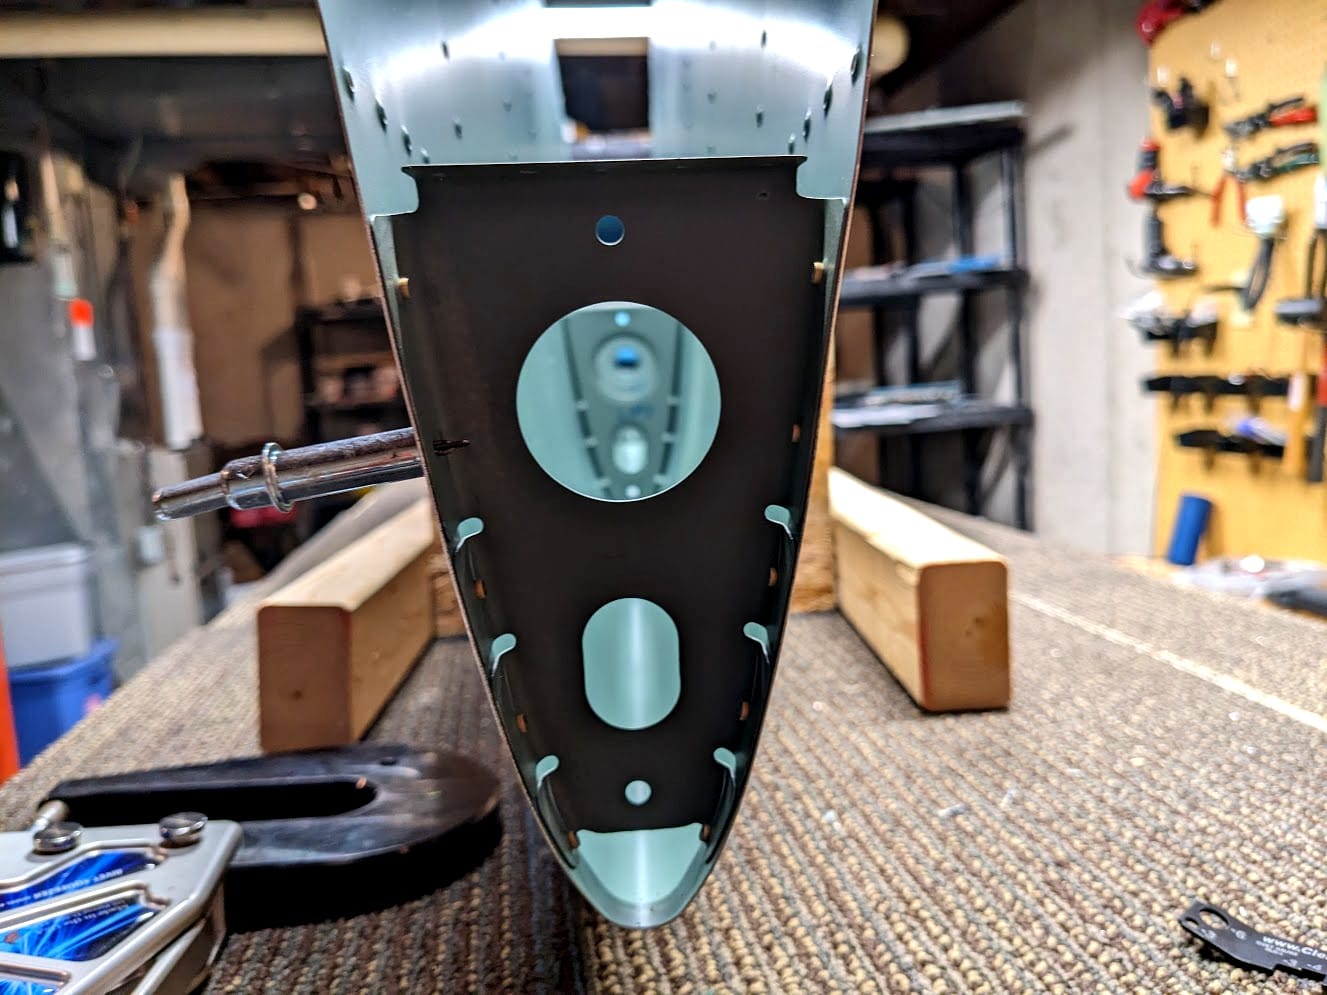
Just keep working your way up from the nose until all the rivets are set and happy. Just don't forget that the undimpled hole MUST NOT BE RIVETED. I didn't forget, but I was paranoid I would somehow try to rivet it anyway.
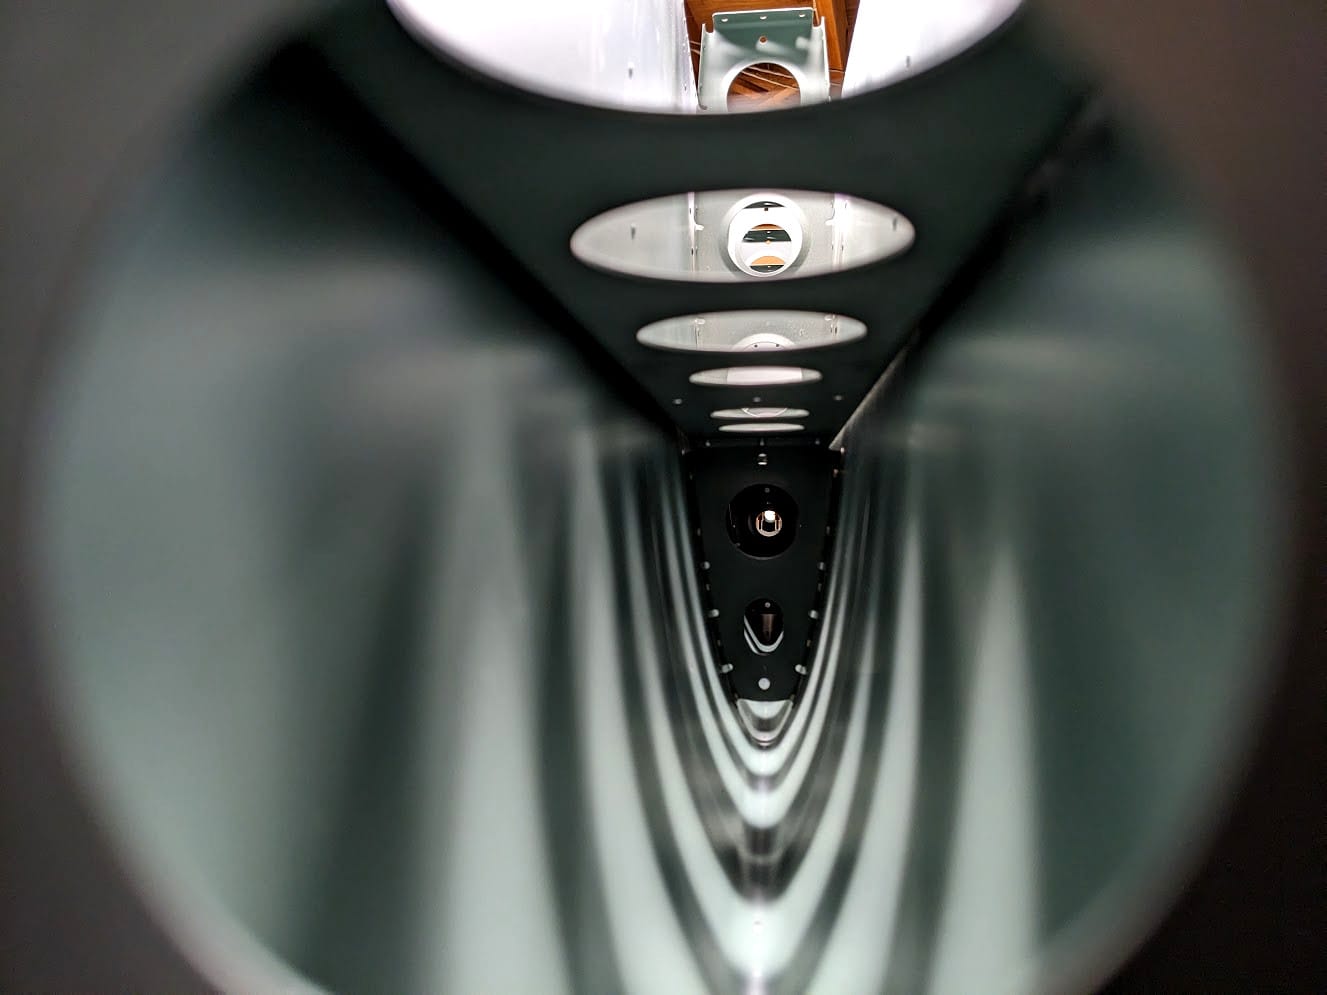
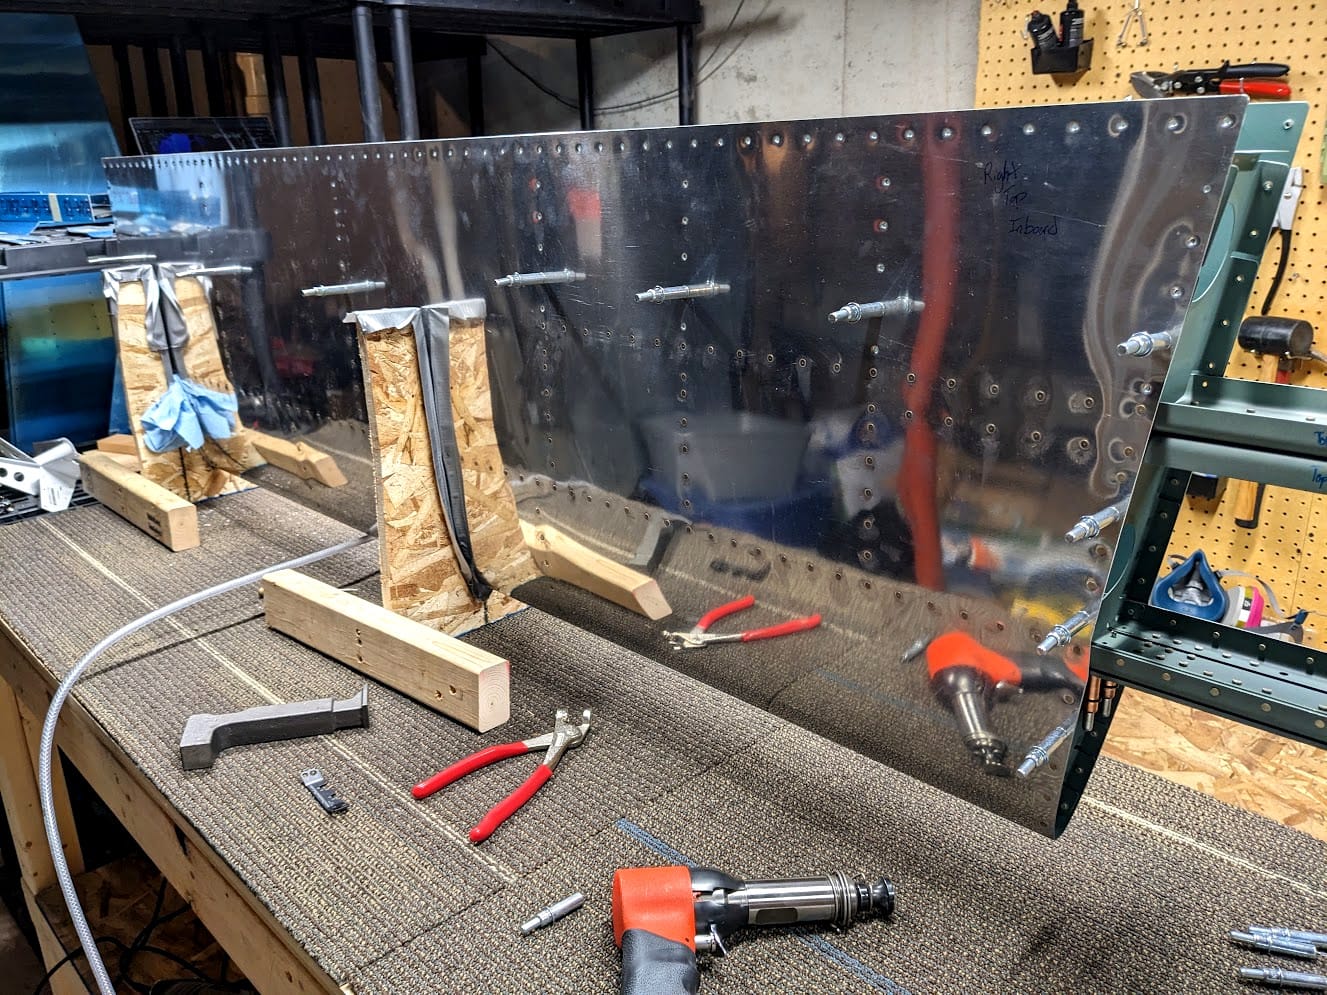
Some artistic shots down the stabilizer for you. Nothing to note really except it looks neat.
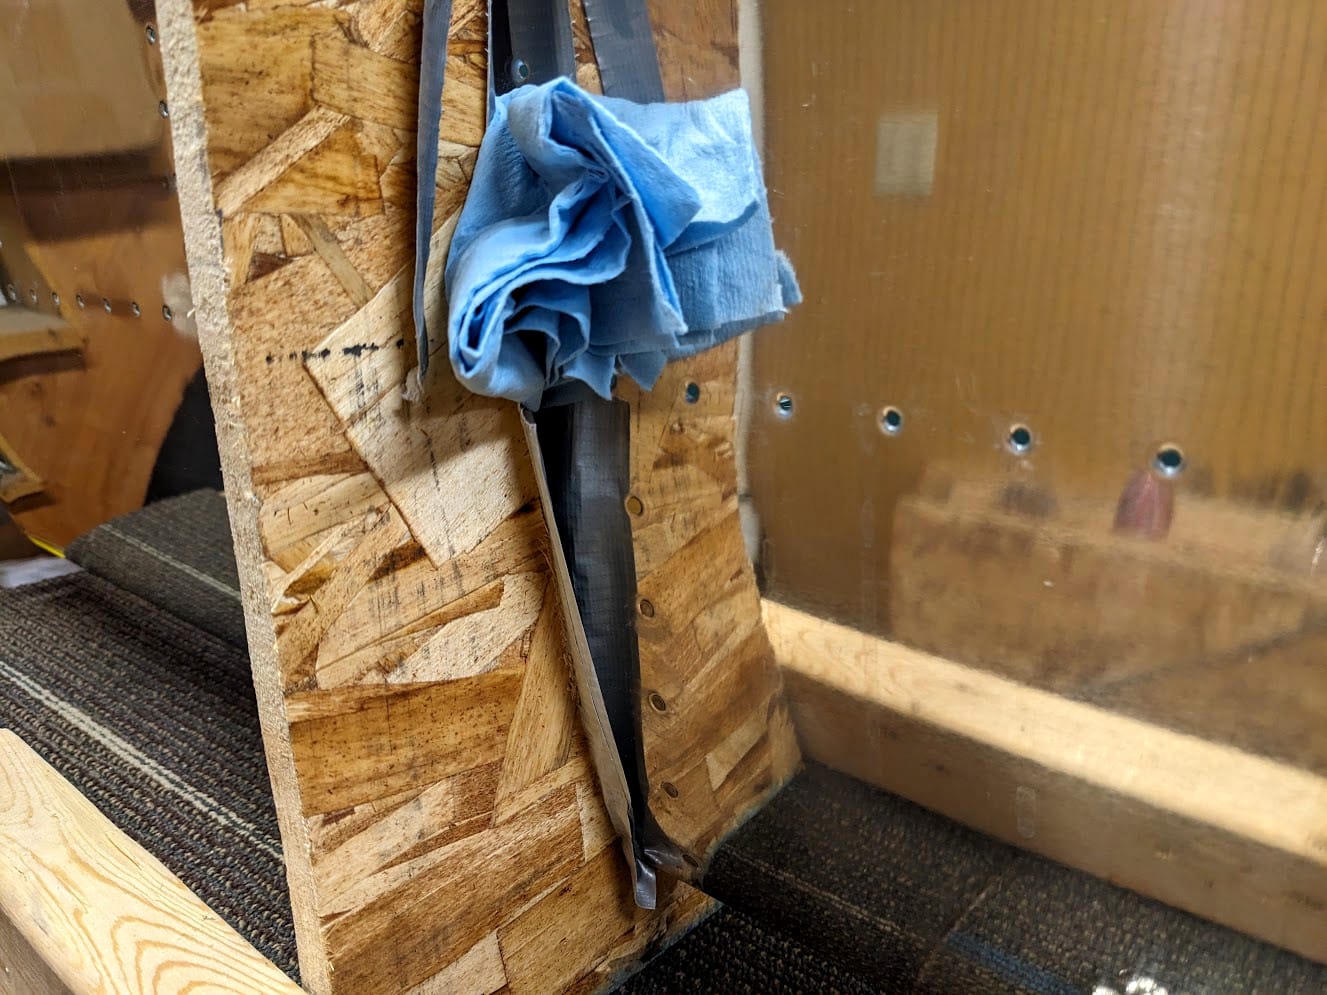
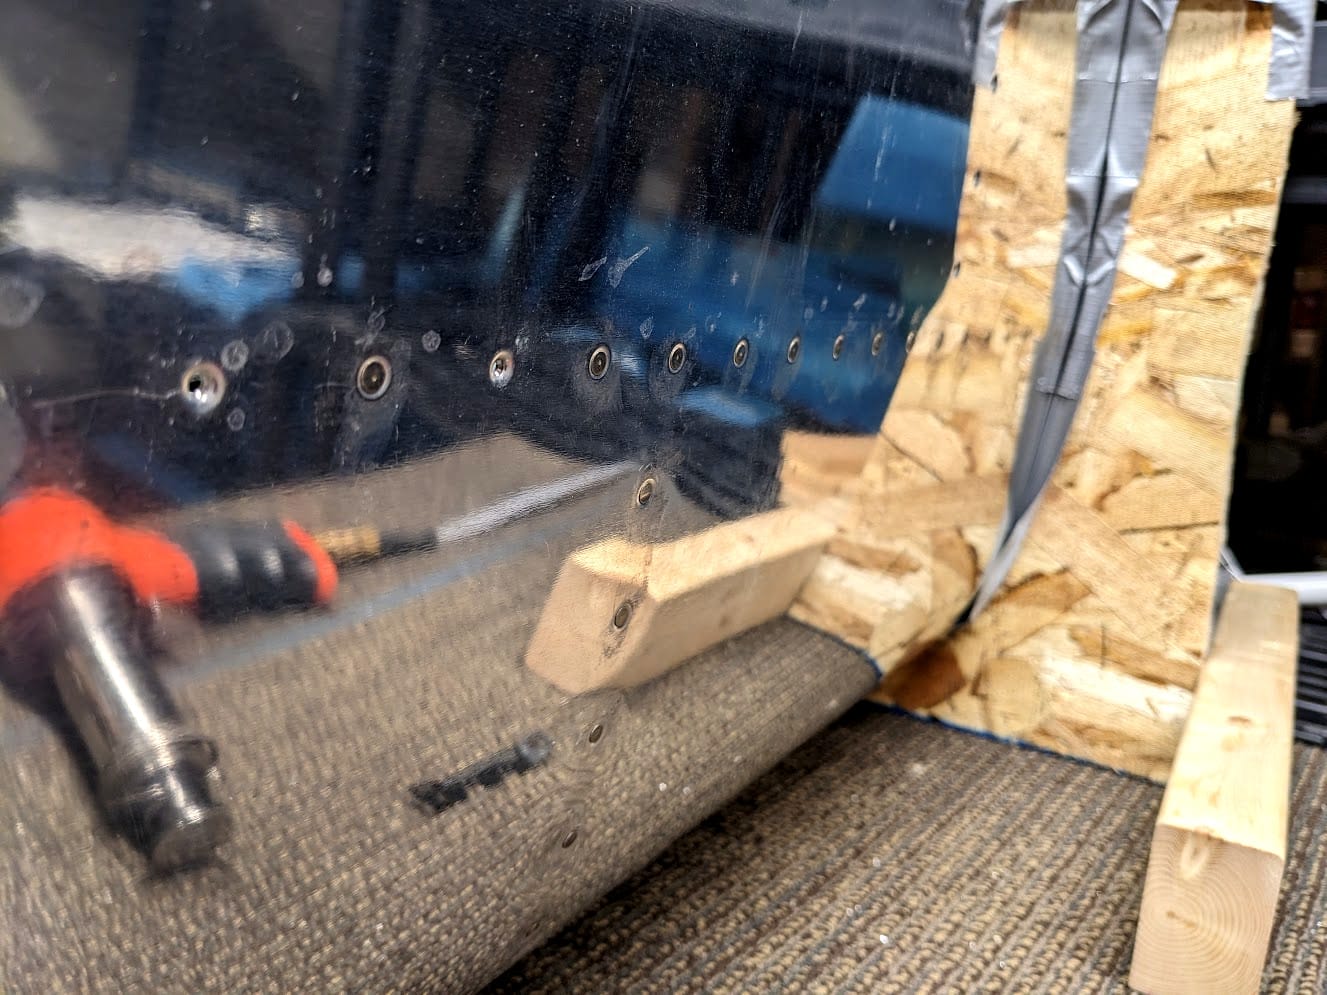
This is one of my very high tech shims I had mentioned earlier. I wanted to make sure there was enough pressure on the skin to keep it flush to the nose rib and this solution worked great and didn't damage the skin at all. Some times I feel like a clever boy when things work out.
Here we can see the last nose rib rivet before being driven. The shim is holding the skin tight to the rib so all I have do to do buck it and not screw up.
but of course I screwed it up. This is what it looks like if your bucking bar falls off the rivet. I drilled it out and replaced it with one that wasn't so... unique. It is hard to buck these rivets though, I definitely would consider getting a second person to help you if you aren't as stubborn about doing it yourself as I am.
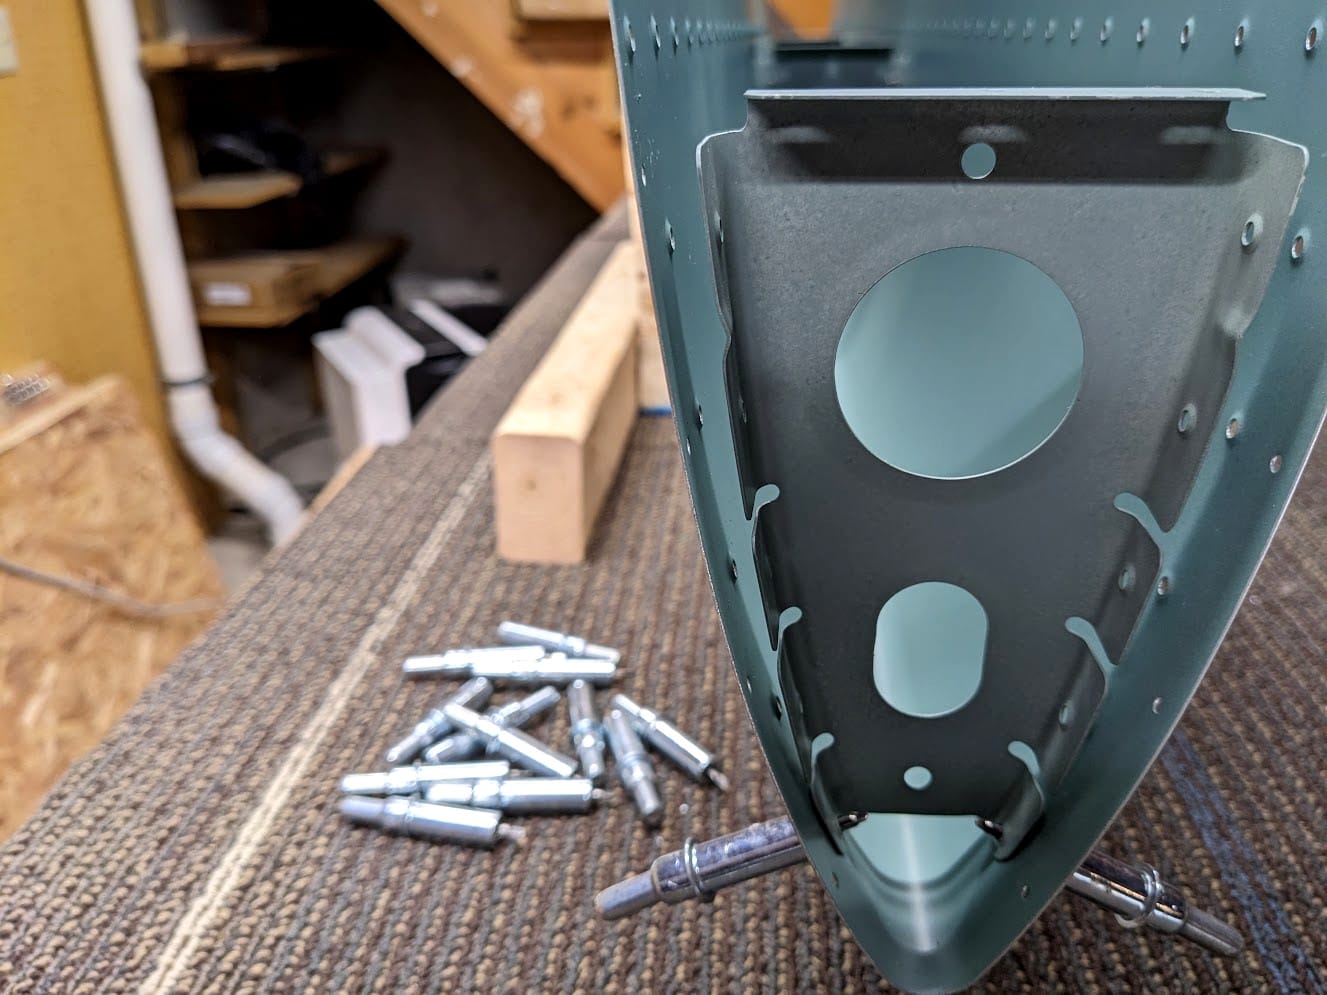
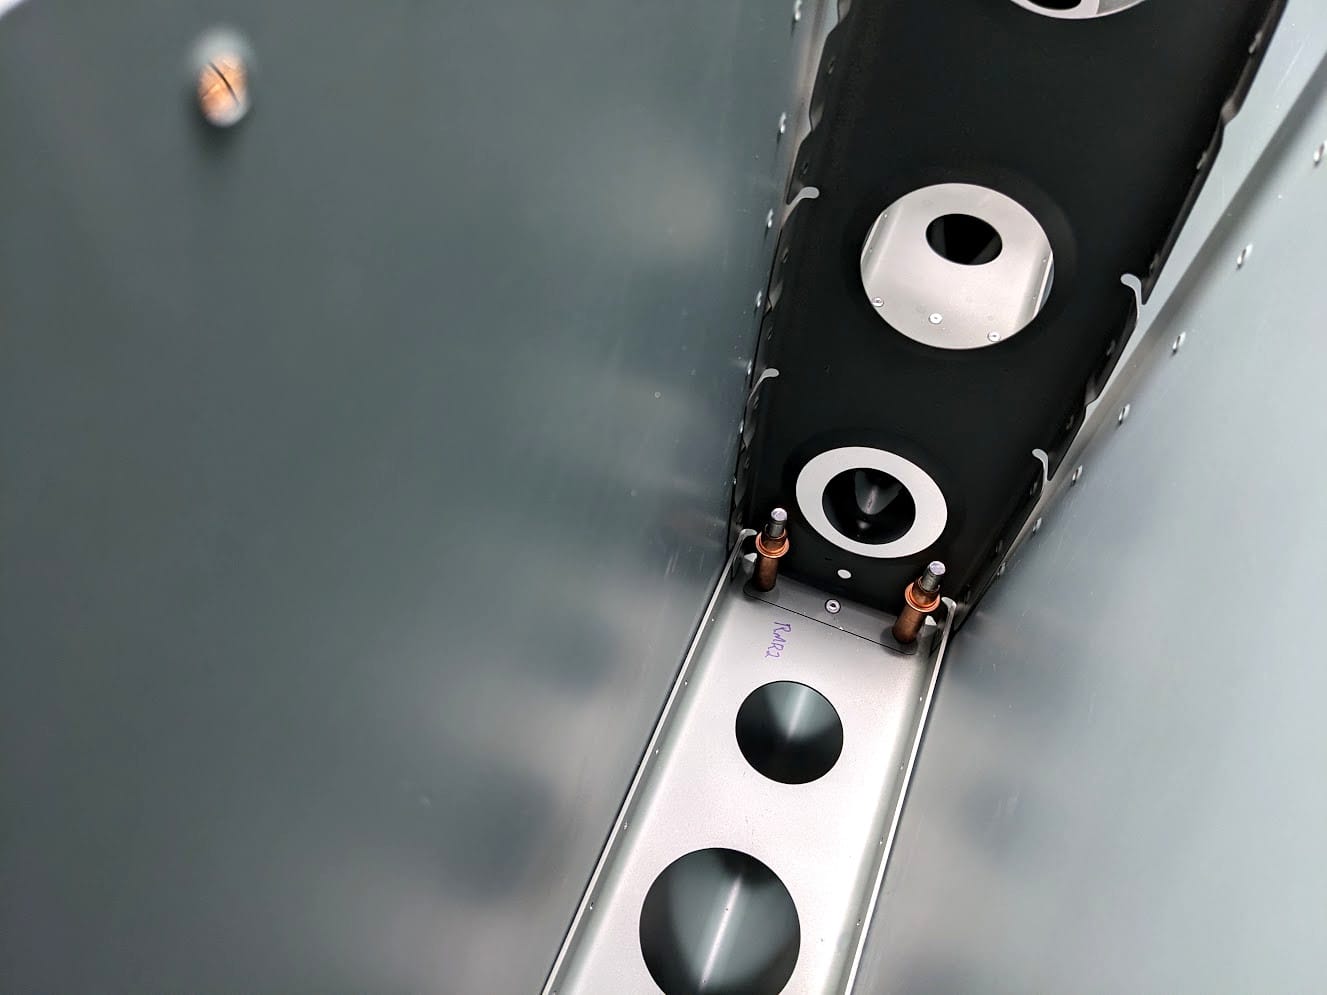
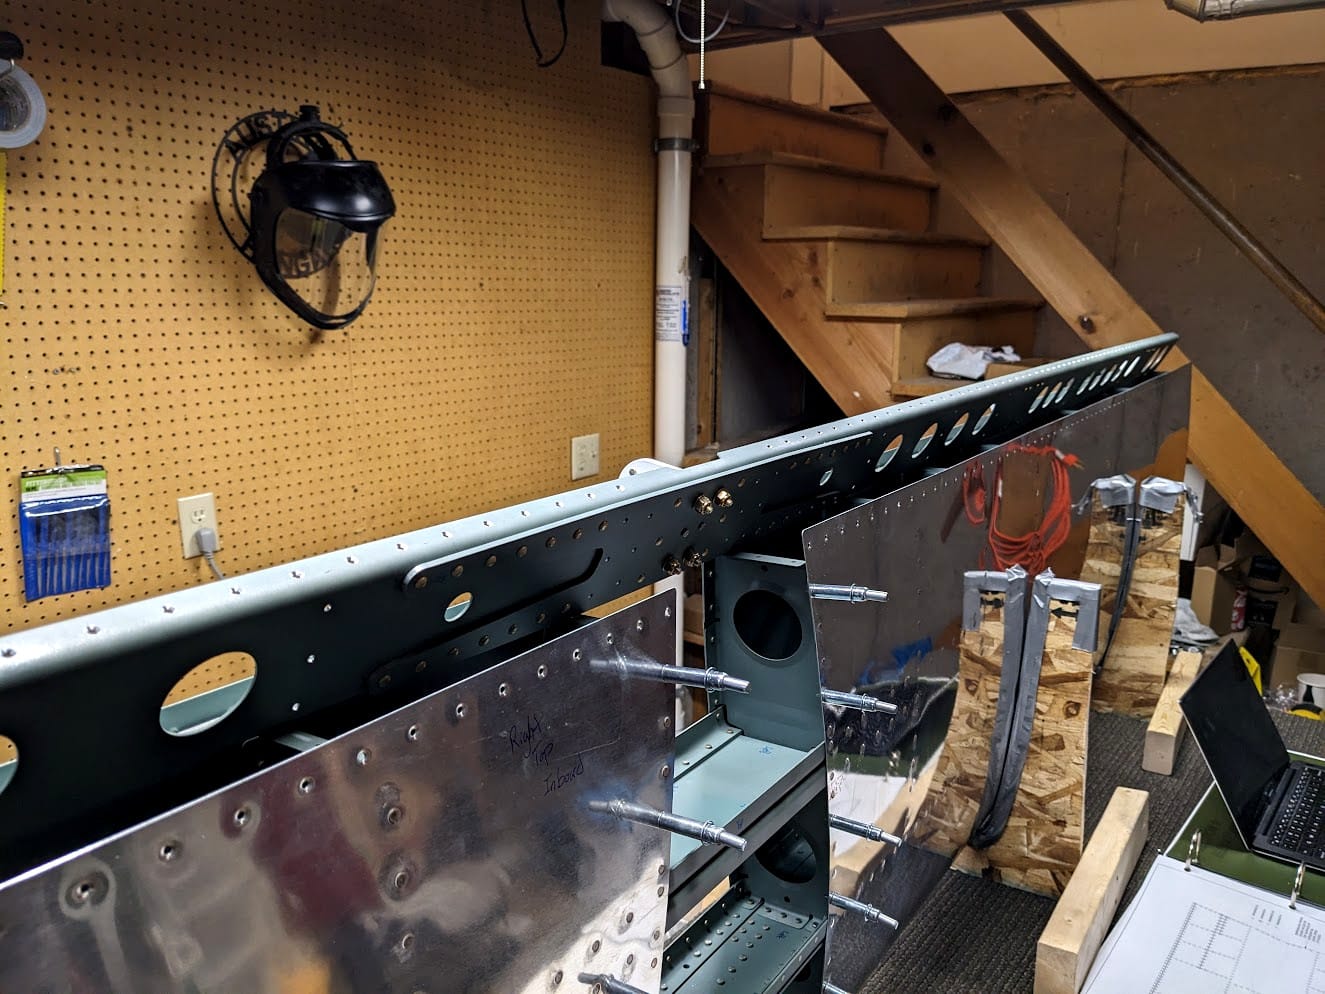
Finally comes the time to put the internal structure in the right skin. It is a pretty simple drop in but then you have to rivet the spar to the nose ribs. How do you do that if you can't get a bucking bar in there anymore? Pull rivets, of course.

They have a cool little anchor you can pull up into the rivet to set it. Then when the right tension is reached, they are designed to break off so it sits like any other rivet would. The only downside is that they are weaker than solid rivets, but there really isn't much of a choice as to how to rivet these middle ribs.
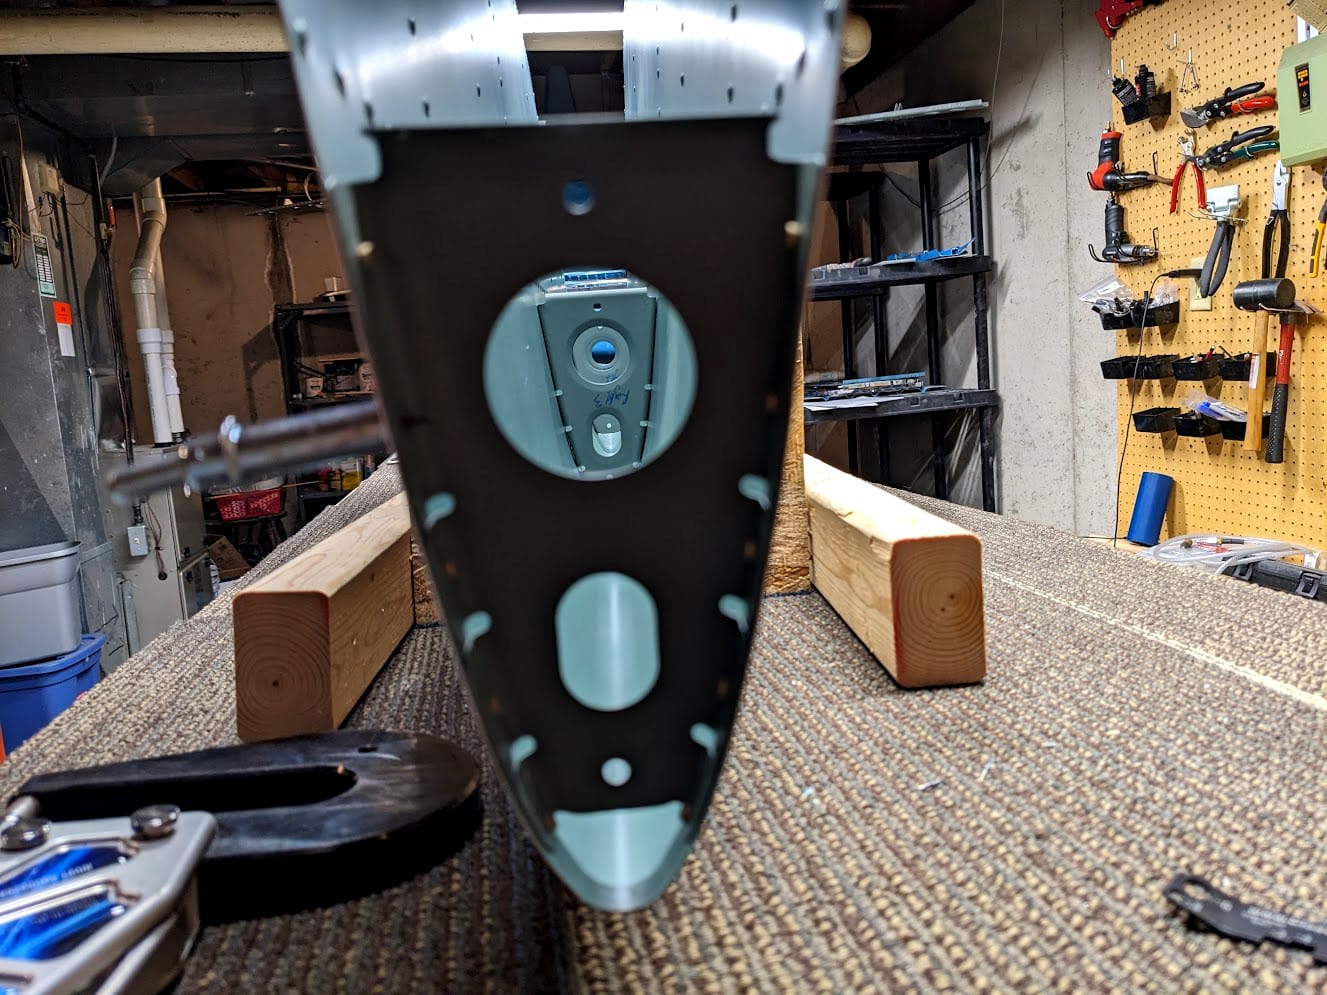
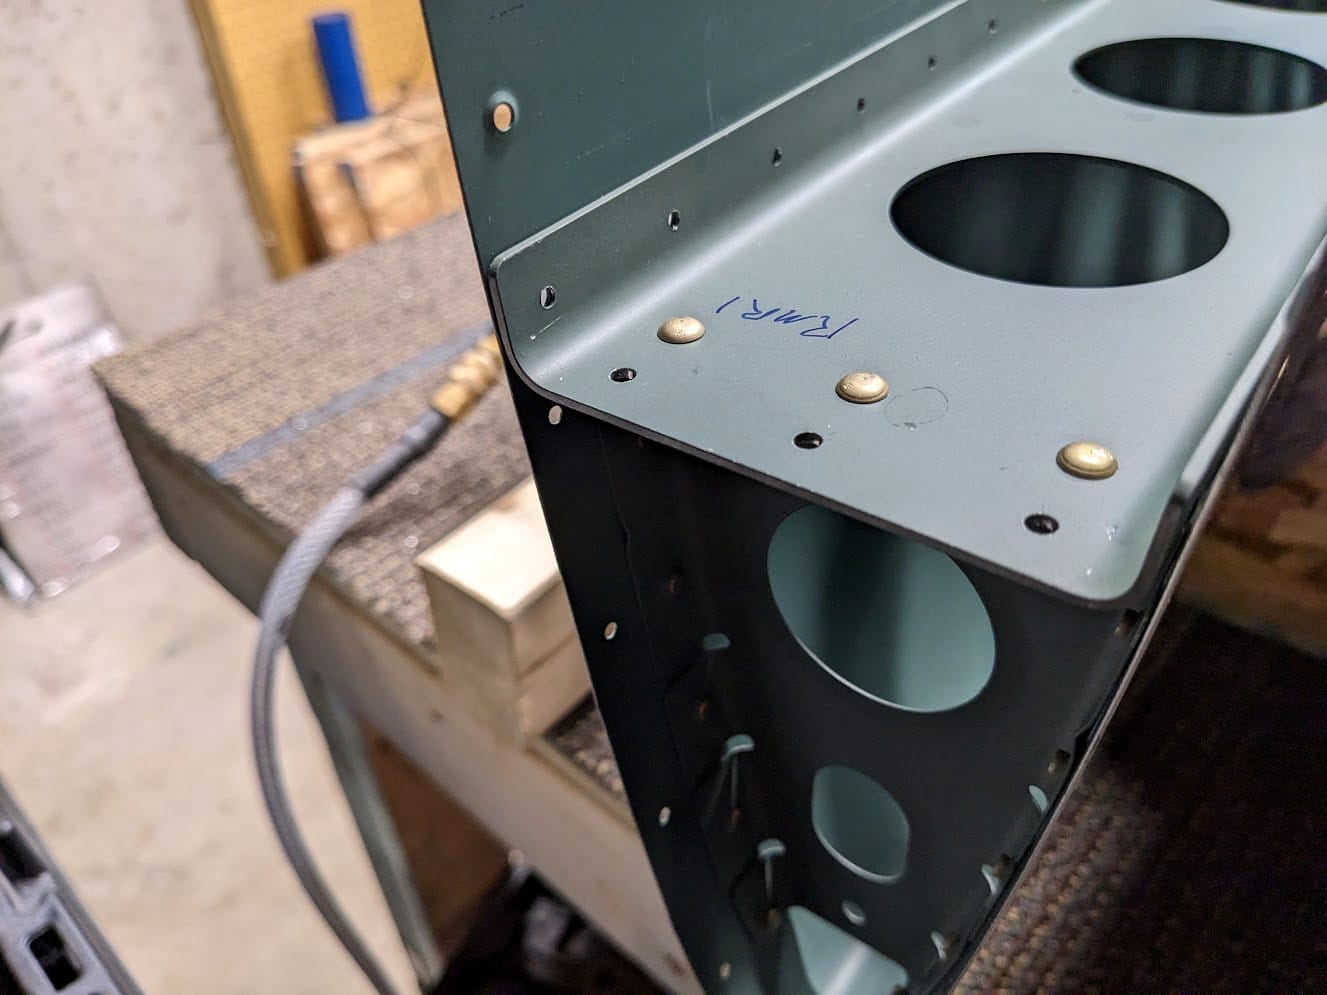
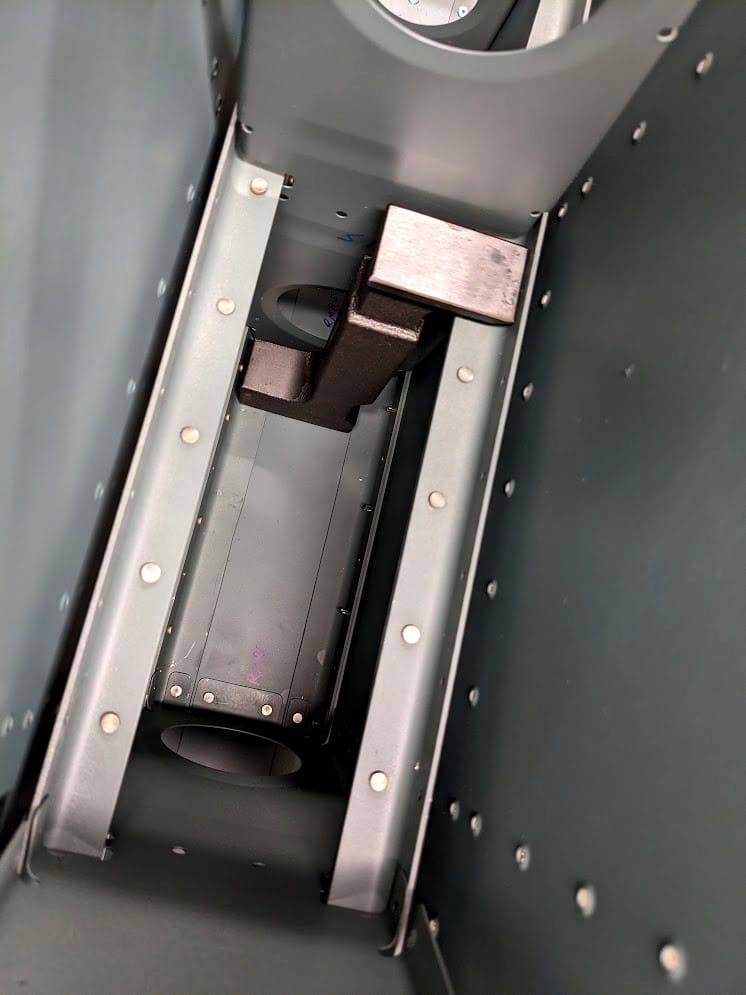
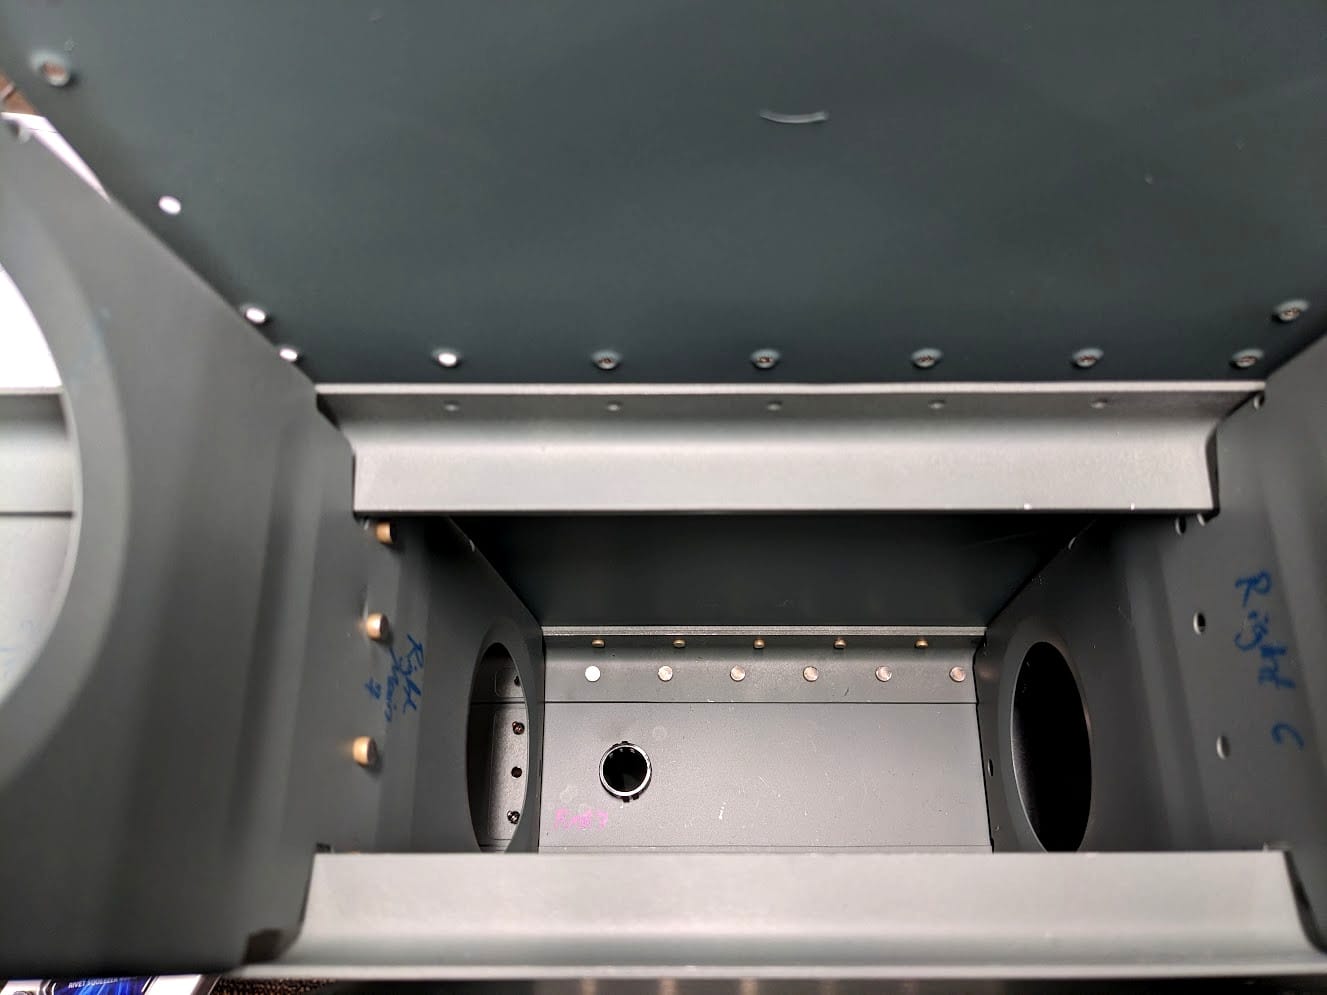
Inside the horizontal stabilizer we can see the three pull rivets fully set showing how the nose rib lines up to the spar. They are not aligned to the inspar ribs, interestingly enough. No idea why.
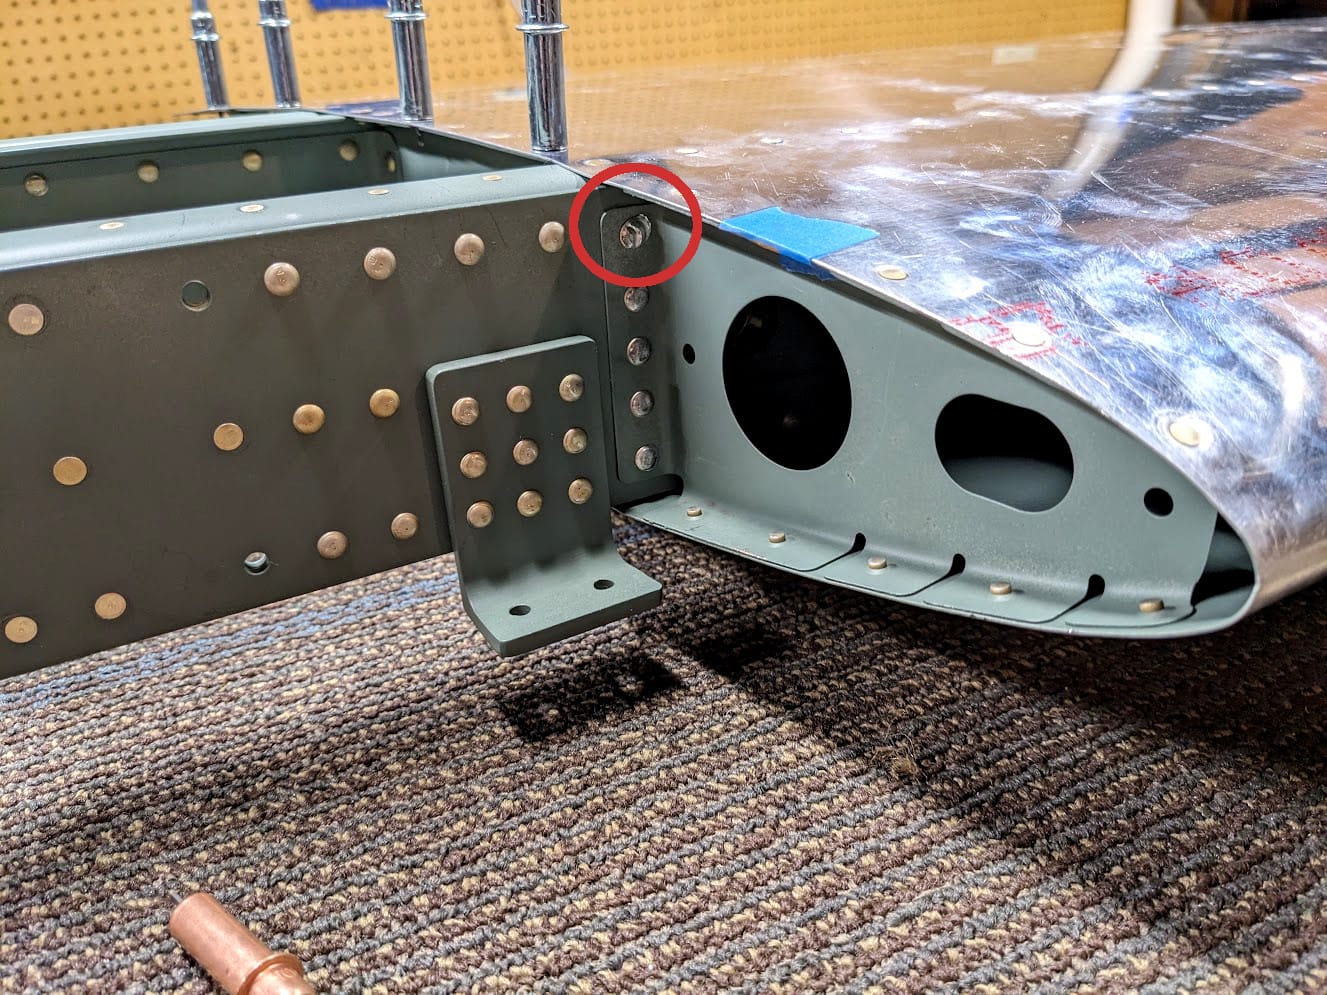
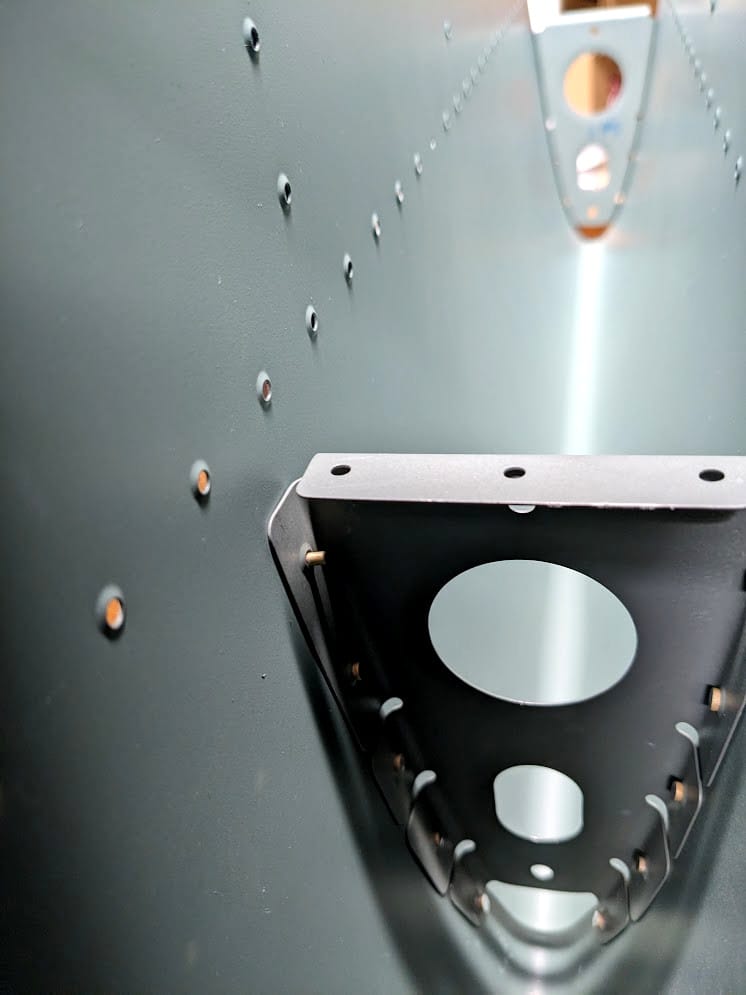
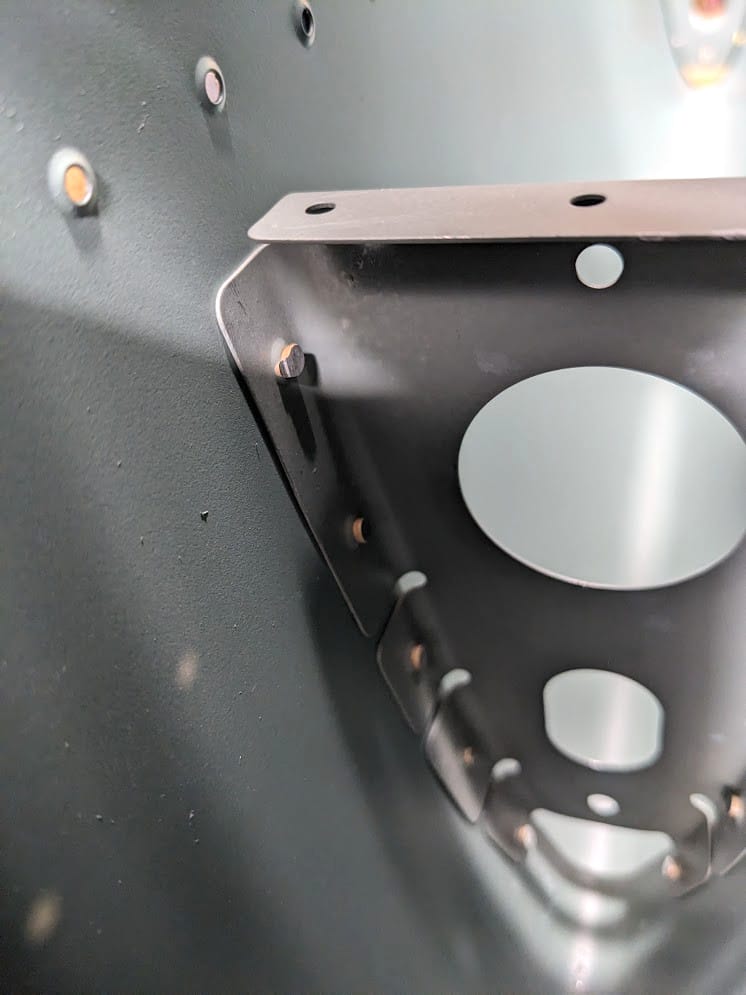
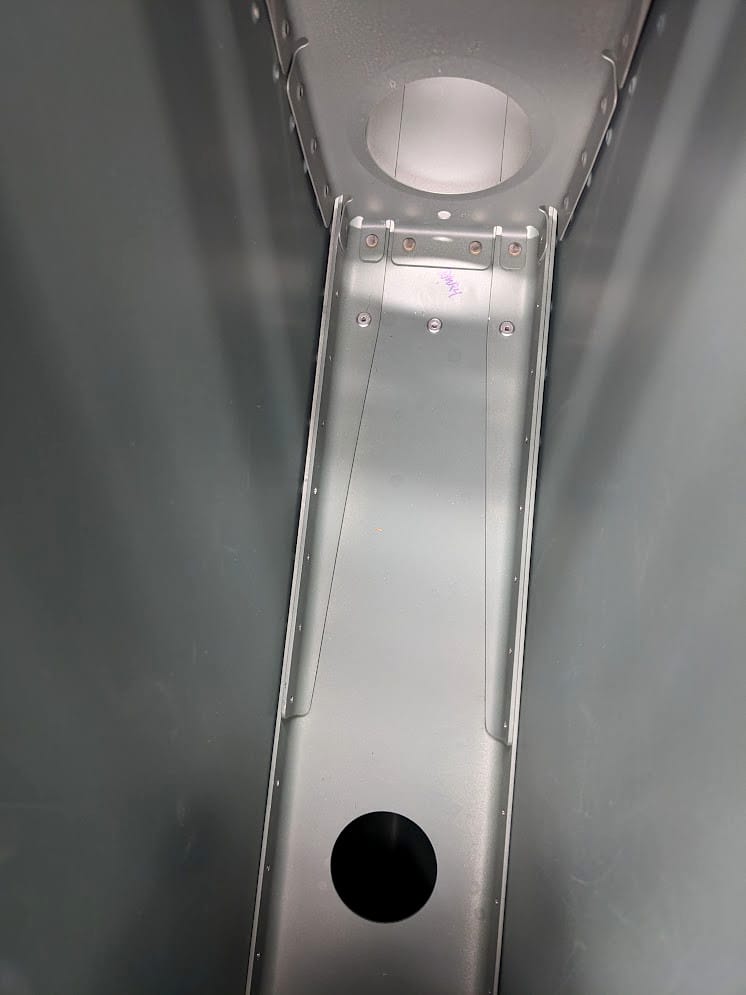
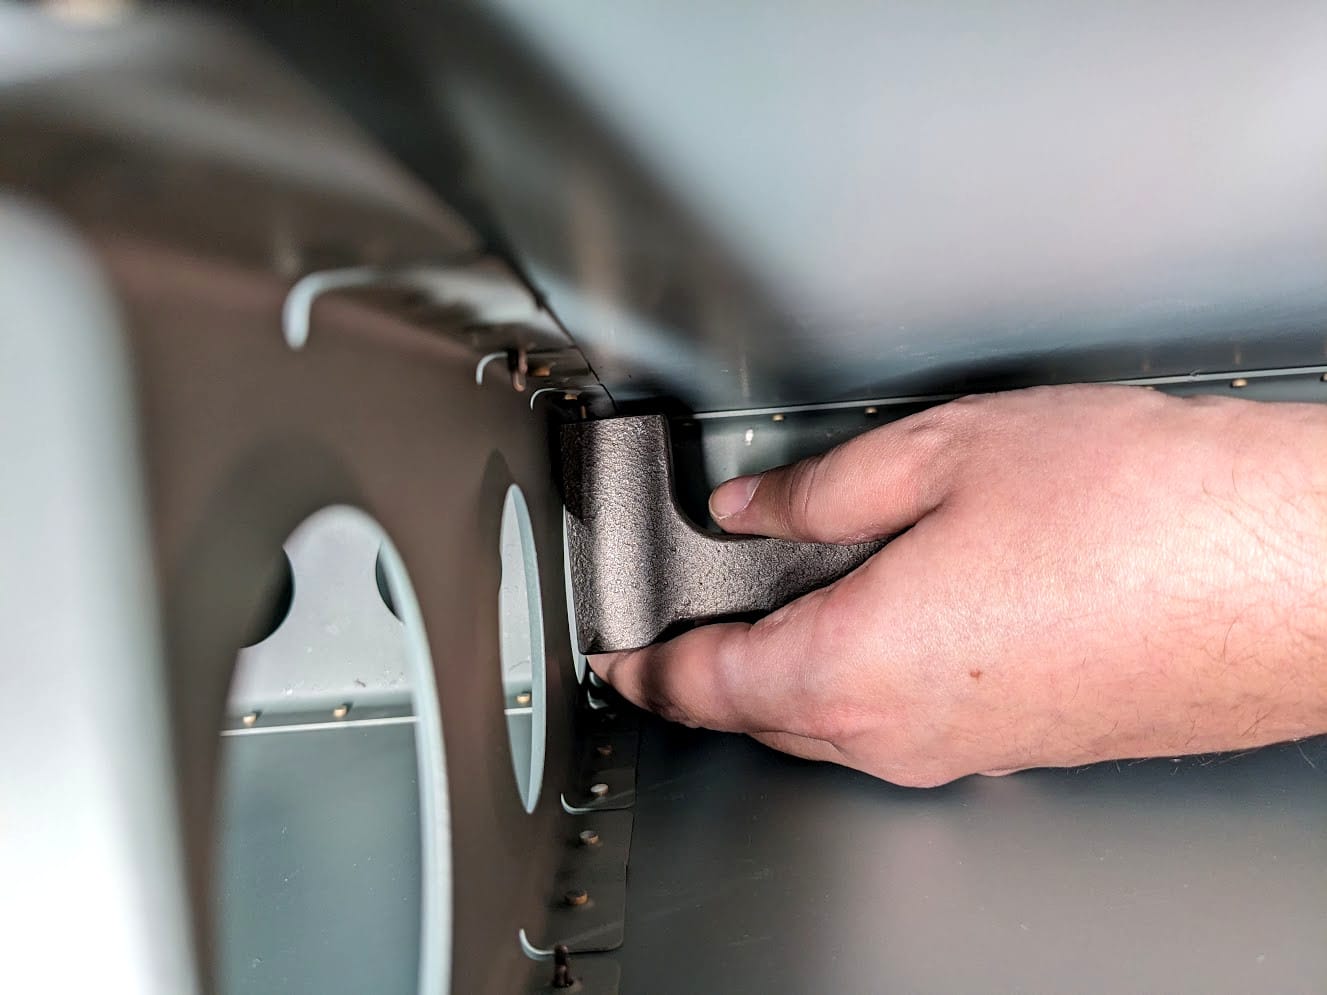
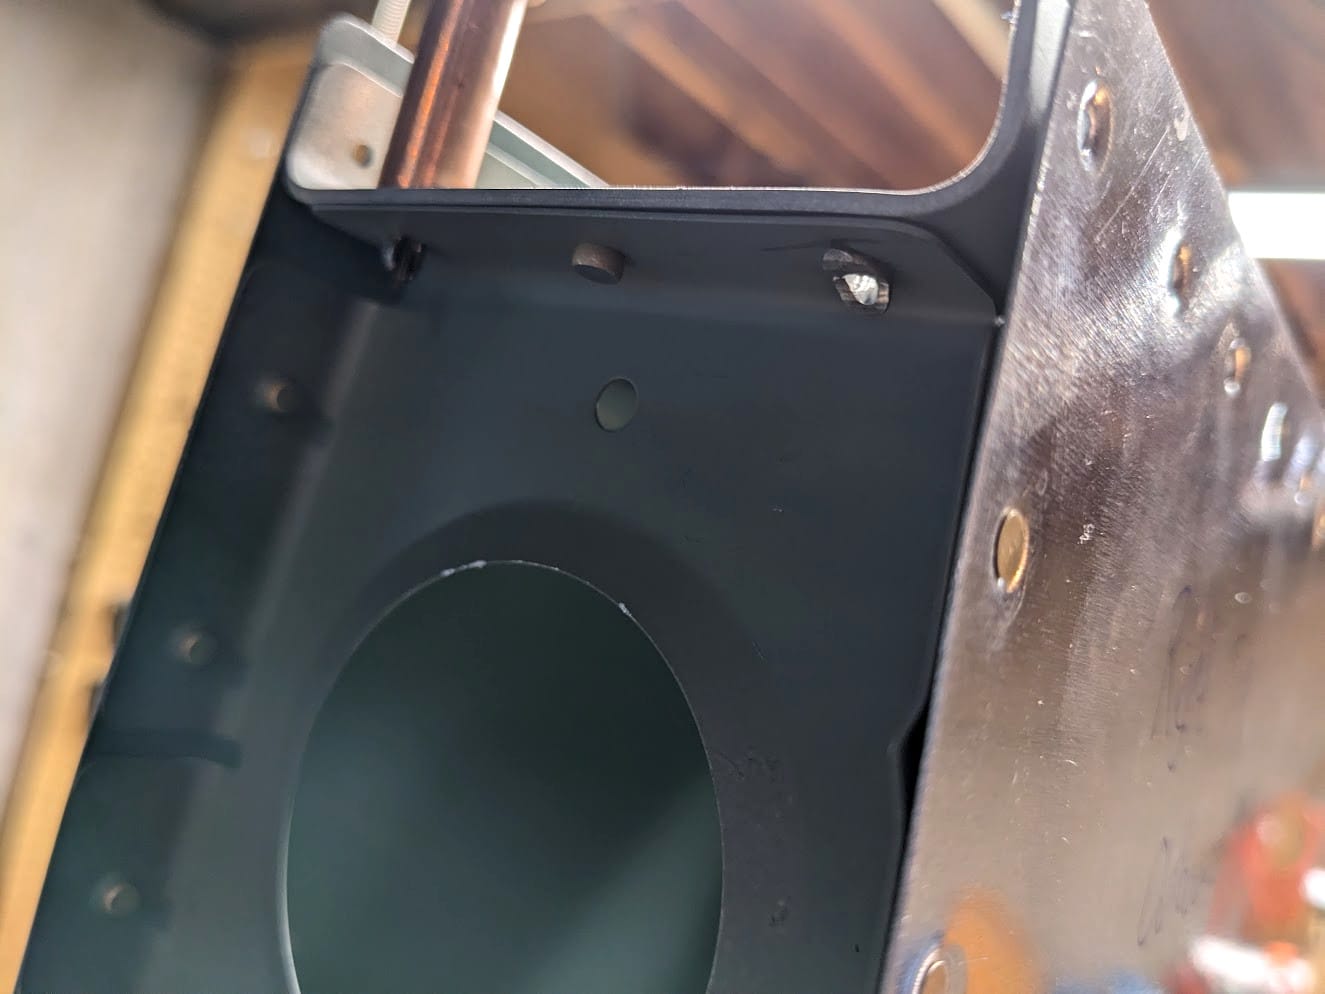
On the very end where we have access we can rivet with solid rivets. The gap on the very end is for a faring that gets installed later. With the spar attached to the nose ribs, it is time to install the last two inspar ribs that were left out so I actually had room to work.
This one gets pull rivets for the same reason the nose ribs got pull rivets. There is no way to get a bucking bar behind it to set rivets. I almost prefer the pull rivet though, they are easy to set.
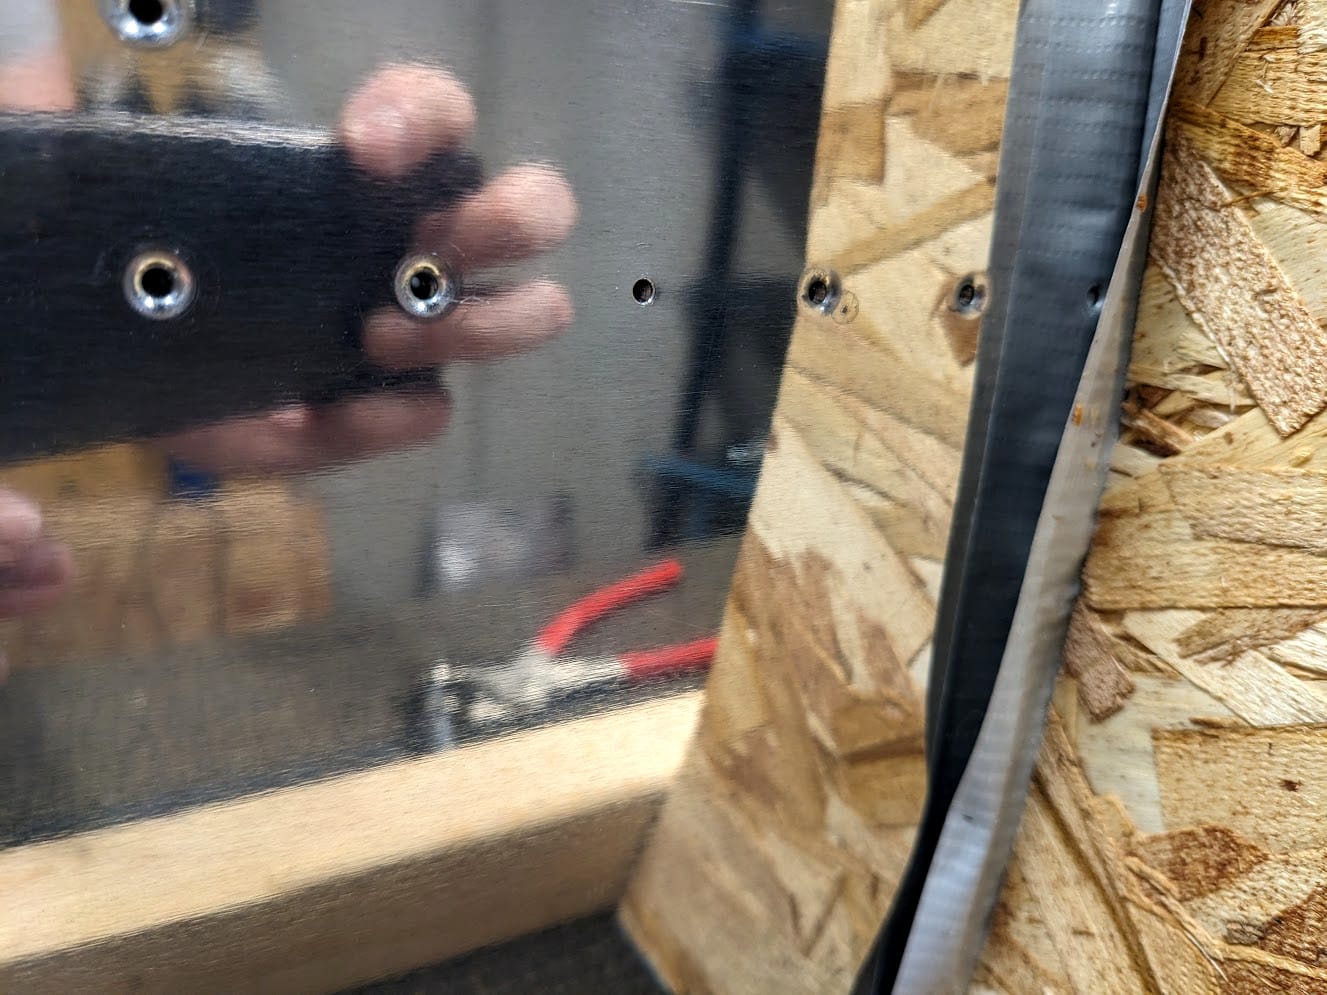
Oops, what is this? I somehow missed an entire hole when dimpling the skin. No idea how that happened since I was going one at a time but it must have happened. I was trying to think of a way to set a dimple without taking everything apart again and it occurred to me I have a tool for just such an occasion.
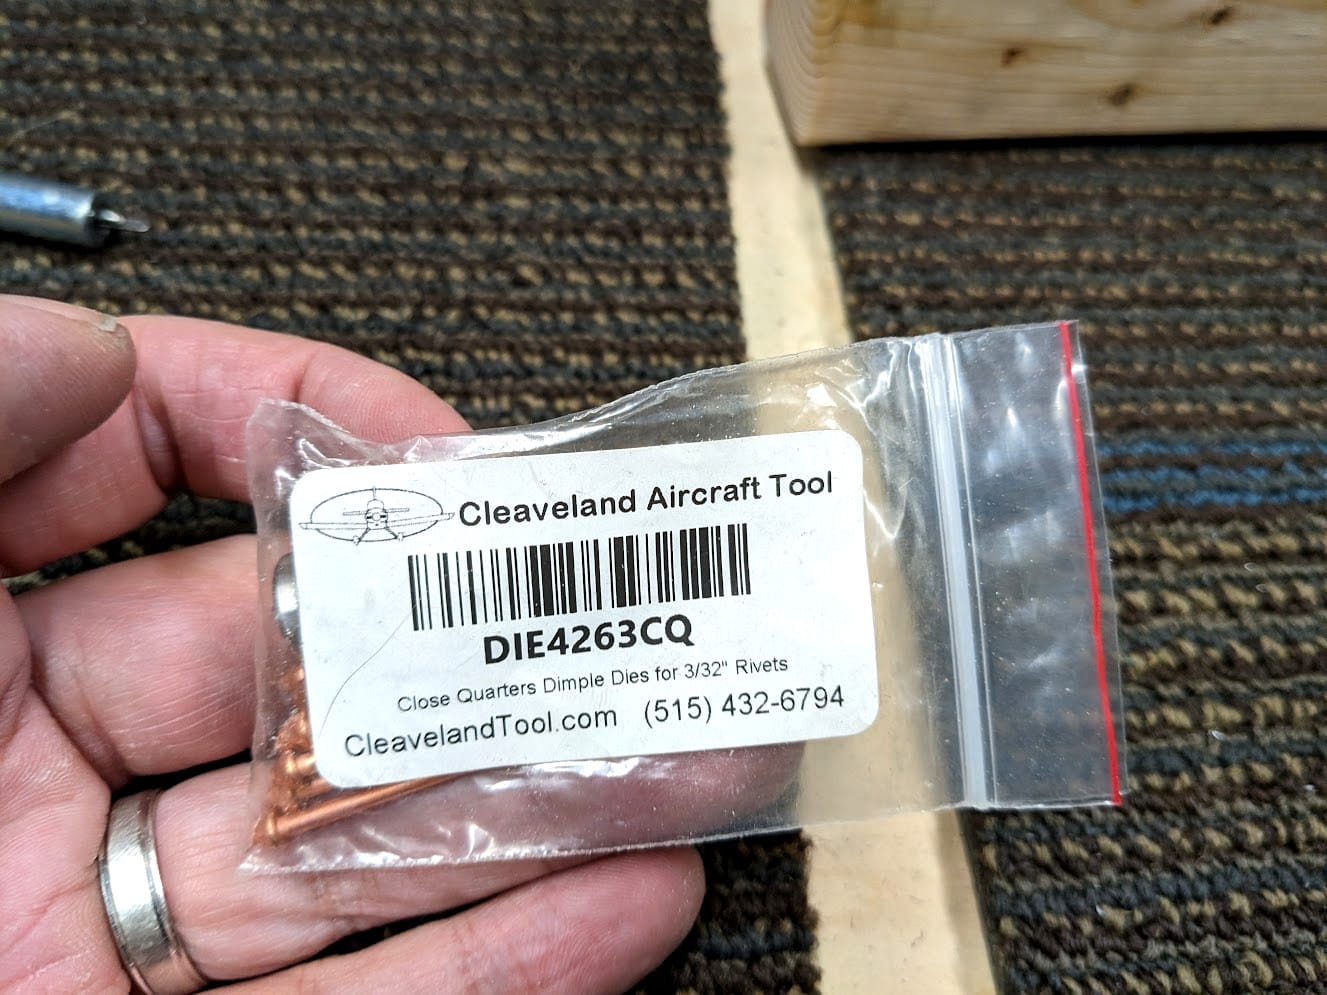

Using the same took I use for the pull rivets I can pull together this dimple die. In this case I'm using the countersunk front spar as the female die but if all goes well it should work... hopefully.
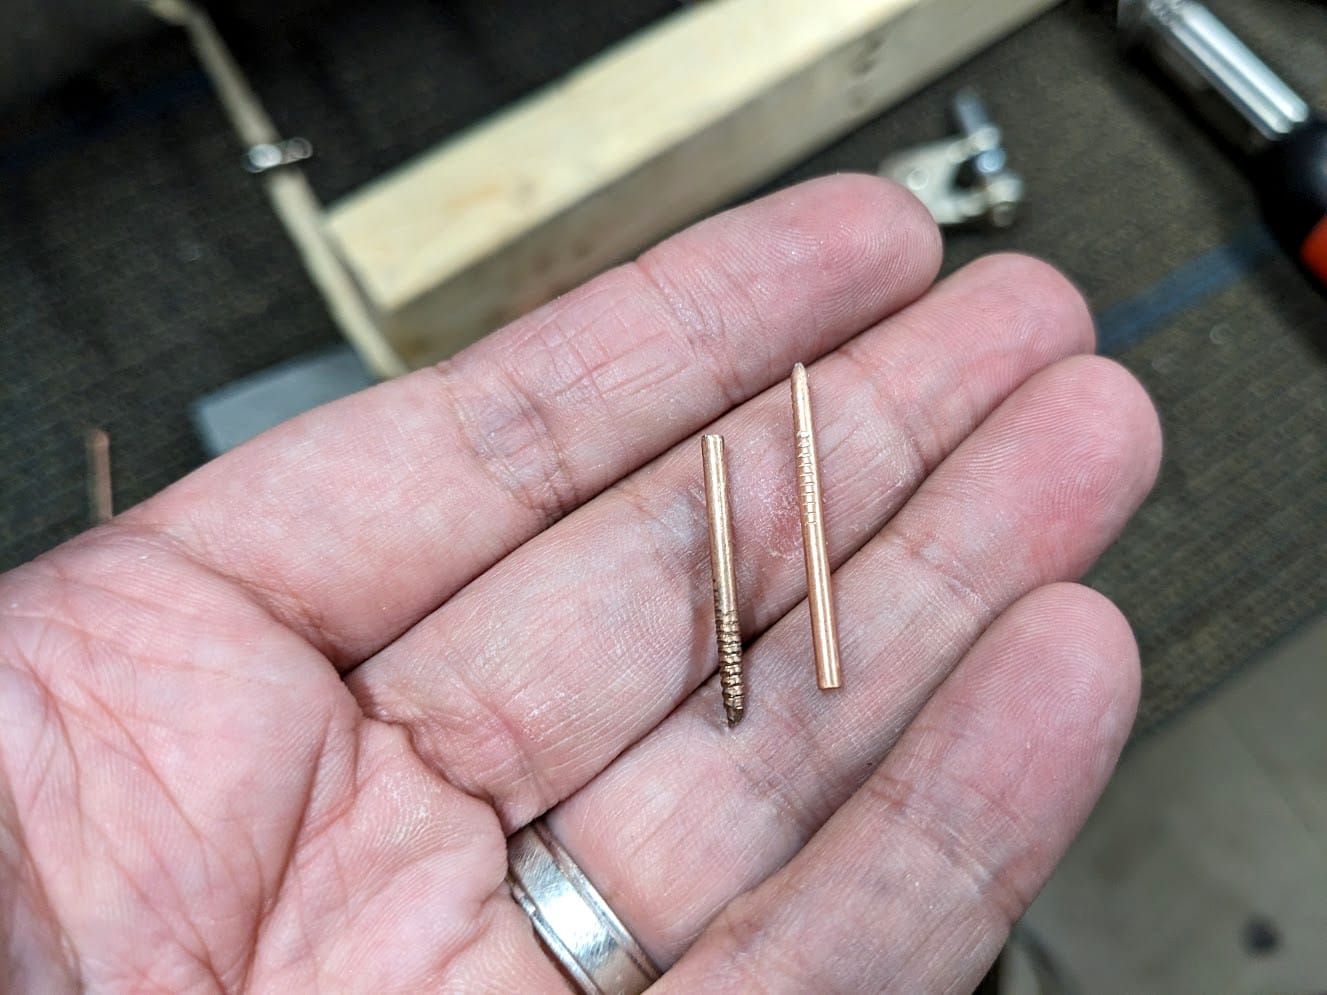
I broke two mandrels but that is to be expected. They are designed to break, after all. However...
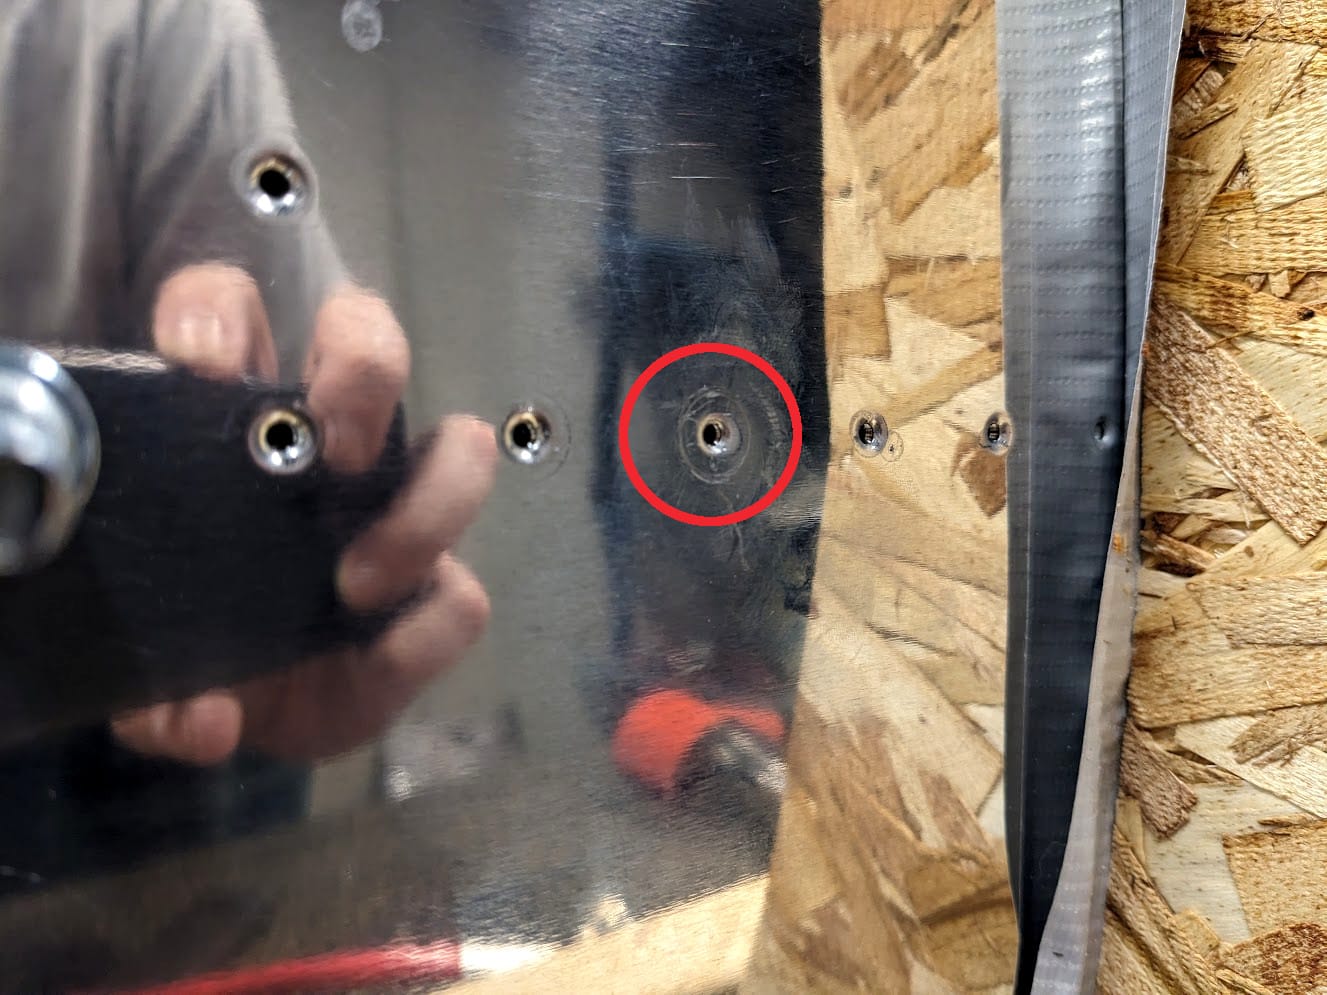
It worked! I got a dimple. Not pictured here was me hammering with a dimple die and a rubber mallet as well. Between the two I got a dimple I was satisfied would work just fine. I don't recommend trying to do it all this way though, just dimple stuff the normal way for your sanity.
Then boom, rivets appear. This time the riveting was going much faster, better results, less collateral damage from the bucking bar. Who knew that practicing a skill would lead to me being better at that skill? Almost criminal how that works.
Just an interior shot of the spar at this point showing how nice the rivets look (and also how I'm not beating the crap out of the spar this time. It felt good to start to become good at something. So sure enough the universe had to humble me a little.
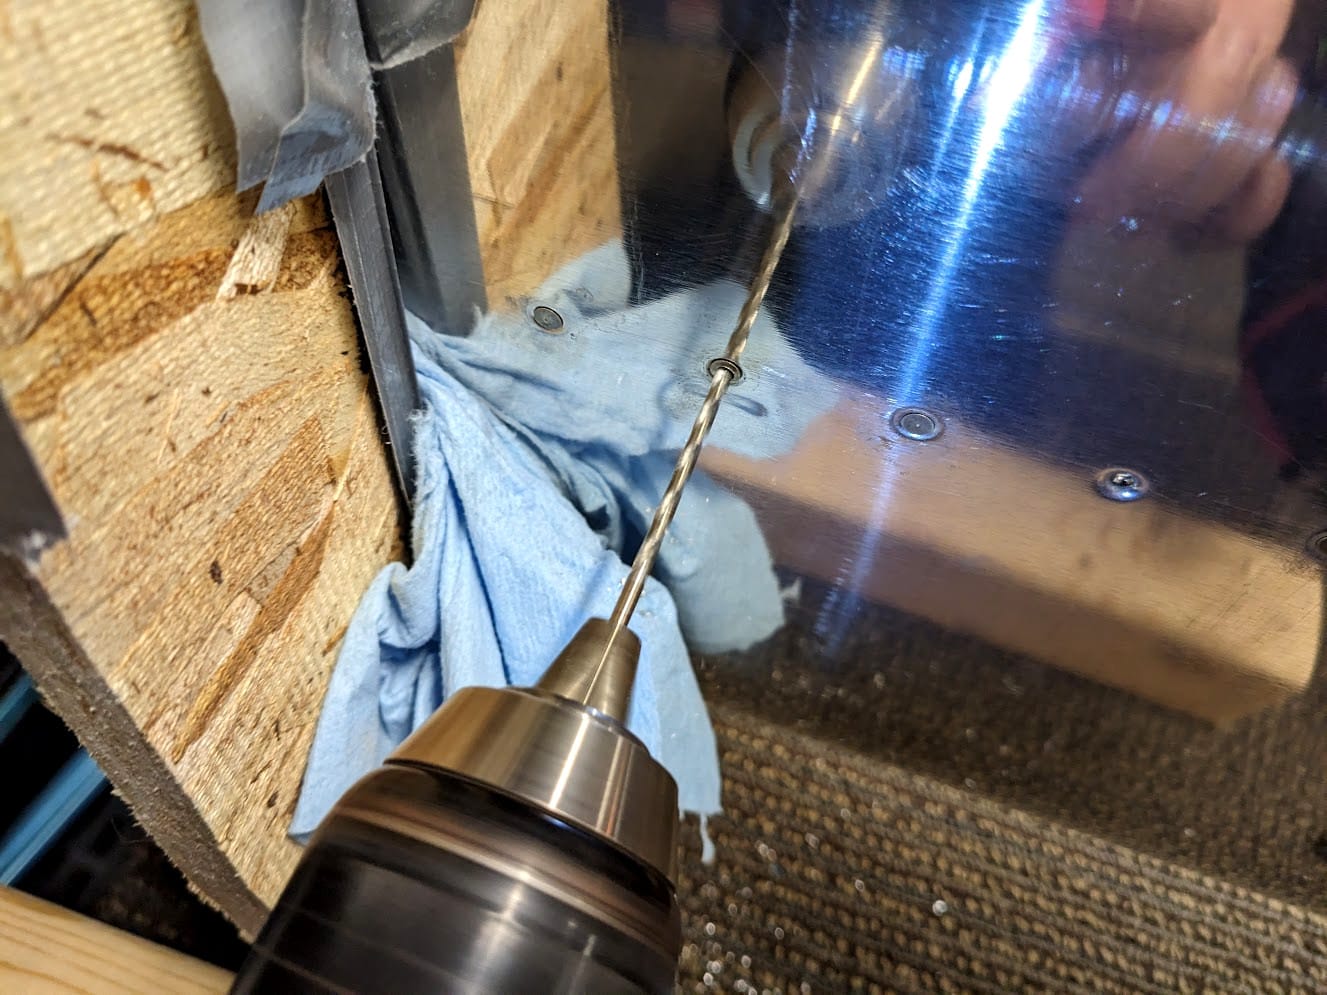
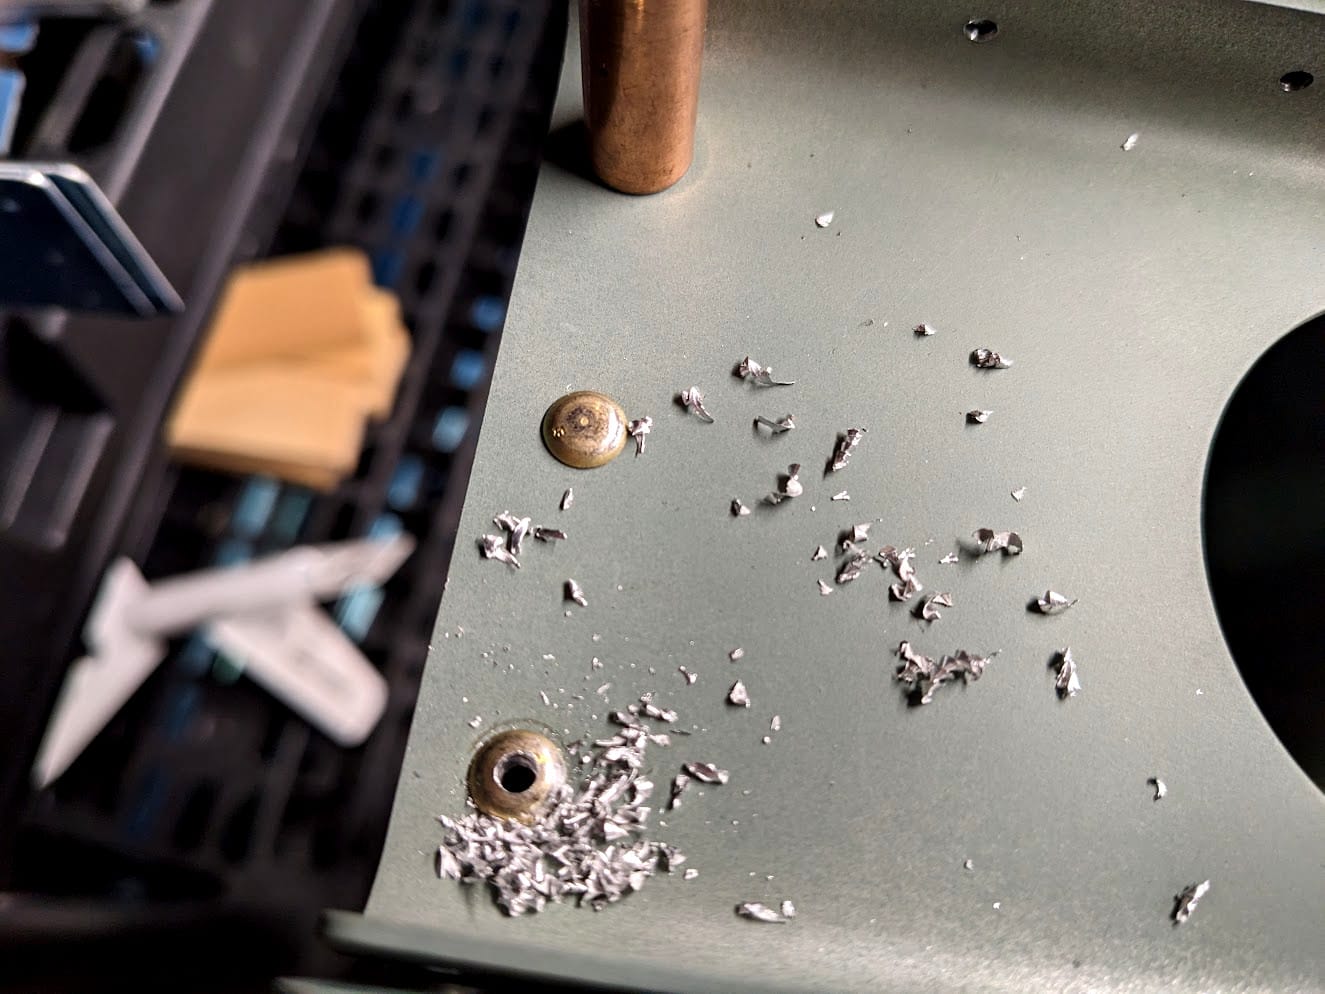
The rivet gun slid and I put a dent in my skin, but also messed up the rivet. So here I am drilling out the rivet so I can put a new one in. This sadly doesn't not fix the dent though. That will be part of the finishing work with body filler.
Here is where the real tricky work gets done. When the stiffeners are in play, you cannot see much. So you have to get the bar setup and rivet by feel alone. I got pretty good at this, I think maybe I had to drill out one or two rivets in this section but overall I was caution to not overdrive the rivets.
You can see me here showing just how little room there is. This is why you rivet from the bottom up and in sections, because if the skin was attached to the stiffeners are this point I don't know that I could work in this area at all.
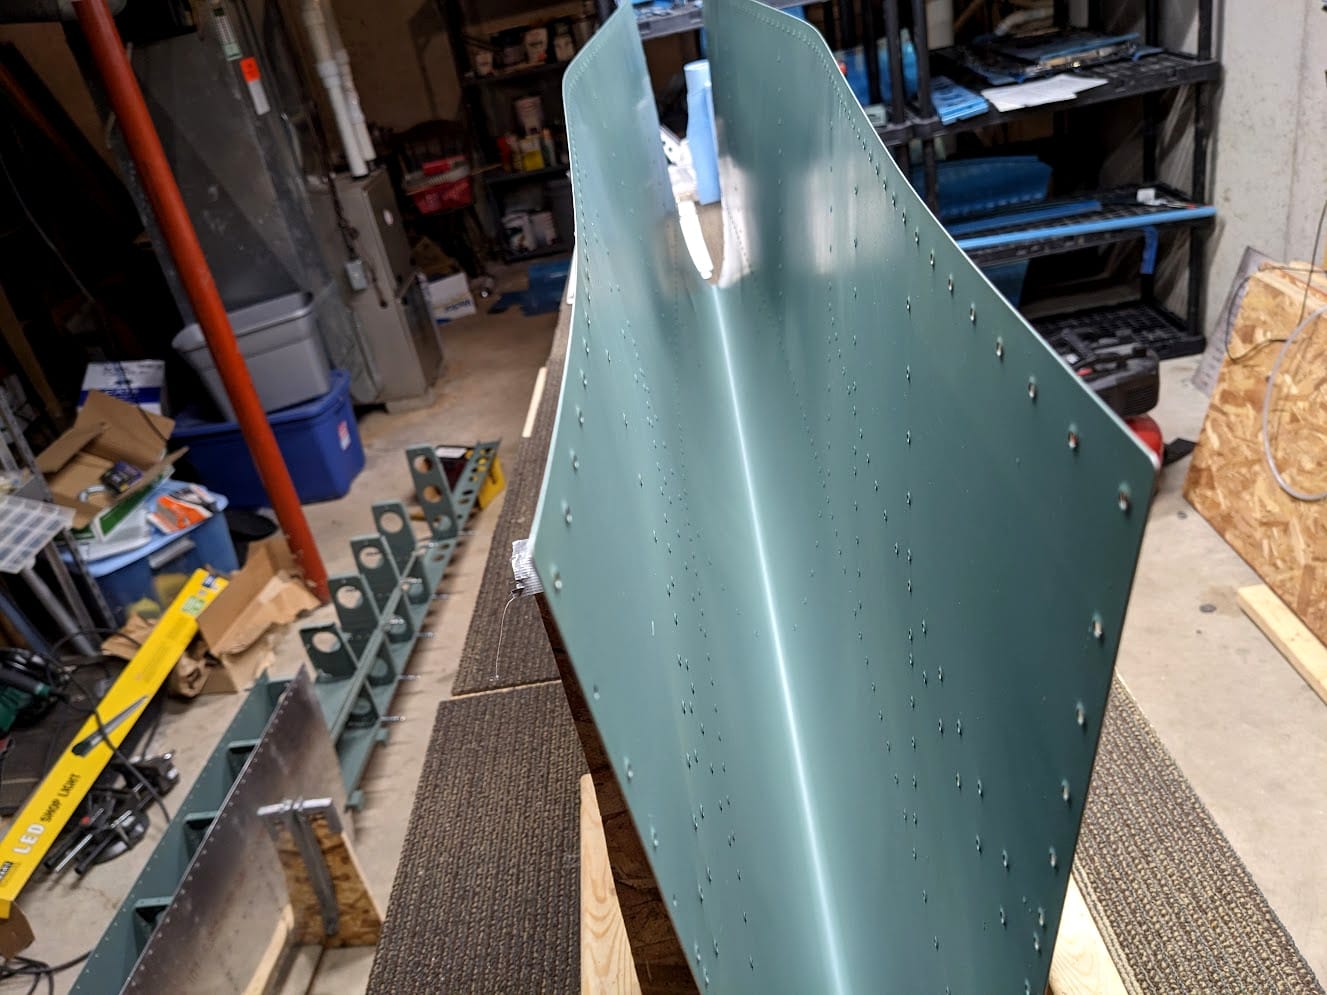
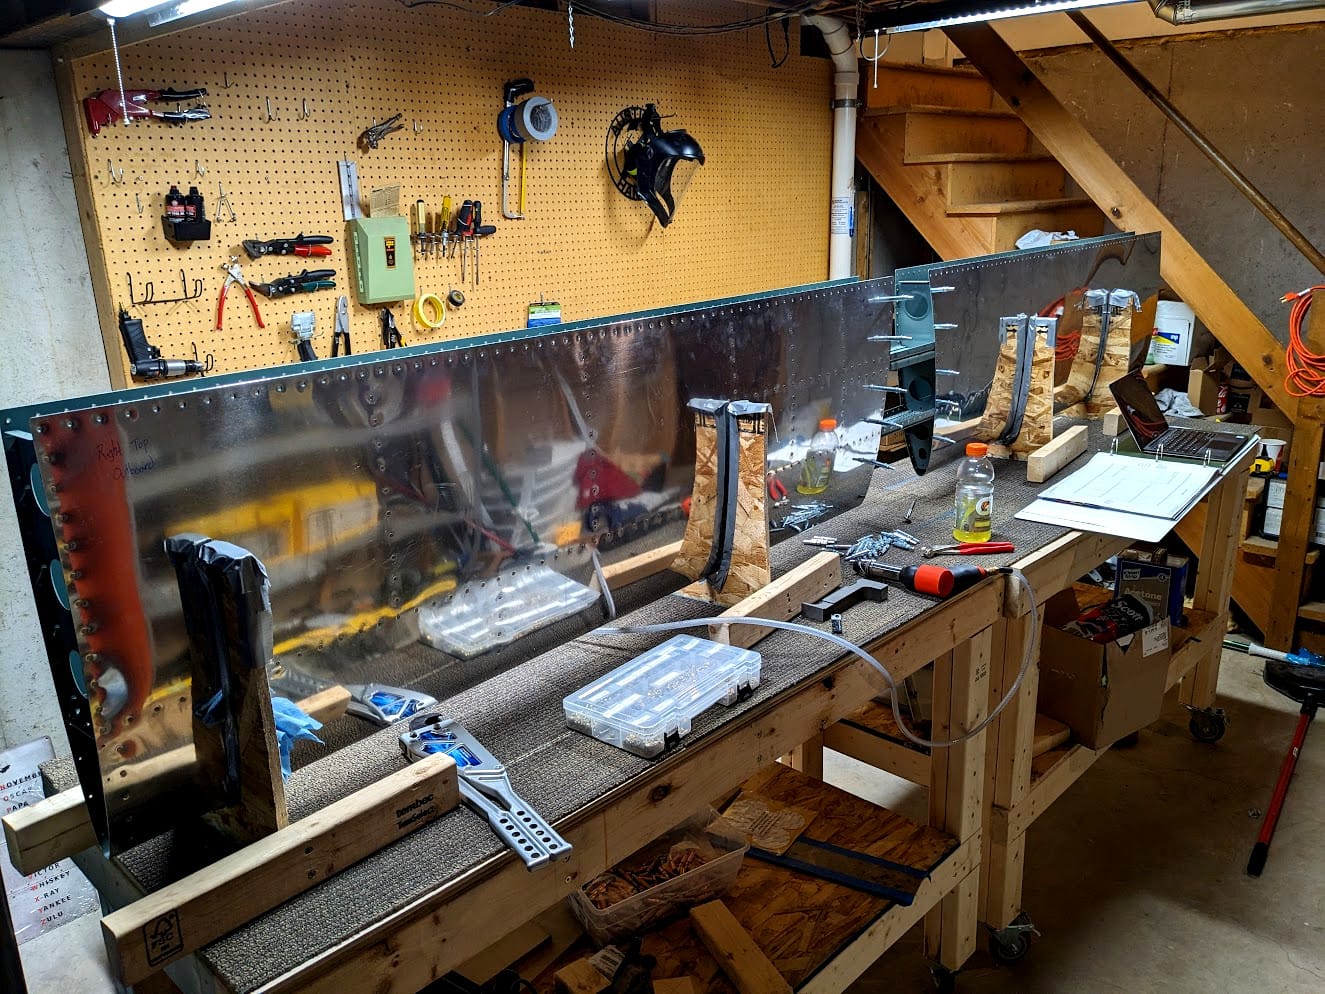
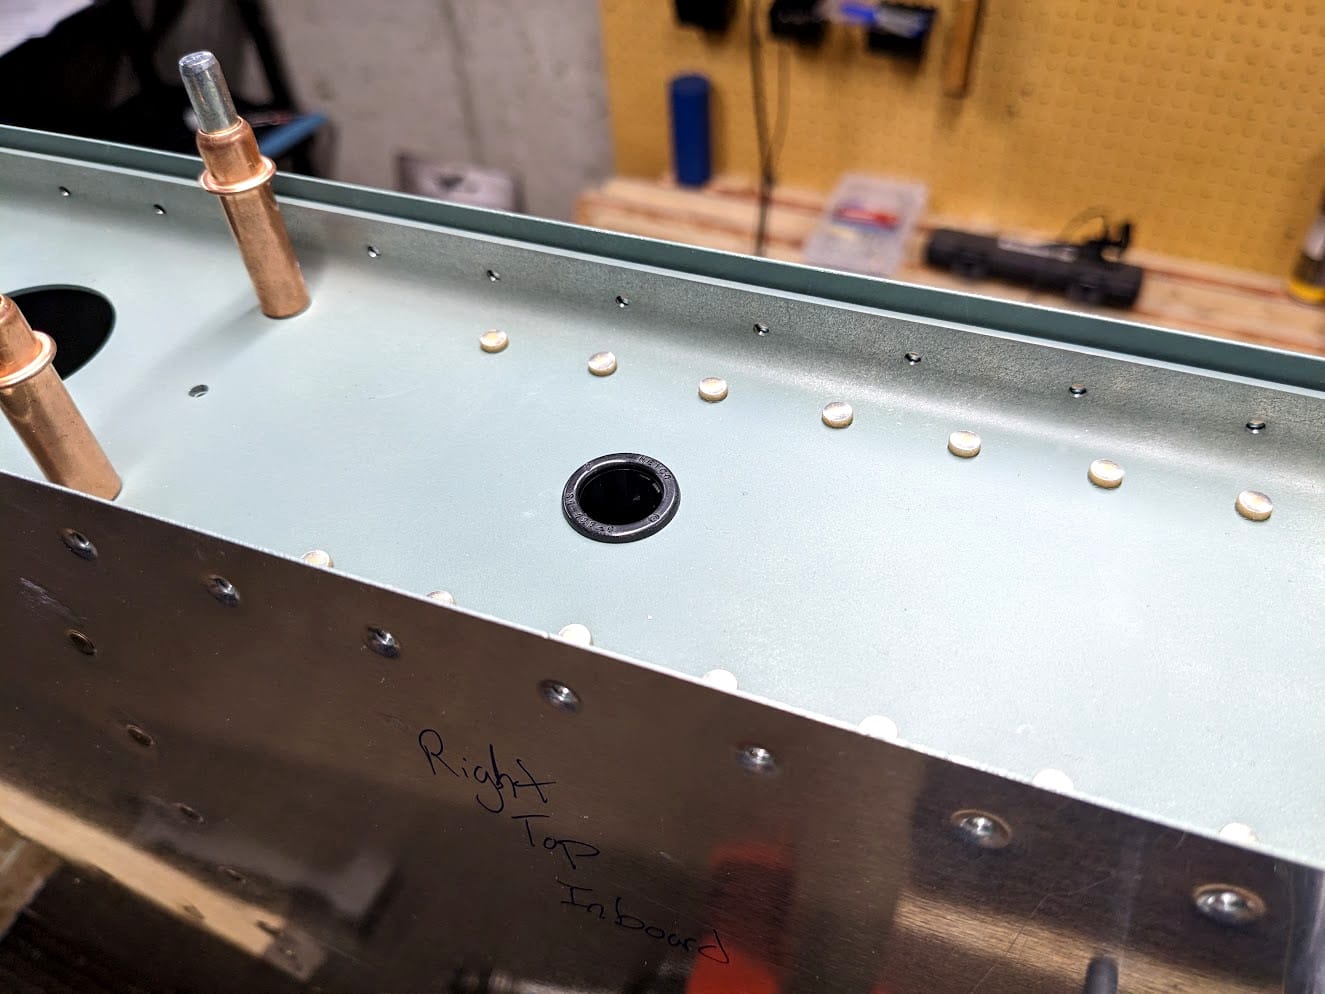
Progress though! The top side is fully riveted to the front spar. The right side continues to go much better than the left just because I have done this before. Also, remember that dimple I had to make on the skin?

I riveted it without even realizing it. It just worked like literally every other rivet. That is a great result!
Then the bottom is also riveted completely to the front spar. Don't let it fool you, I think it is 70 rivets per side so it definitely takes a little bit of time. Next up, riveting the ribs up to the stiffeners.
Here is how I generally hold the bucking bar inside the stabilizer if I can. It is easy for me to manage this way and my results have been good so I'm not going to stop unless space constraints force me to.
Some progress shots for you. Just riveting my way up to the stiffeners, then riveting the stiffeners, then finally riveting up to where the rear spar goes. The right side took me about 14 hours to fully rivet and I imagine the left took that plus some more. I don't keep too close of track on how long it takes to do anything because I'm not racing to get this done. We are on the home stretch though, only have to throw in the rear spar!
The rear spar just drops in like the front spar did. Then I clecoed it to the inspar ribs so I could start the process of permanent attachment.
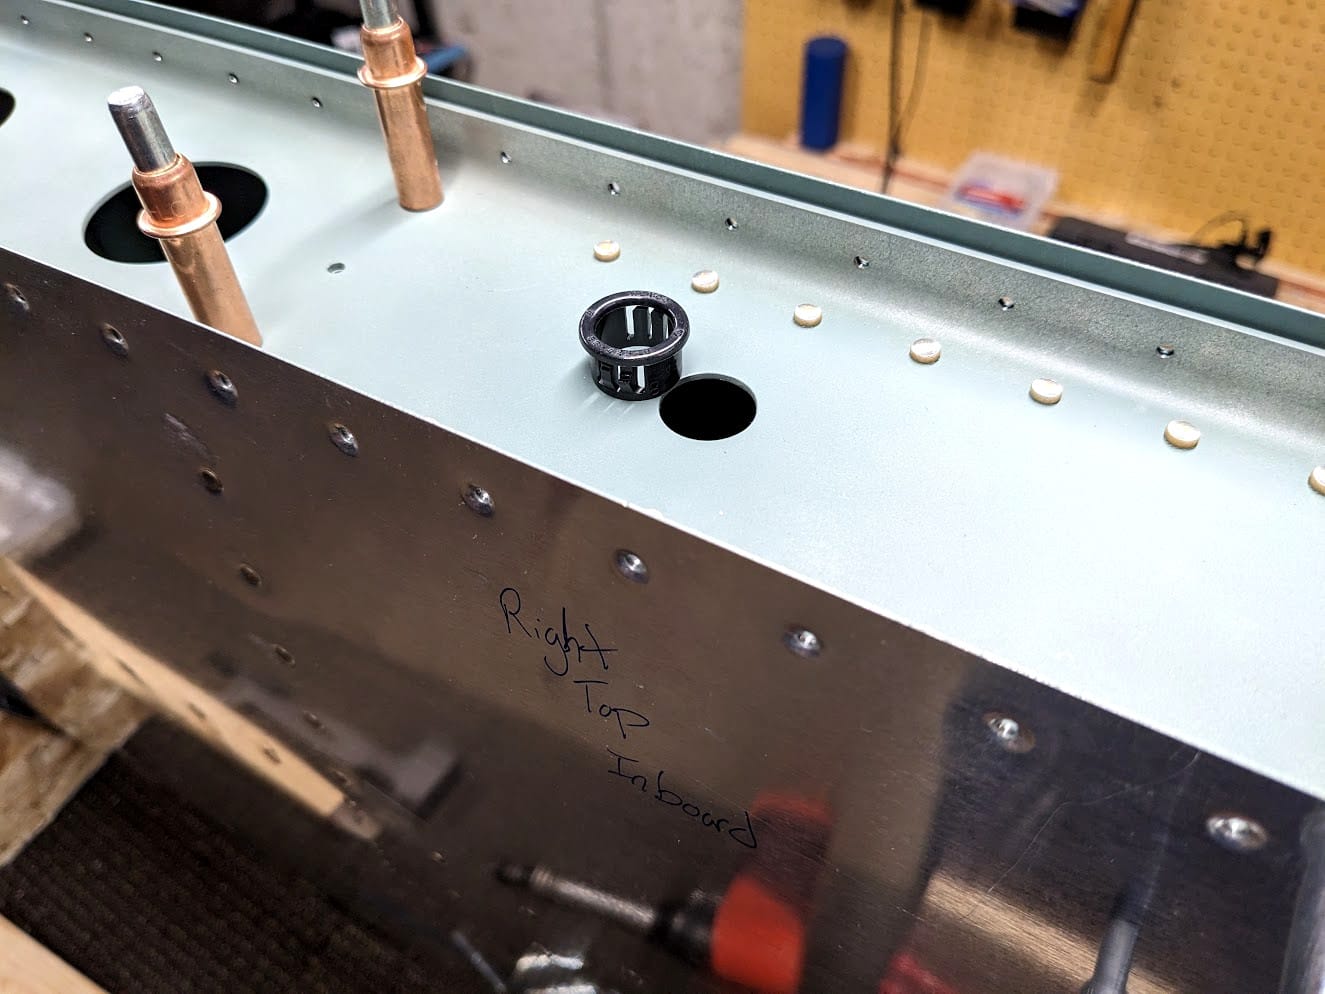
I had to install some snap bushing though. This step was funny to me as it could have been done literally any time but the instructions had it on this step so I did it now.
Then while installing the ribs I managed to really goof up a rivet. This is midway through the removal of the rivet having just drilled it out 1/32" undersize. Then I had to pop the head off it and remove the tail.
I love it when a rivet removal goes so perfectly. It helps when access is easy to both sides and everything is straight on.
I finished attaching the ribs (mostly pull rivets) and got the sides secured. Only a mere ~300 rivets left and I am done! I decided to use the hand squeezer so I wouldn't have to hold the heavier pnuematic squeezer for this part, but I'm not sure it was worth it. I should have just taken the stabilizer out and laid it on its side for easier access. Oh well, it was 1:00am and that was the choice I made. So after putting in half, removing the clecos, then putting in the other half...
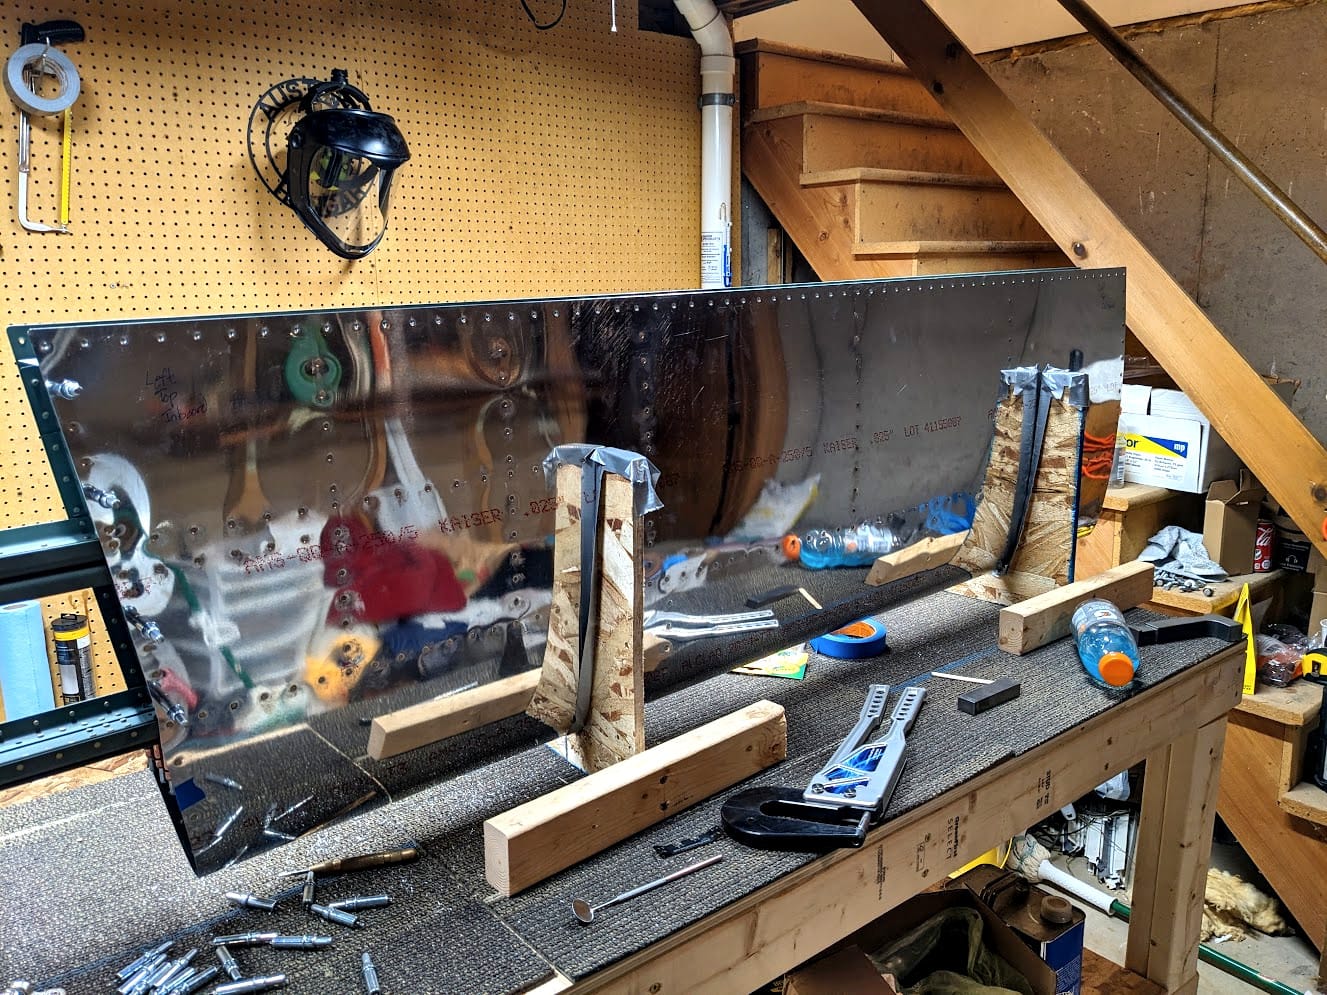
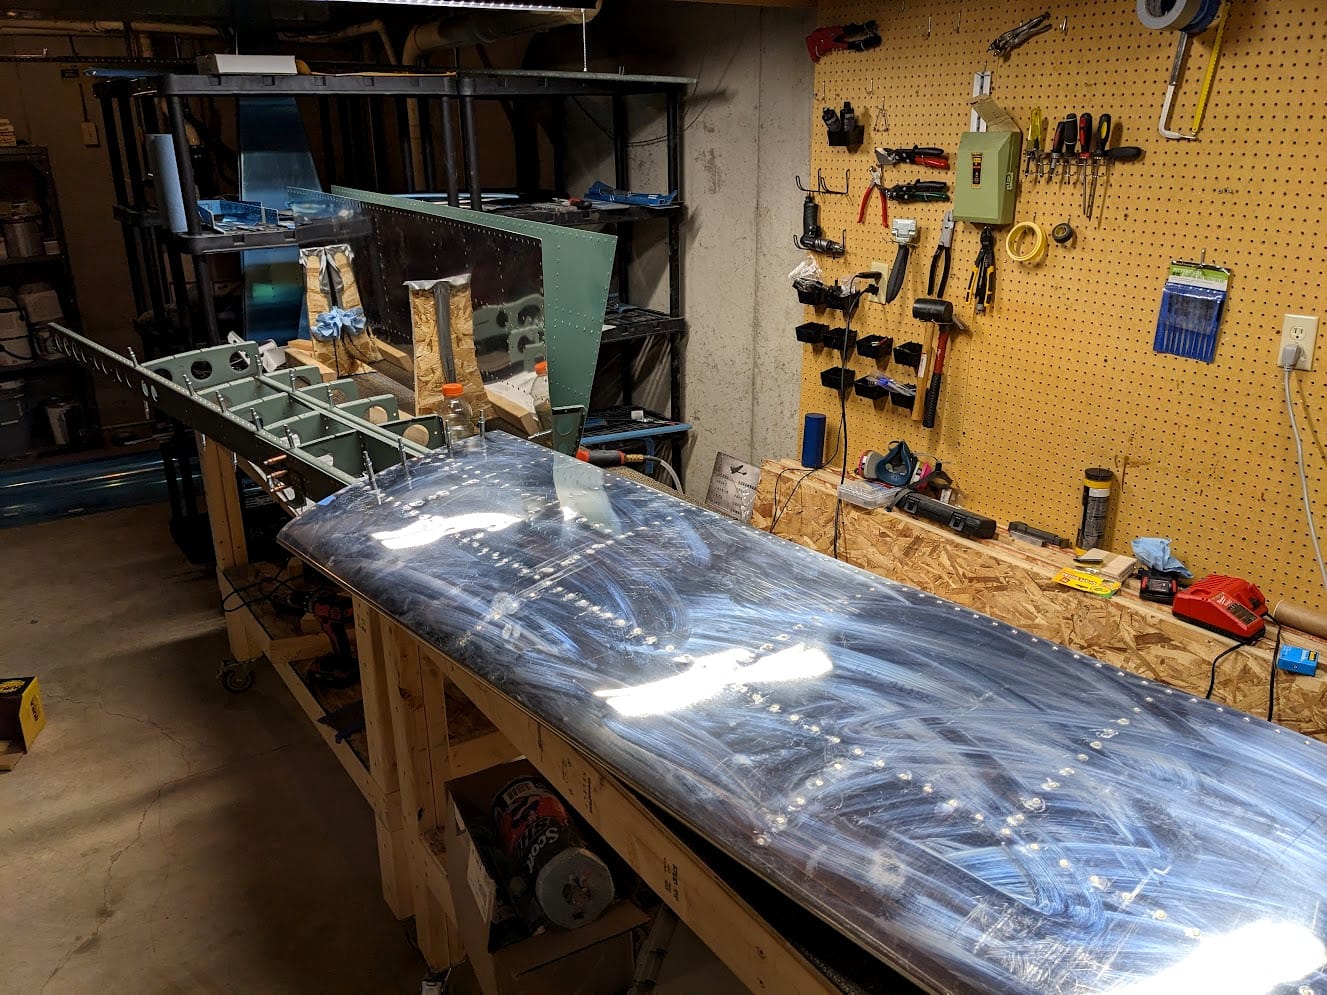
It is done! I now have a horizontal stabilizer! It was 2:00am but I am proud I made it though, what I consider to be, the first "real big" part. There was a lot of learning along the way but I got it all done and all by myself.
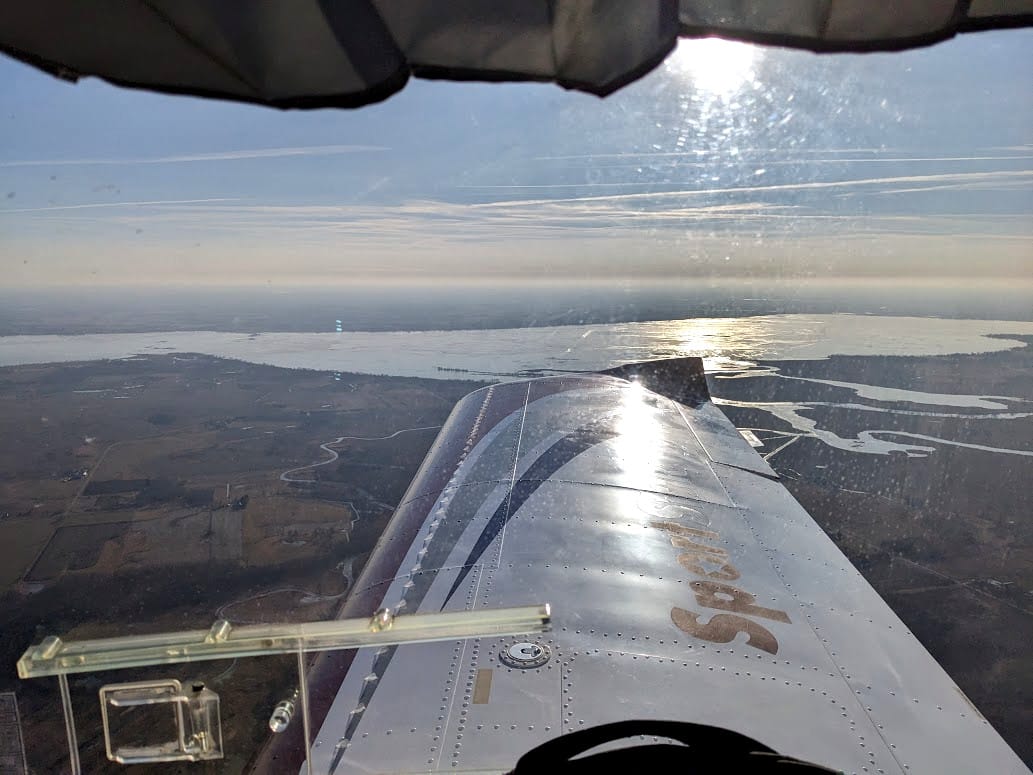
As always, thank you so much for stopping by. This build is mostly just a learning project for me but the fact that I get to fly it when I'm done makes it so much the better. Sharing aviation is a great joy of mine.
I wish everyone a good 2024. See y'all next time!