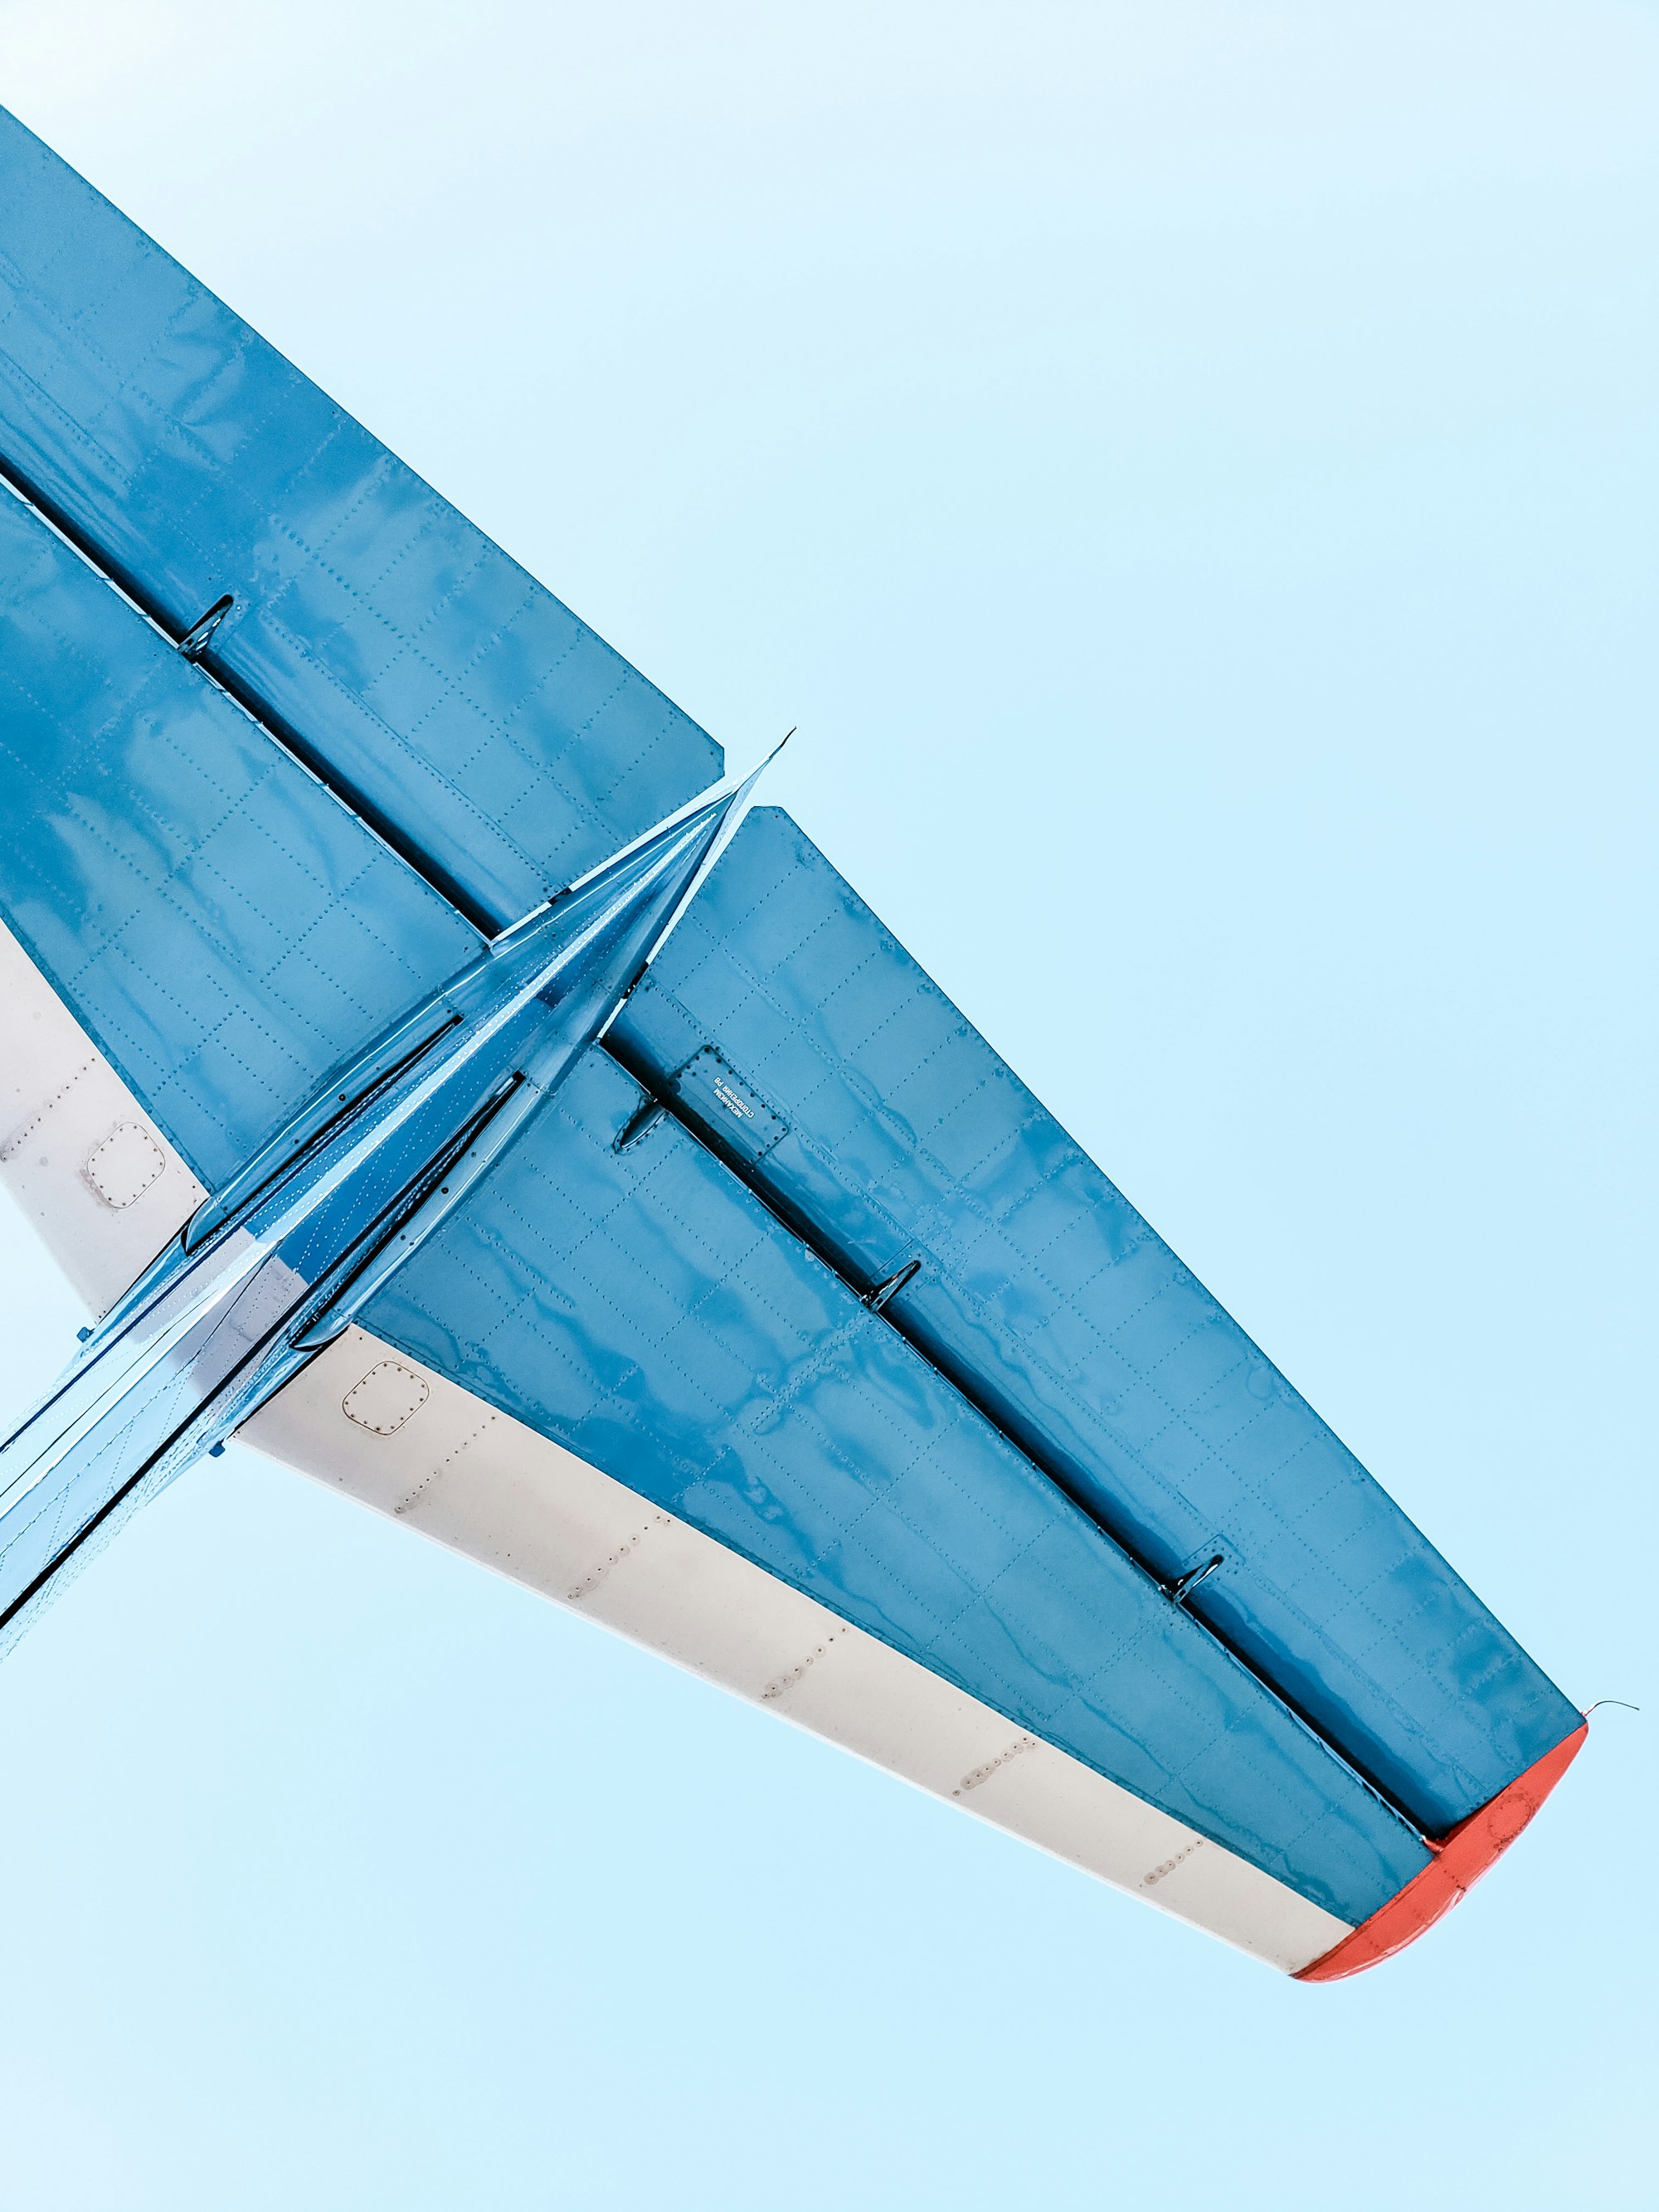
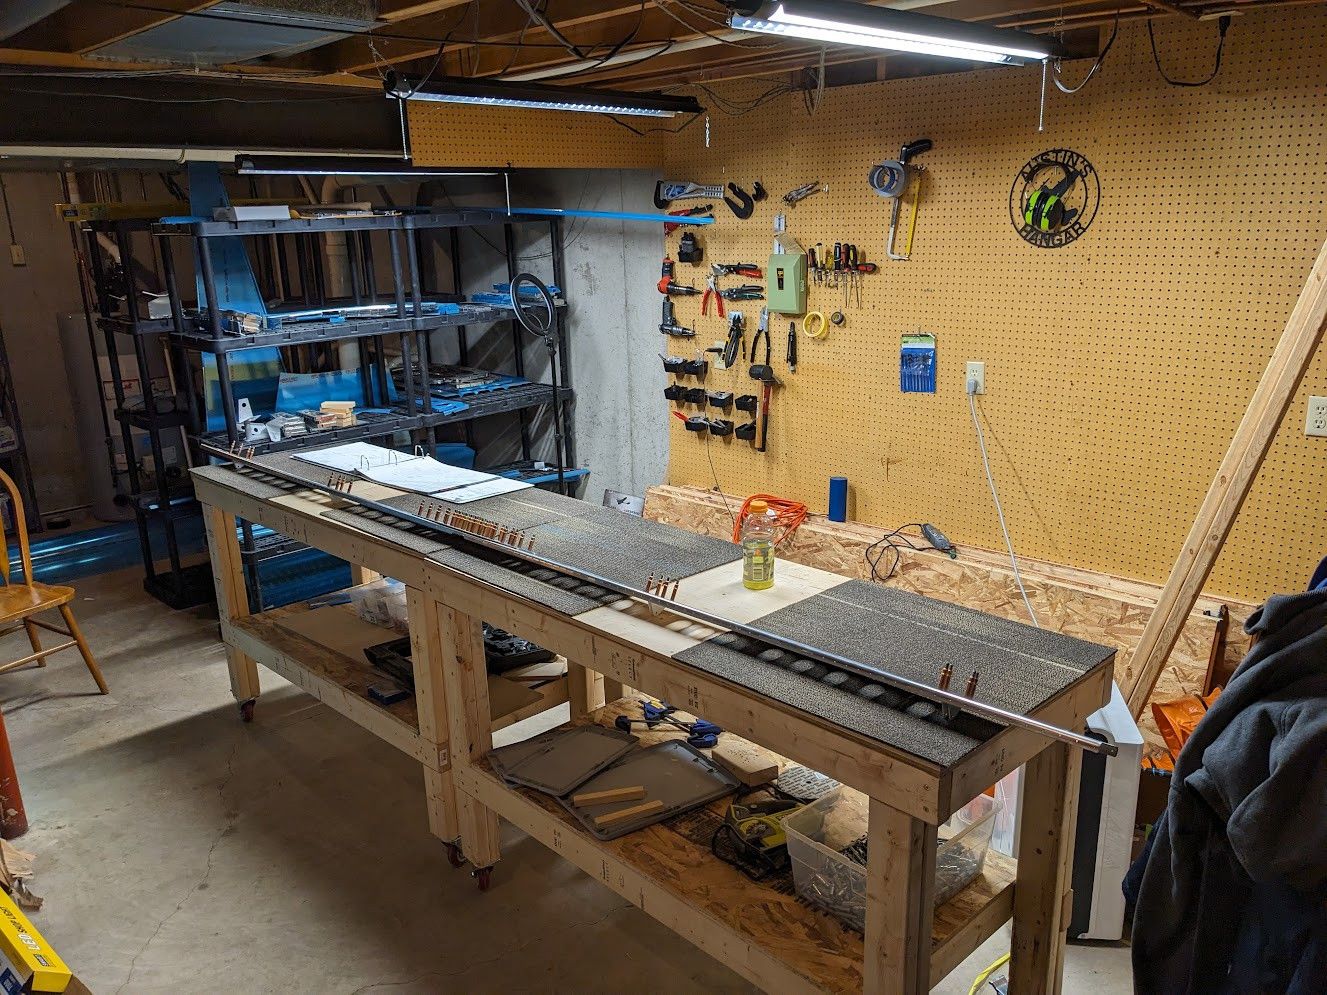
The Upside Down Wing

Did you know that the horizontal stabilizer on an aircraft is actually an upside down wing? It is a fun piece of information to ponder! Why would you want that? Well, it has to do with where the center of lift is located, where the center of gravity is, and how torque works. Check out this diagram from NASA's In-Flight Icing course (https://aircrafticing.grc.nasa.gov/1_3_2_3.html)
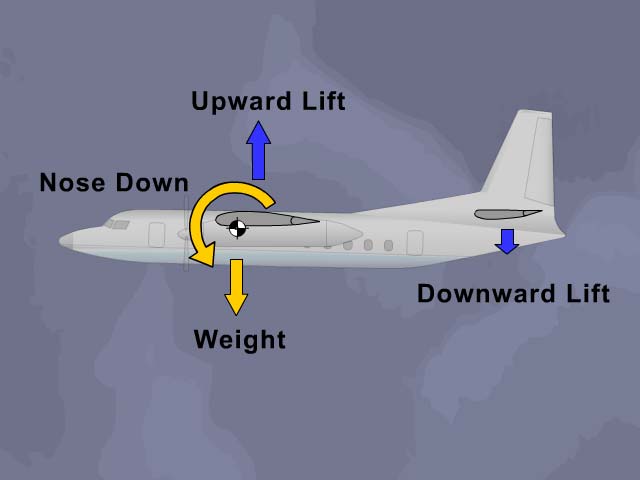
Without that downward lift, the airplane would pitch nose down and you would not be able to recover. This is why tail stalls can be so deadly in the case of icing on the tail. Anyway, all of that to say I'm currently working on my upside down wing!
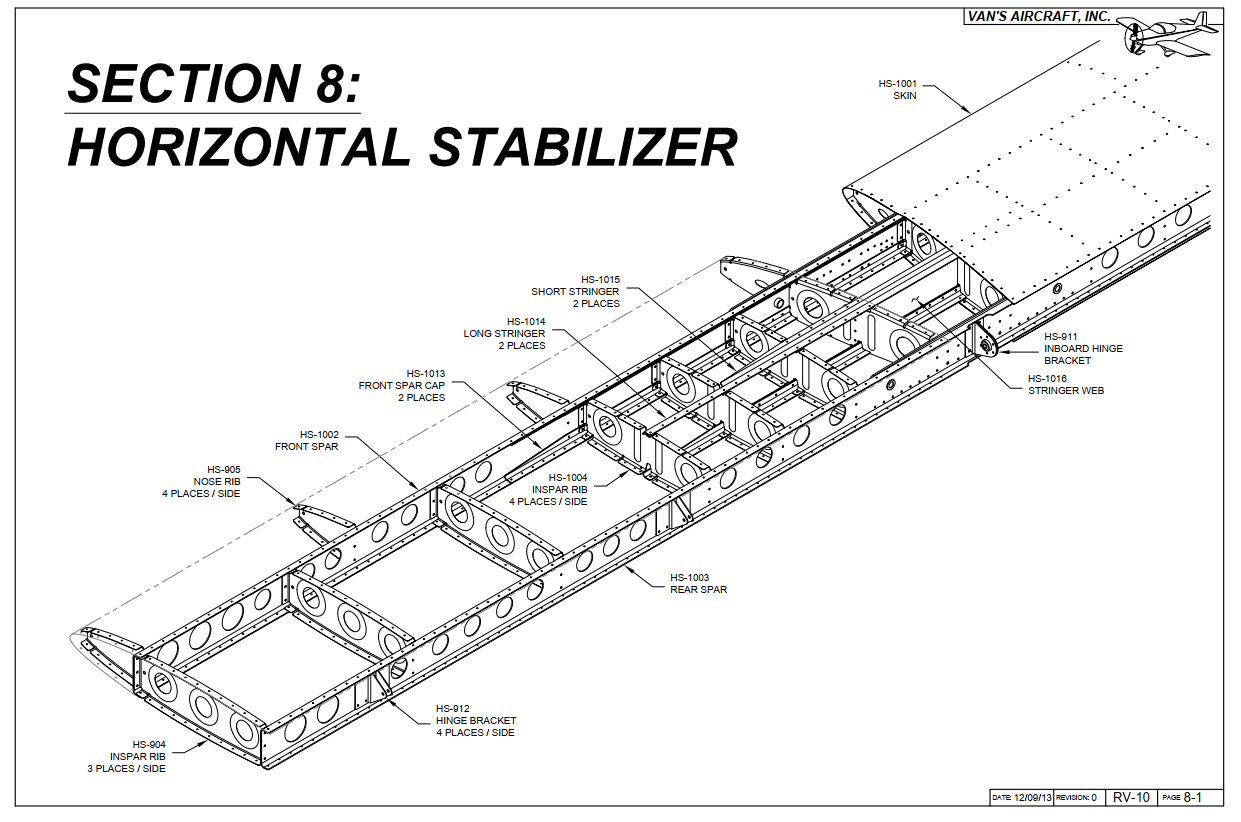
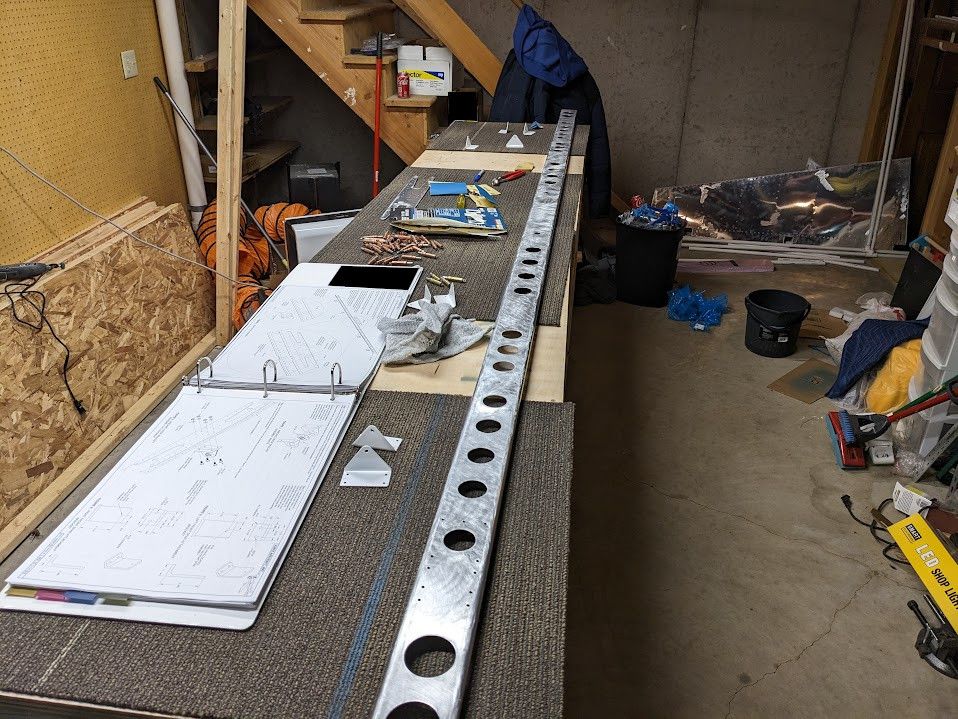
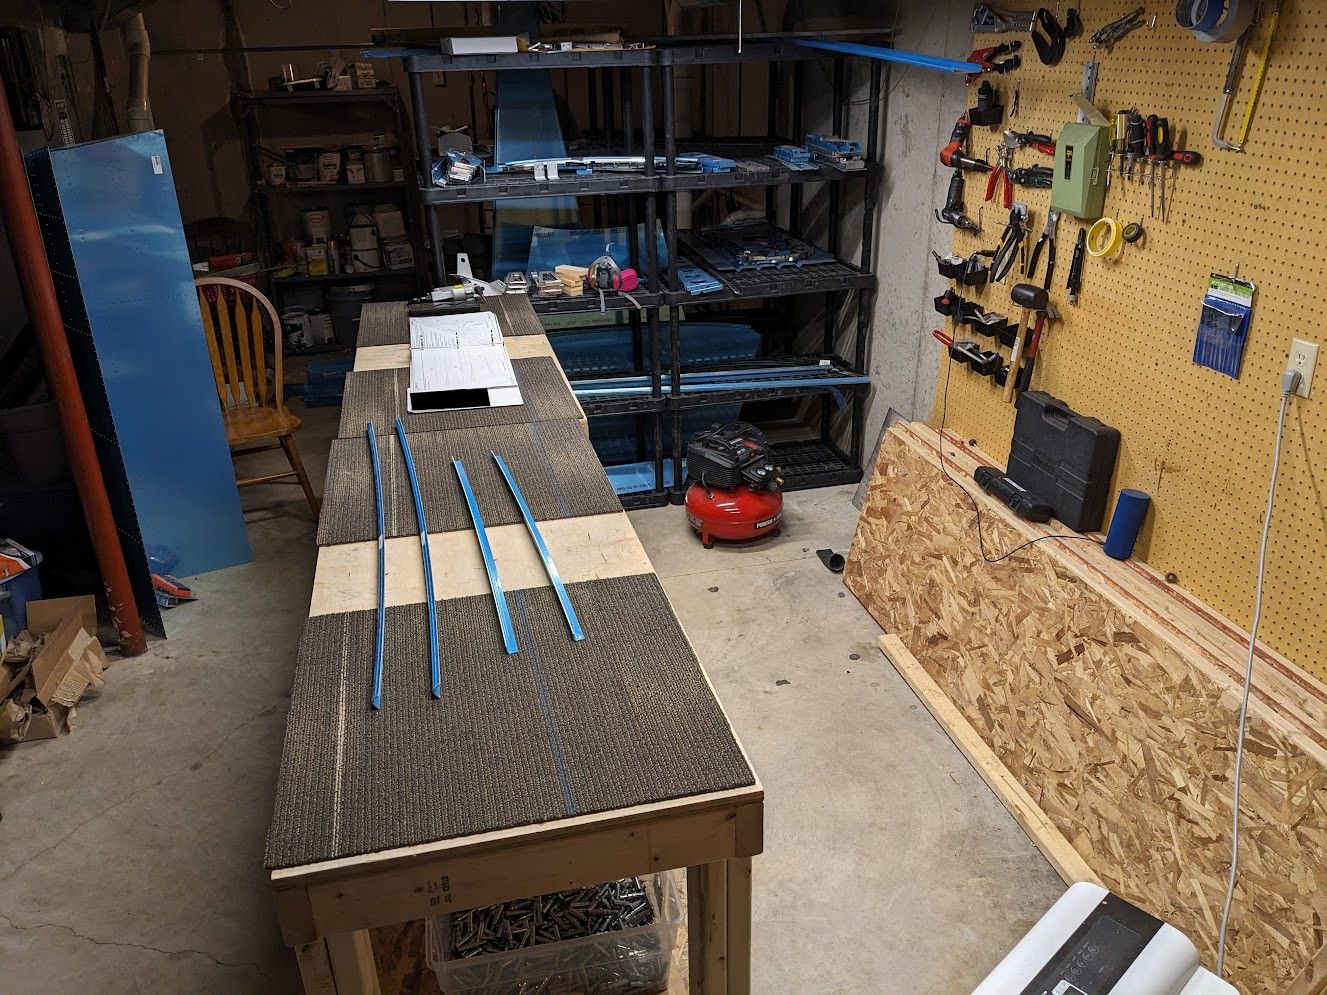
Now we're having fun! A whole new section to make mistakes in. As with all things, first you have to prepare the metal by cleaning up all the sides and holes and generally sanding and filing until you are made of aluminum dust. Look at the size of this spar...
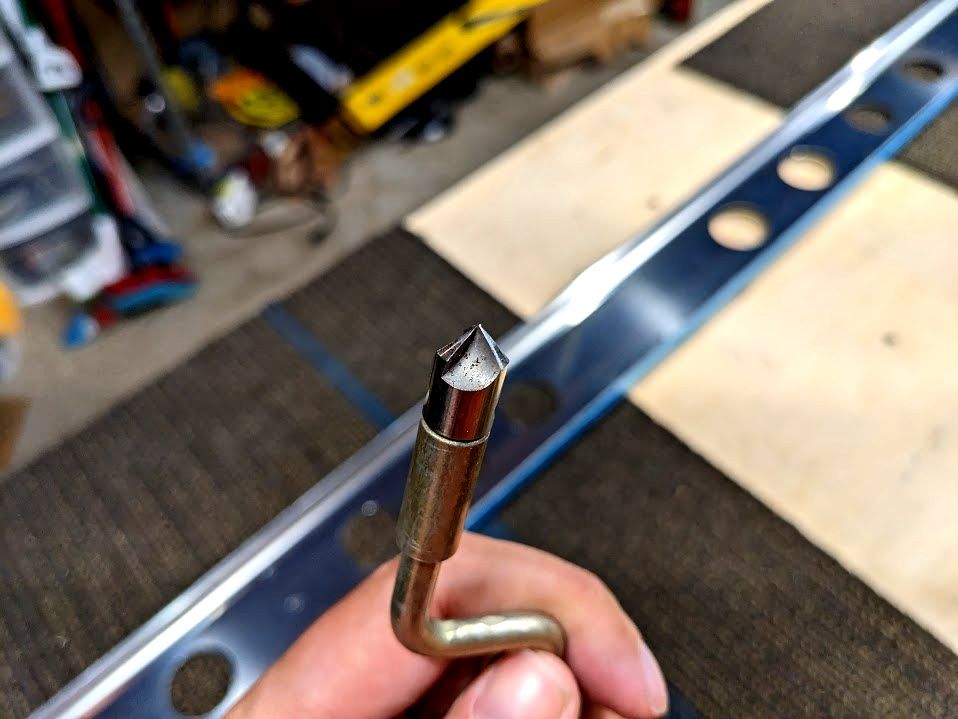
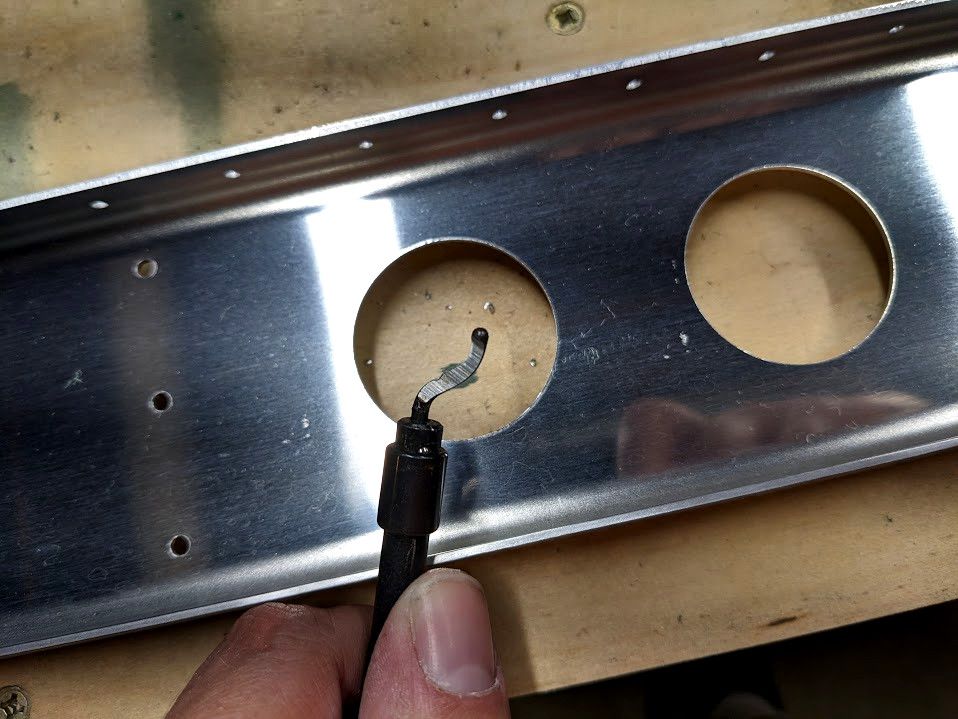
...and there are two of them. But complaining gets us nowhere so lets start by taking a deburring tool and cleaning up all the holes.
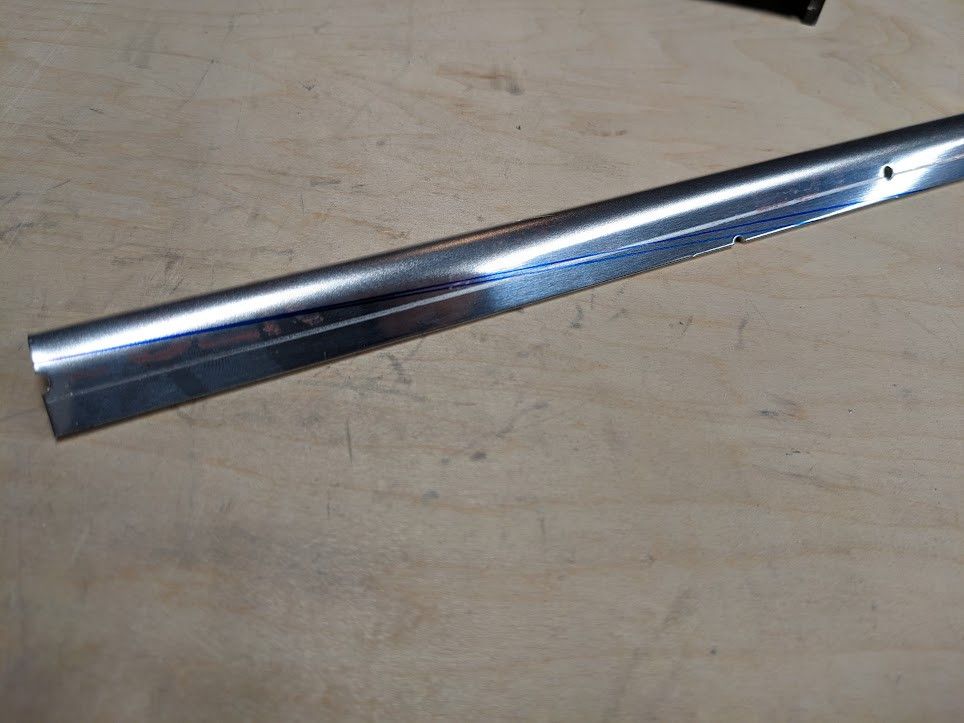
Once that is done, we clean up the sides with a file so the metal has no tool marks left. Those marks can cause stress points that crack otherwise.
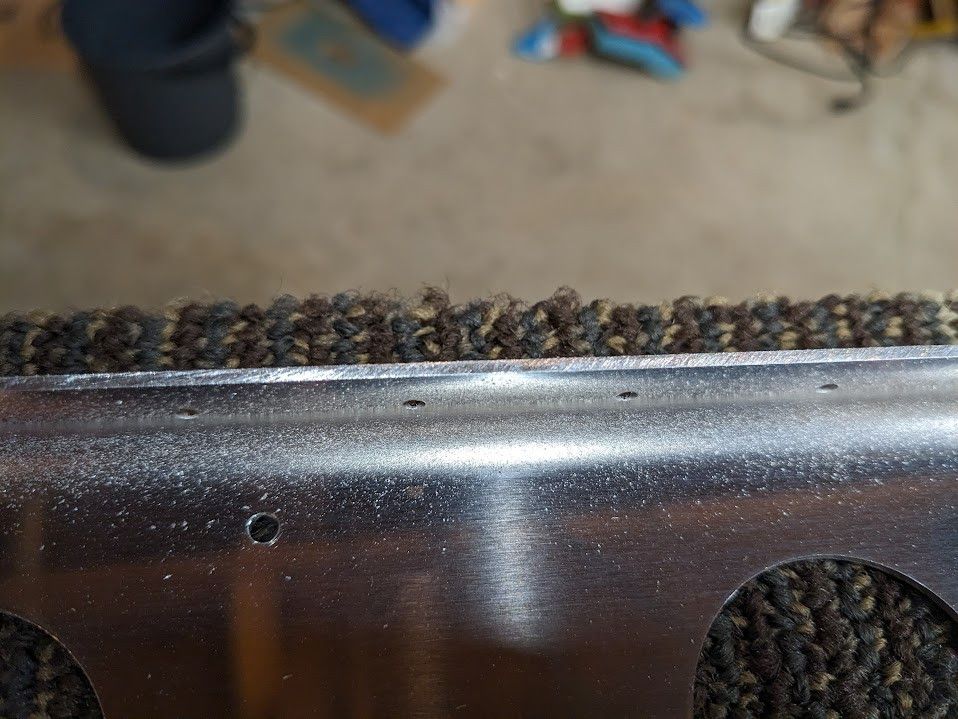
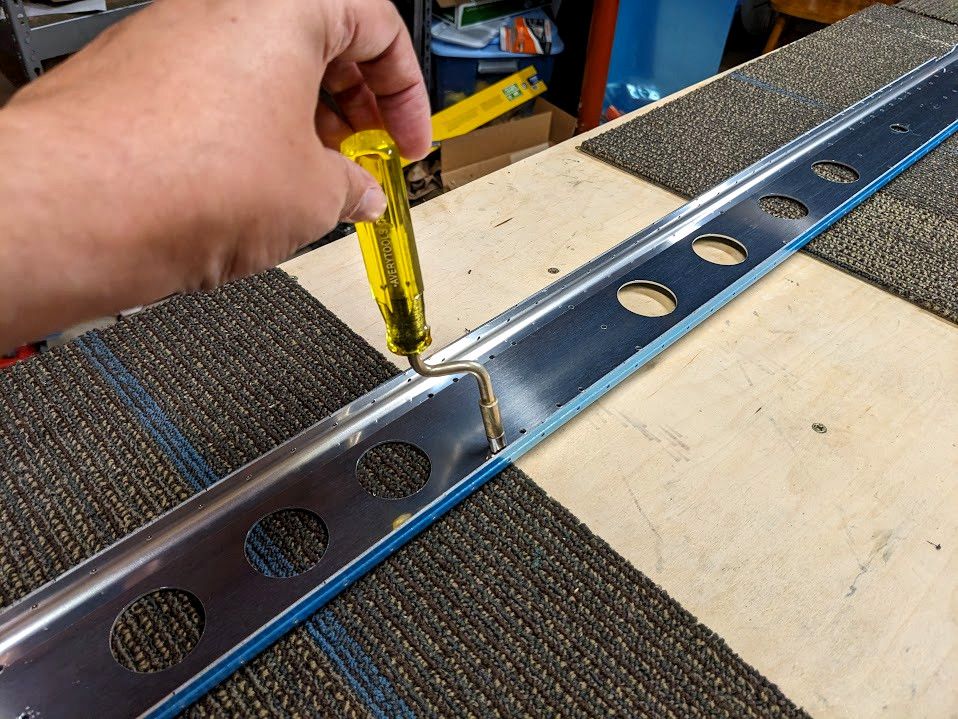
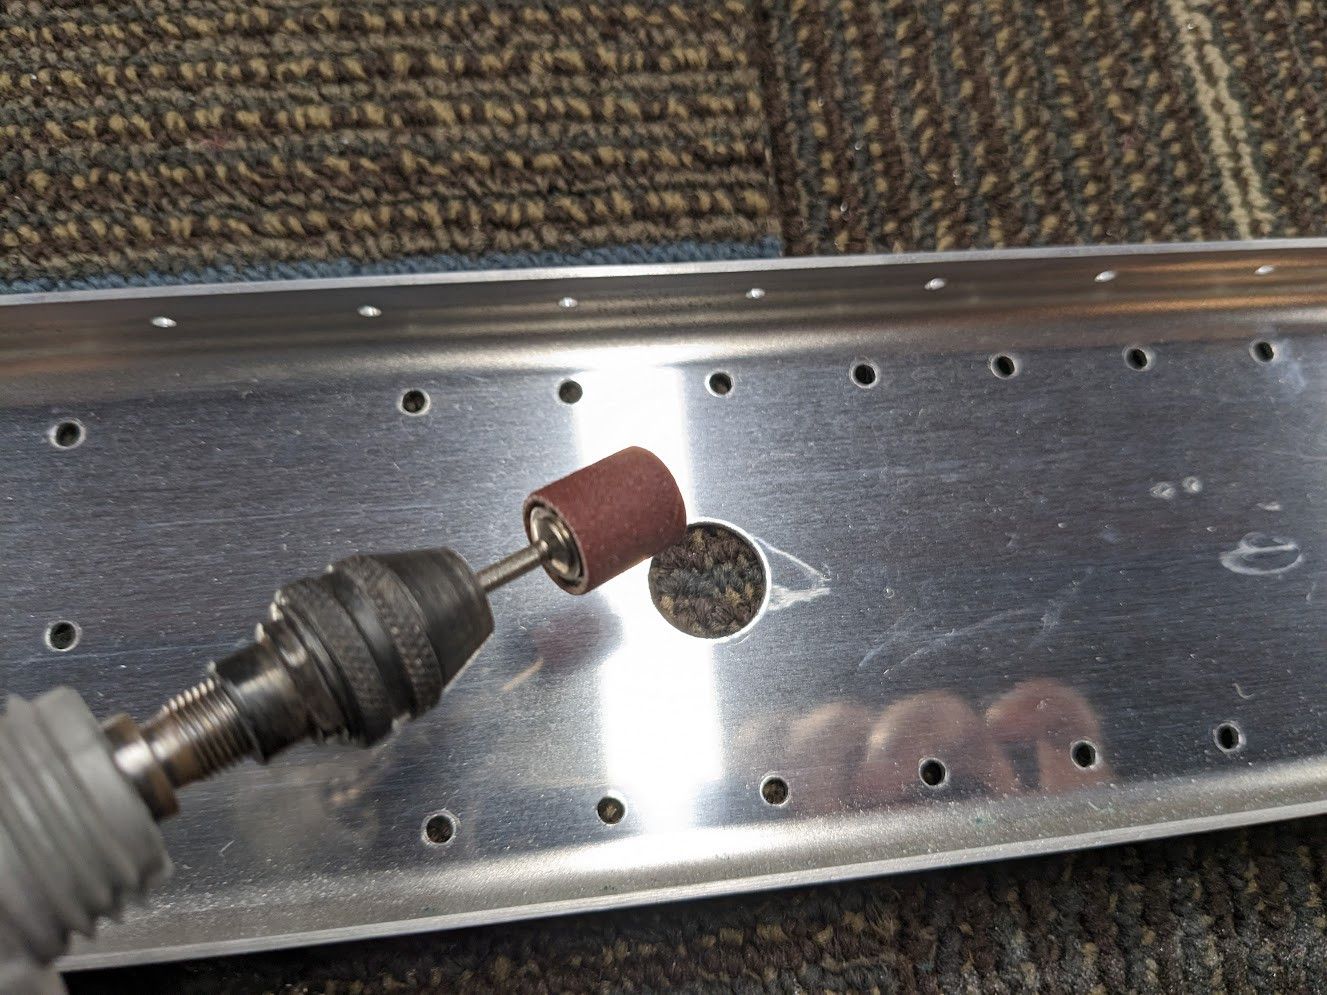
After the filing there will be a burr along the whole edge. I have a nifty tool that takes it right off and starts to round the edge a little.
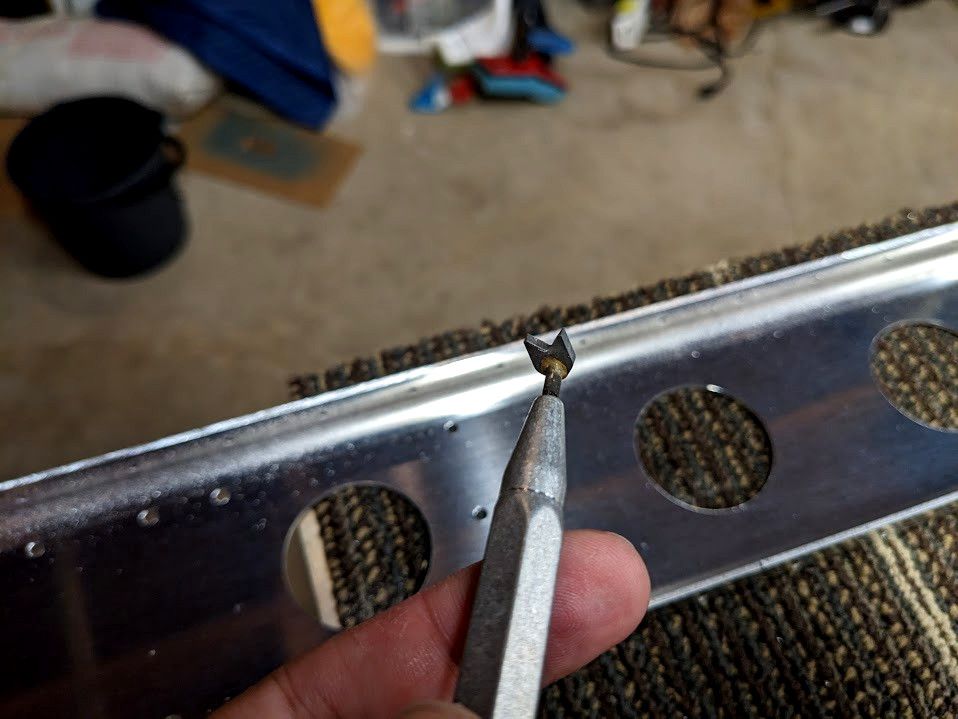
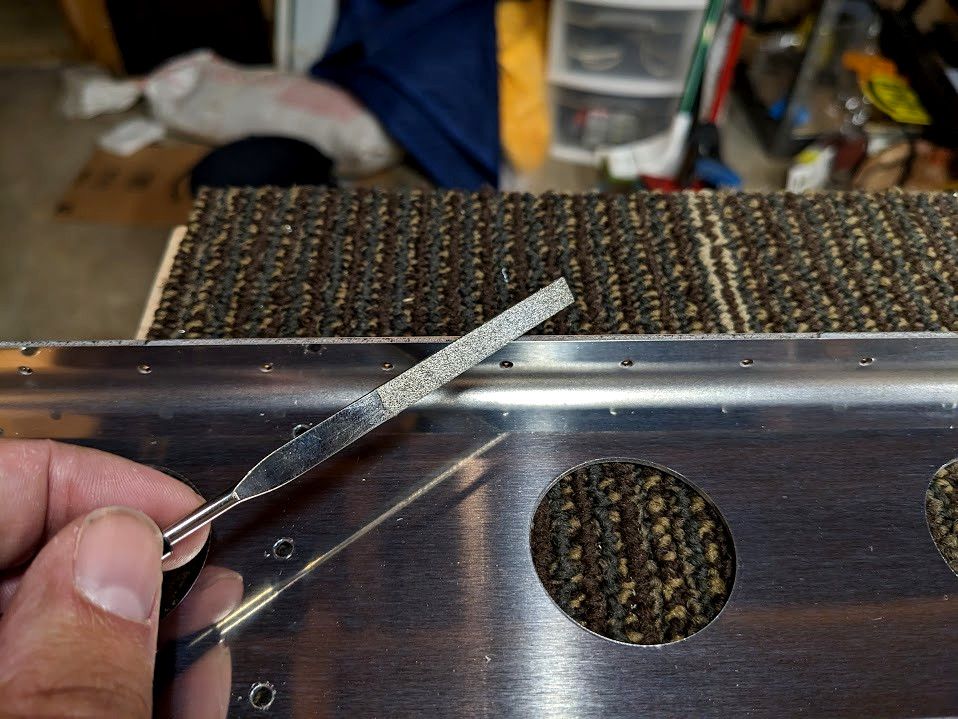
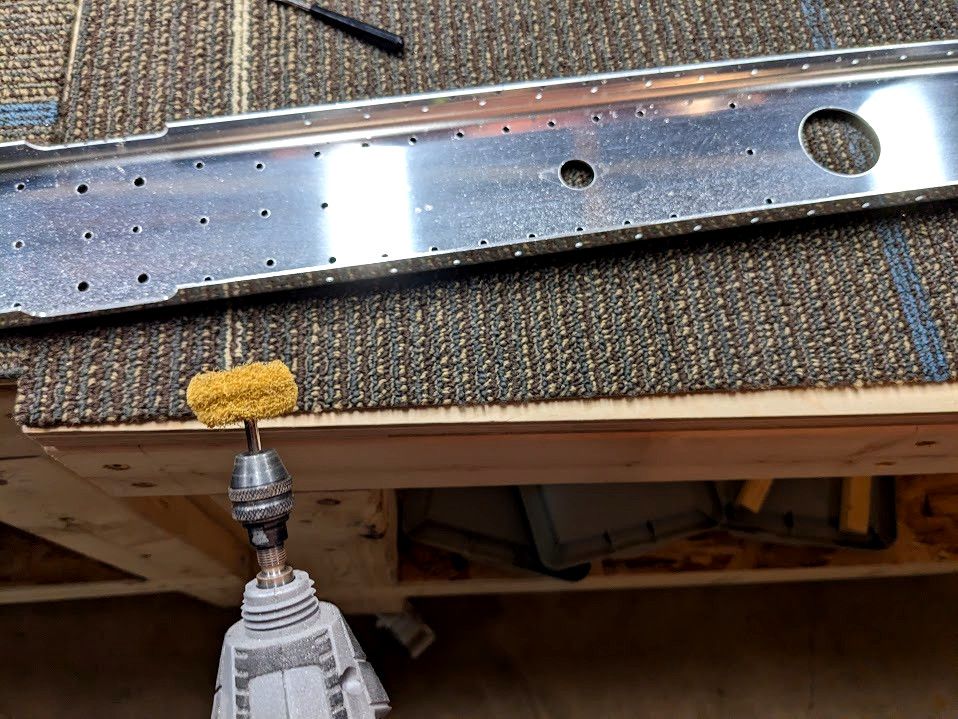
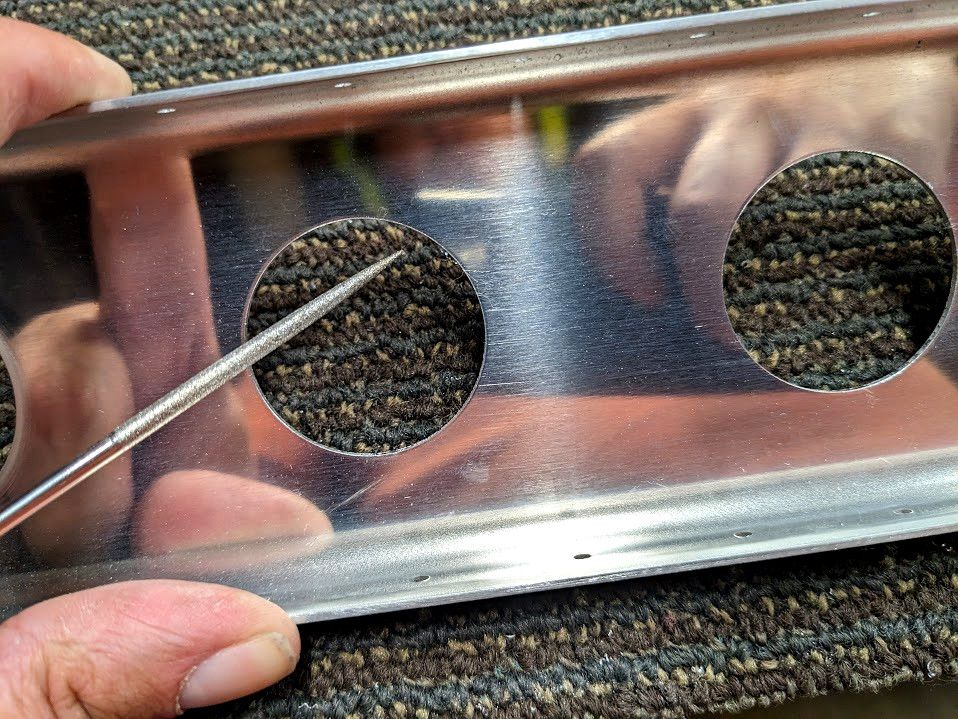
After that step, I take these abrasive wheels I have and just polish the edges. They end up getting a groove in them that also cleans the corners into a nice soft edge. 10/10 definitely recommend.
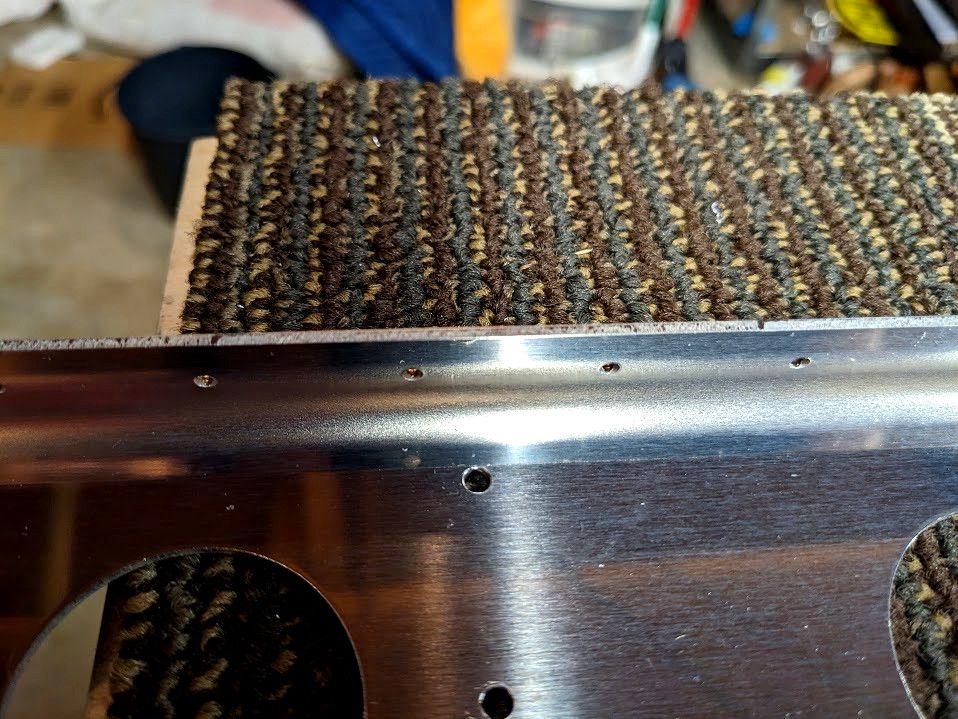
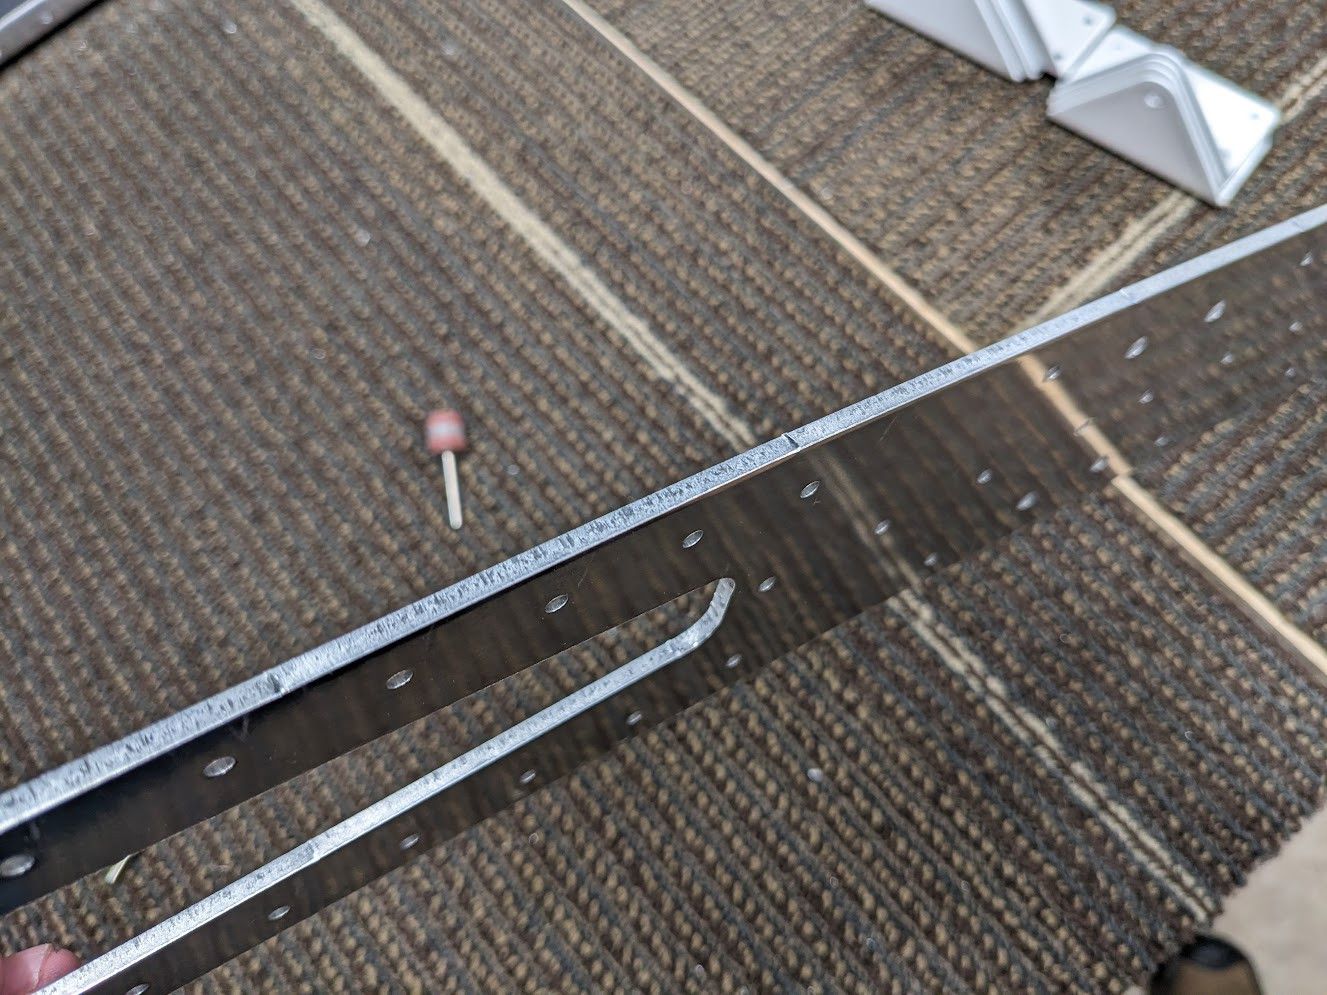
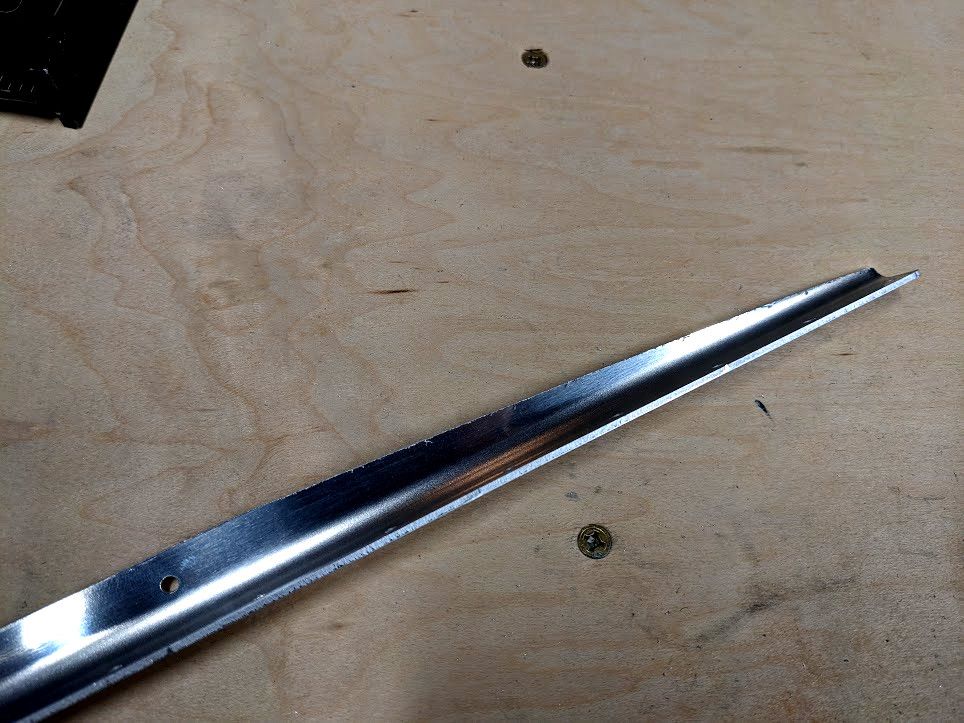
Once the edges were happy, I went over every lightening hole in the spar and broke the edge. Then filed the tool marks off and finally polished like the edges.

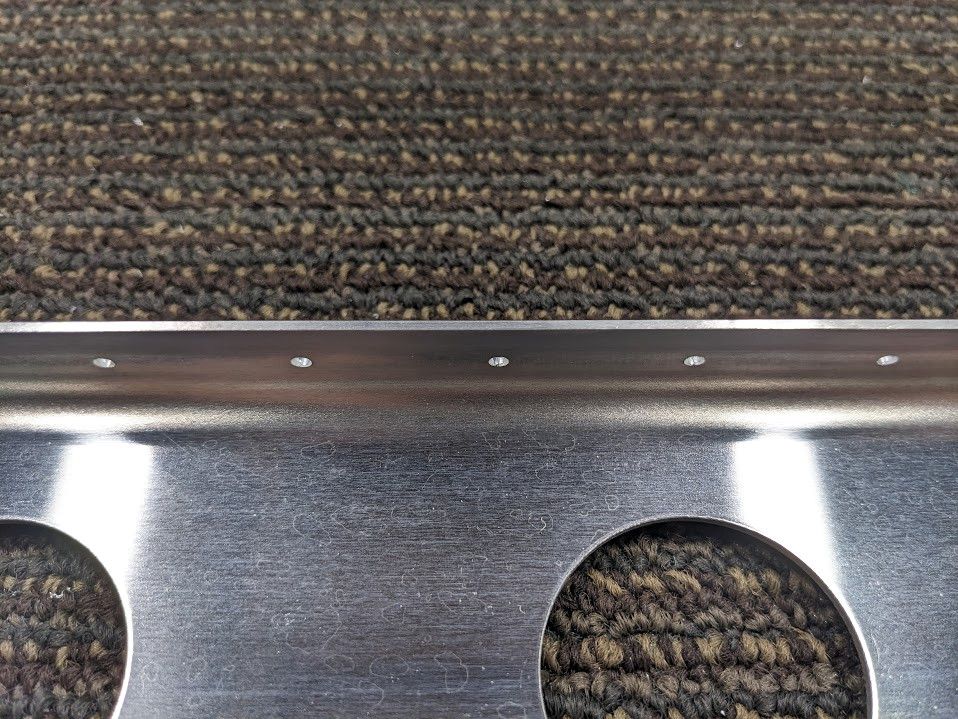
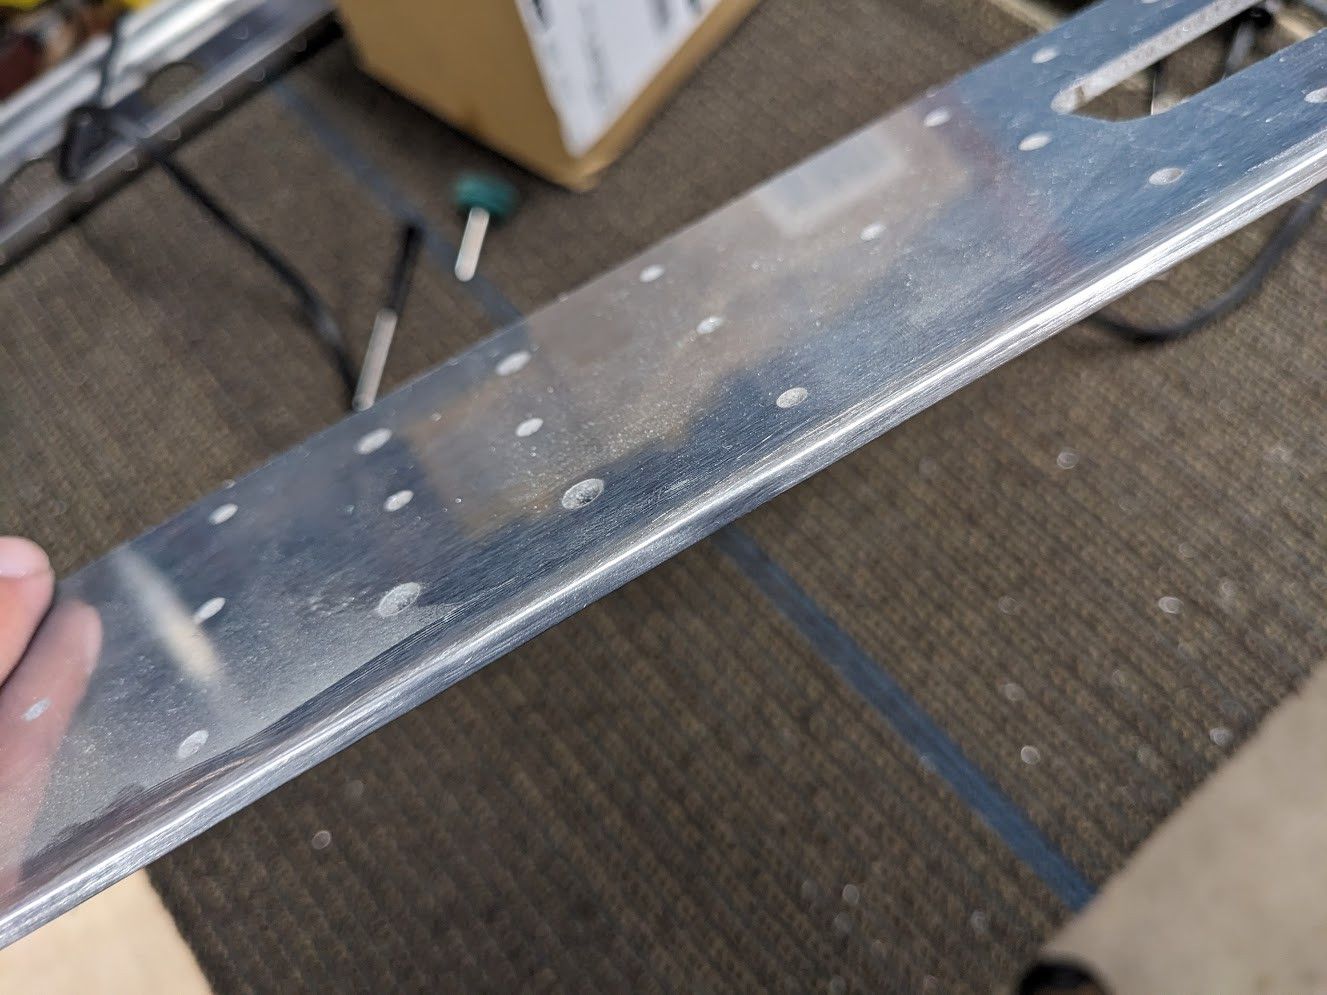
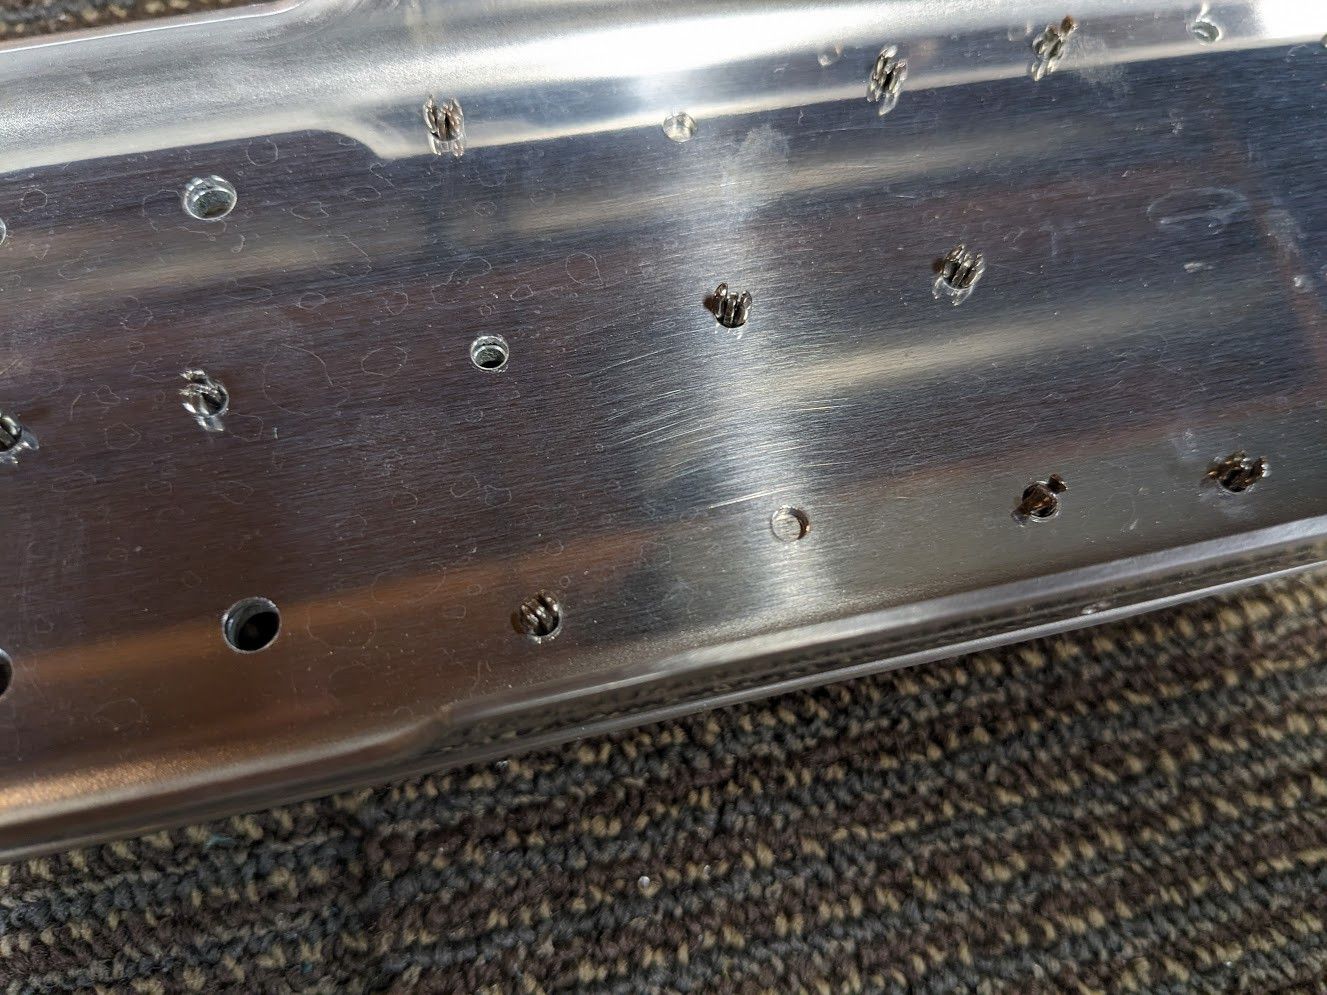
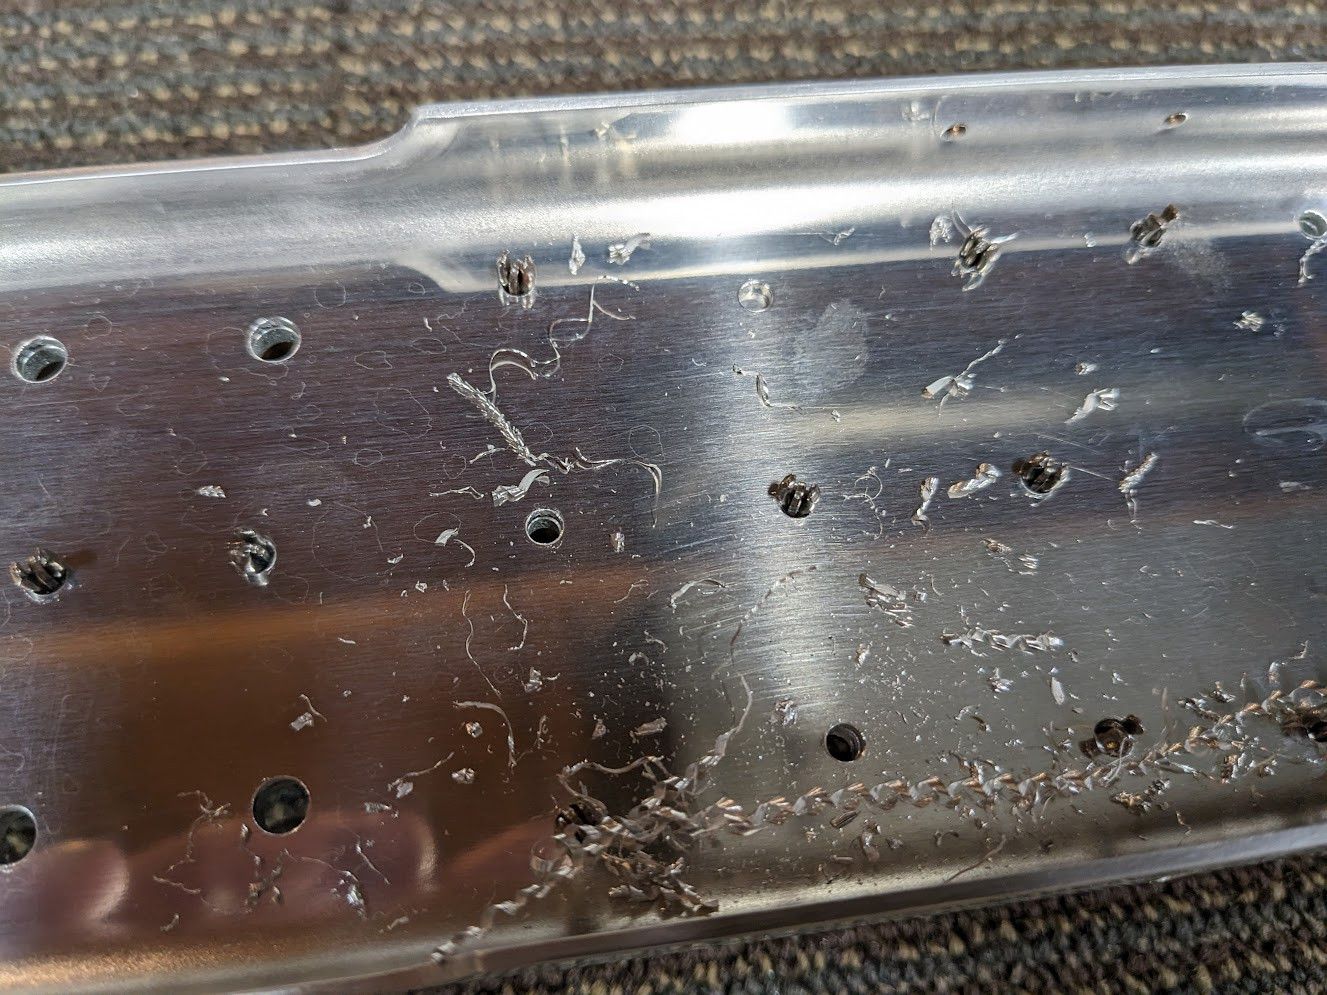
and yes, that is a lot of work. But here is a before and after.
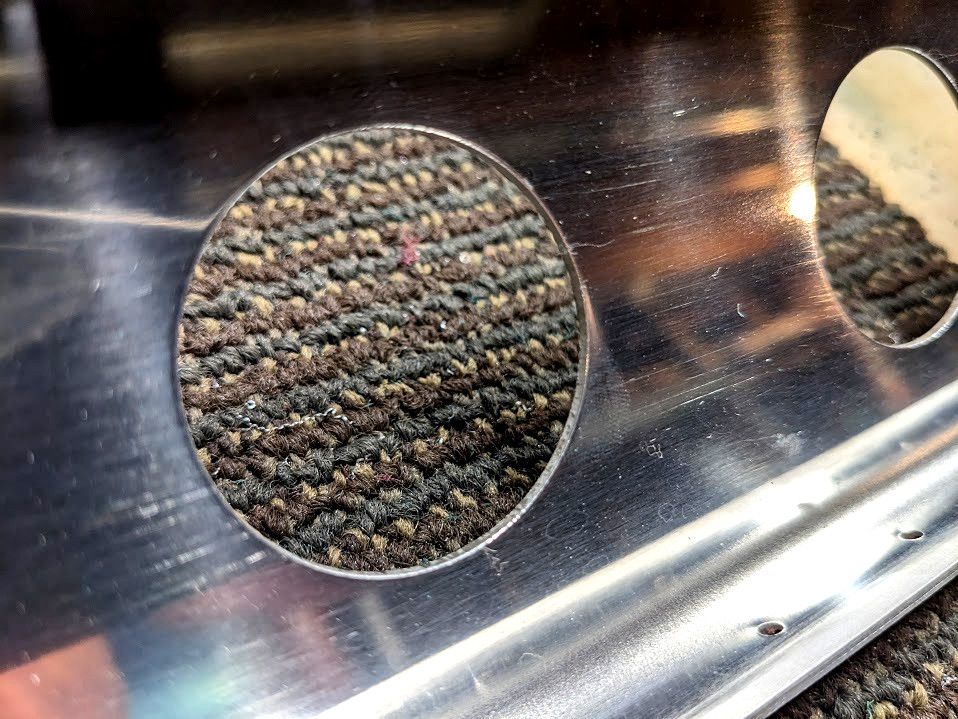
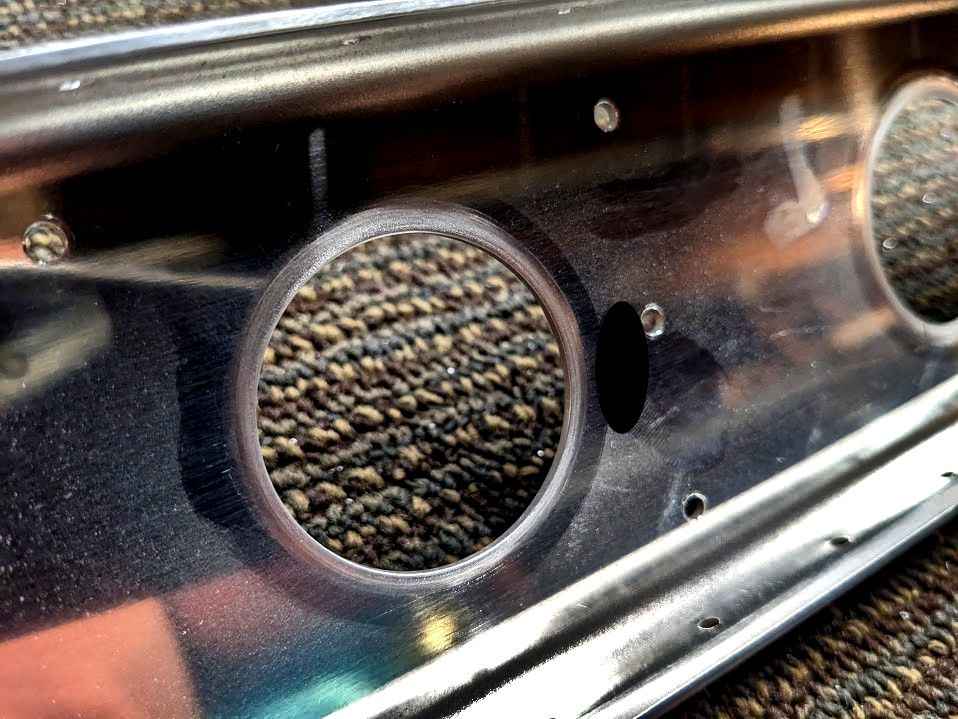
and I am not going to argue with those results. Some of the smaller holes I could not fit the polishing wheels into but I could get sanding wheels in there.
Some nice 600 grit and everything was looking good.
A few hours of that fun and I was ready to get the doubler cleaned up. I first had to bend it into being more straight but that wasn't hard. Here is a before and after from cleaning it up.
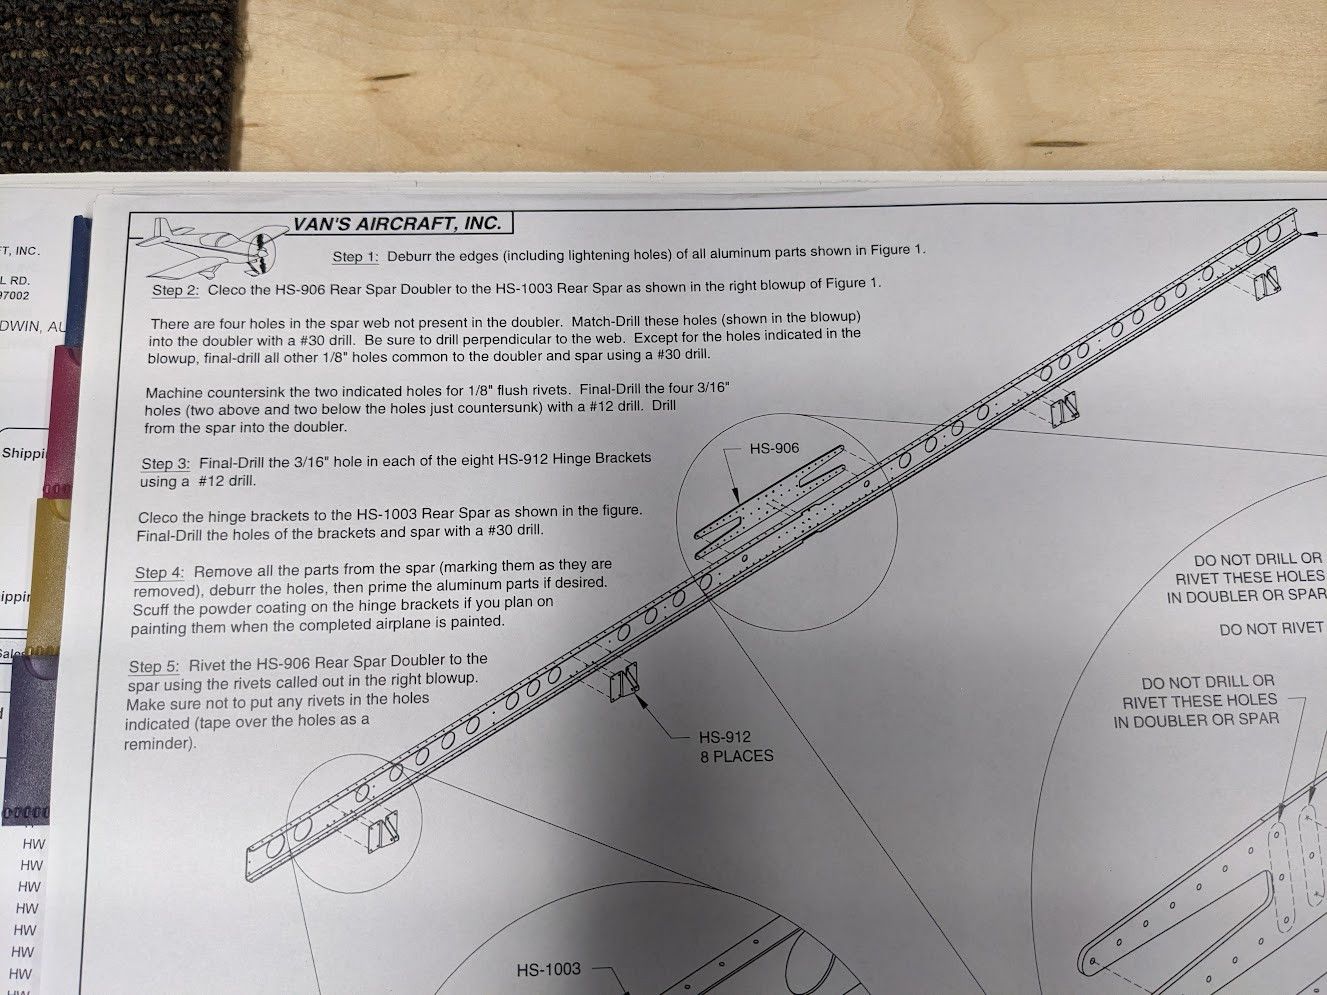
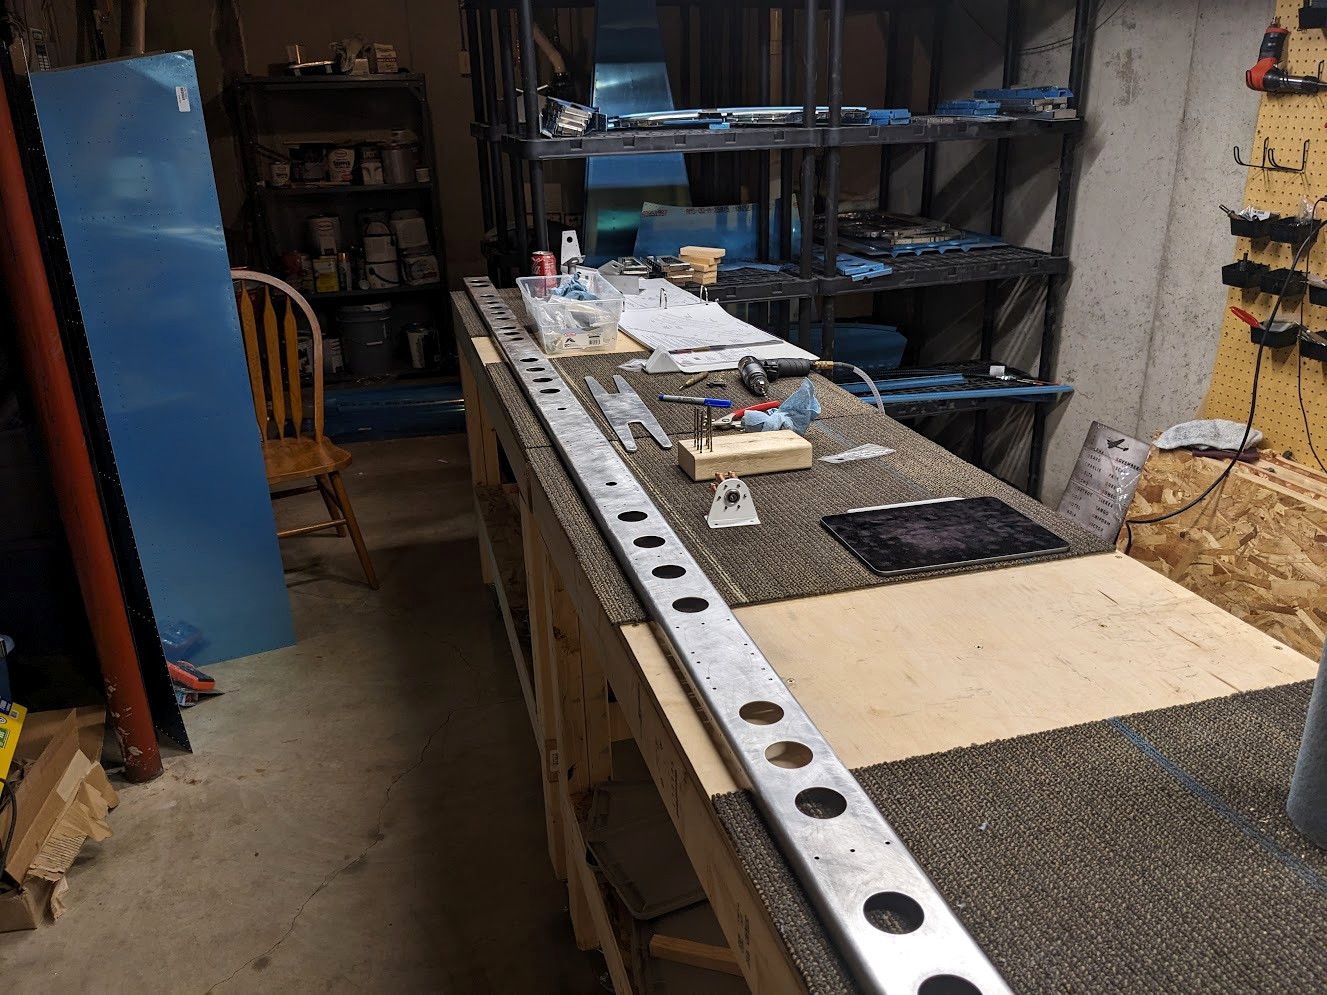
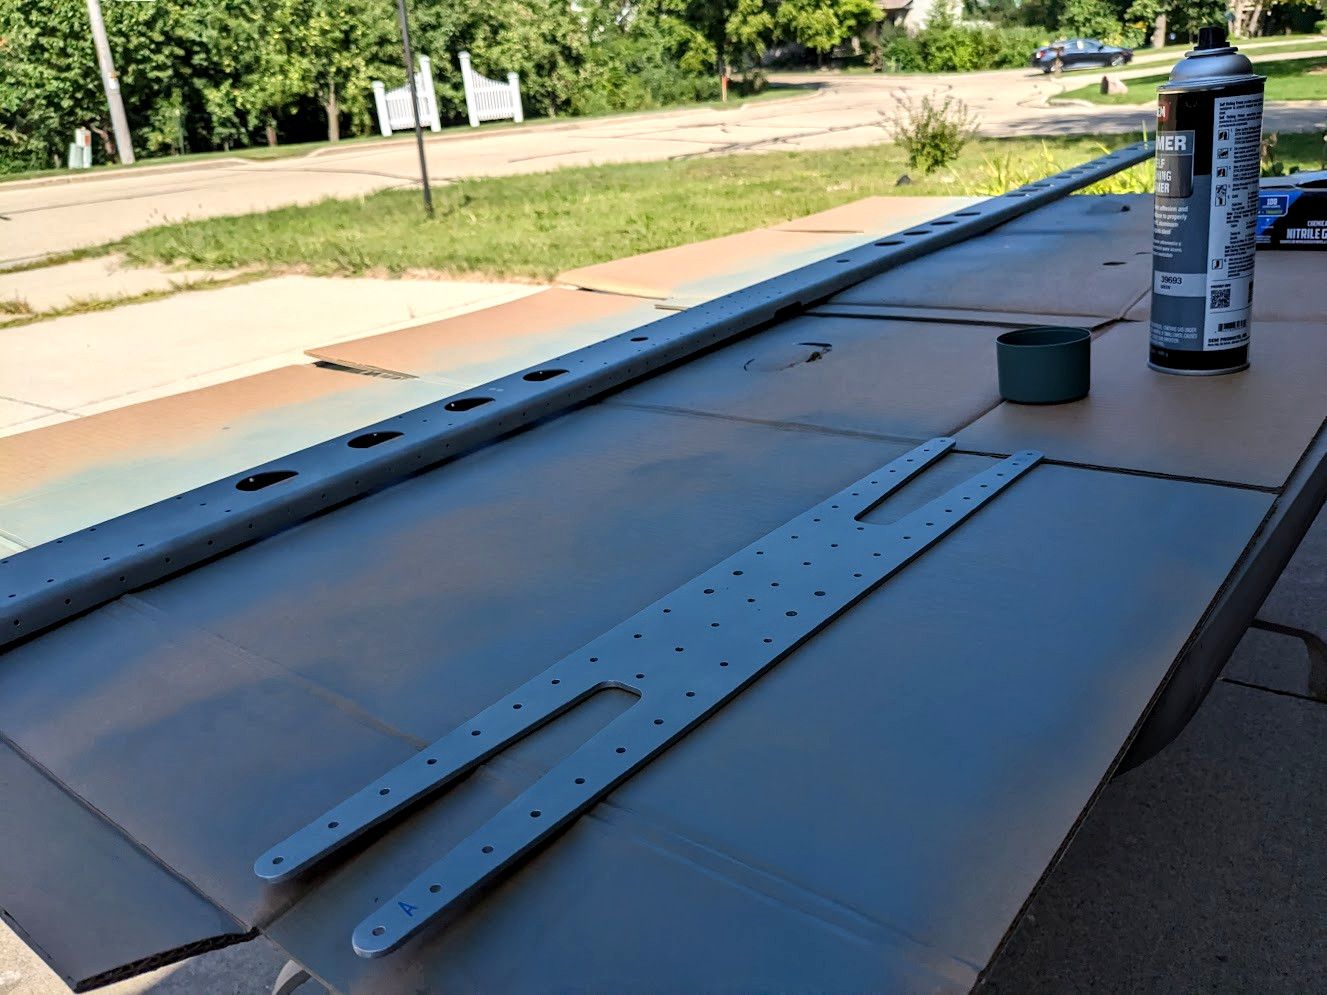
That is always so satisfying to look at. Nice clean soft edges! Now finally after all that cleaning it was time to get doing something. I had to put some new holes in some parts to get everything to line up. This was putting the doubler on the spar.
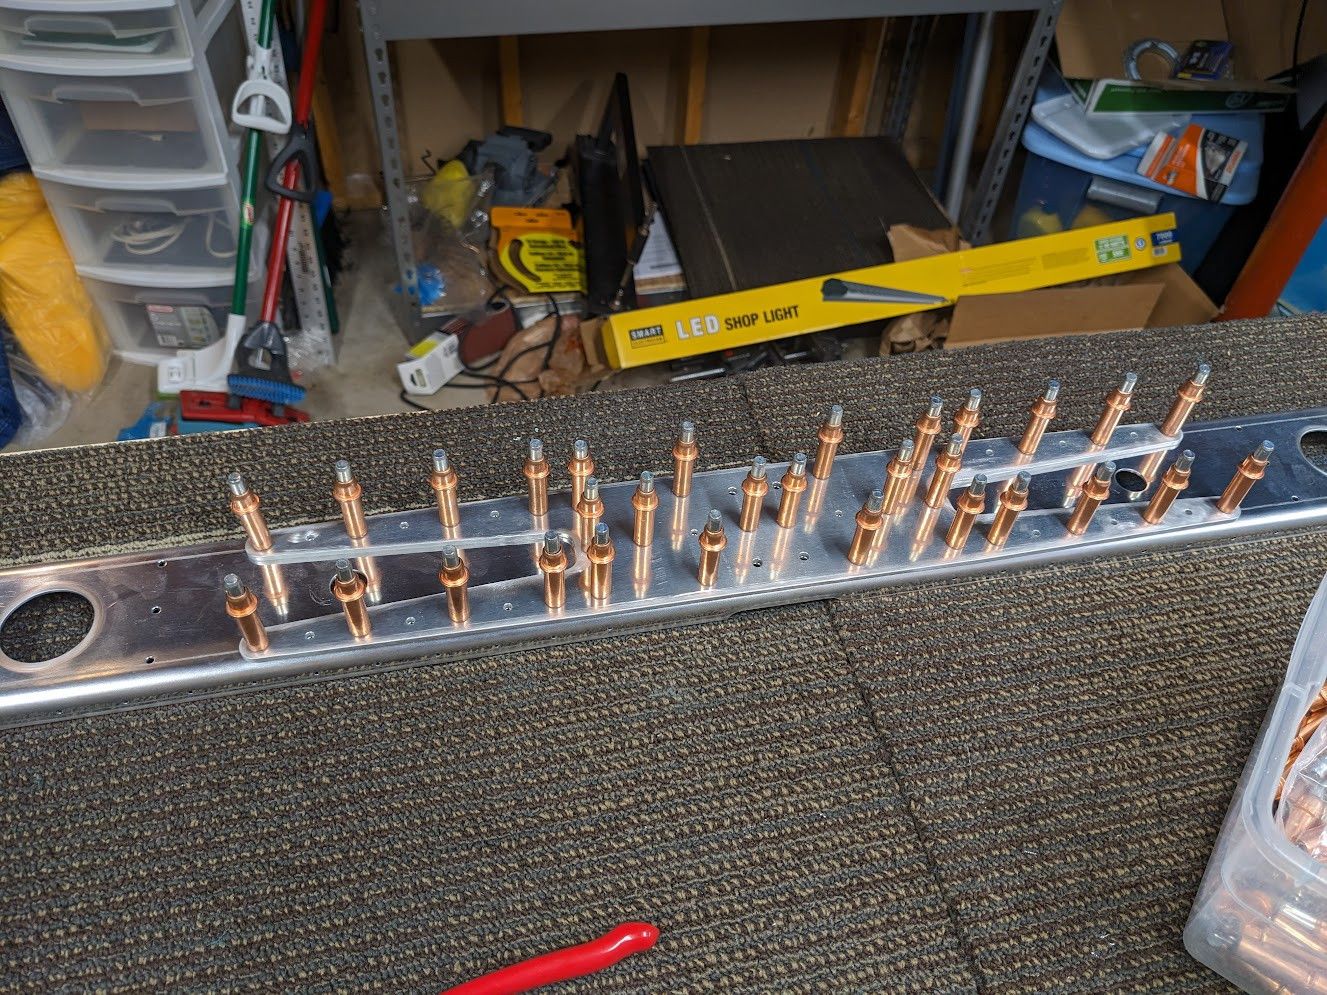

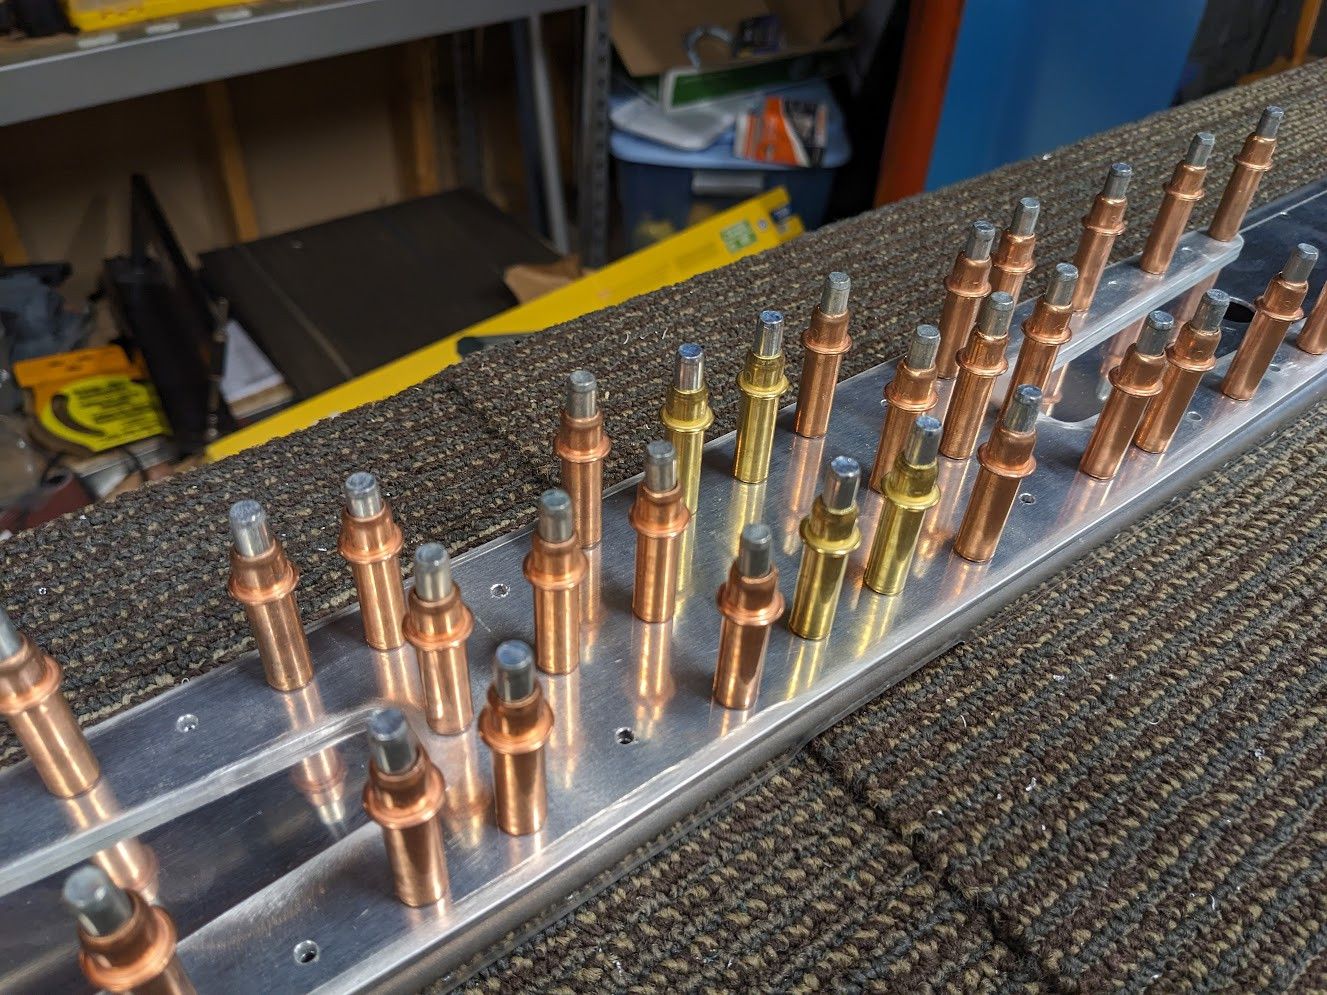
I also got to actually use my gold clecos for this one
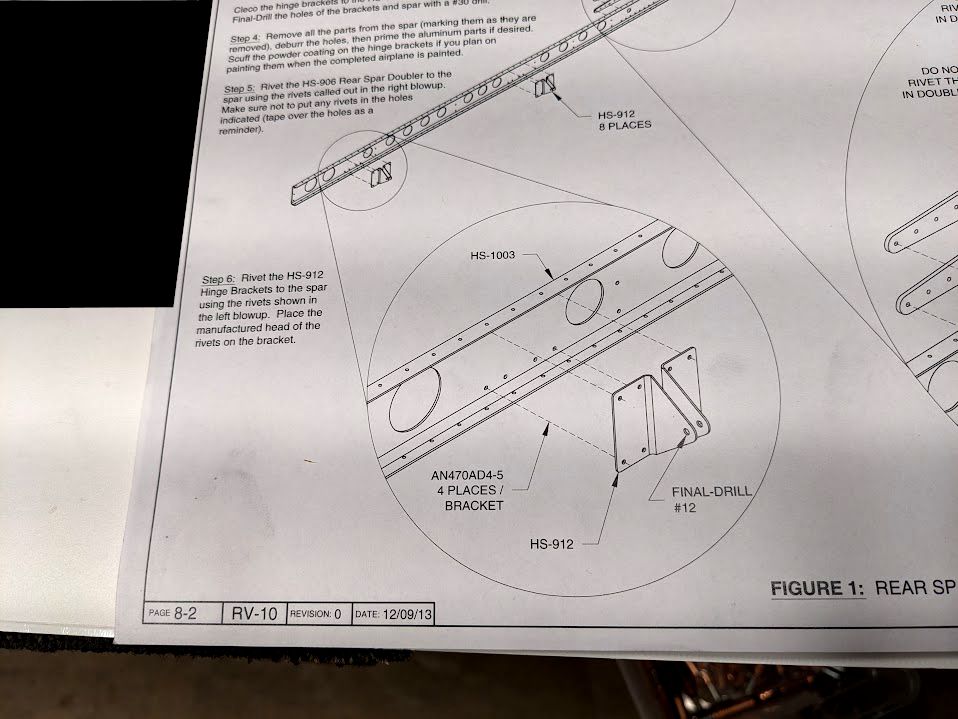
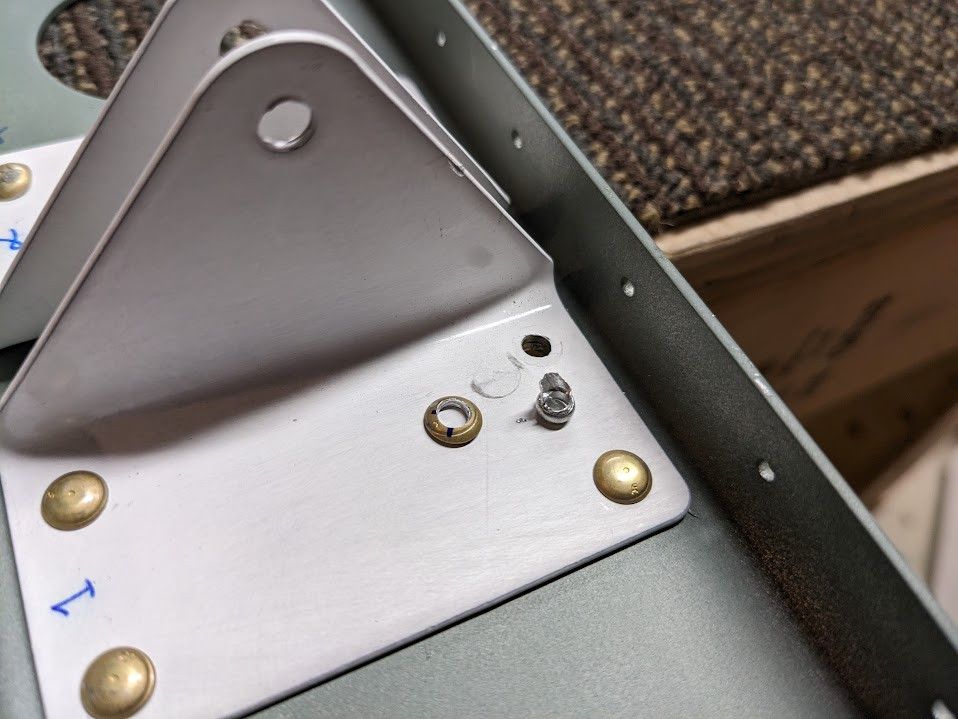
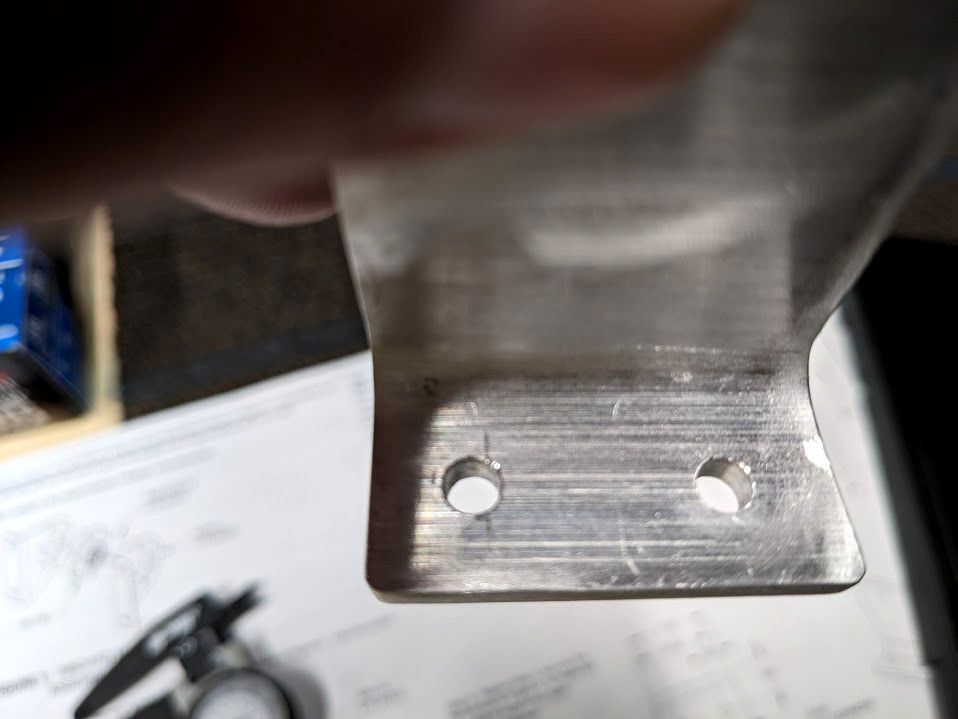
The horizontal stabilizer is a little tricky in its design in that I need to have a hinge bracket sit right where my rivets will be for the doubler. This is solved by countersinking two rivets so they are flush and the bracket will sit on top of that.
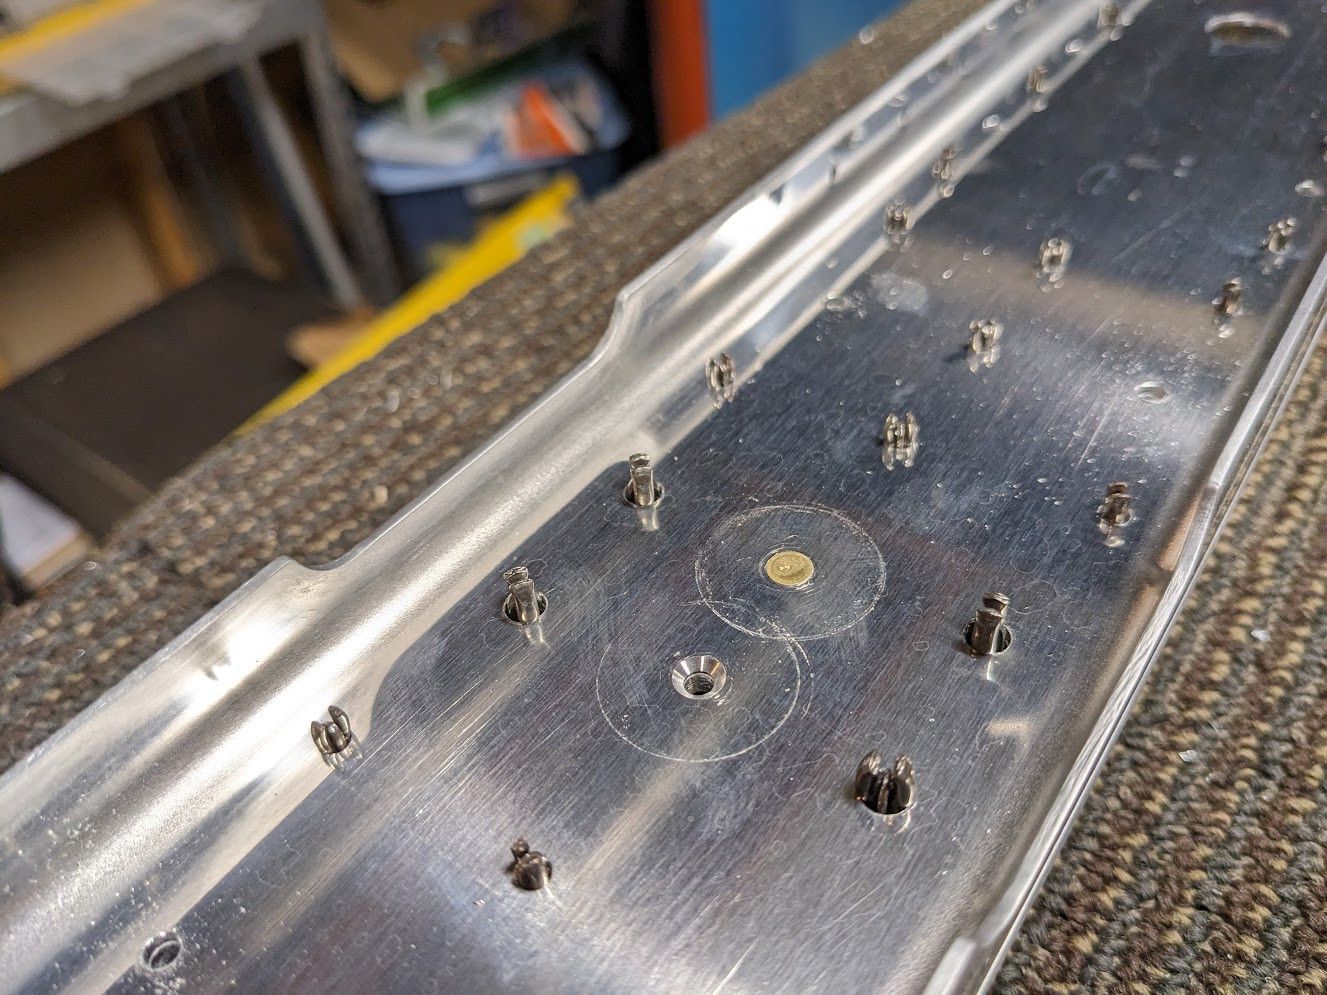
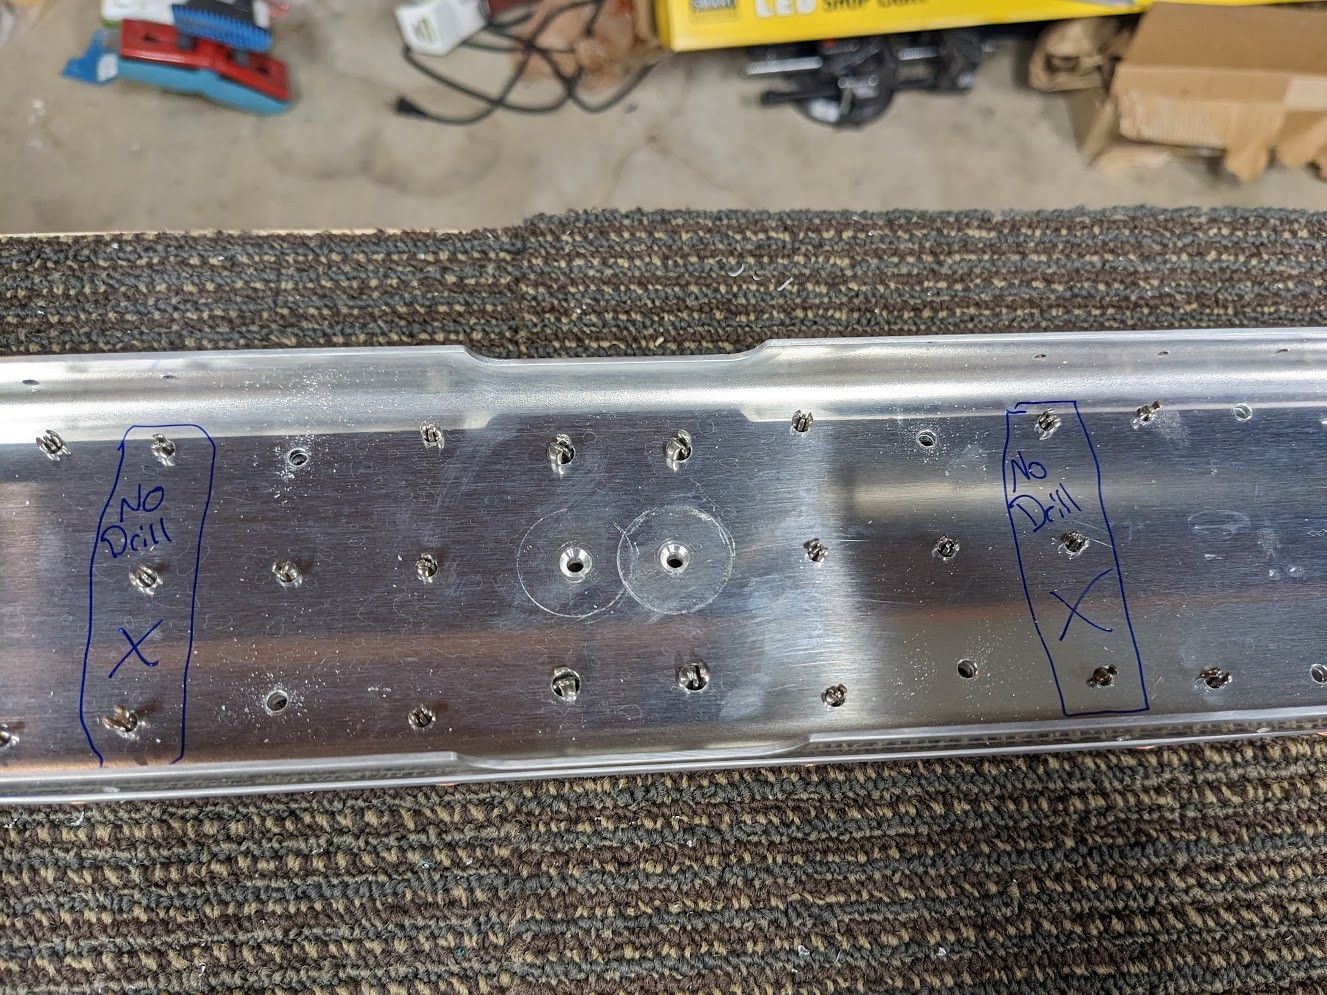
There are also holes that are very specifically called out to NOT be drilled. To make sure I don't mess up, I made sure to mark them.
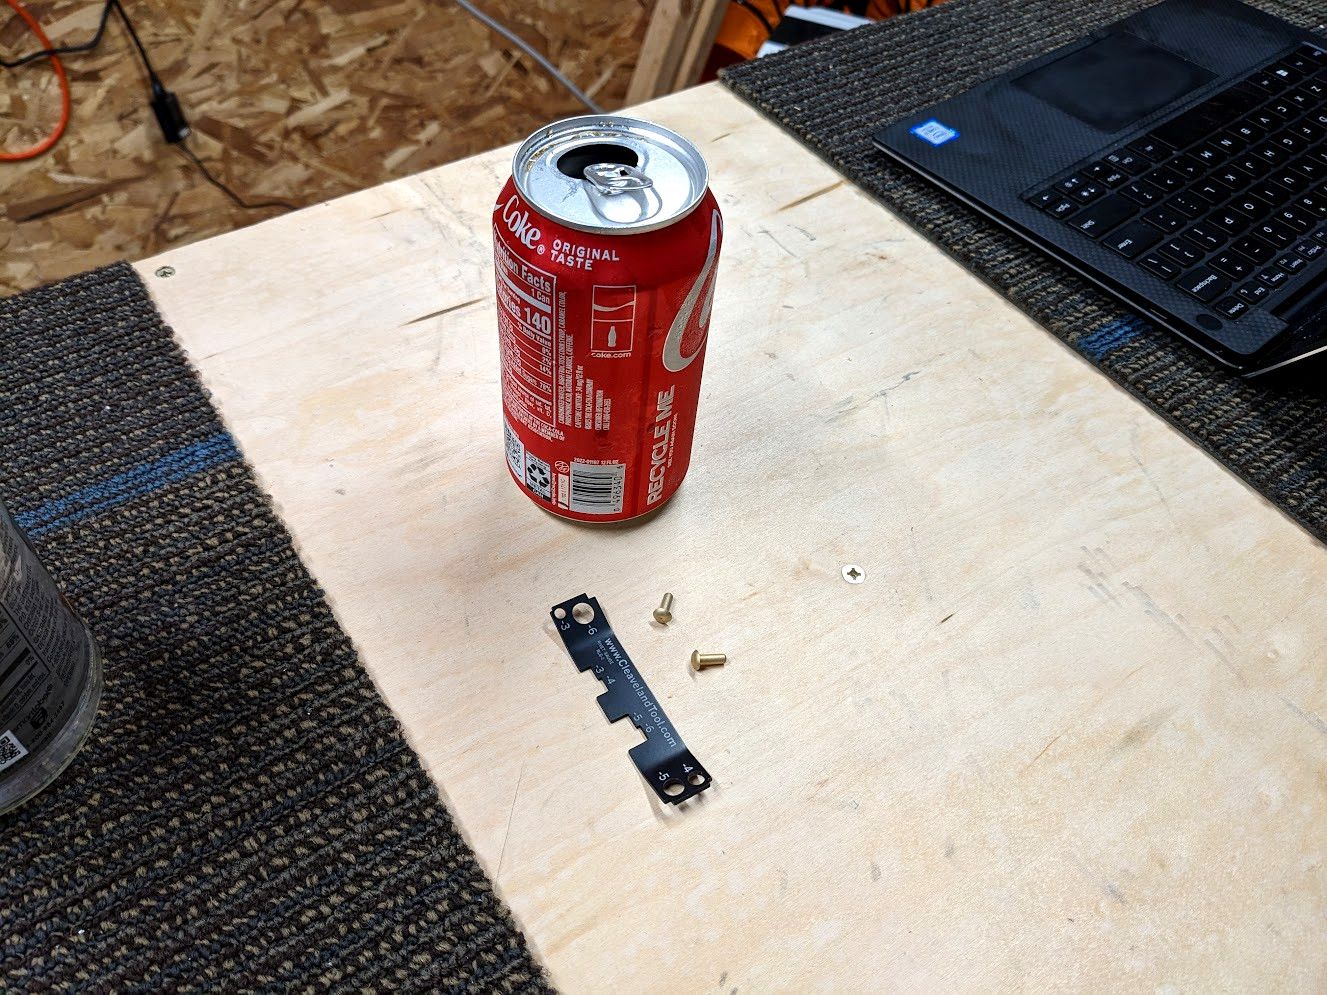
Next steps were opening up some holes on the mounting brackets so I could actually use them. The powder coating makes the holes smaller.
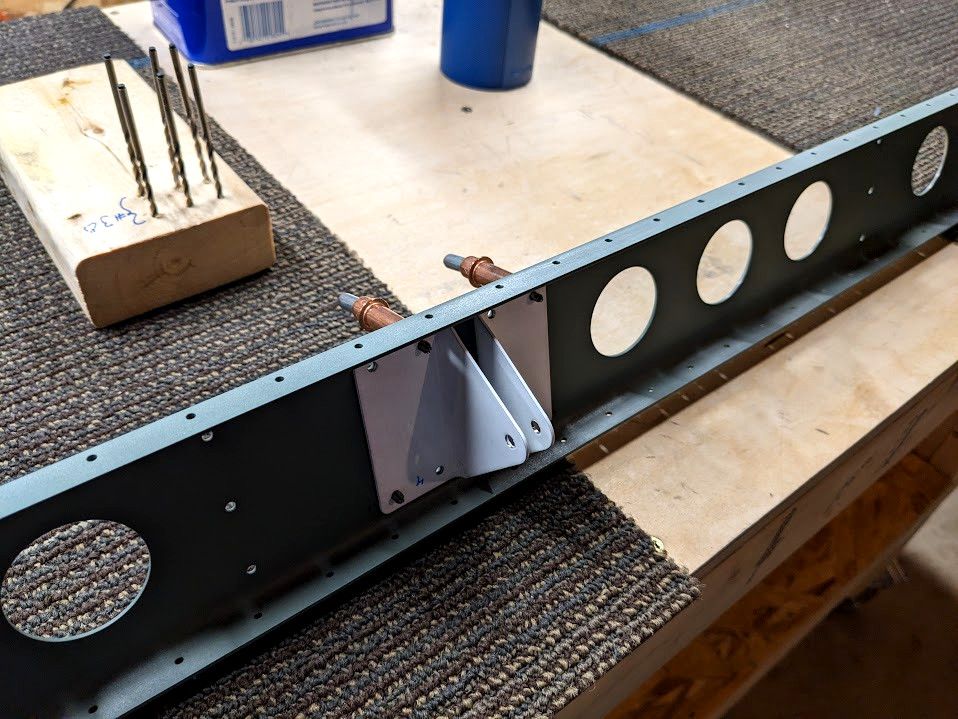
Then those brackets attach to the spar pretty simply.
Everything gets match drilled to make sure it fits together correctly. After that we do my least favorite thing and take all of it apart. But there is no other way to make sure things are primed well before riveting so I took everything apart and started roughing up the surface finish of the spar (which also took a while)

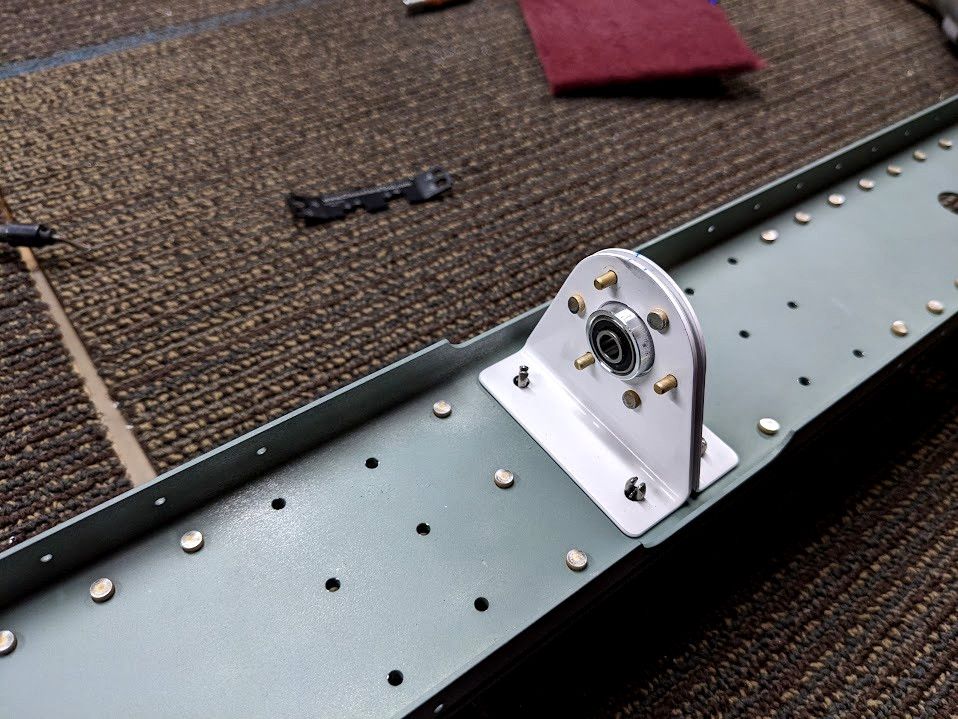
While I was waiting for the weather to not be 100ºF outside, I started on the next part involving the hinge bearing. It was pretty straight forward, just had to put it together, drill it out, and that was it.

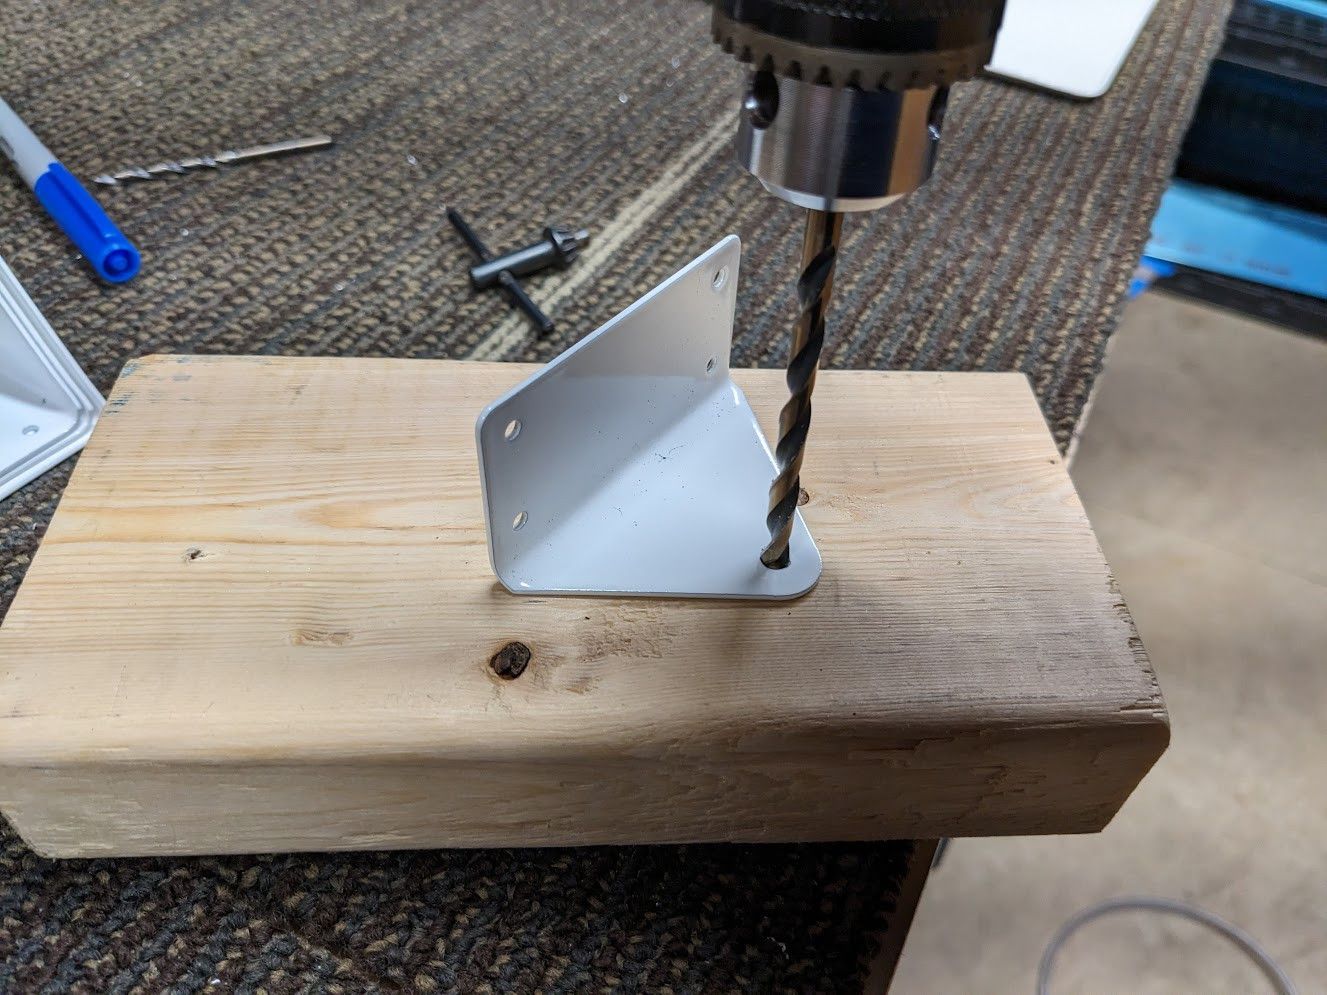
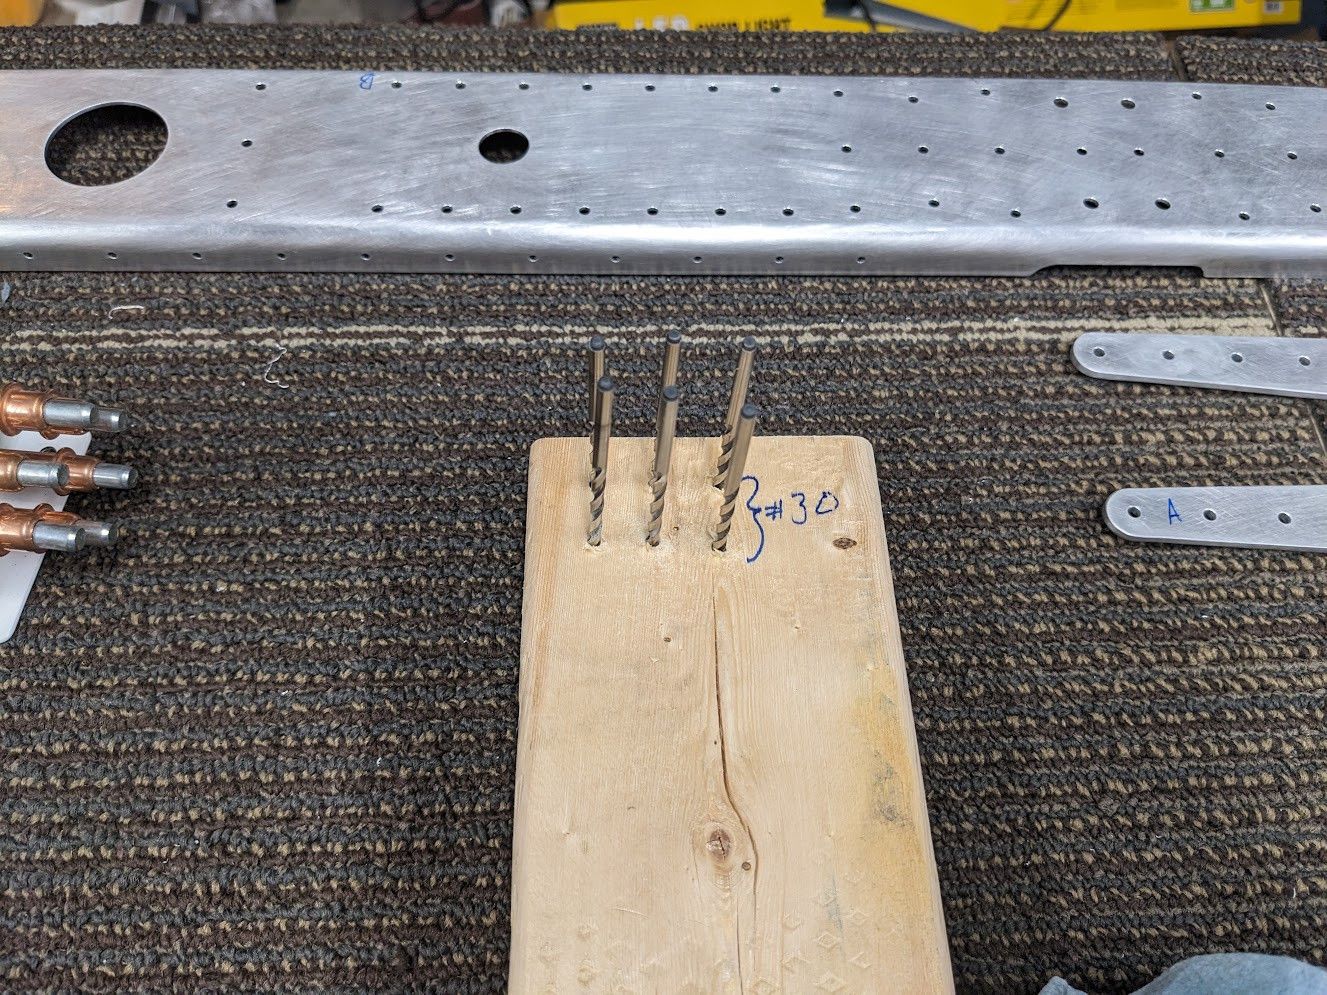
and I was sick of digging through bags for my drill bits so I grabbed a scrap block of wood and made a bit holder / organizer.
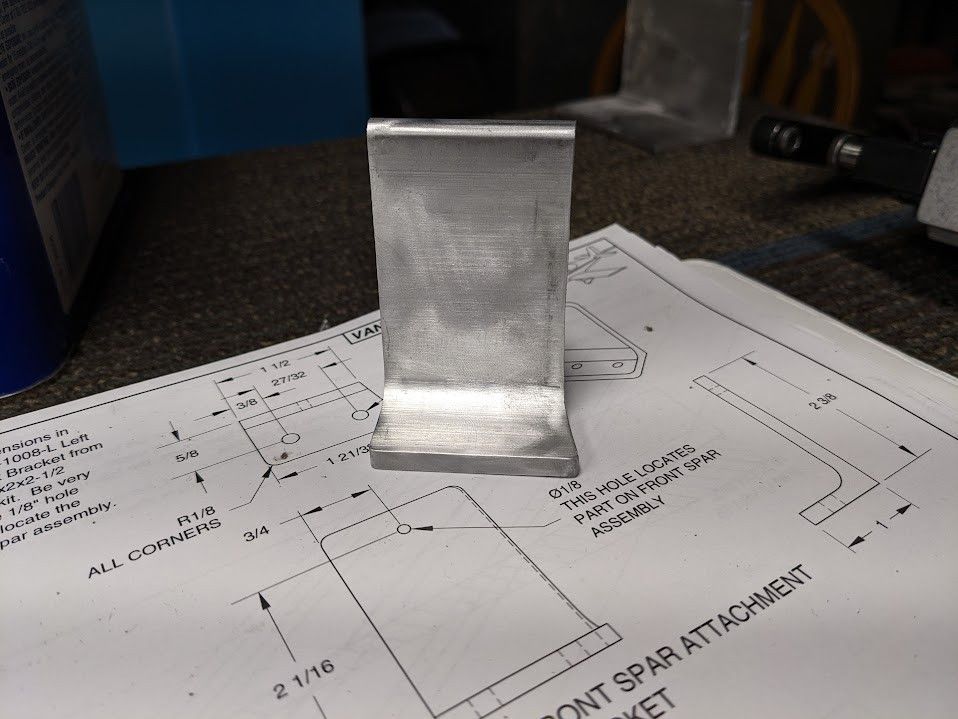
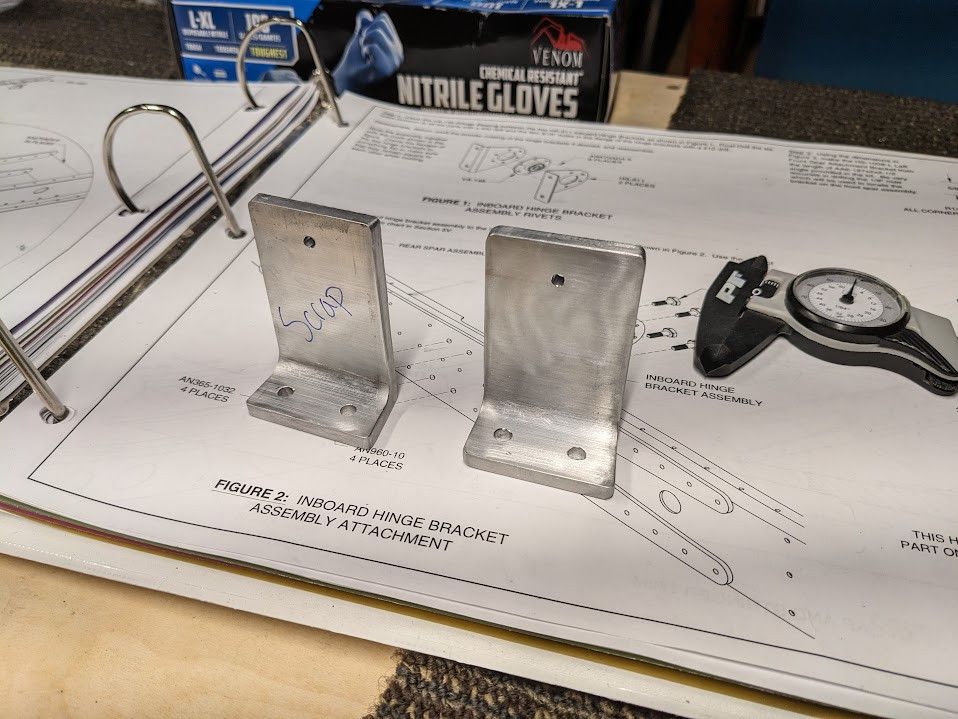
Then I started to ponder some brackets I had to make. This was the first "big part" I had to make in my mind so I didn't want to mess up (I do mess up though). It never hurts to get a head start in thinking about stuff. So there are sizes and holes and all the good stuff there. Not to mention that funny shape it will have.

but before I got to anything there, it cooled off enough to do some painting!
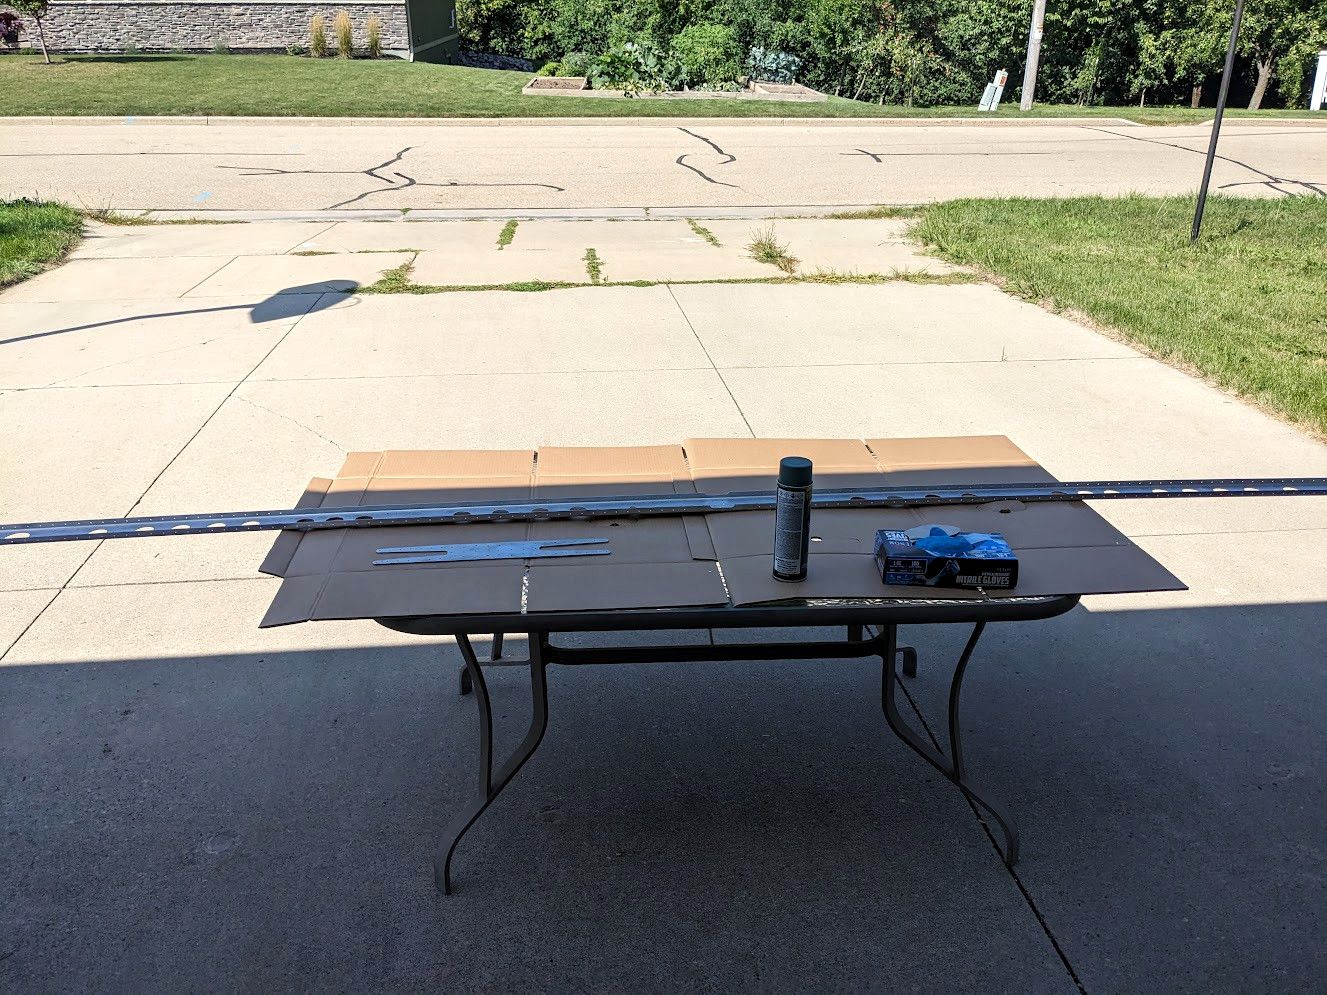
Nothing much to say about that. I did three coats of the primer outside and it was uneventful. Now back to building!
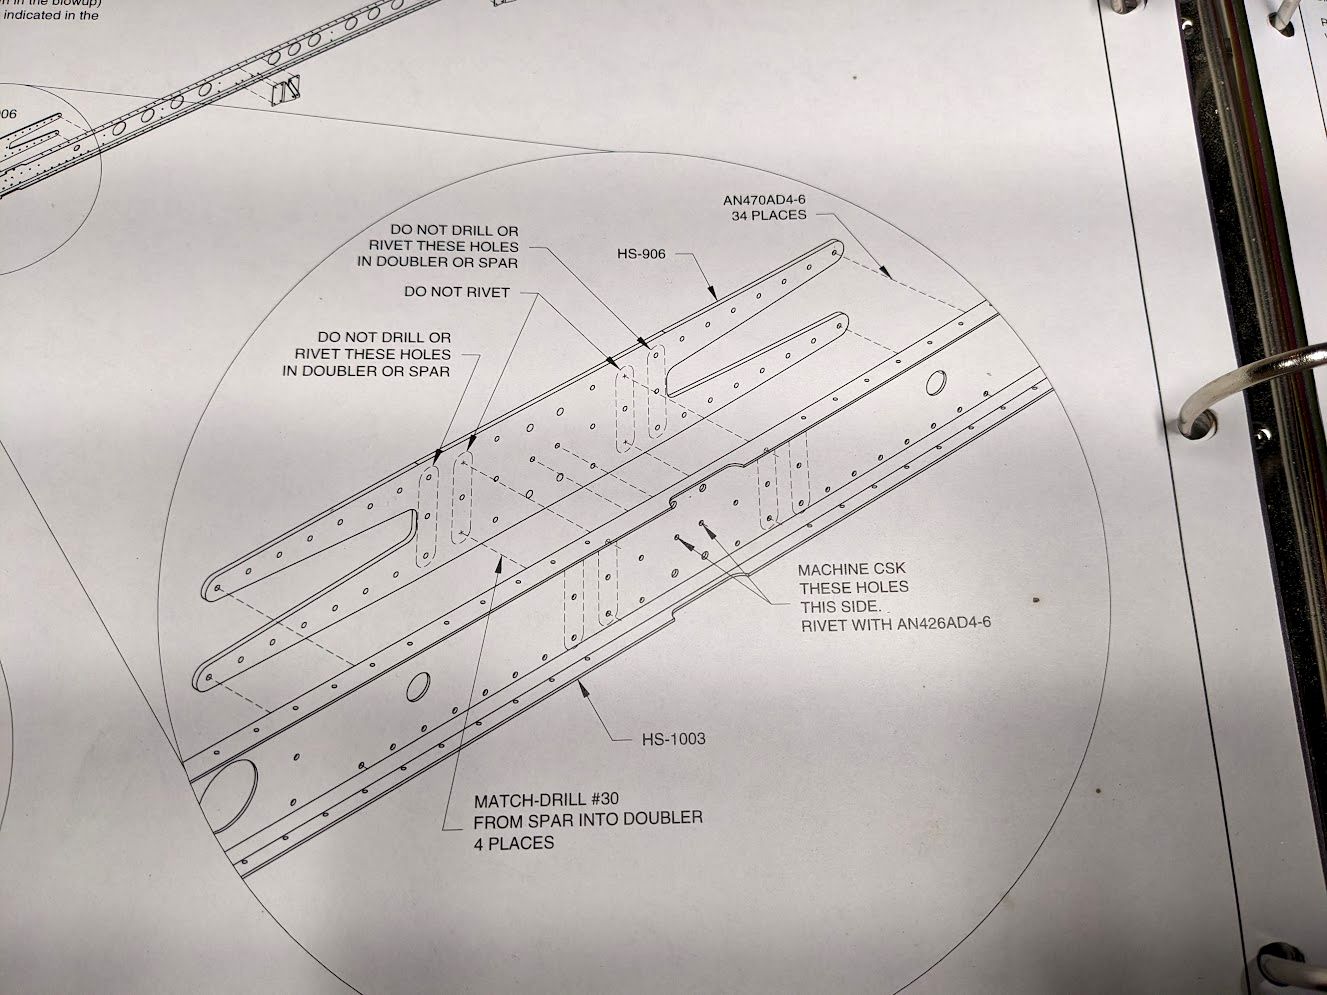
I made sure to mark off all the "DO NOT" and "DO THIS" and "34 places" because there is a LOT going on in that one little diagram. I had to read over it a few times and reference it a lot more just to make sure I wasn't goofing up.
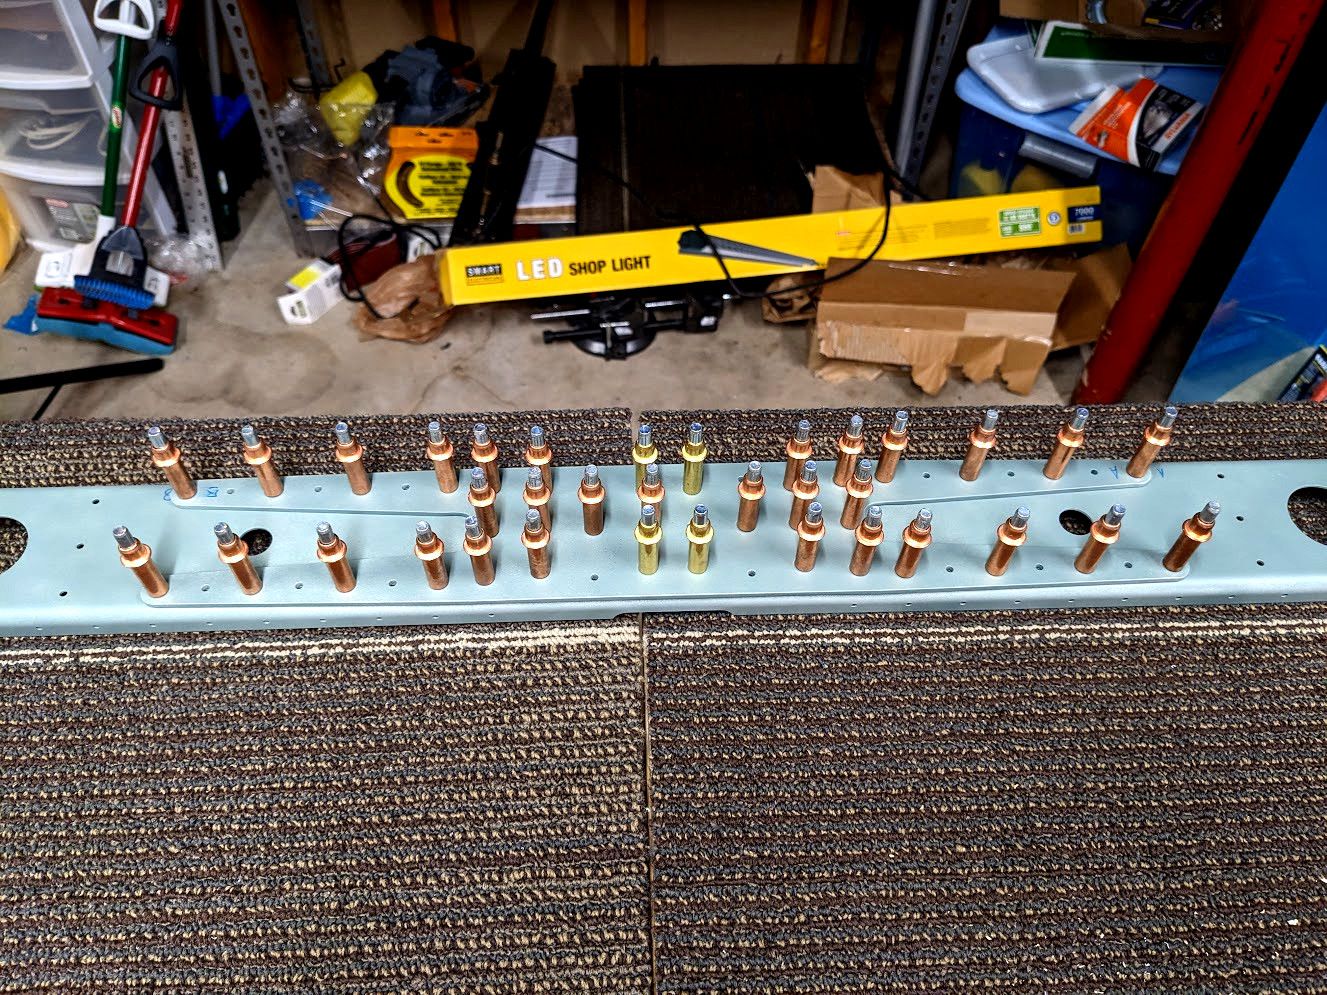
Generally I set the clecos in such a way that my work is obvious what I need to do. You can see the "DO NOT RIVET" areas are just full with clecos so I don't mess with them. But I will do half the rivets and then do the other half. These pictures don't give good size reference so take a look at this.
Those are the size of rivets I'm working with. Anyway, on to riveting.
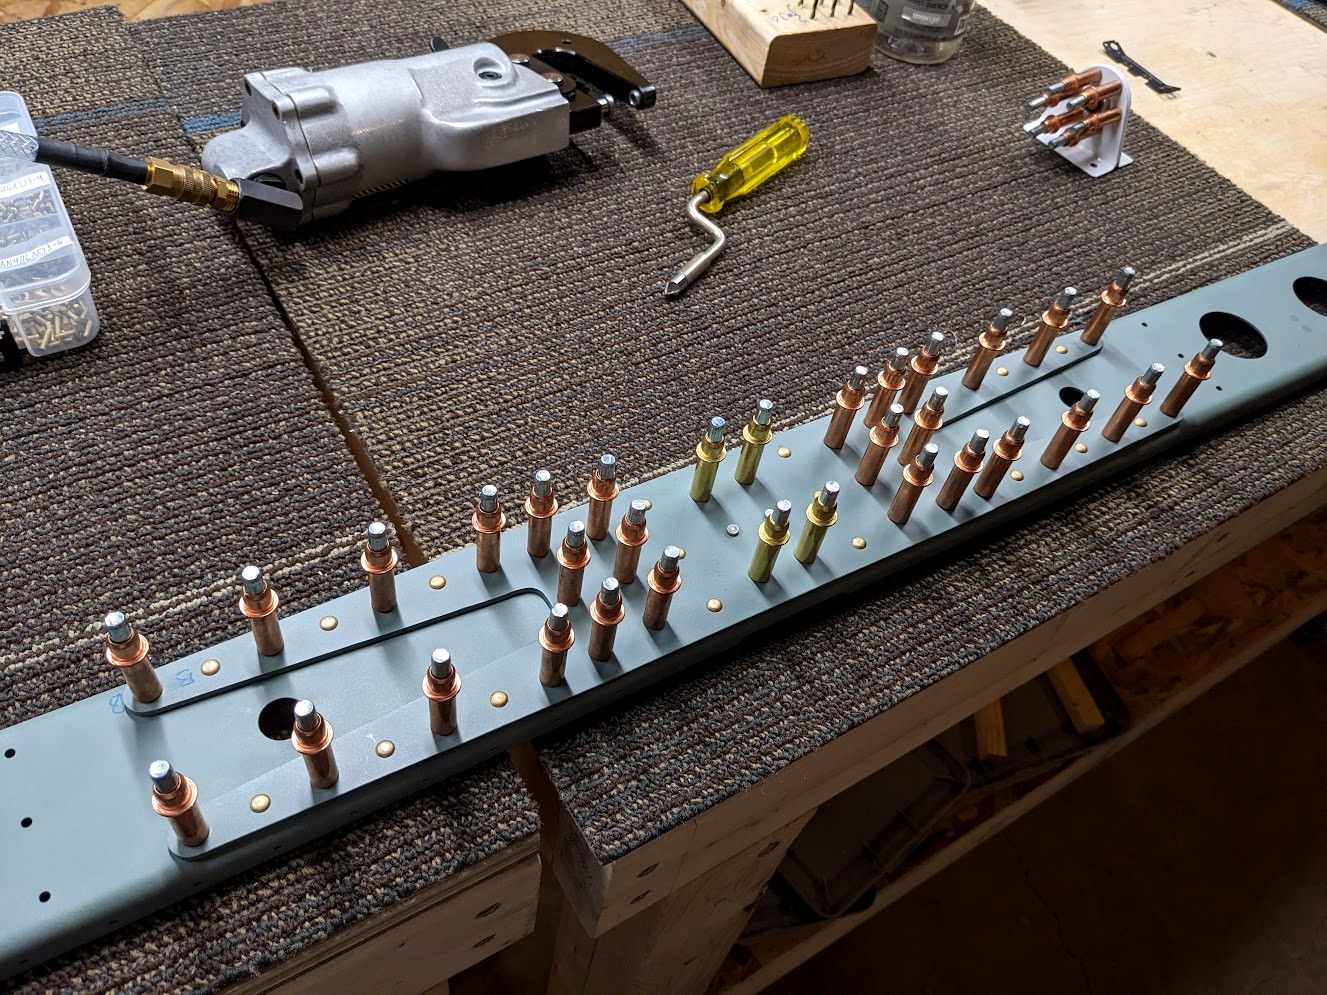
I used the squeezer on everything because it is amazing. I love that tool and would use it exclusively if I was able.
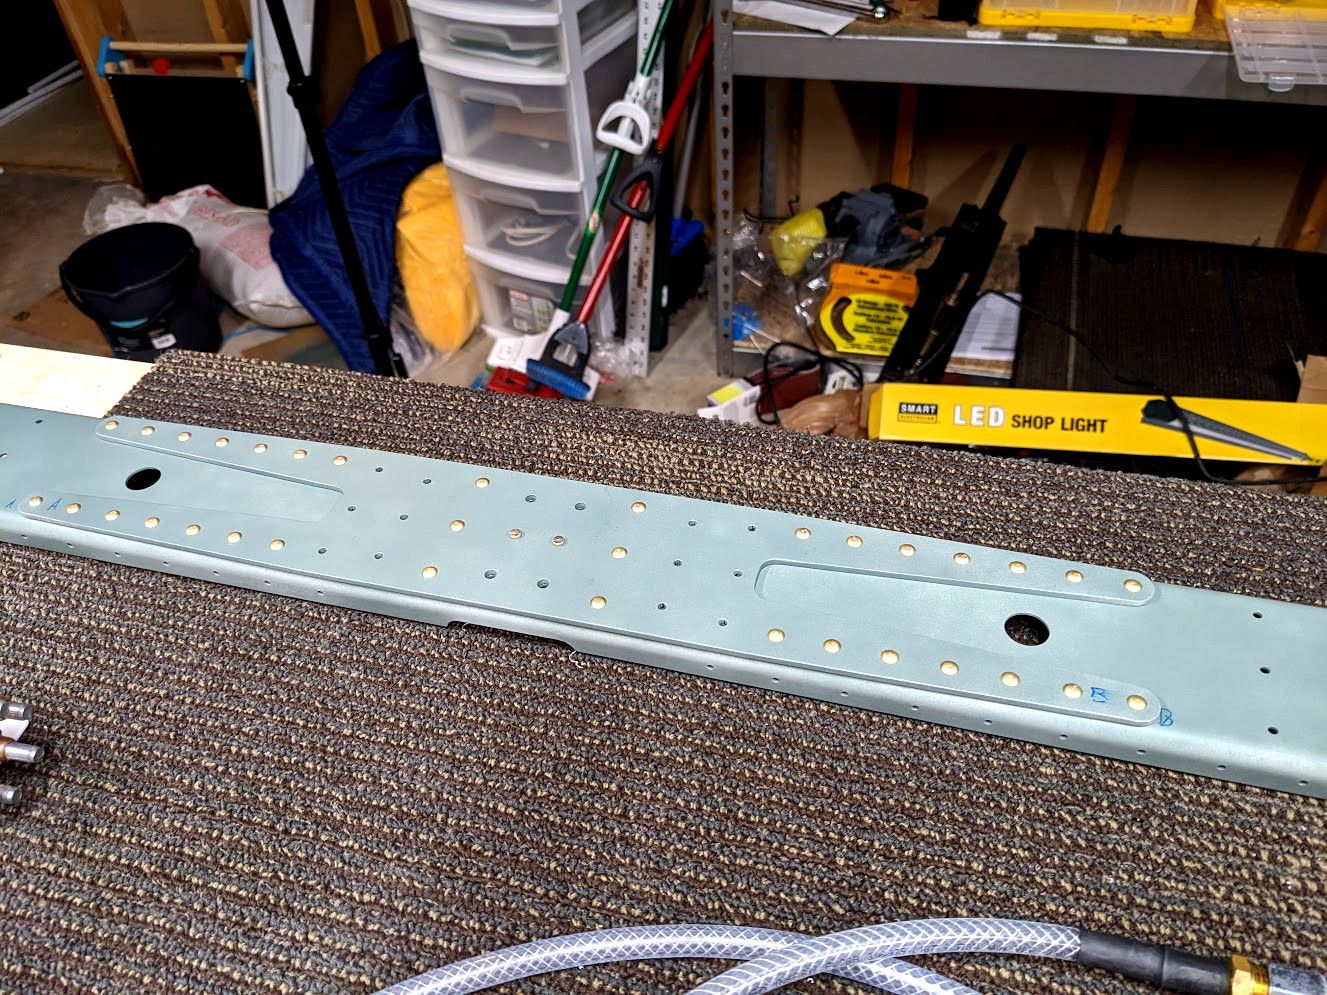
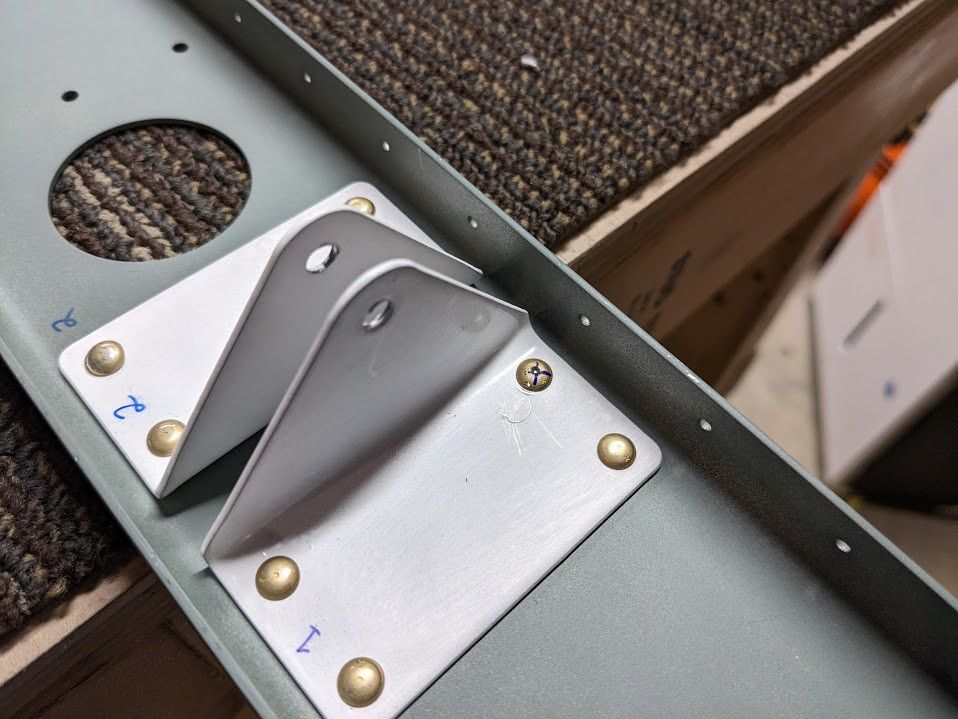
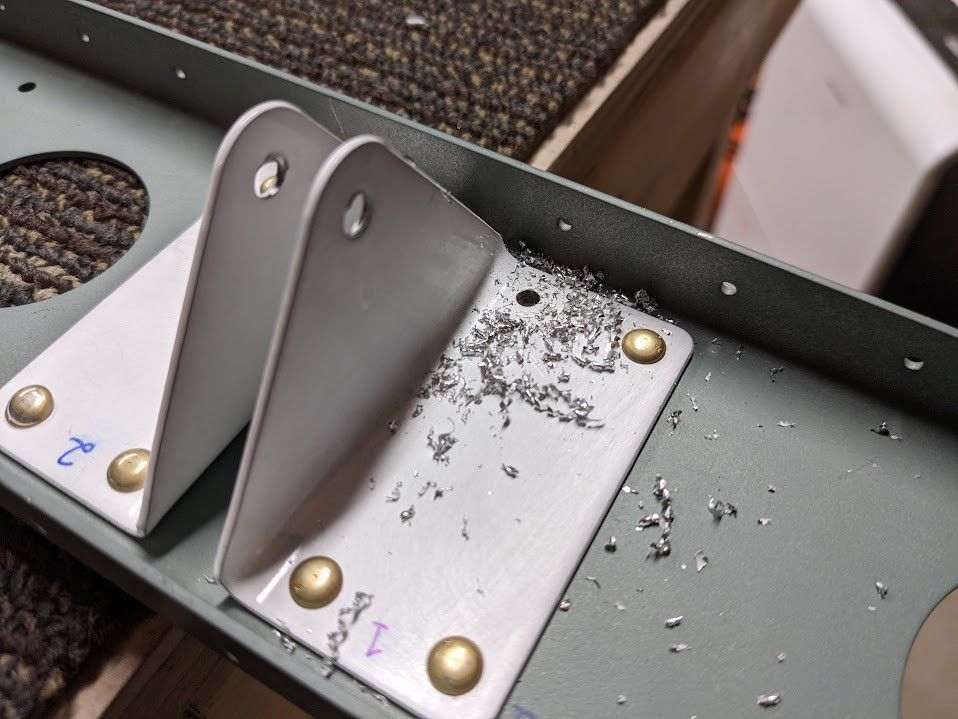
Okay, the spar and doubler are attached. What is next? Time to put those brackets on!
Same story. I did half the rivets then I did the other half. One minor issue was that one rivet folded over instead of smooshing. Not sure why, I might have grabbed one that was too long.

But I marked the rivet as bad and drilled it out to place a new one.
Okay, enough fun with rivets! Let's do some more rivets.
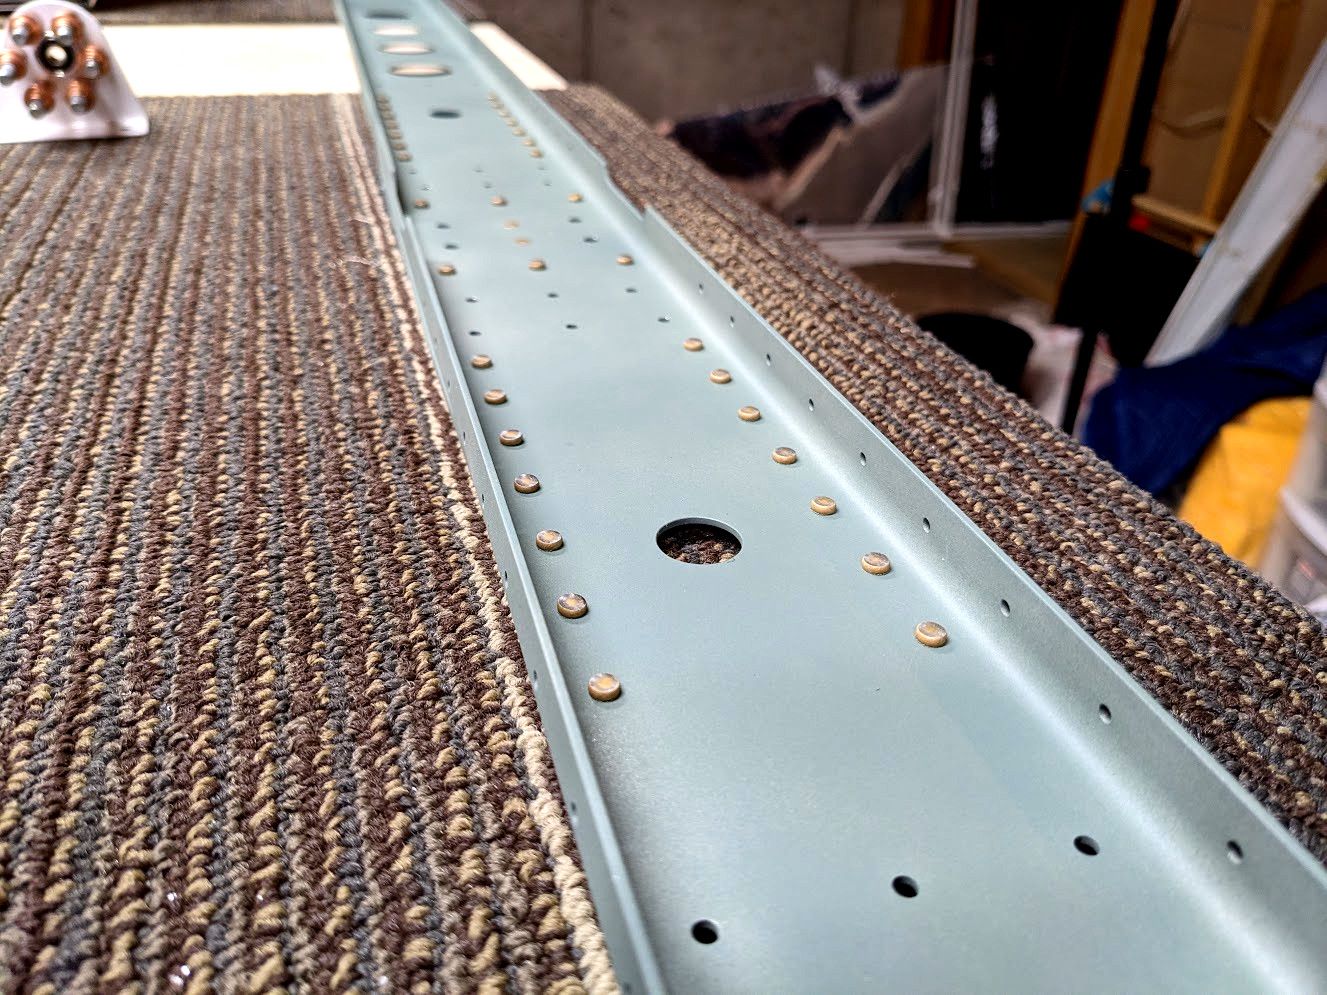
I left half unset for that picture just so the before and after is obvious. Then the spar was mostly done for now but I had to wait for a gift to myself to arrive to finish that last bracket.
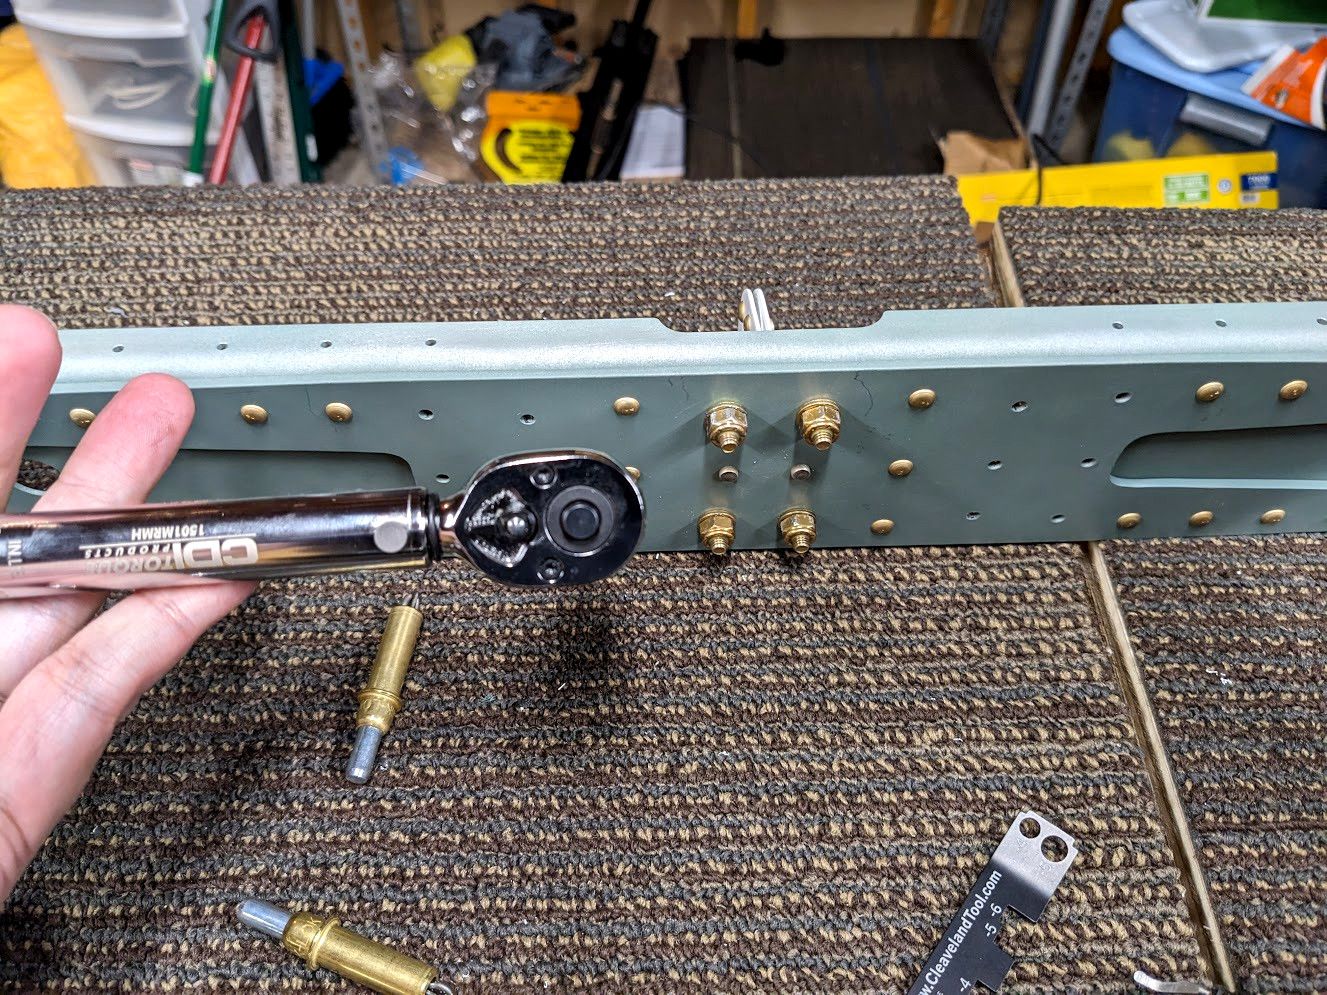
That's right. A torque wrench. I've never owned one before but now I have one. The torque on these nuts isn't very high at all, so it was definitely easy to over torque them. Given that this holds my elevator to the aircraft I figured I should torque it the right way.
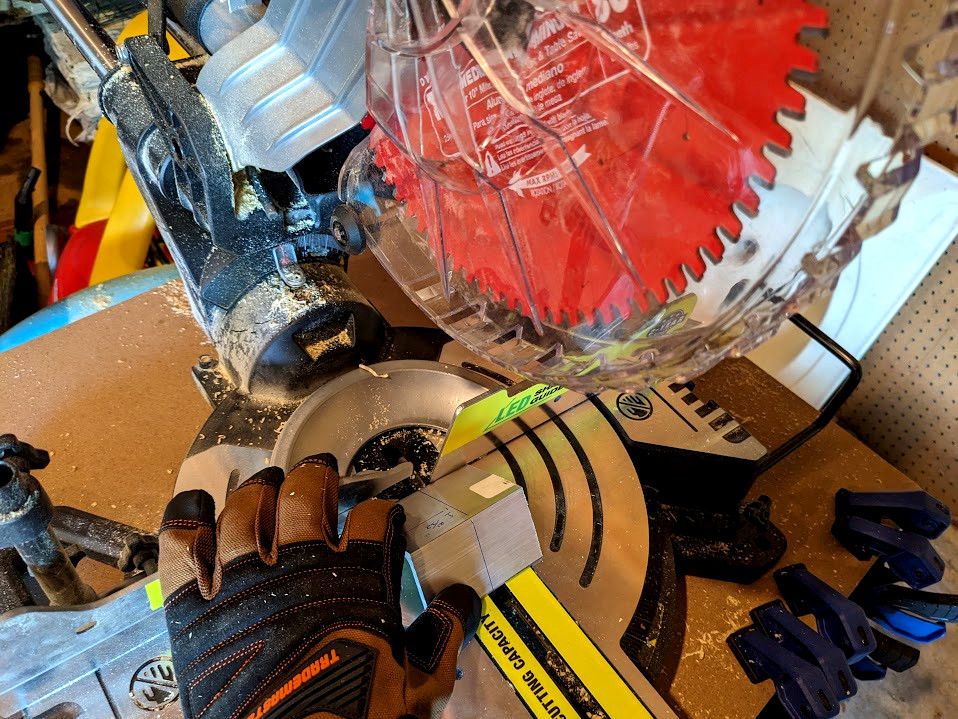
Okay, time to make those brackets I was fearing. I have a band saw but no stand for it and I didn't want to lose fingers so I did it the hard way.
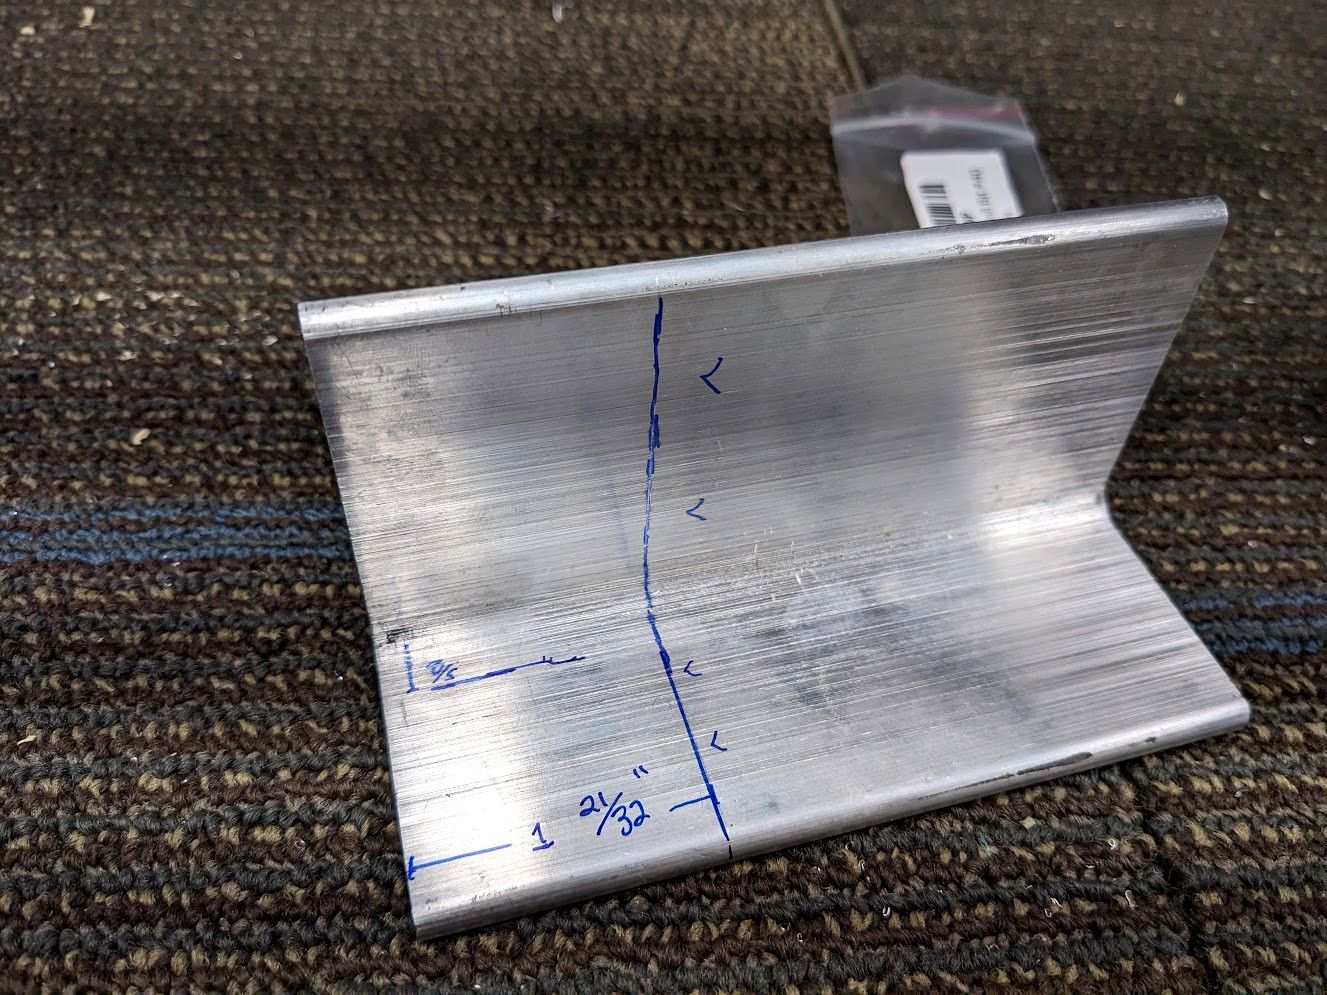
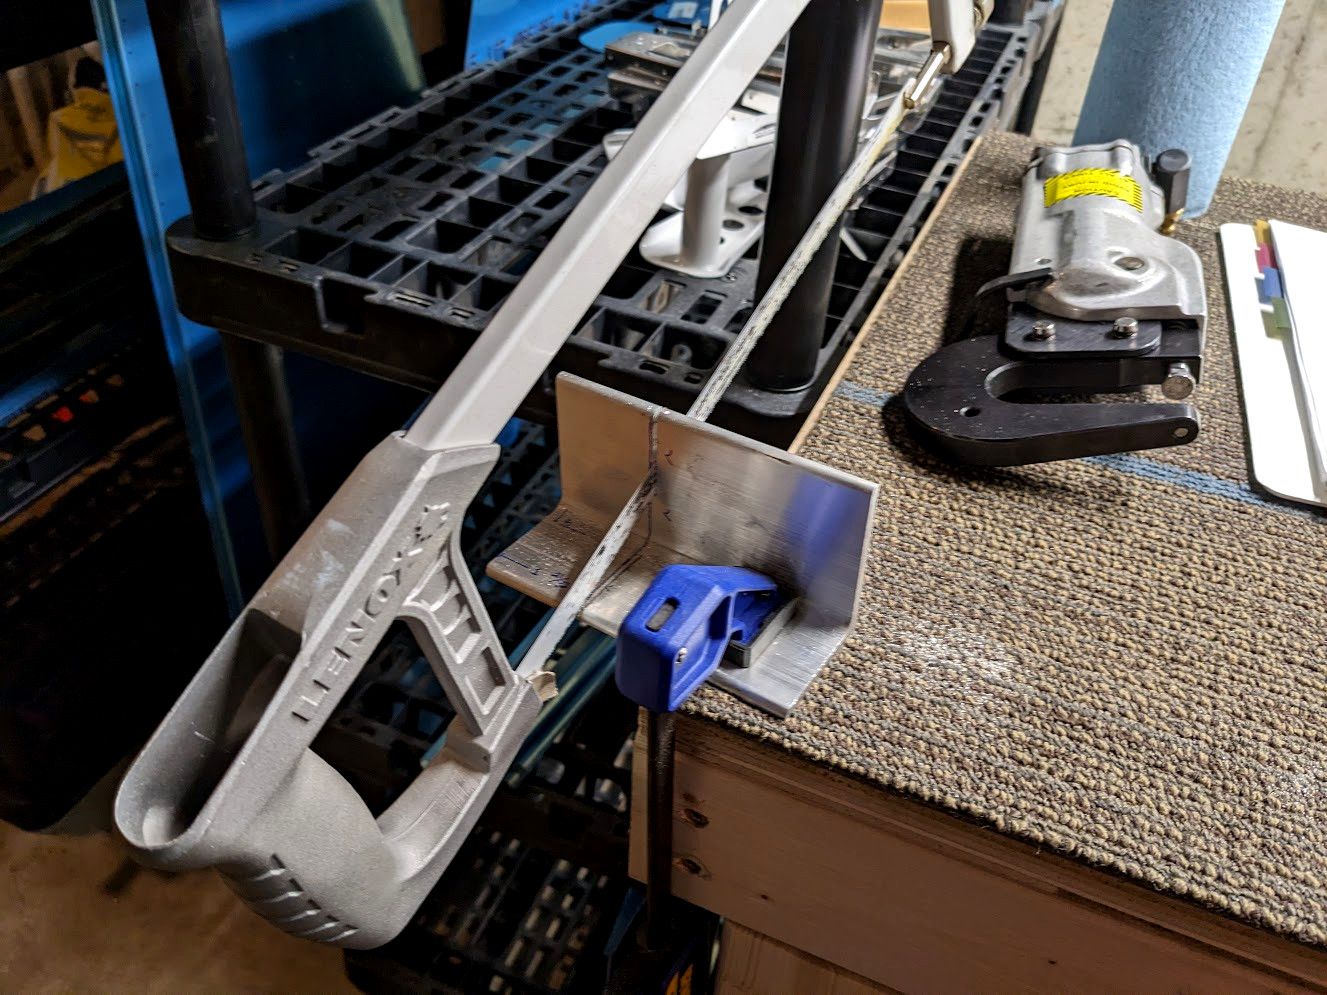

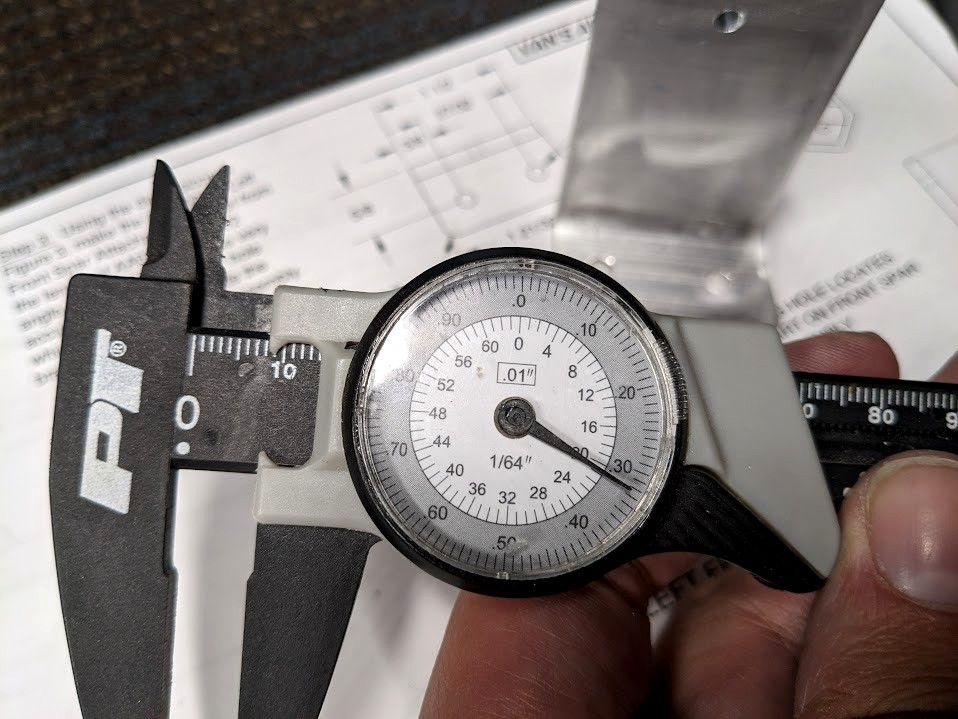
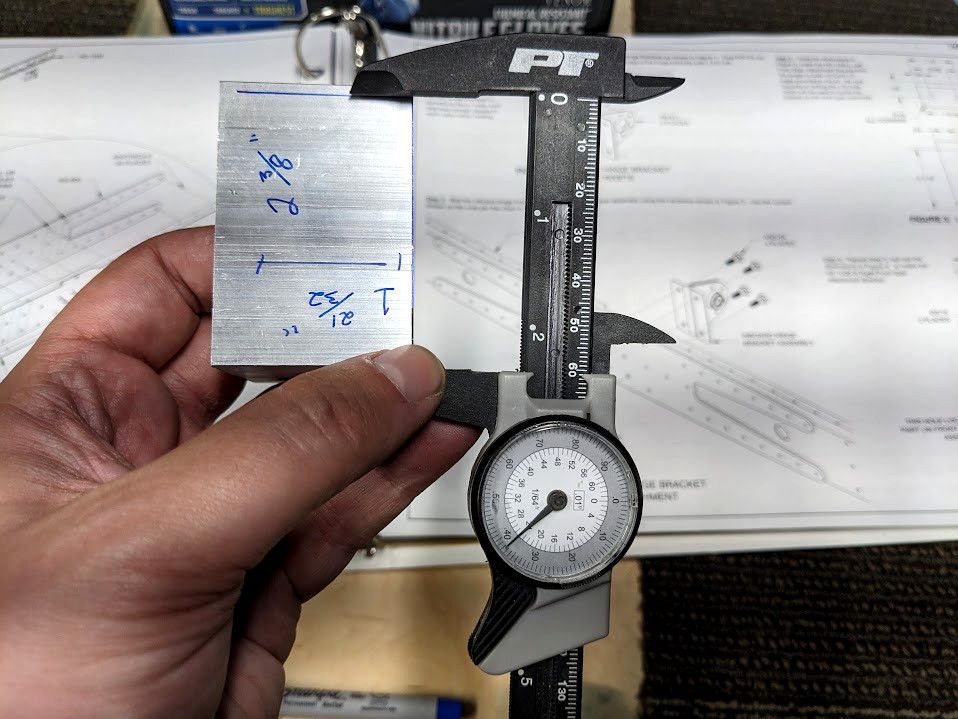
Also, imperial is dumb. My calipers are in 64ths of an inch so I had to convert everything and if it was metric this wouldn't be an issue. After much grinding (I learned a thing about stone wheels and aluminum. Don't) and sanding, I got something close but not fully matching the drawing.
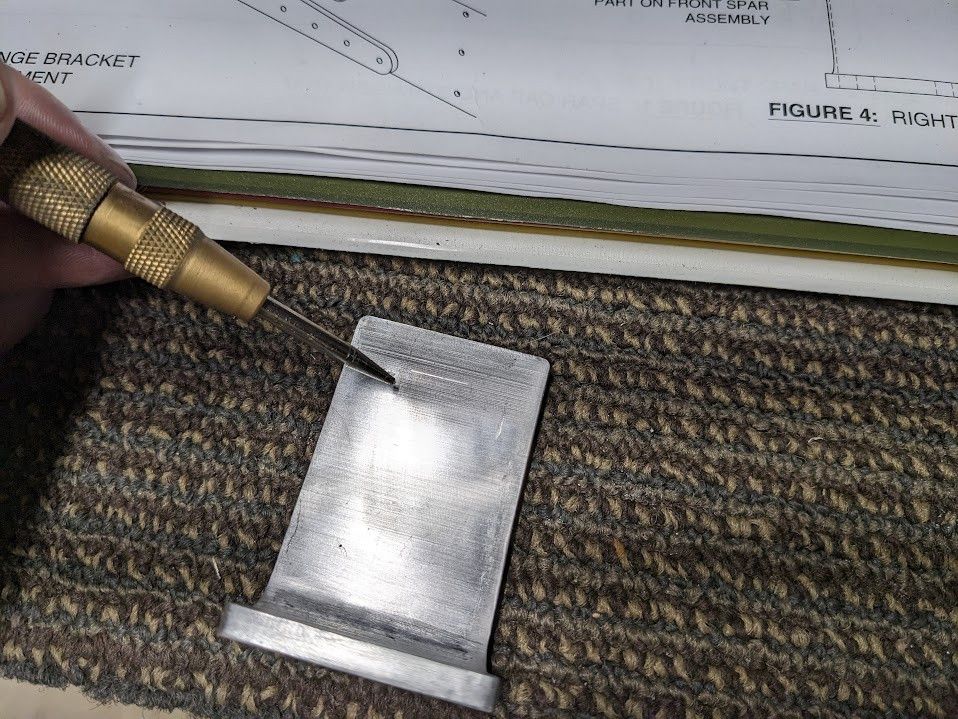
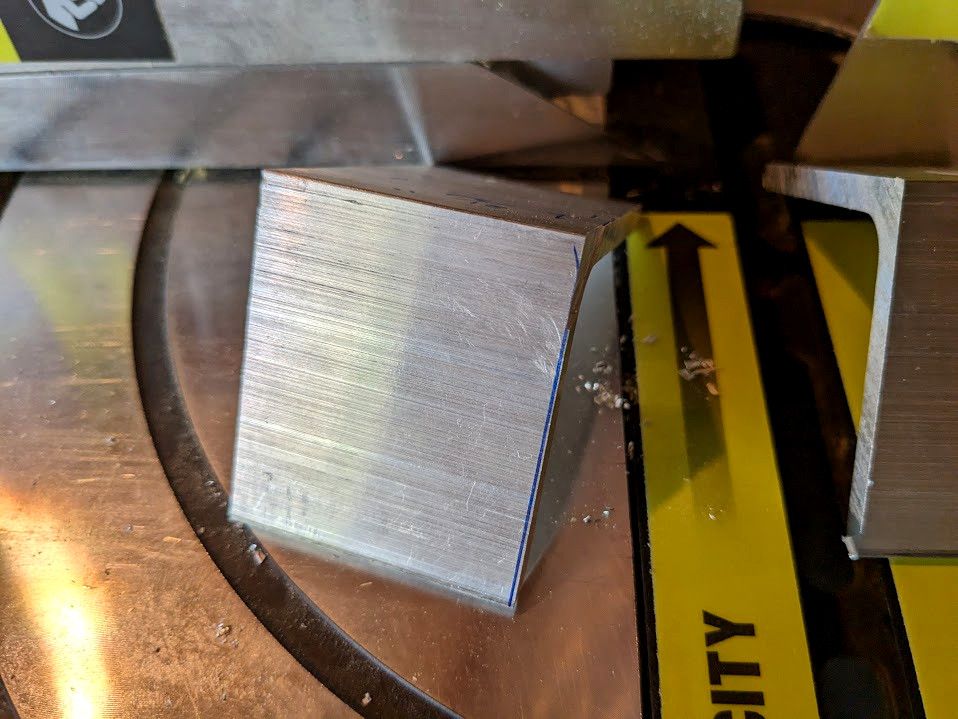
Then I put some holes in it
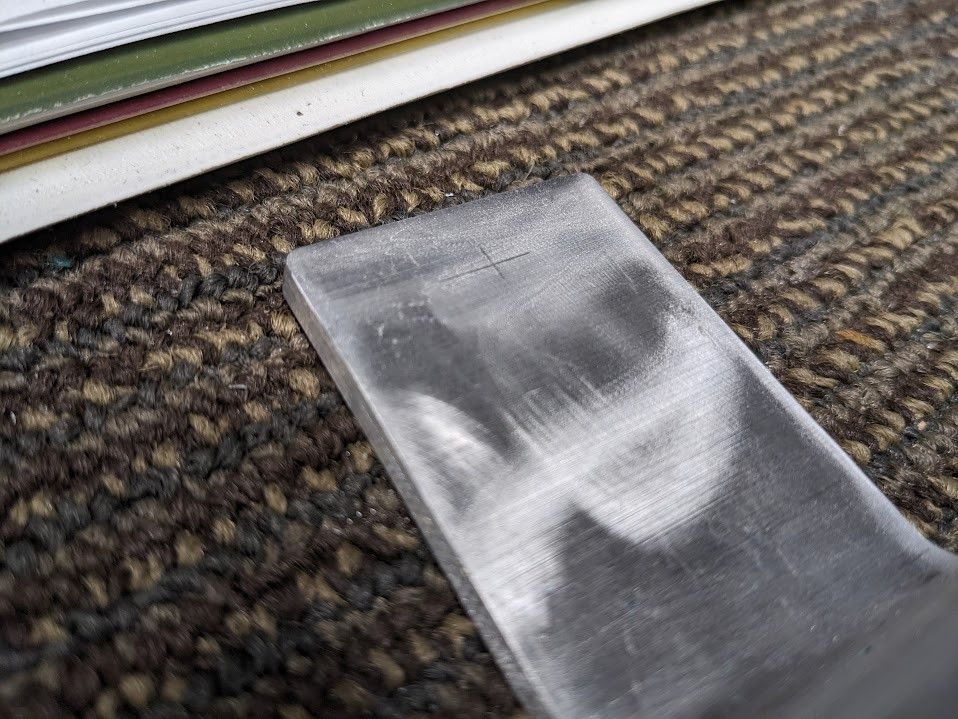

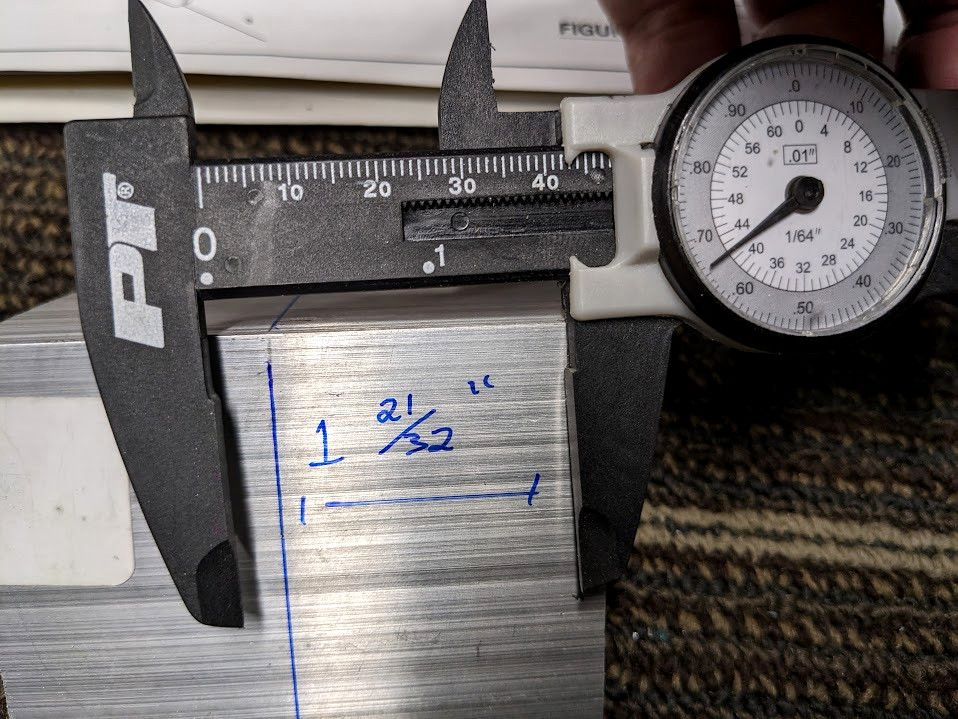
Except oops, those holes aren't right.
So what happened? Well, honestly I have a bit of dyscalculia with the numbers 7 and 8. This made times tables infuriating to me because no matter how much I tried I could never memorize it well. Remember how my calipers are in 64ths of an inch? The diagram called out 3/8ths for this hole placement. What is 3 * 8 for the conversion? If you said 24 then congratulations you are right. If you said 21 then you made the mistake I did and did 3 * 7.
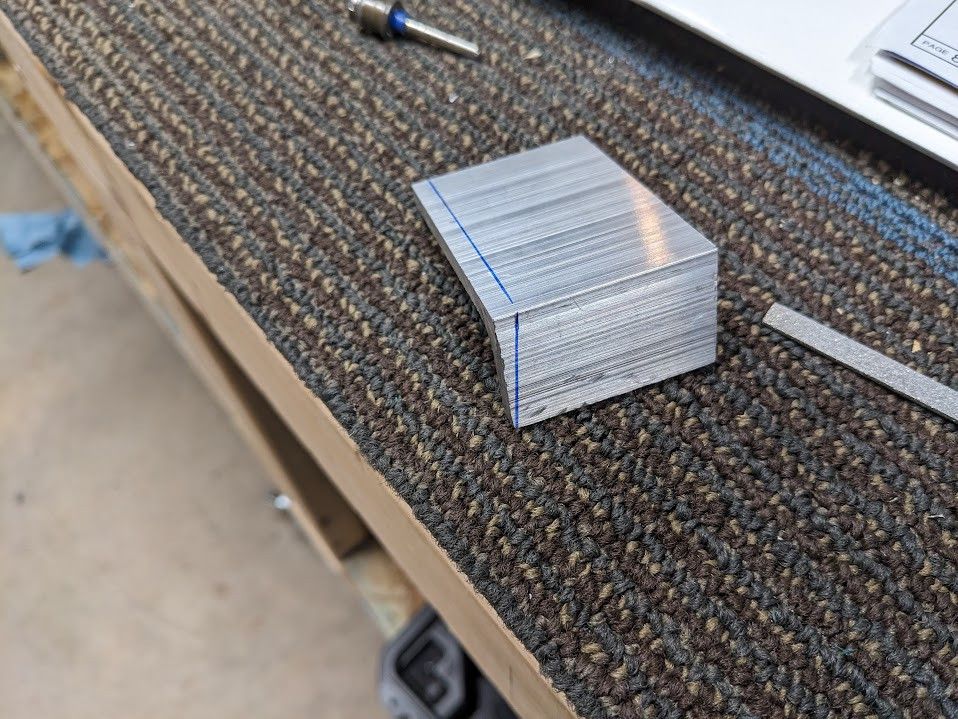
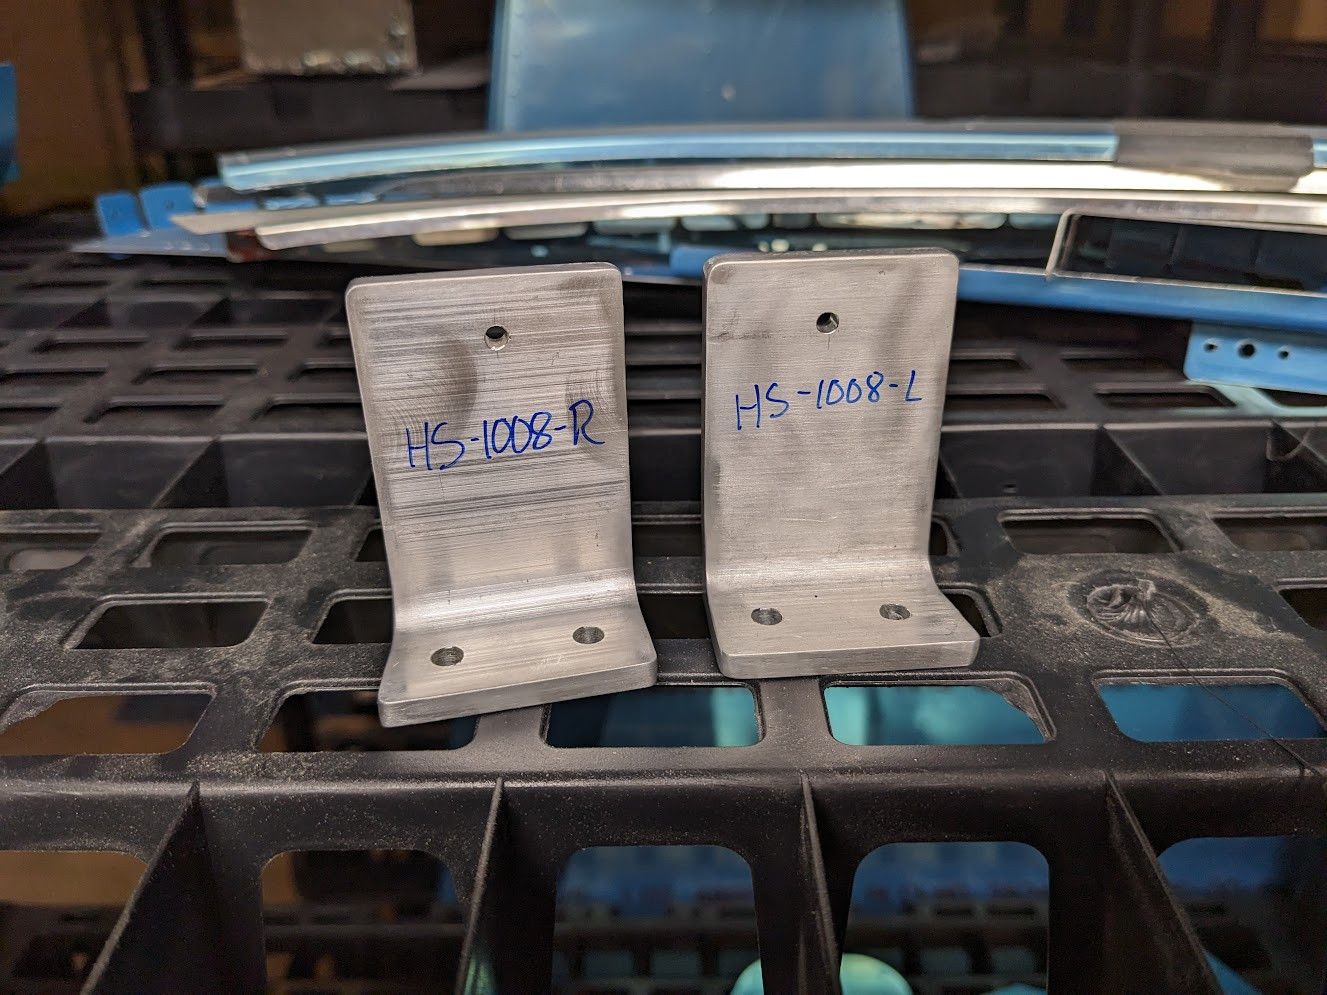
Well... shoot. I looked ahead and maybe it would have been okay. These aren't the final size of the holes and then get drilled in as new holes later on. But these brackets also hold the stabilizer to the tail and... well... honestly the bracket wasn't that great of quality anyway. So I opted to scrap it and order a whole $6 aluminum angle to try again. In the mean time, I got a saw blade that I could cut aluminum with because I hated using a hacksaw. Maybe I need a better hacksaw but...
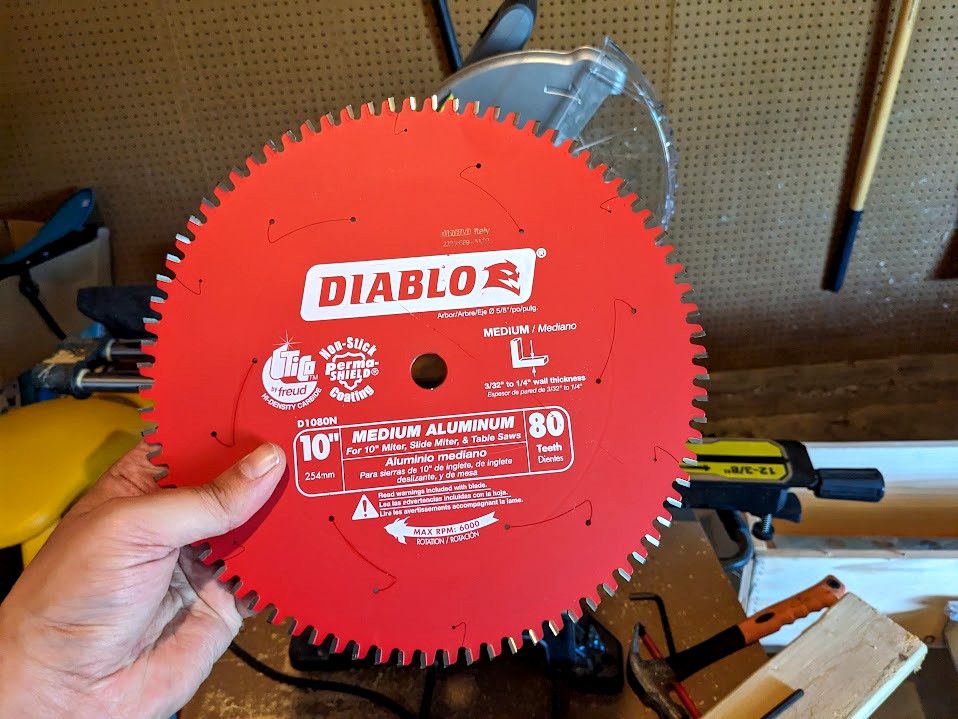
This will do just fine. I had to learn how to swap out blades but that wasn't too hard. Then I made sure to check each and every measurement about 10 times.
What a satisfying cut though. I love it. Anyway, more cuts and stuff to make.
It is pretty easy to tell in person the difference in quality between the two. I am much happier I took the time to remake it even if I didn't strictly "have to". If nothing else it is good experience in using my tools. I liked it so much I did it again but the other bracket.
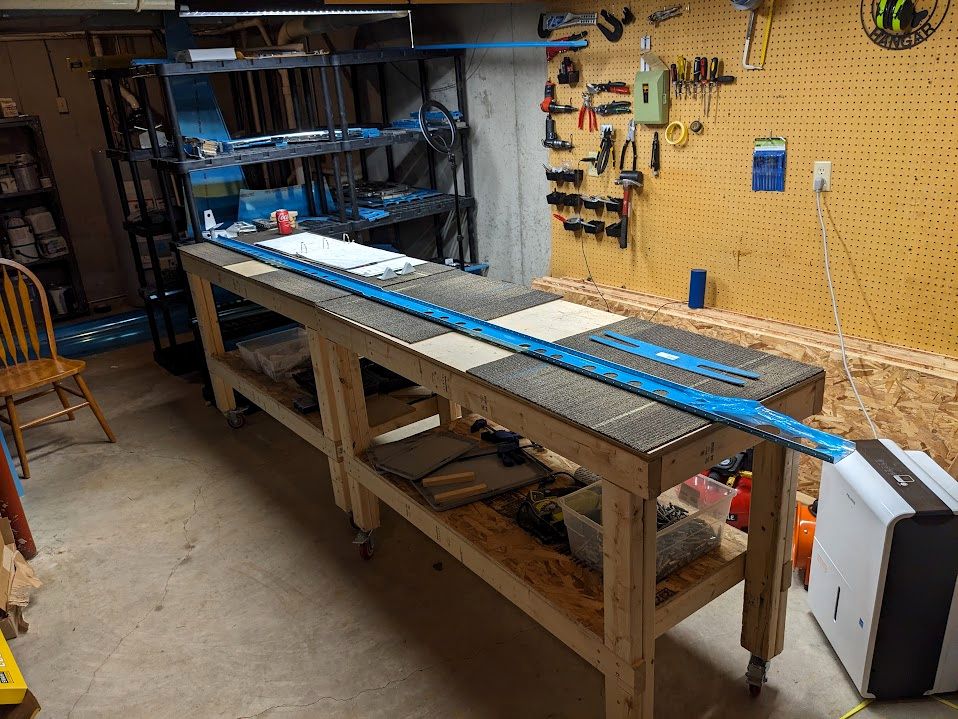
Amazing stuff right there. Two brackets just hanging out and waiting. We're not done fabricating yet, however. We have spar caps and some stringers to do. Lucky this just involves cutting a straight piece off and then cleaning up everything else.
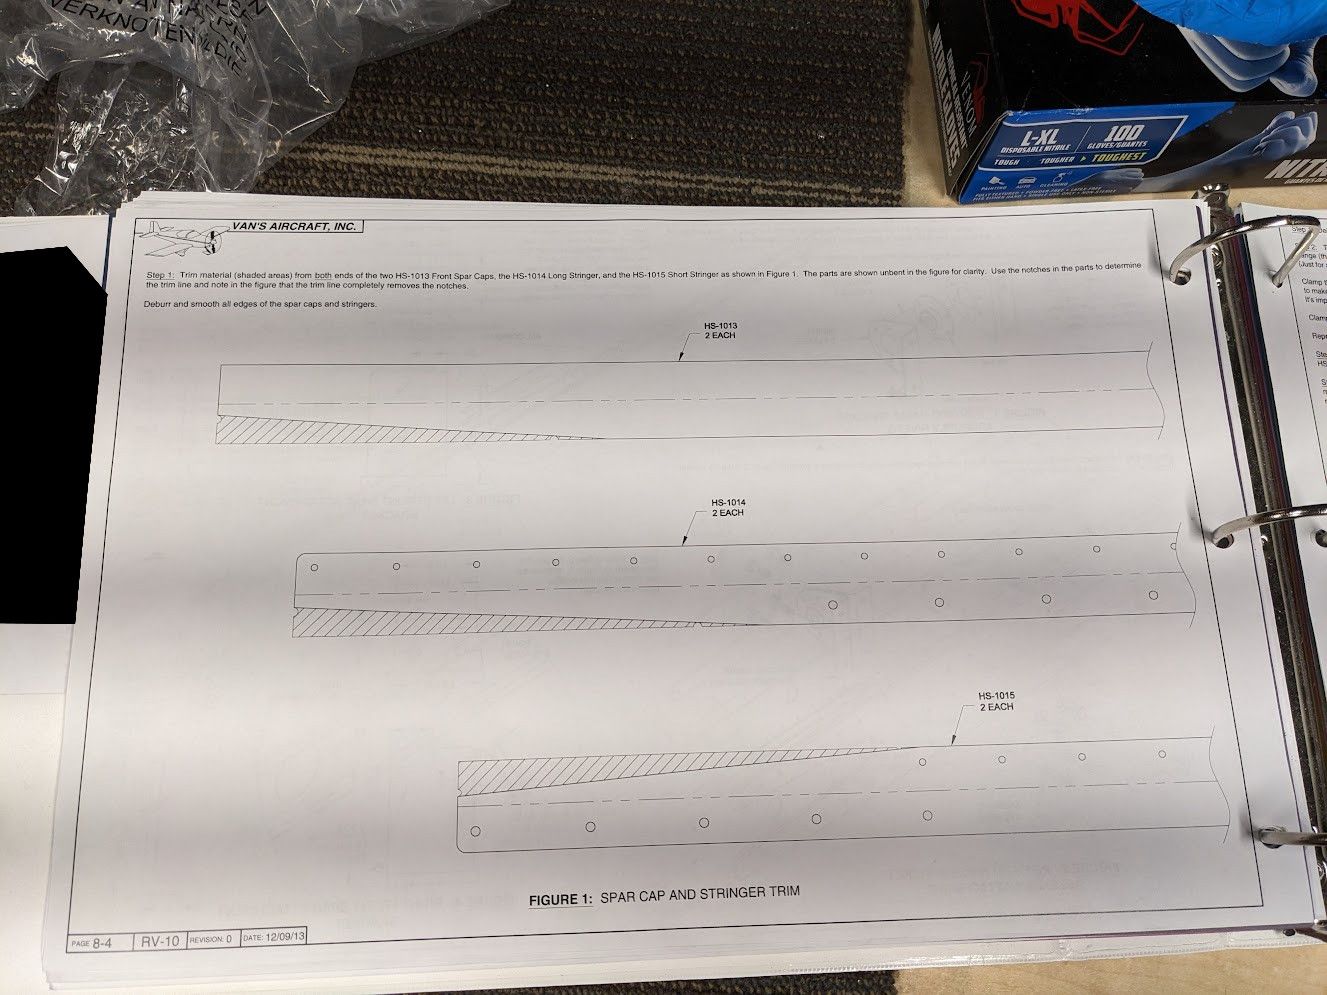
I took a few days off due to being sick (got to love having a young kid that shares all his germs). So I slowly worked my way though the stringers.
They come pretty bent, but that won't stop me.
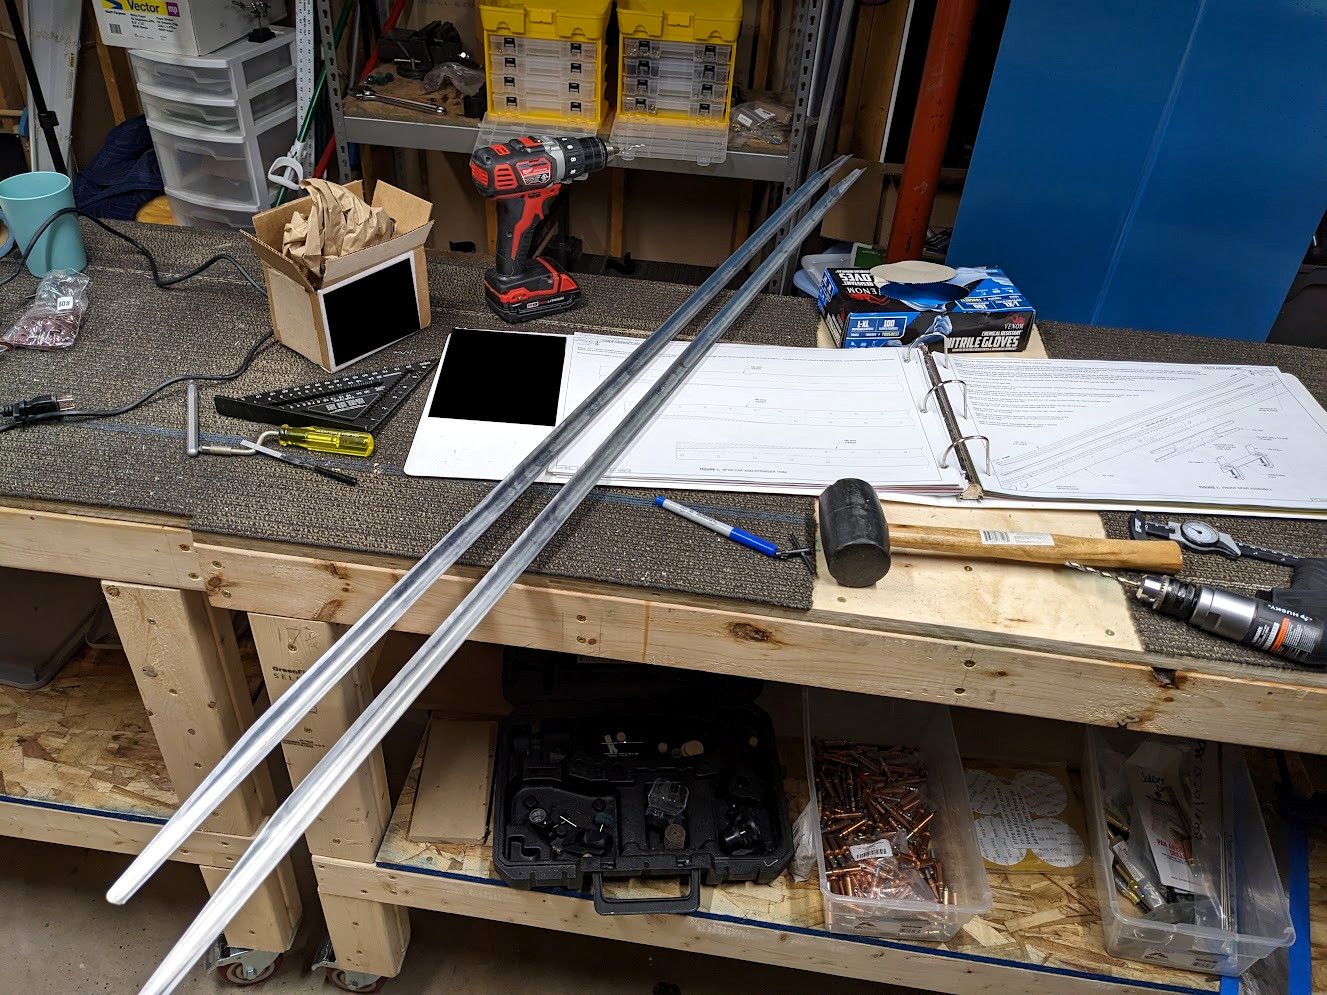
The belt sander is amazing for this. Getting the line nice and clean and just chef's kiss. Let's talk about how I cut this, though. Since my band saw is without a home (I need to build another workbench for it) I used a rotary cutter. This is okay but a bit hard to control and worse still, sometimes launches metal at my face that is hot and sharp. I got hit in the safety glasses which is a great reminder why I wear them. See this diagram below.
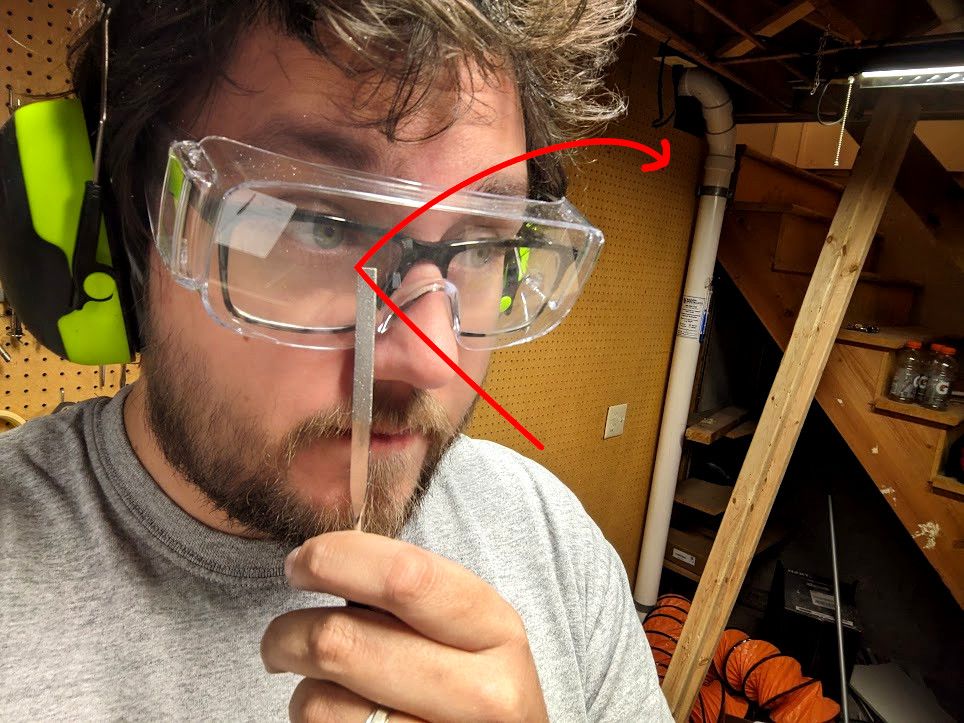
The very next day I had it happen again but the metal slammed into my face just below my mouth and it felt like getting hit with a BB. I was honestly surprised I wasn't bleeding. So I ordered myself a full face shield to solve this problem of rogue high speed metal. Then for reasons I don't know my pliers just kind of gave up on life when I dropped them.
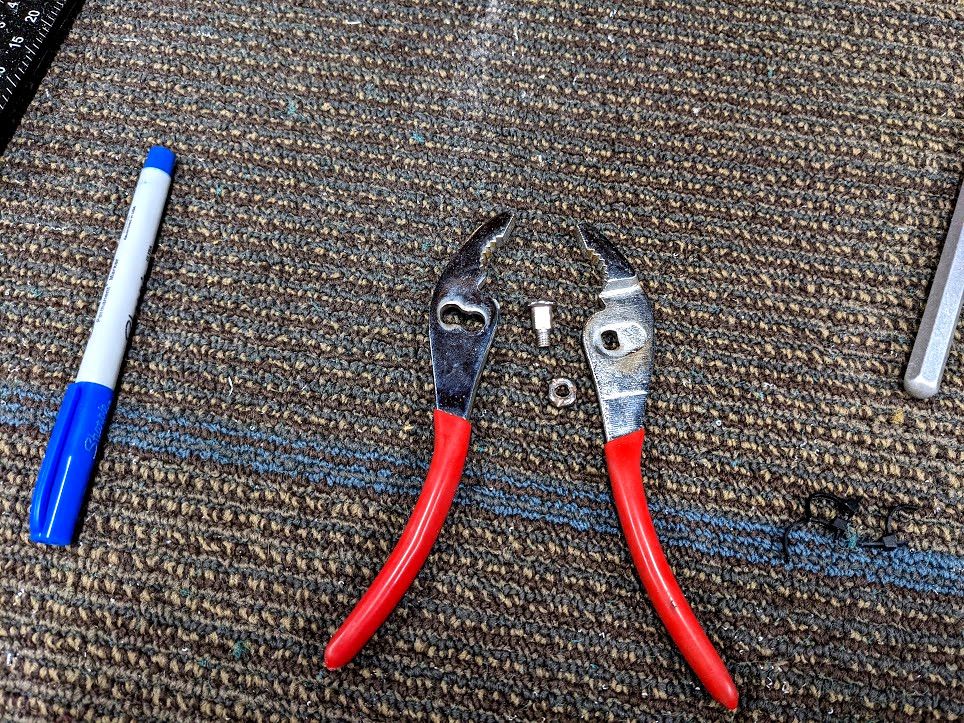
I couldn't get the bolt back on, the threads were bad. So now I have two plier instead of one pliers I guess. I was using this to help get tools out of the rotary jaws because they tend to clamp down on the cutters pretty solidly. RIP in peace.
Home stretch for these stringers now. Just two more to go and with the magic of time travel...
Remember that I'm filing all the edges down and polishing it so it is a lot of work and dust. Then to taunt me it was now time to do the front spar.
So I did half of that spar and called it a night. I will pick it up again soon and continue just doing what I did before.
So I am still having fun. It is nice to just go into my workshop and work with my hands on a project even if it is kinda slow and meticulous work. Next steps involve prepping ribs for installation and building a cradle to hold the stabilizer while I work on it. It should all be good fun (I may even swear less).
I played with streaming some workshop stuff on an owncast server but it was ultimately too much to mess around with. I want to build the plane, that is my primary goal. Everything else is optional and I didn't want to get bogged down on some technical thing that wasn't needed.
Thanks for stopping by for this very picture heavy update. As a reminder, I post updates every time I work on stuff at https://firefish.sideslip.social/@rv10. Part of my goal with aviation is to share it so others may also get to enjoy it. I appreciate everyone that has stopped by to say hello or offered some tooling ideas for me.
Have a good one, see y'all next time.